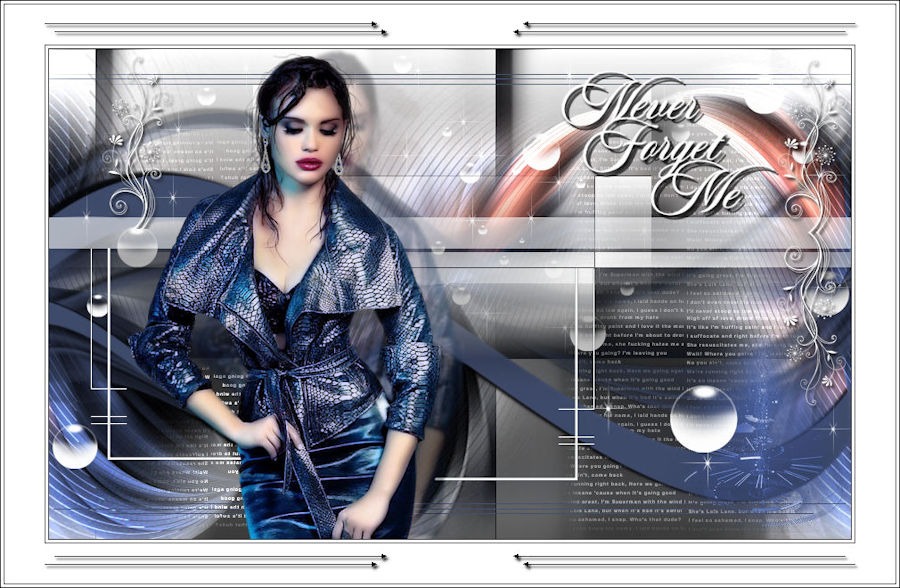
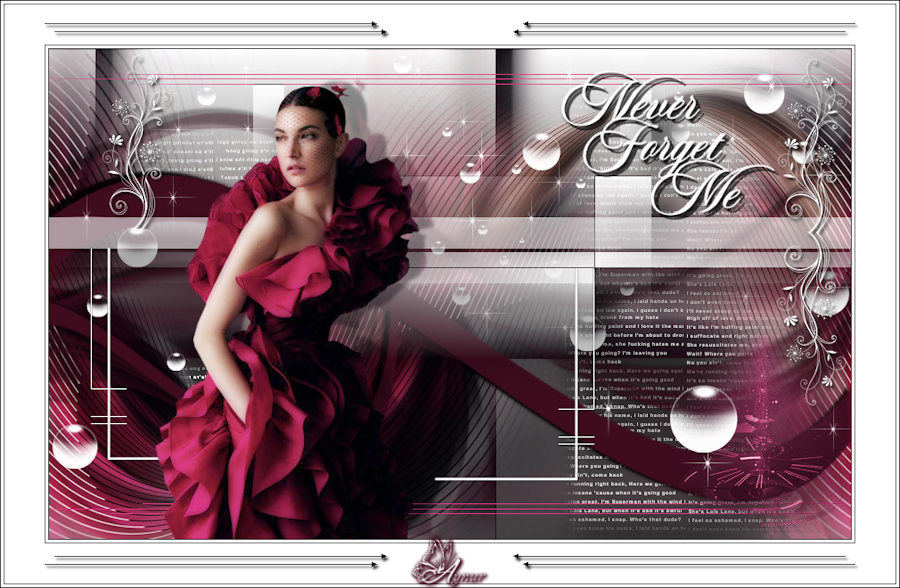
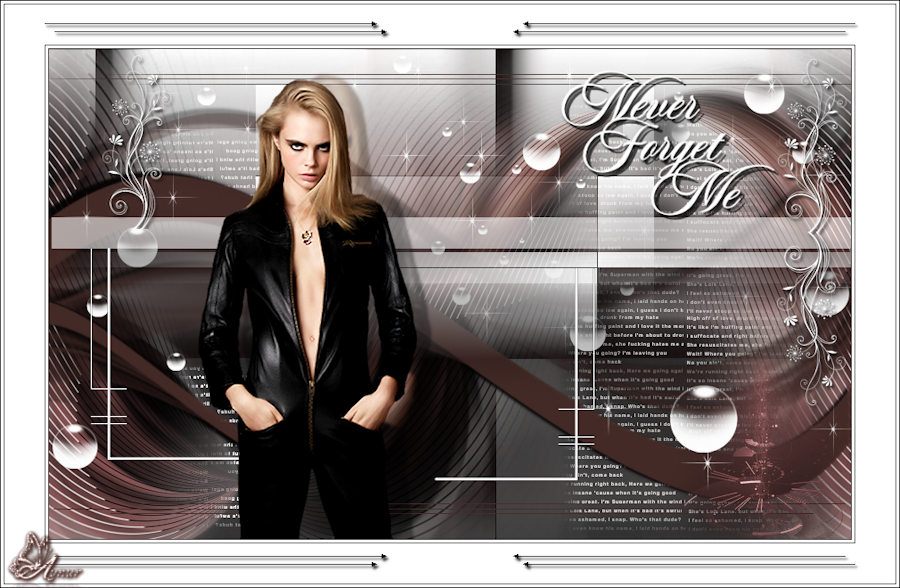
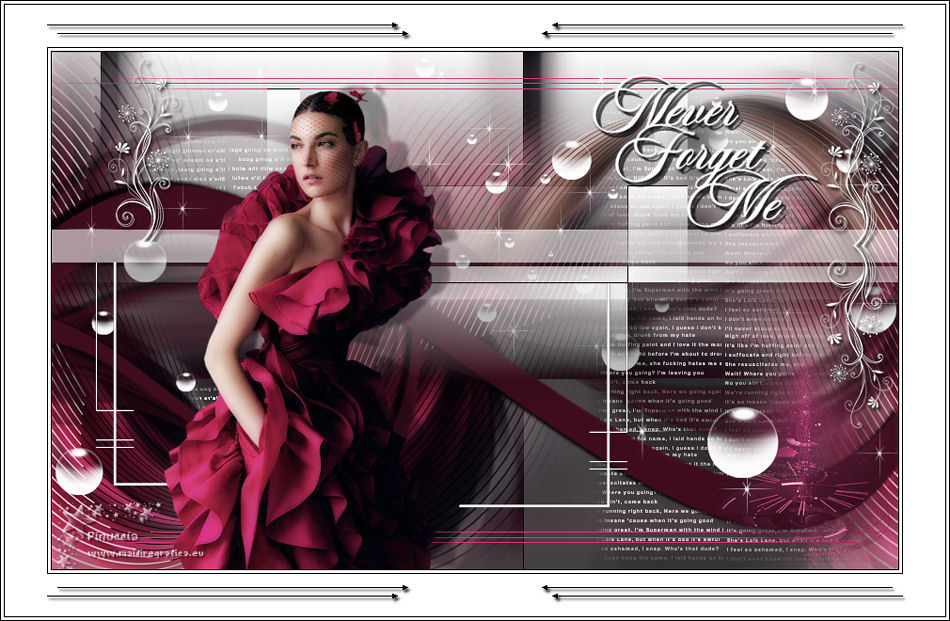
This tutorial is written in PSP x8
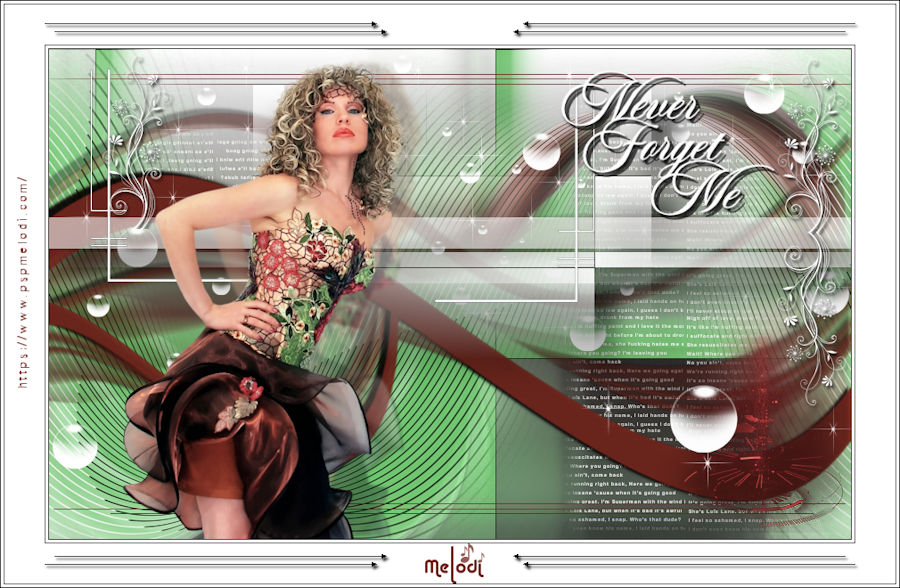
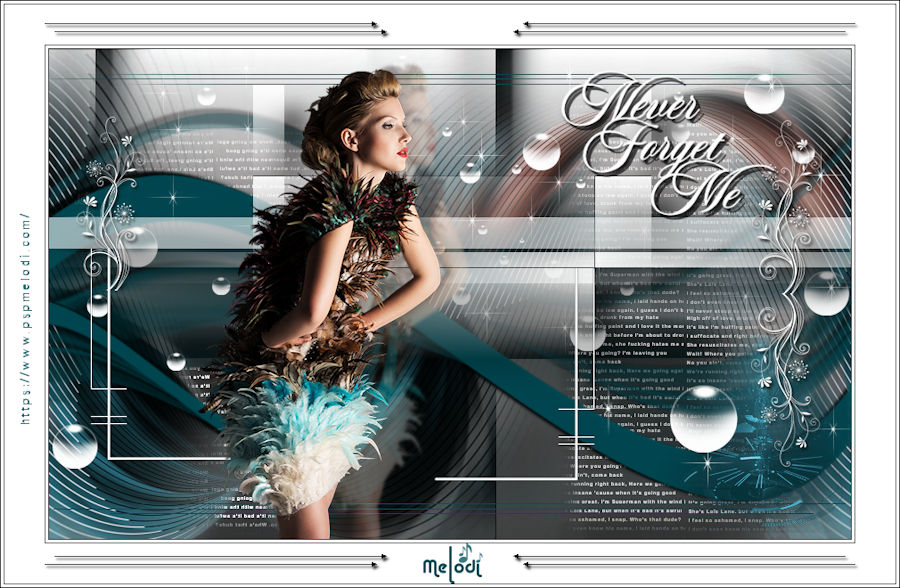
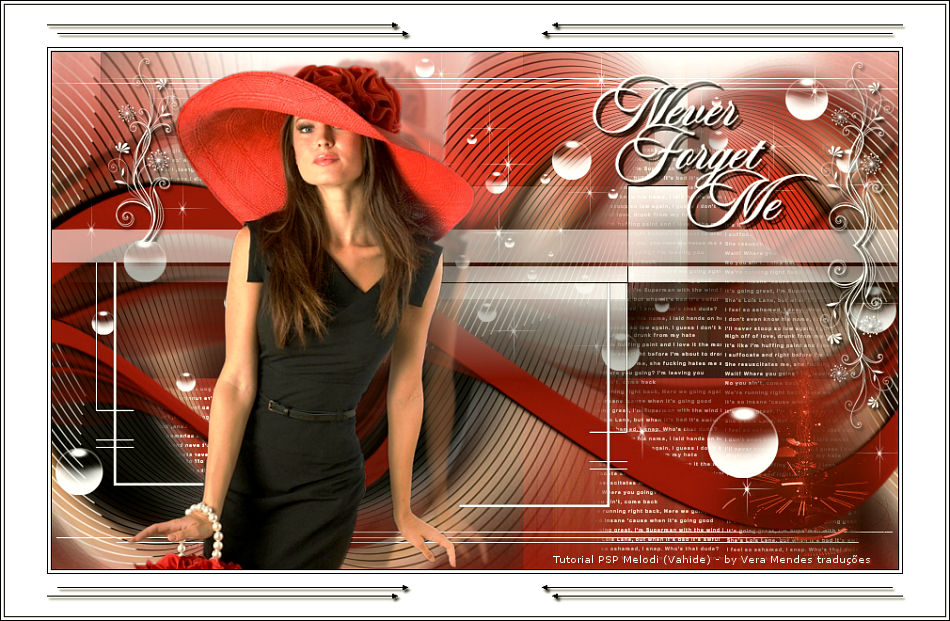
The colors, layer density and blending mode are for the materials of this lesson.
If you use different material, just take a look at what is best for you
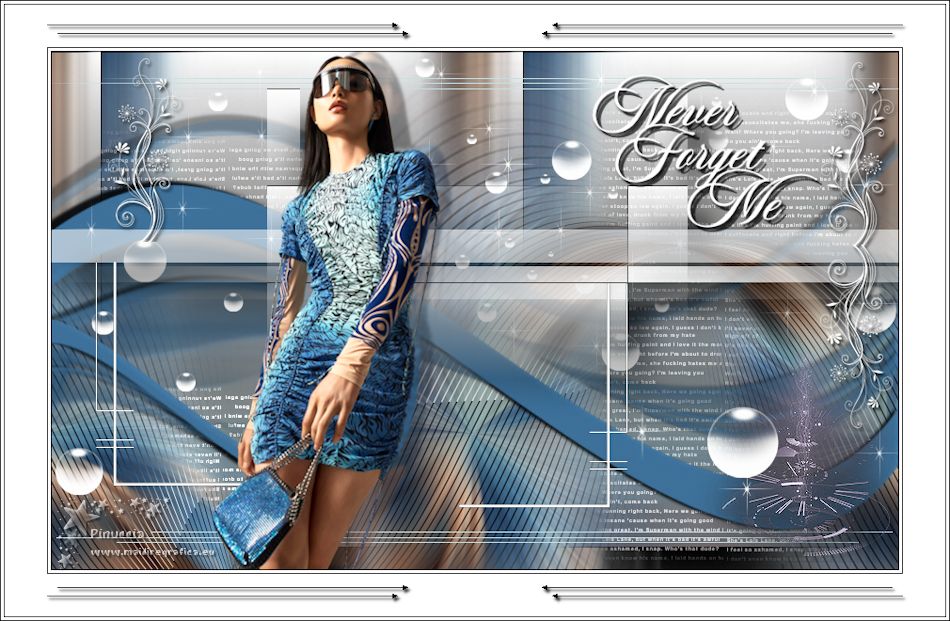
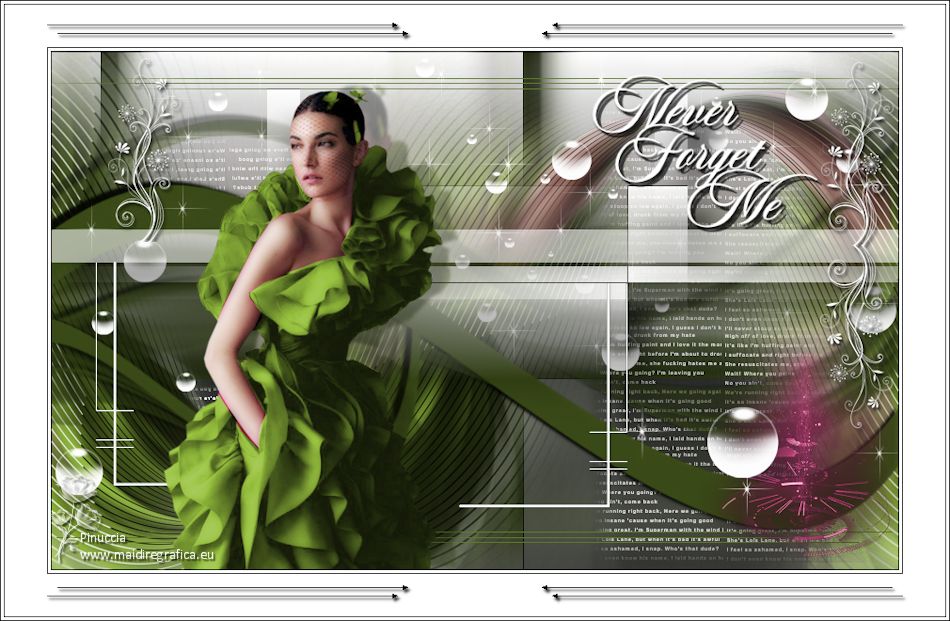
Grazie Pinuccia per la traduzione italiana

Merci Pinuccia pour la traduction Française


Danke Inge Lore für die deutsche Übersetzung


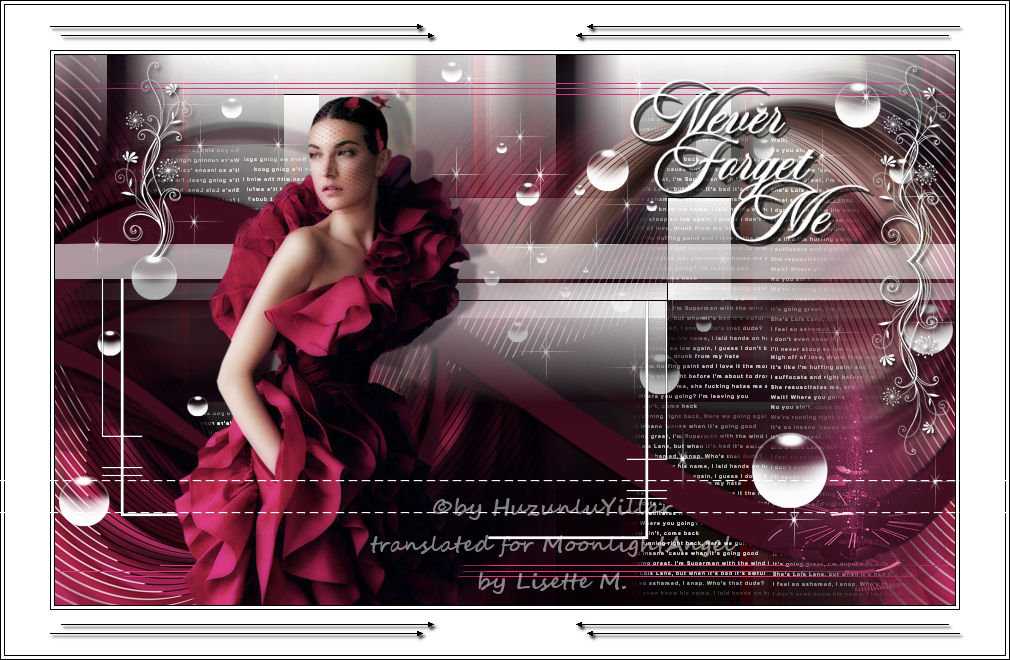
Bedankt voor de Nederlandse vertaling Lisette


Bedankt voor de Nederlandse vertaling Angela
Gracias Sylviane por la traducción al español.


Thanks Vera Mendes for the Portuguese translation


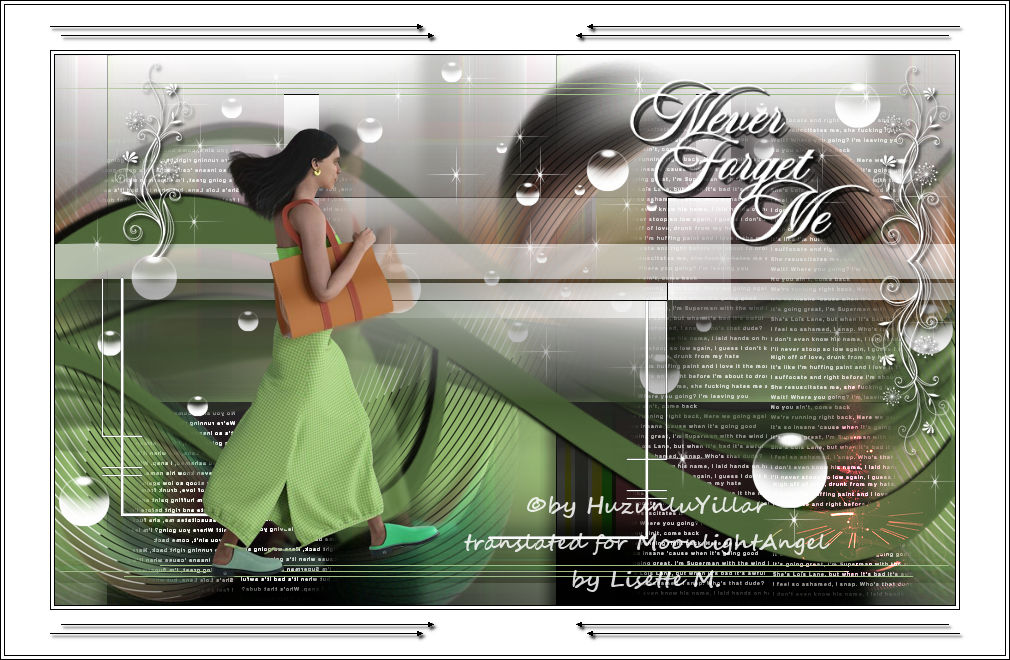
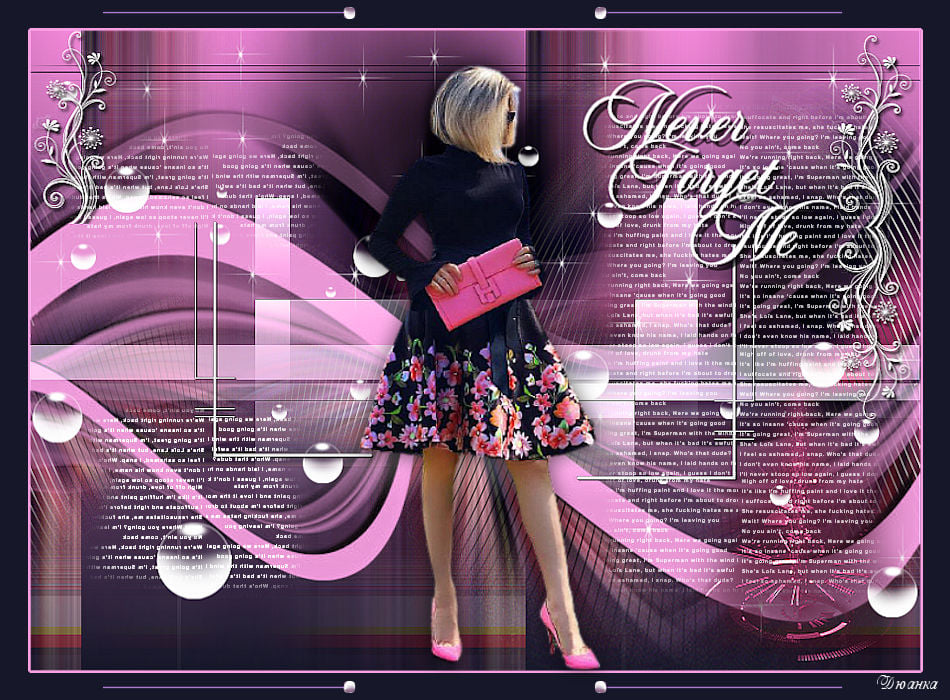
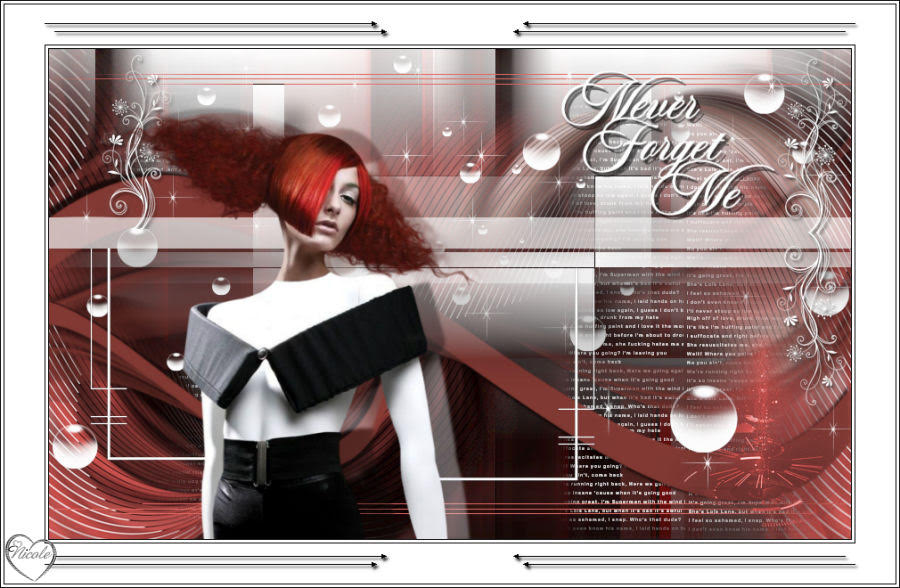
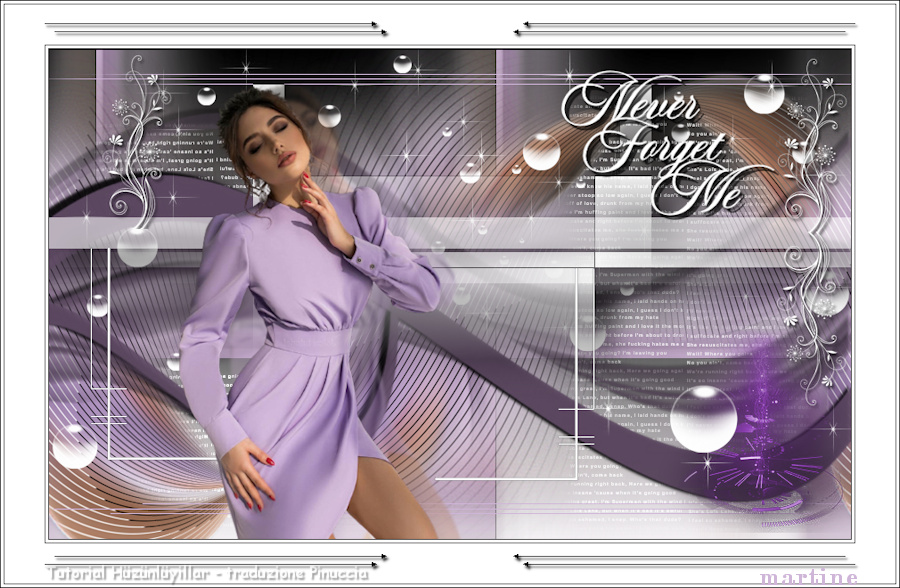
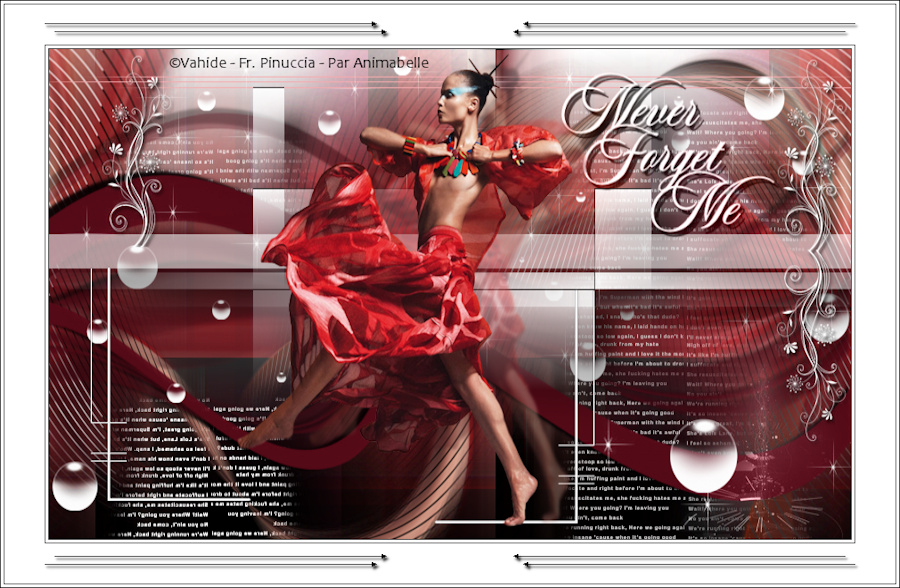
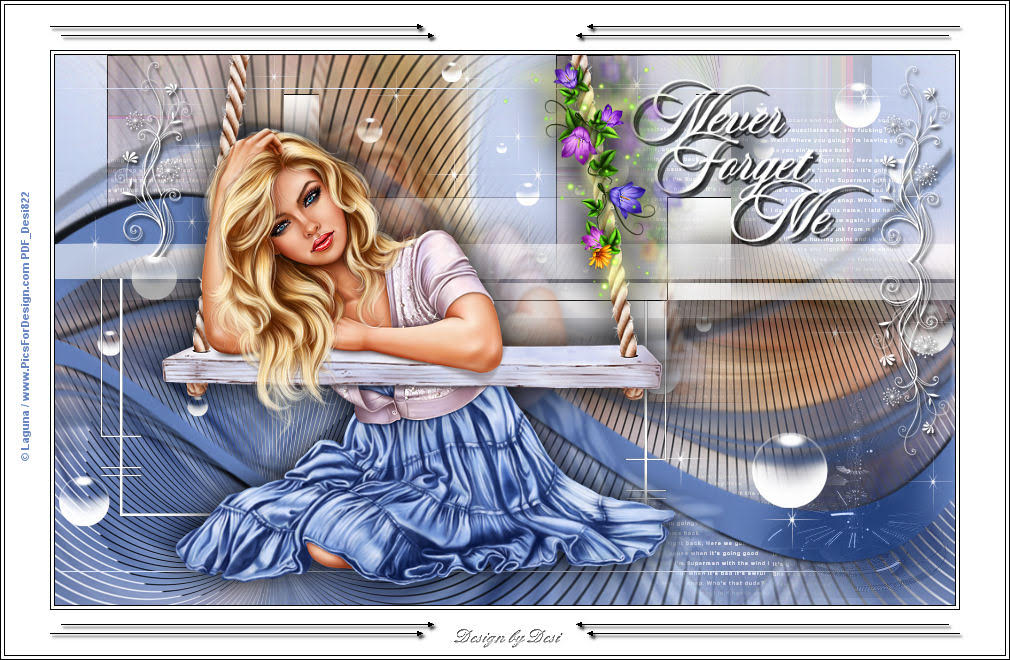
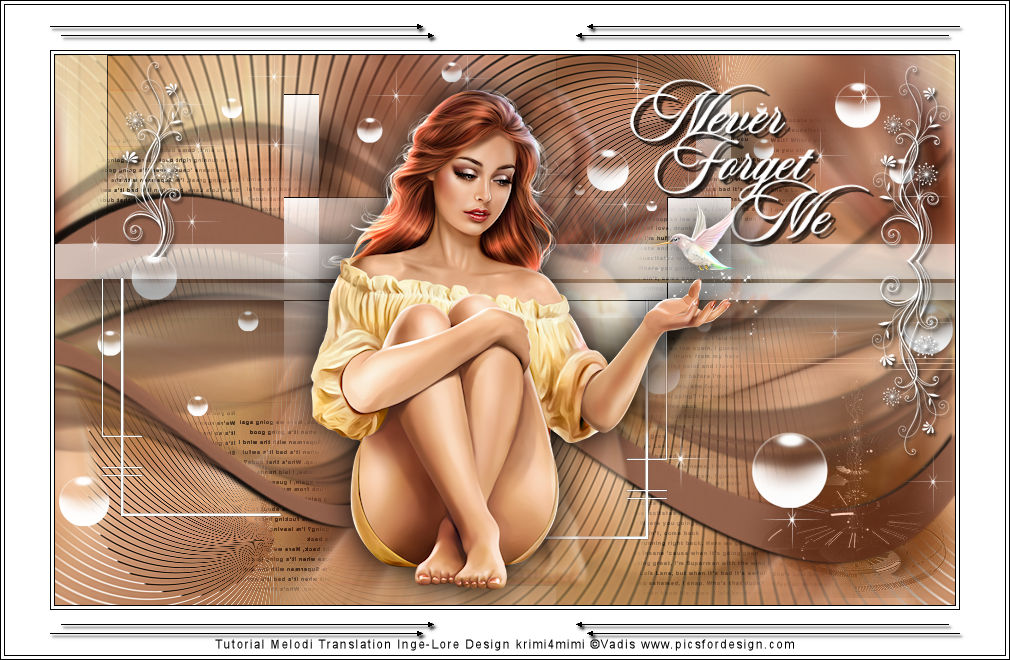
Tube
Noe Tube_0_a3bcc_6c229a61_XL
Mask
0_e2e1e_cb4f6332_orig.jpg NOE MASK
Deco
Hüzünlüyıllar
Plugins
Flaming Pear
Filters Unlimited 2.0 -Toadies
Filters Unlimited 2.0 – Tramages
Download Link

Preparation:
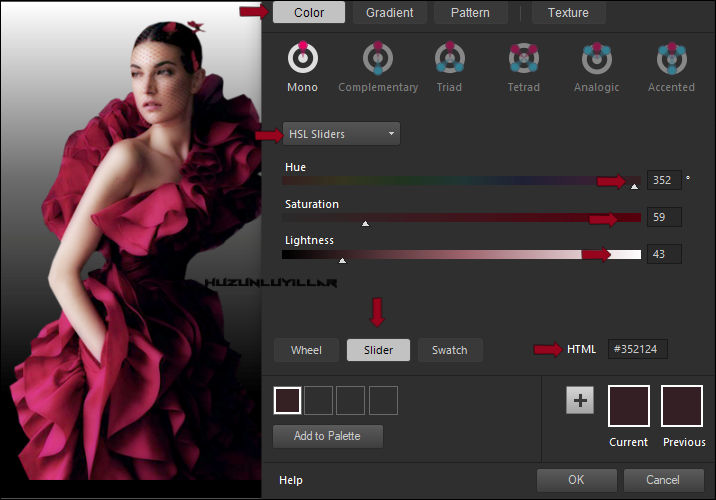
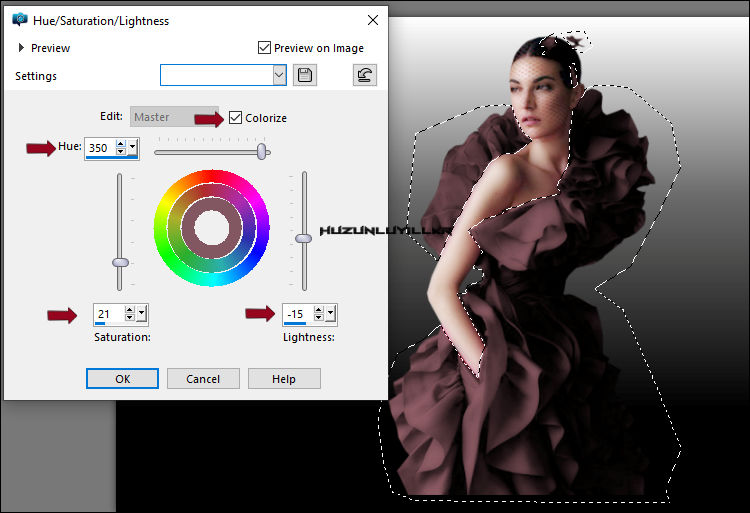
Choose a light and a dark color from your tube
Properties Foreground; set your Foreground color to #430d20
Properties Background; set your Background color to #d6387f
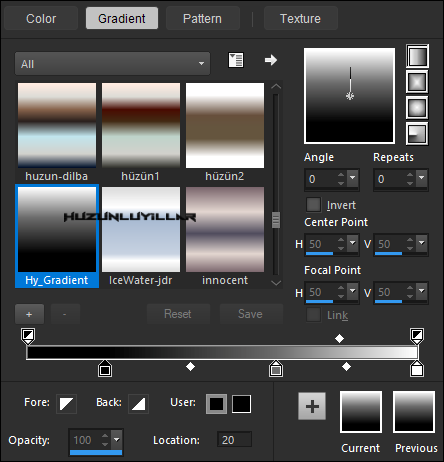
Properties foreground: Make a foreground- background Gradient of these two colors
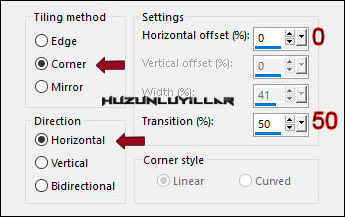
Note: When working with your own colors, play with the Blend Mode and/or Opacity at your own discretion When
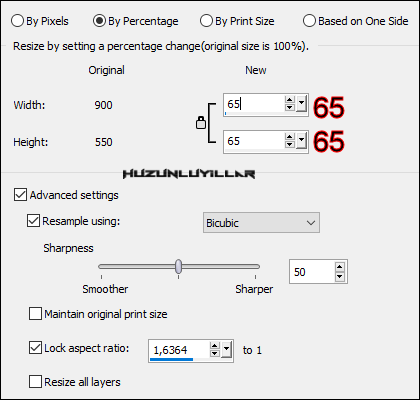
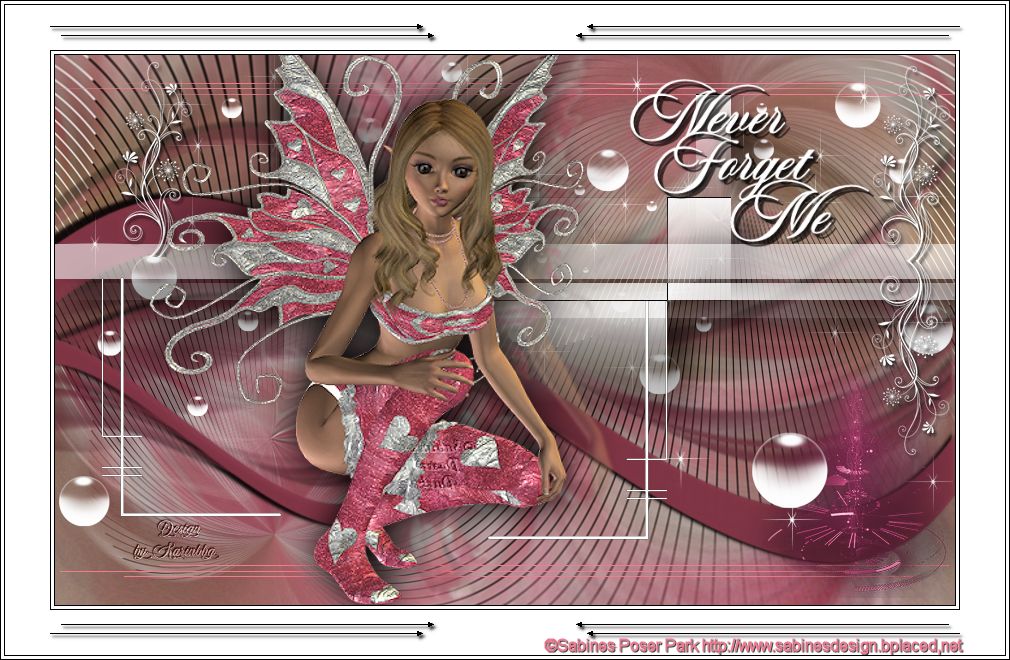
File / New – Open 900 x 550 Transparent Image
Flood fill – Fill With your Gradient

Open – Hy-Tube – Noe Tube_0_a3bcc_6c229a61_XL
Edit / Copy
Activate your work
Edit / Paste as New Layer
Image – Resize
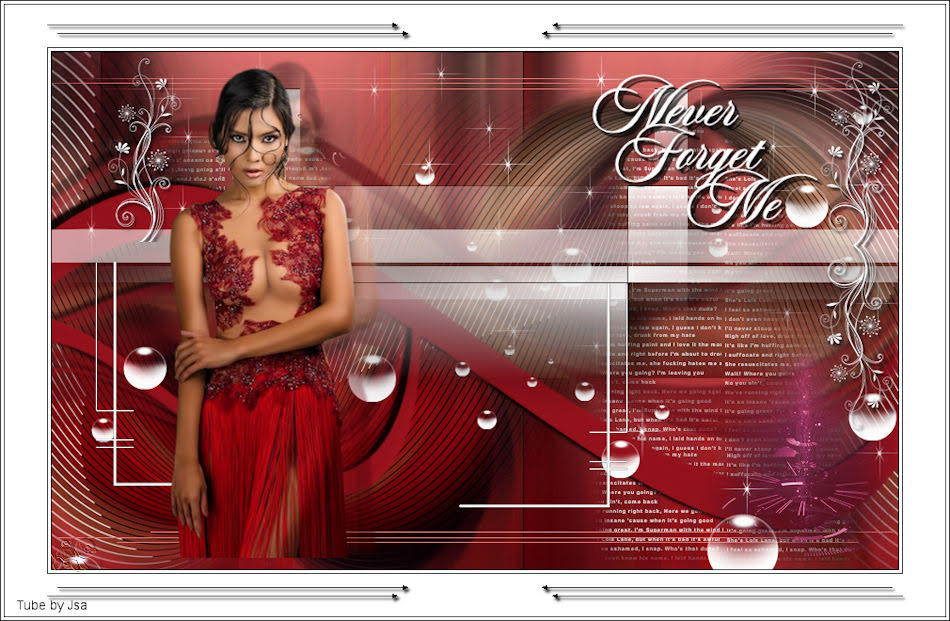
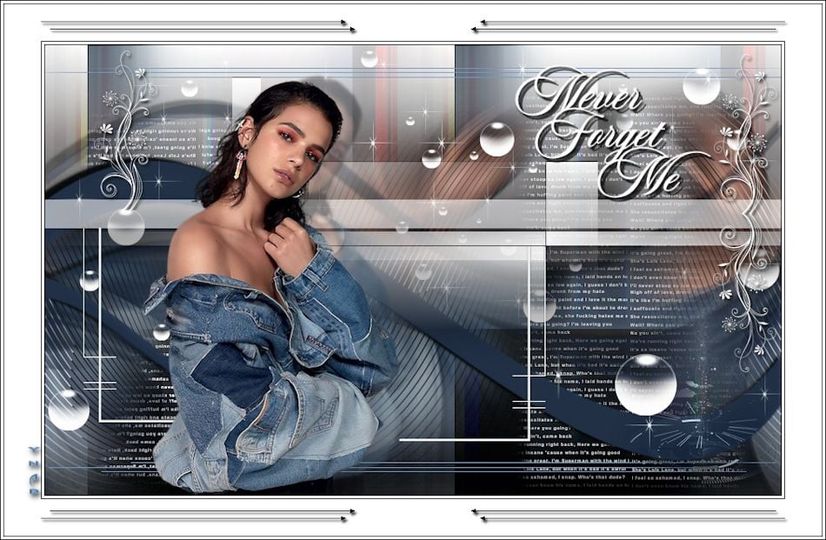
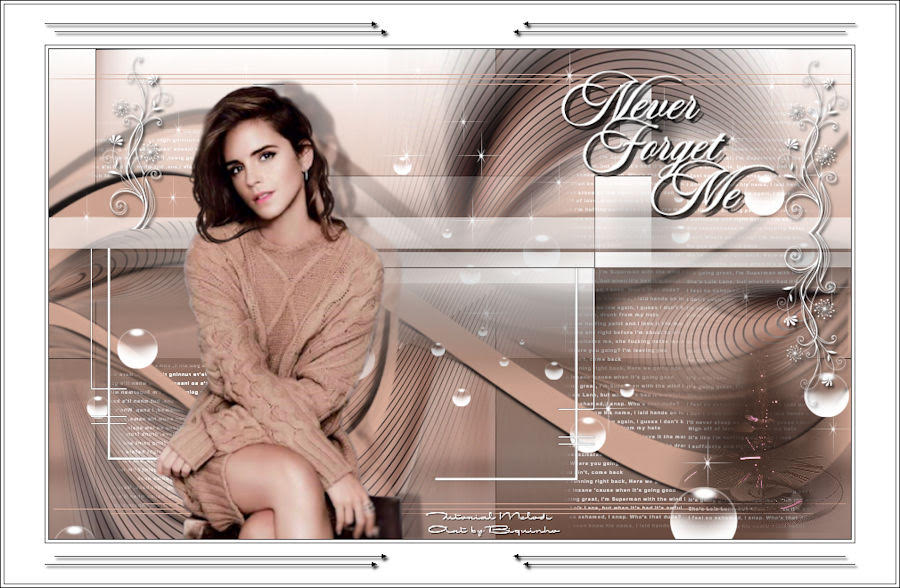
If you are going to work with different colors, you can change colors with selections as in the example.
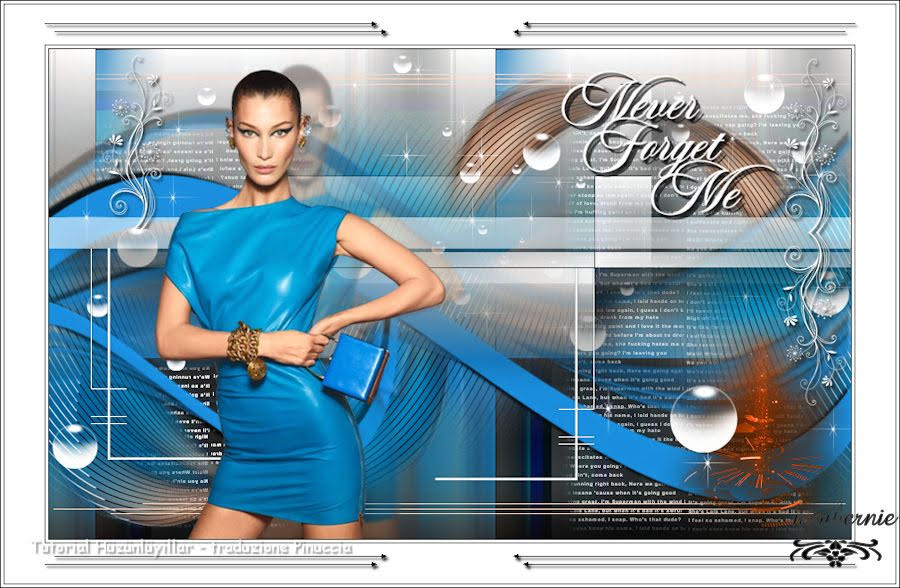
You need to use the Noe Tube_0_a3bcc_6c229a61_XL tube provided for the background image.

Selections – Load/Save Selections – Load Selection From Disk – Hy_Never Forget Me_Sell
Selections – Select None
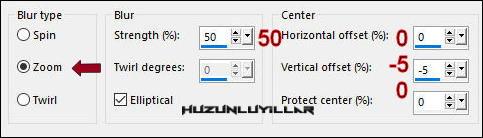
Adjust – Blur – Radial Blur
Effects – Image Effects – Seamles Tiling
Layers – Duplicate ( 2 Times )
Let’s close 2 eyes, continue from raster 2
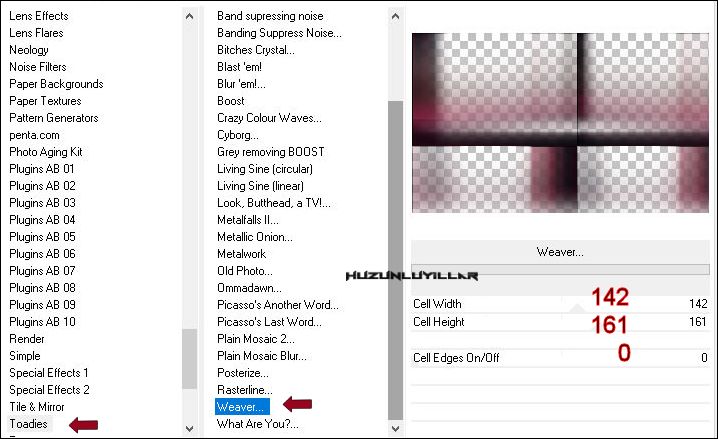
Effects – Filters Unlimited 2.0 -Toadies – Weaver
Effects – Image Effects – Seamles Tiling
Open – Hy_Text – Hy_Never Forget Me_Text
Edit / Copy
activate your work
Edit / Paste as New Layer
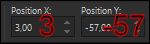
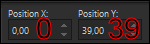
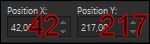
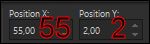
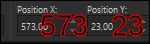
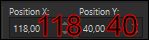
Activate Pick Tool ![]() and place it like this
and place it like this
Let’s open the closed eye Copy of Raster 2
Effects – Edge Effects – Enhance More
Effects – Flaming Pear – Flexify 2

Let’s open the closed eye Copy of Raster 3
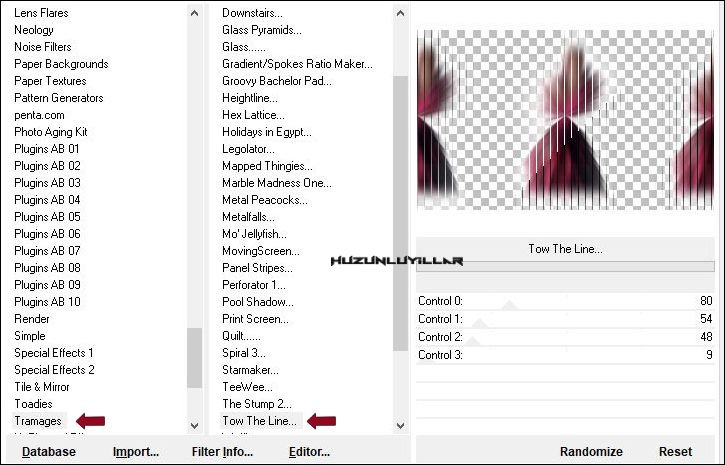
Effects – Filters Unlimited 2.0 – Tramages – Tow The Line
Effects – Flaming Pear – Flexify 2
Layers – New Raster Layer
Flood fill – Fill With your Foreground color #430d20
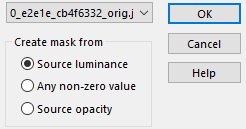
Open – Hy Mask – 0_e2e1e_cb4f6332_orig.jpg NOE MASK
Layers – New Mask Layer – From Image – 0_e2e1e_cb4f6332_orig.jpg NOE MASK
Layers – Merge – Merge Group
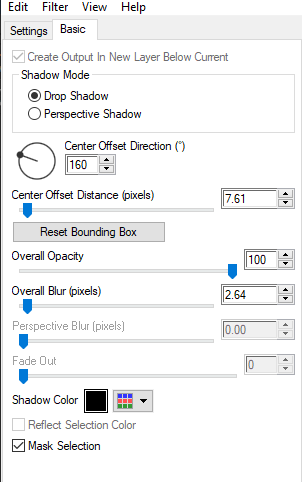
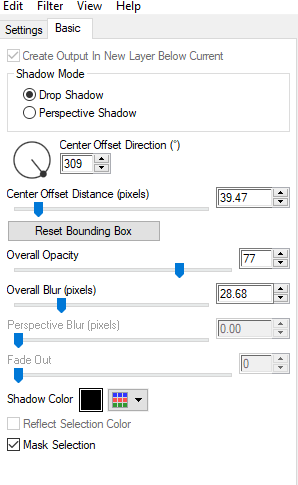
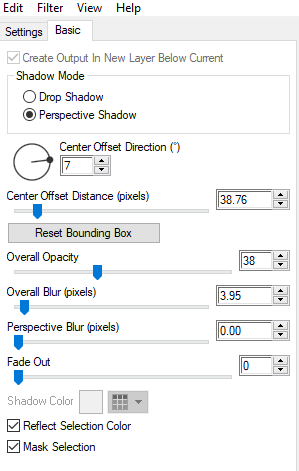
Effects – Alien Skin Eye Candy : 5 Impact – Perspective Shadow – Hy_Never Forget Me_pers-show
Layers – New Raster Layer
Selections – Load/Save Selections – Load Selection From Disk – Hy_Never Forget Me_sell1
Fill in Selections by enlarging the screen
Flood fill – Fill With your For Background color #d6387f
Selections – Select None
Open – Hy-Deko – Hy_Never Forget Me_Deko
Edit / Copy
Activate your work
Edit / Paste as New Layer
Activate Pick Tool ![]() and place it like this
and place it like this
Open – Hy-Deko – Hy_Never Forget Me_Deko_1
Edit / Copy
Activate your work
Edit / Paste as New Layer
Activate Pick Tool ![]() and place it like this
and place it like this
Open – Hy-Deko – Hy_Never Forget Me_Deko_2
Edit / Copy
Activate your work
Edit / Paste as New Layer
Activate Pick Tool ![]() and place it like this
and place it like this
Open – Hy-Deko – Hy_Never Forget Me_Deko_3
Edit / Copy
Activate your work
Edit / Paste as New Layer
Activate Pick Tool ![]() and place it like this
and place it like this
Effects – Alien Skin Eye Candy : 5 Impact – Perspective Shadow – Hy_Never Forget Me_pers-show_1
Open – Hy-Deko – Hy_Never Forget Me_Deko_4
Edit / Copy
Activate your work
Edit / Paste as New Layer
Activate Pick Tool ![]() and place it like this
and place it like this
Open – Hy-Deko – Hy_Never Forget Me_Deko_5
Edit / Copy
Activate your work
Edit / Paste as New Layer
Activate Pick Tool ![]() and place it like this
and place it like this
Open – Hy-Deko – Hy_Never Forget Me_Text_1
Edit / Copy
Activate your work
Edit / Paste as New Layer
Activate Pick Tool ![]() and place it like this
and place it like this
Open – Hy-Tube – Noe Tube_0_a3bcc_6c229a61_XL
Edit / Copy
Activate your work
Edit / Paste as New Layer
Image – Resize
Activate Pick Tool ![]() and place it like this
and place it like this
Effects – Alien Skin Eye Candy : 5 Impact – Perspective Shadow – Hy_Never Forget Me_pers-show_2
Layers – Merge – Merge All ( Flatten )
Edit – Copy
Open – Hy_Deko – Hy_Never Forget Me_frame
Edit – Paste Into Selection
Selections – Select None
Put Your Watermarkt
Image – Resize 900
Save JPEG
Test için teşekkürler Aynur
Thank You Pinuccia
Thank you İnge Lore
Thank you Lisette
Thank you Sylviane

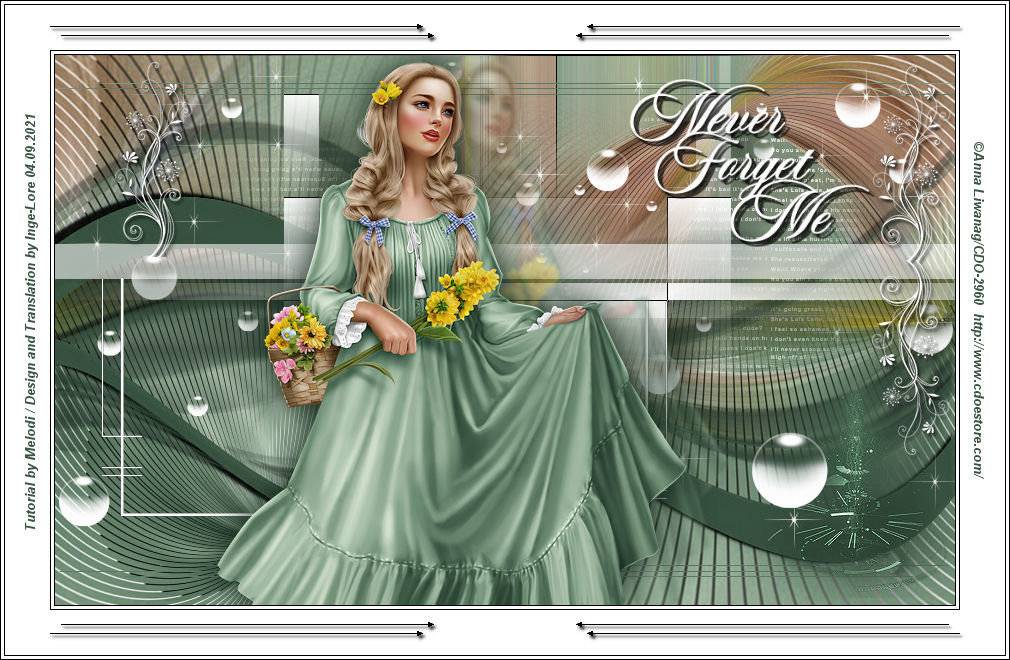
Teşekkürler Melodi
Thank you Vera
Thank you Bernadette
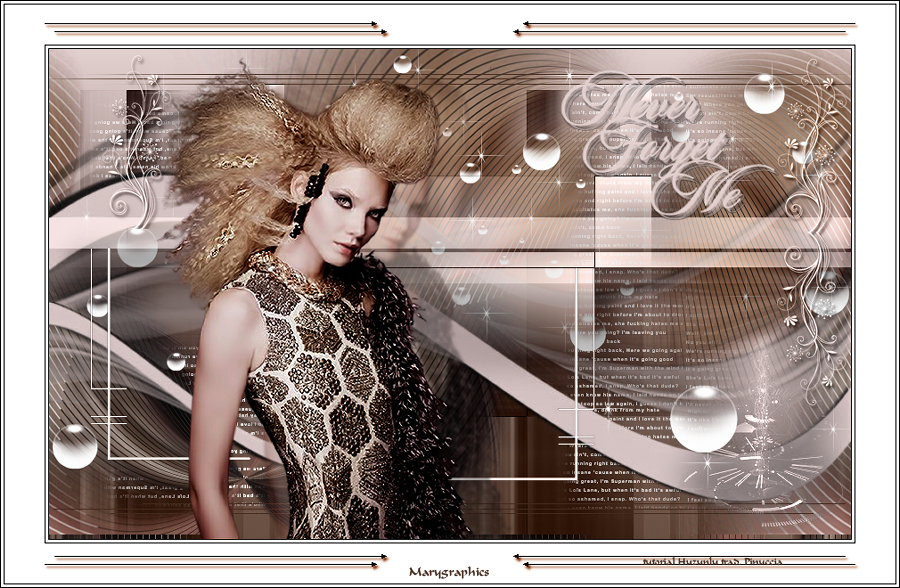
Thank you mary.lbdm

Thank you Piahitz
Thank you Dany
Thank you Emma

Thank you Diana

Thank you inpetto13

Thank you Celia
Thank you Franie
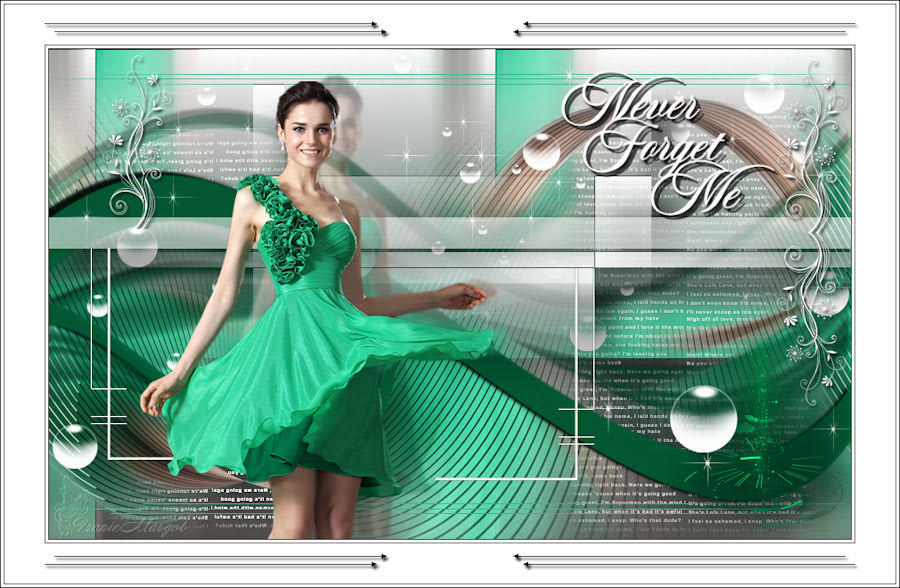
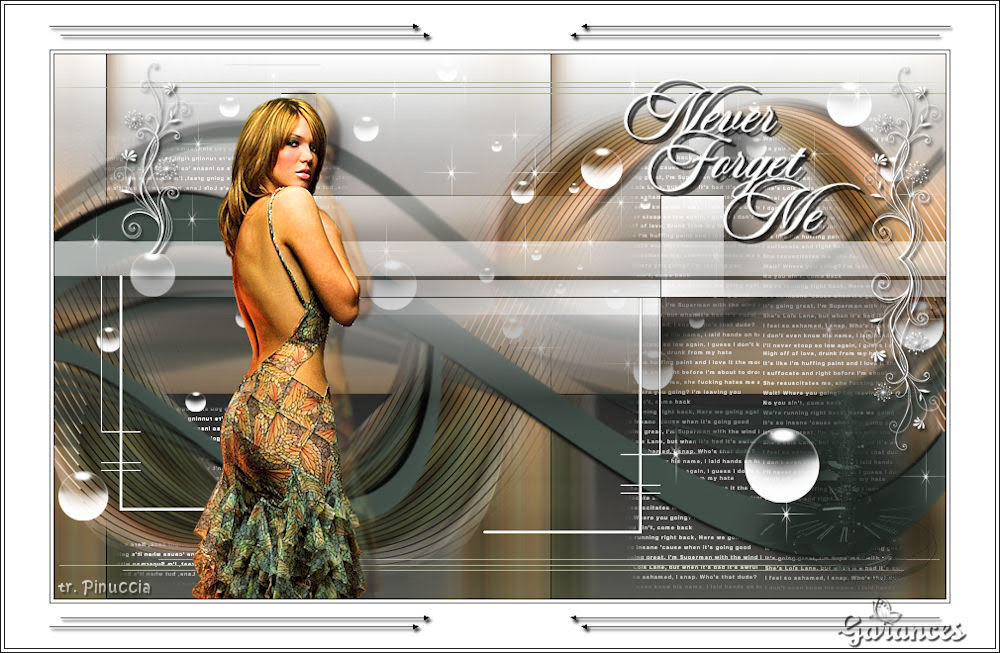
Thank you Grances
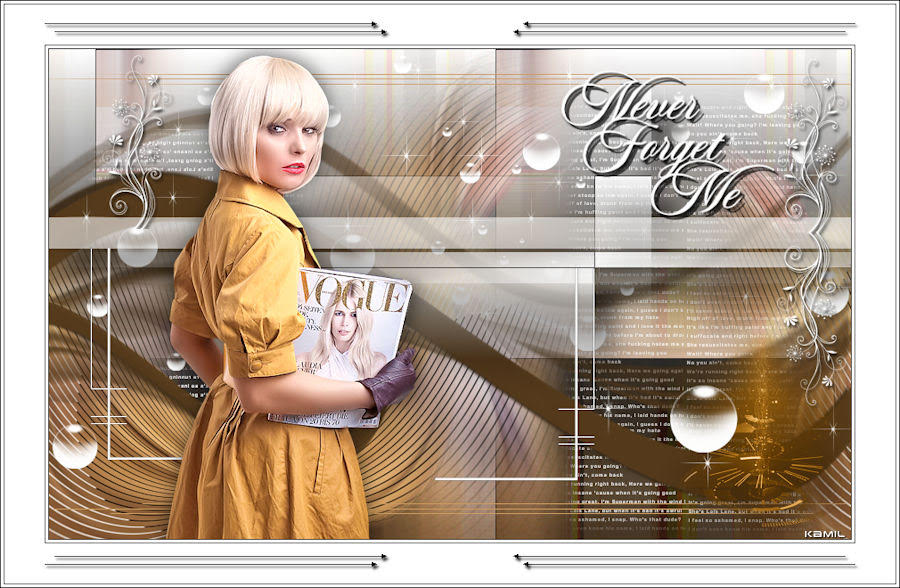
Thank you Kamil
Thank you Moibernie
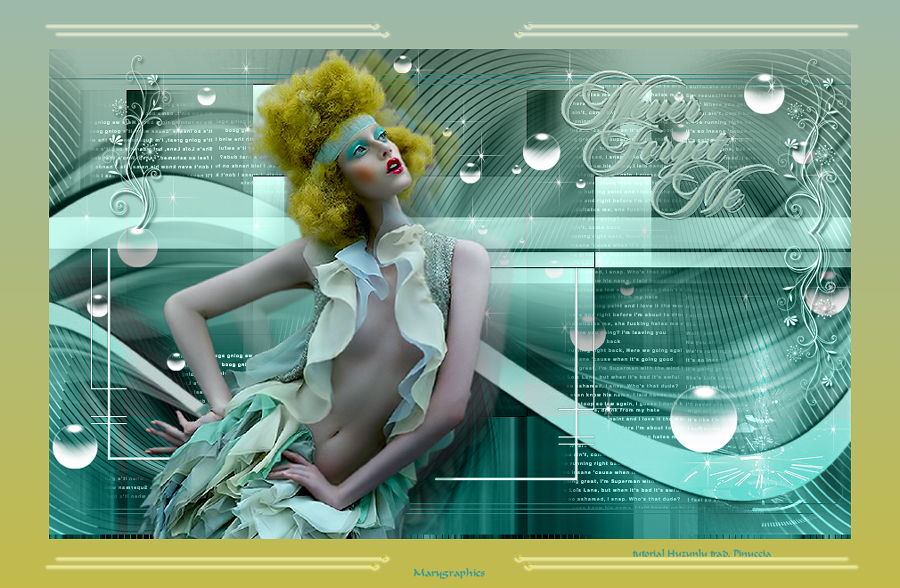
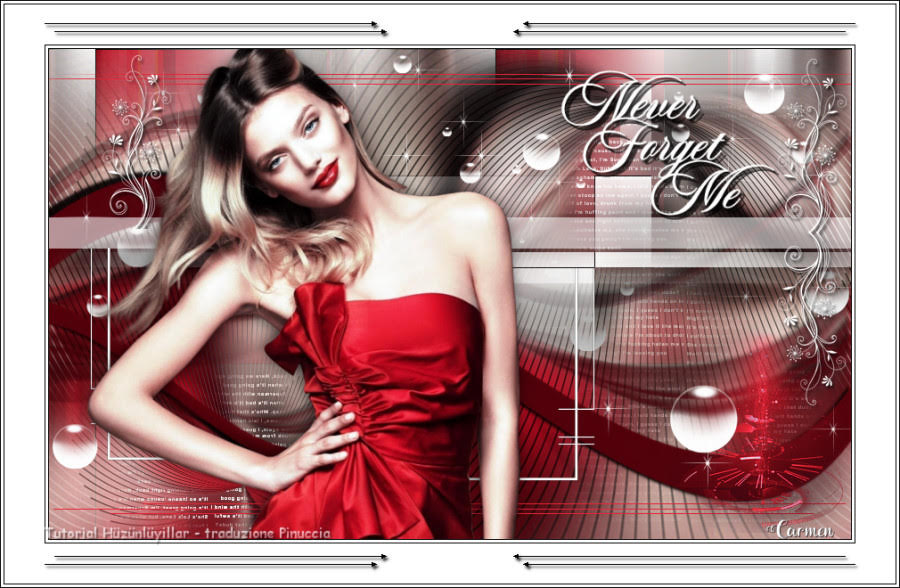
Thank you Carmen
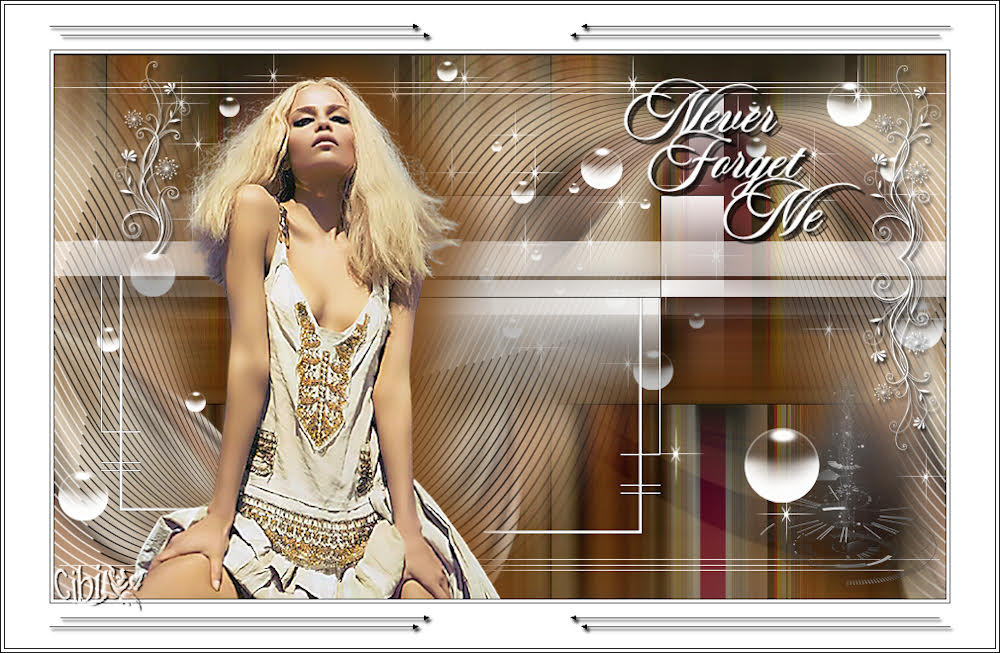
Thank you Cibi
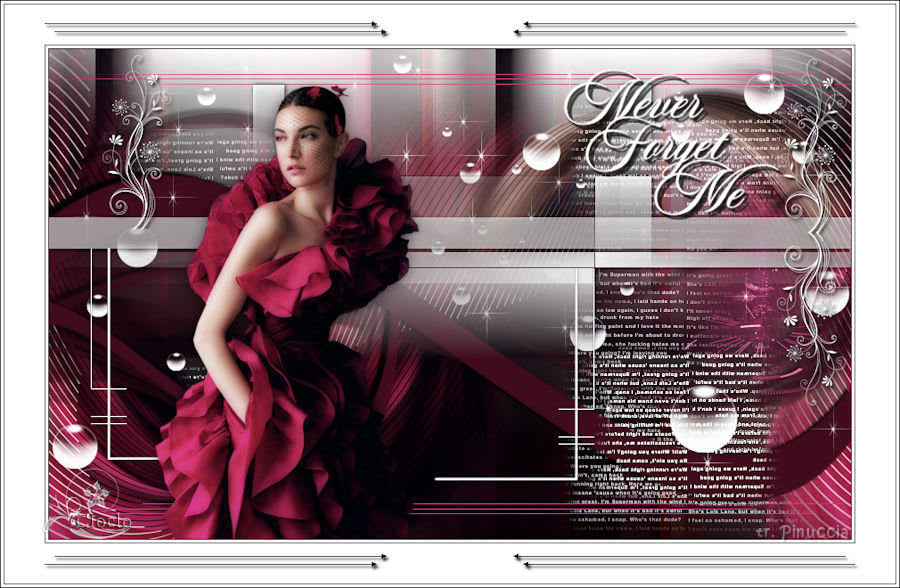
Thank you Cloclo
Thank you Felinec31

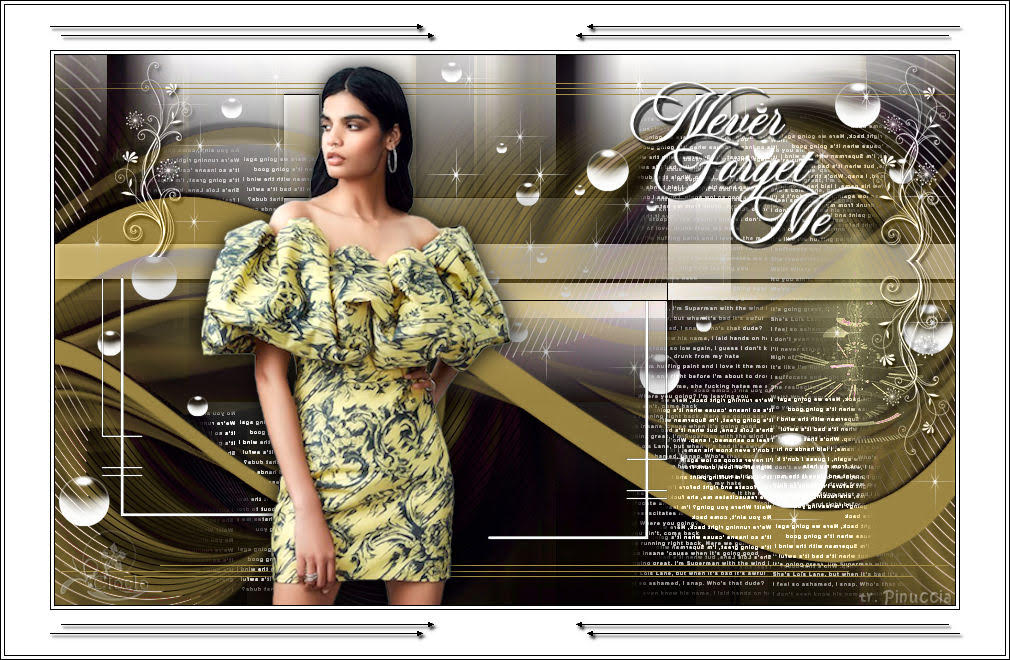
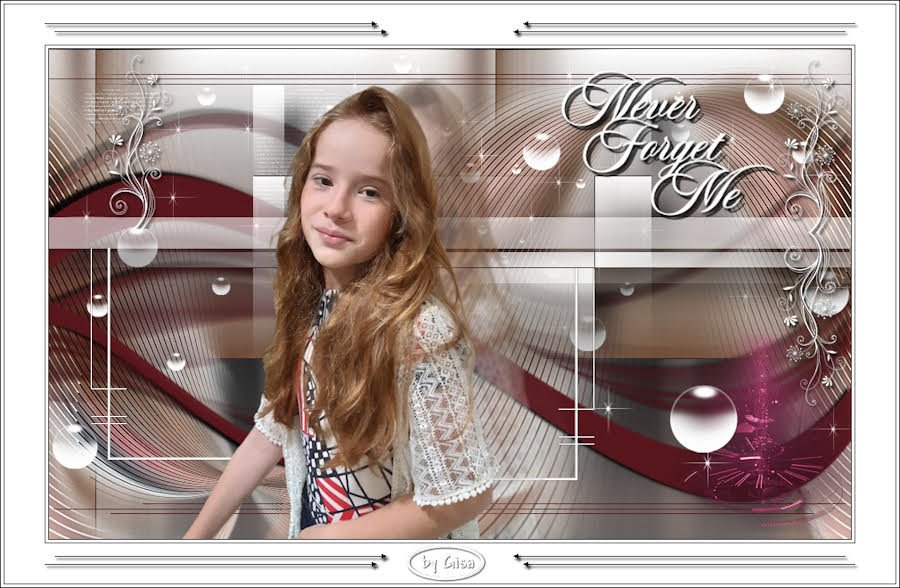
Thank you Gisa
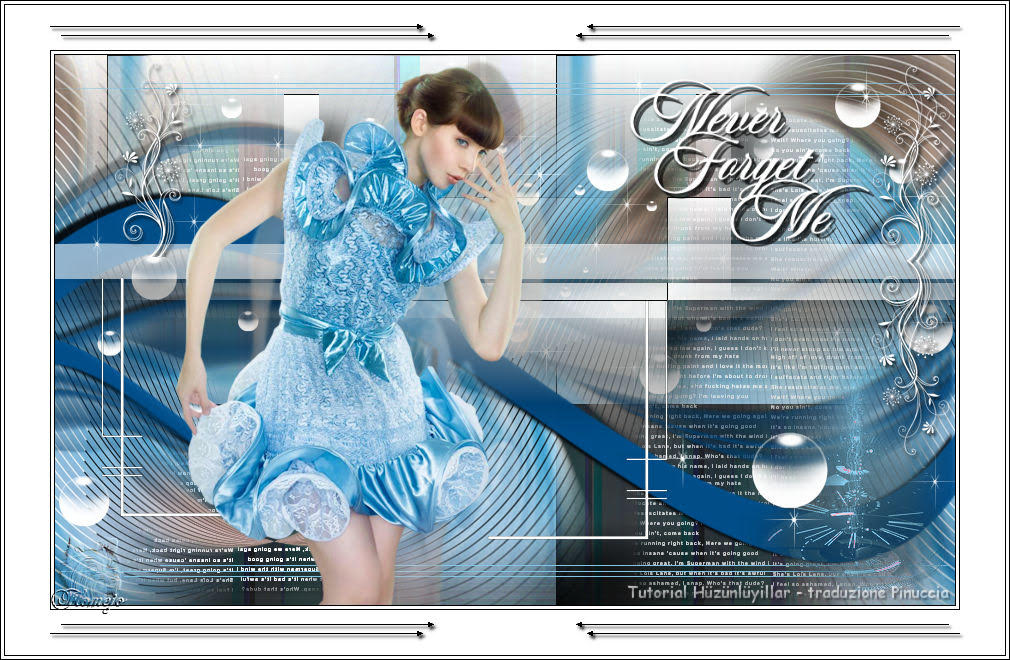
Thank you Flomejo
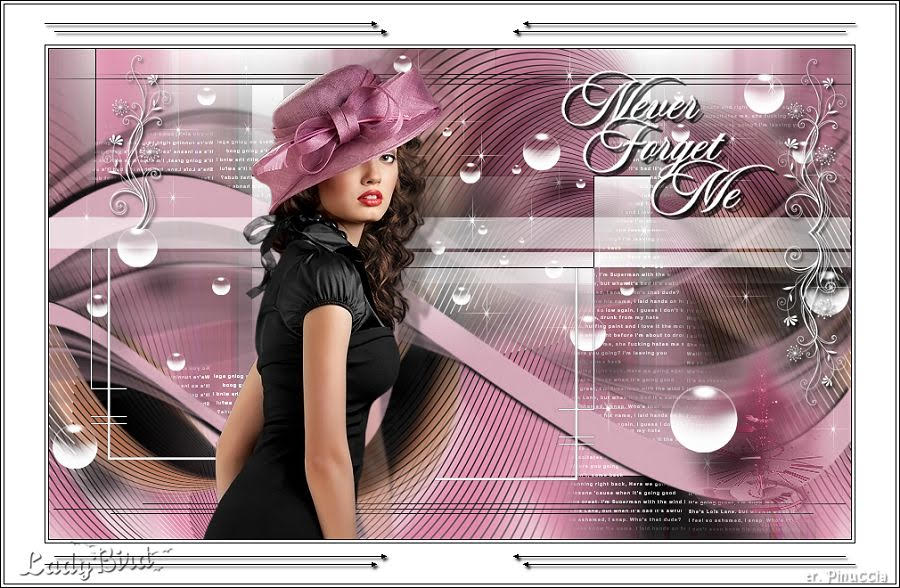
Thank you Lady Bird
Thank you Lady Ray

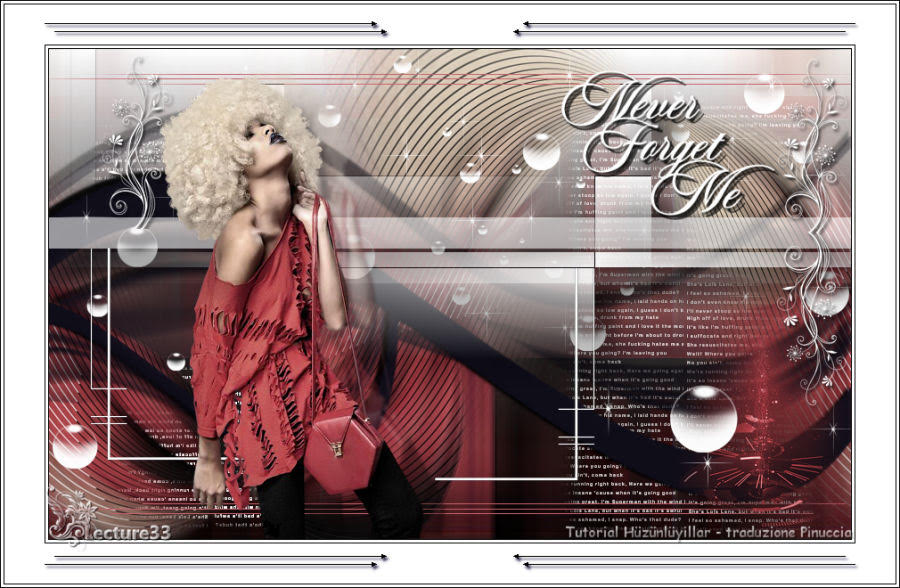
Thank you LECTURE33
Thank you Mariefeline
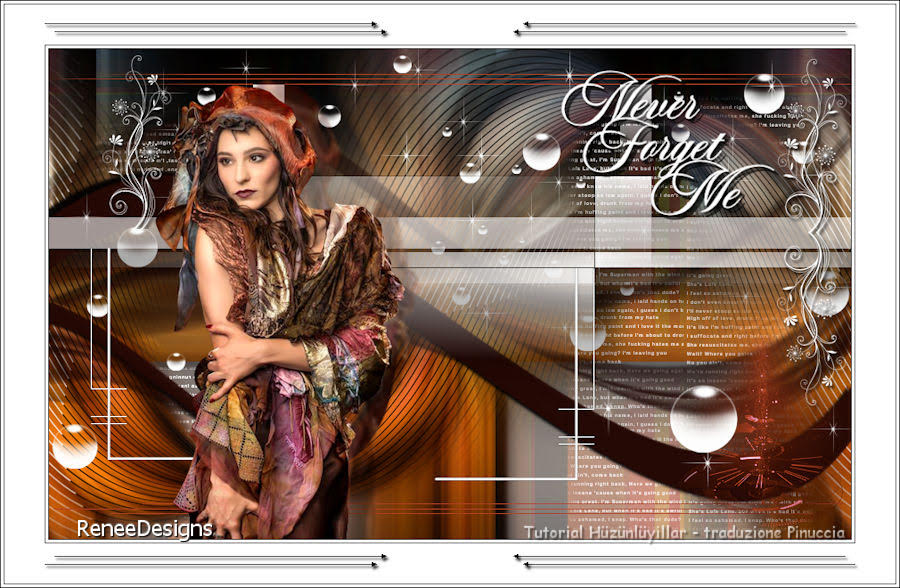
Thank you Rene
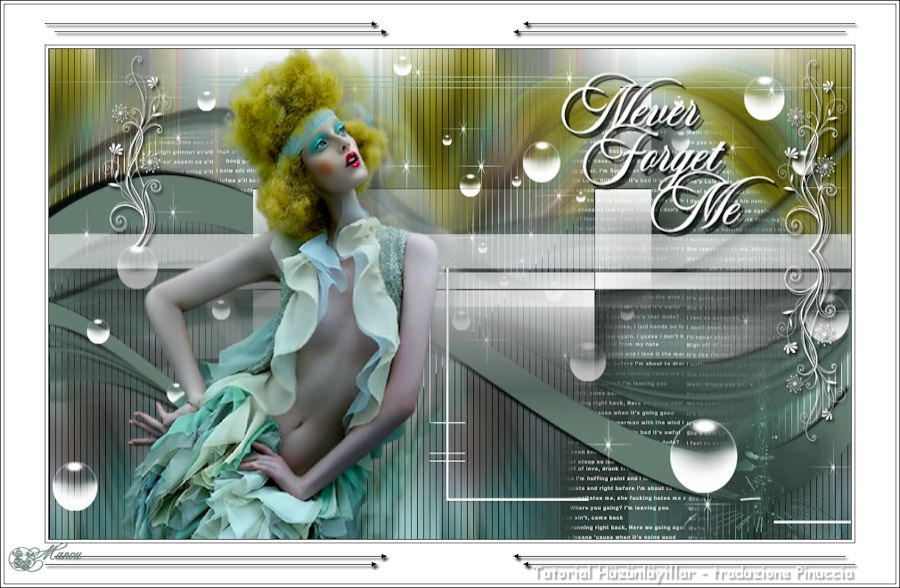
Thank you Manou
Thank you Лариса Красняк
Thank you Myriam Rubira Hernández

Thank you Nicole
Thank you Martine
Thank you Animabelle
Thank you Desi
Thank you Karin
Thank you Karin M
Thank you
Thank you Mimi
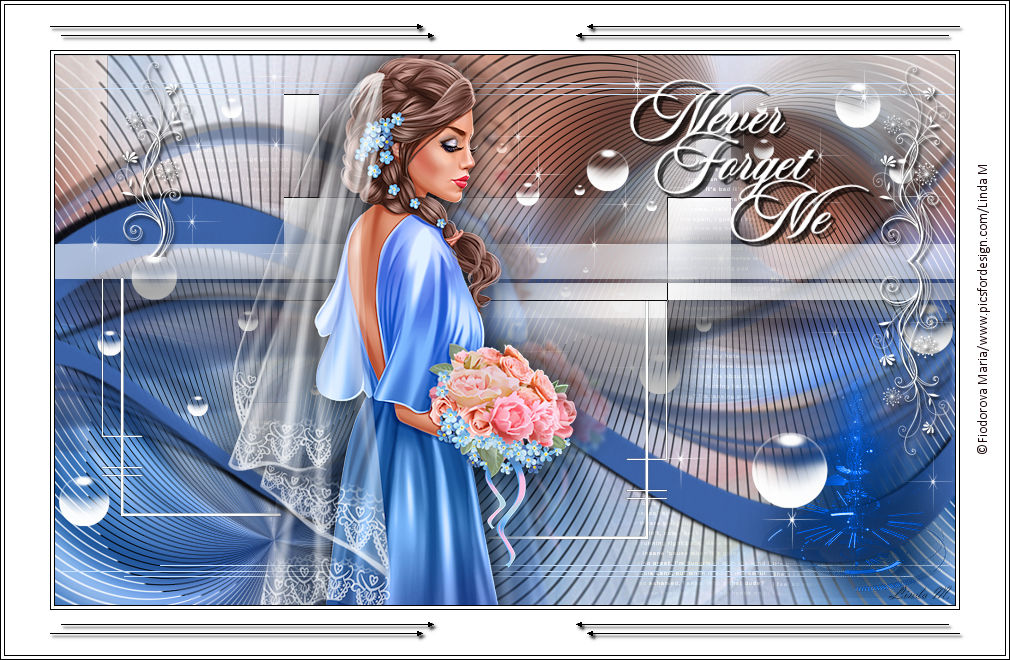
Thank you Linda M
Thank you Peggy
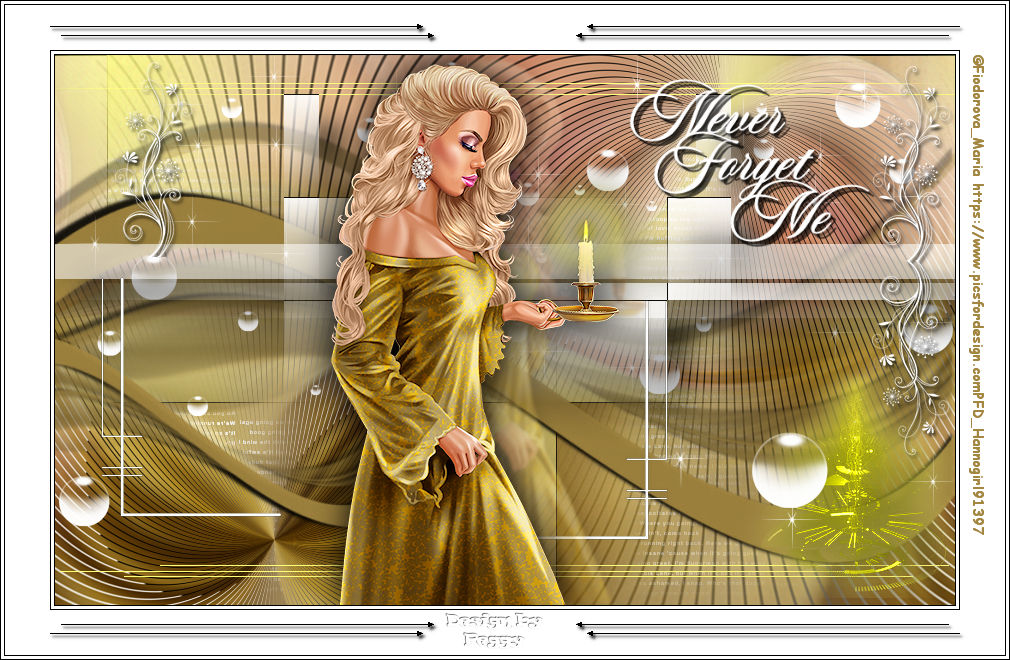
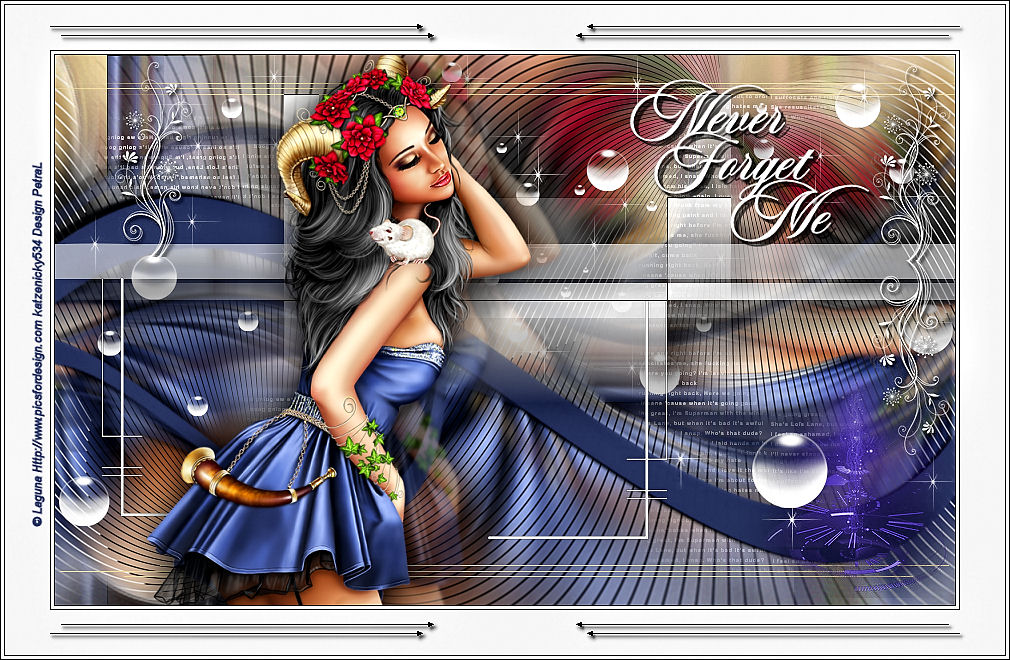
Thank you Petral
Thank you Simone

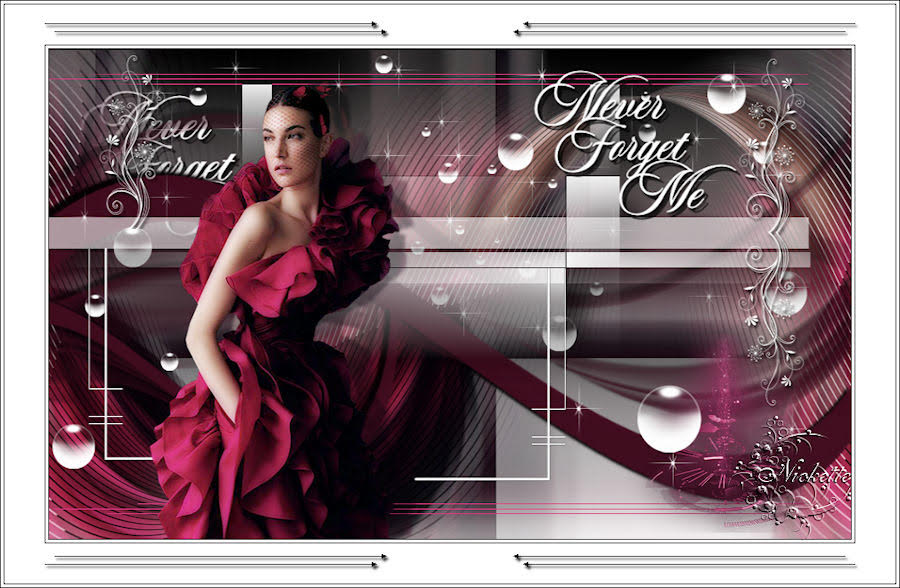
Thank you Nickette
Thank you Uschi

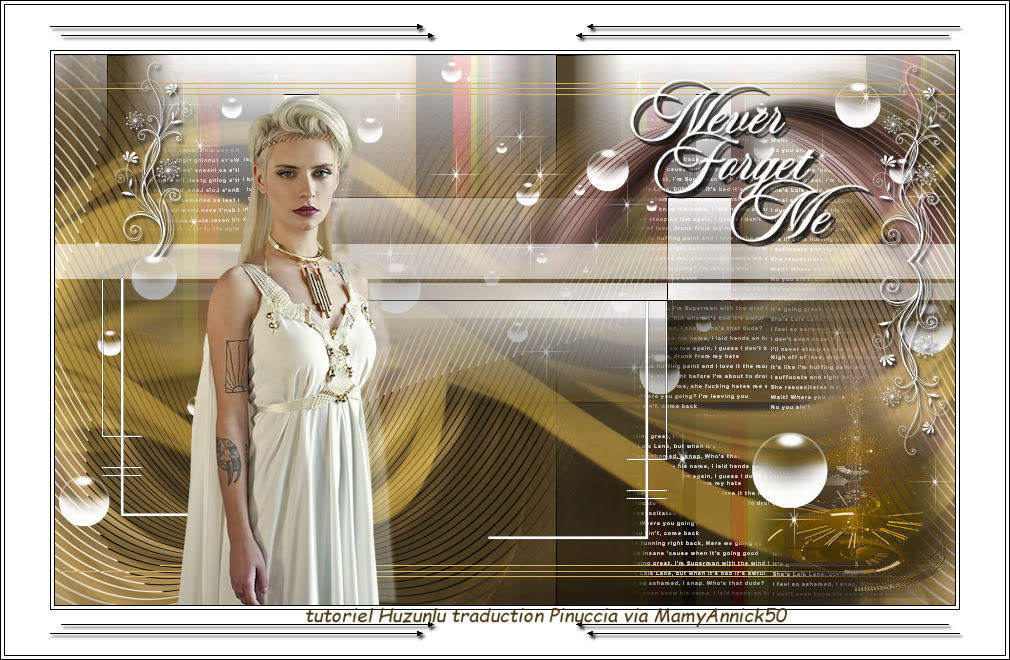
Thank you Mamy Annic 50
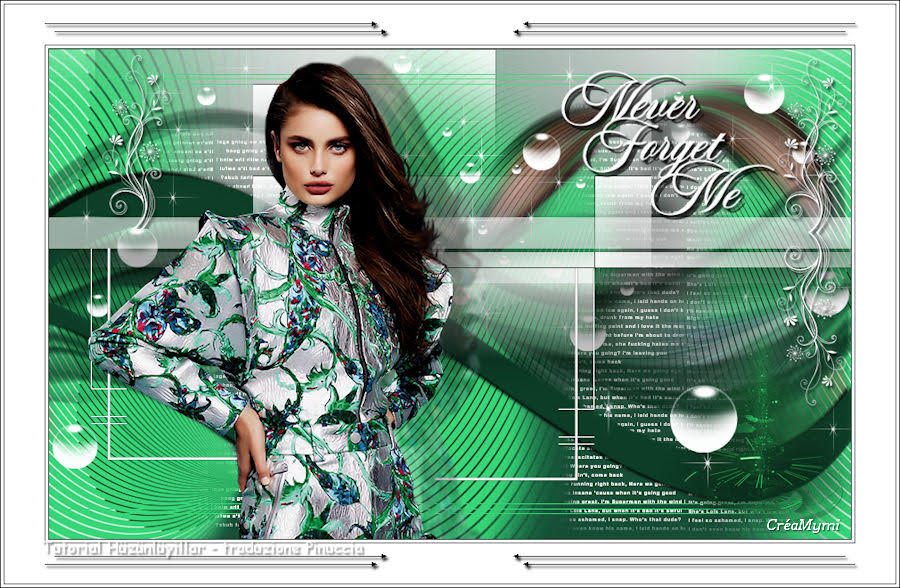
Thank you Mymi
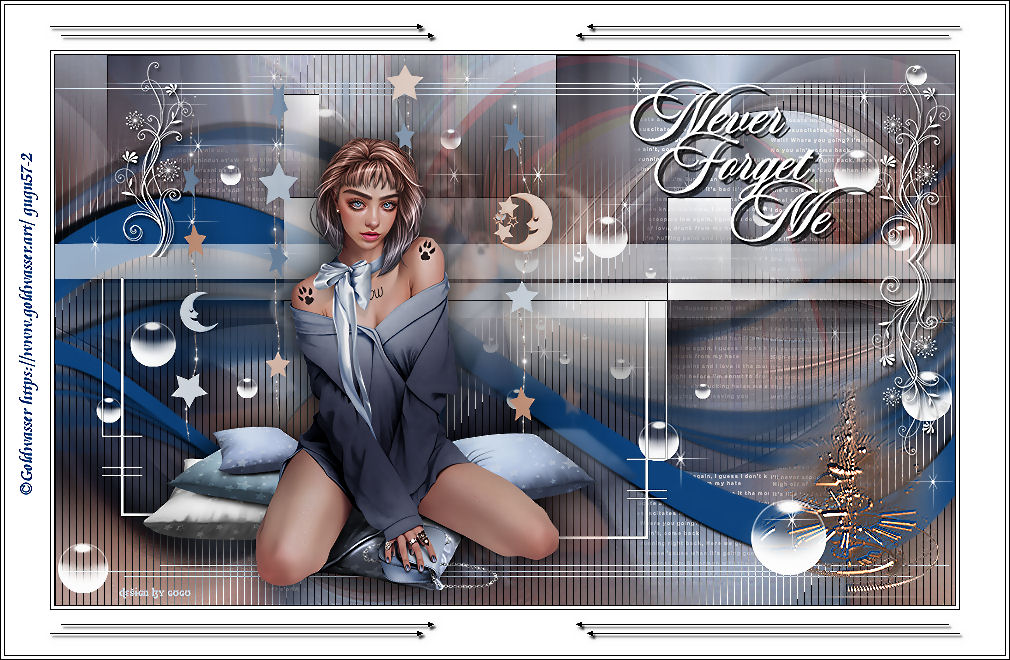
Thank you Coco
Thank you Karin
Teşekkürler Müşerref
Thank you Angela
Thank you Celine

Thank you Daniella

Thank you Addy
Thank you Damas

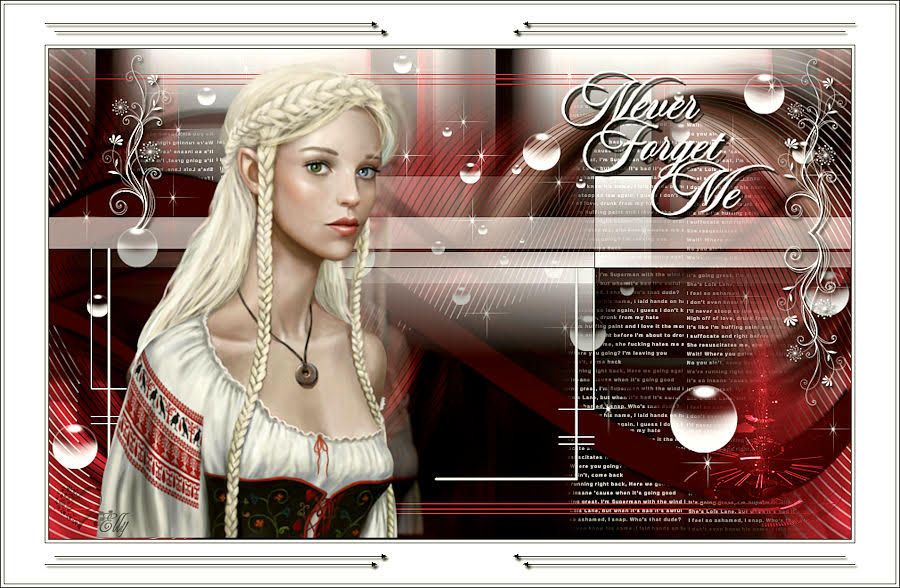
Thank you Elly
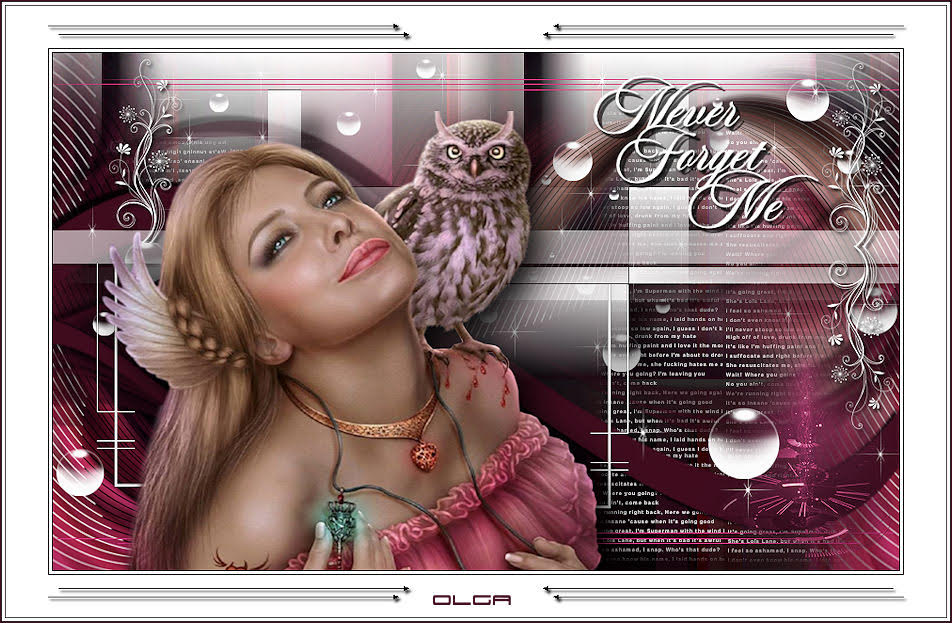
Thank you Olga
Thank you Tonnie

Thank you Dulce Tierra

Thank you Sonia

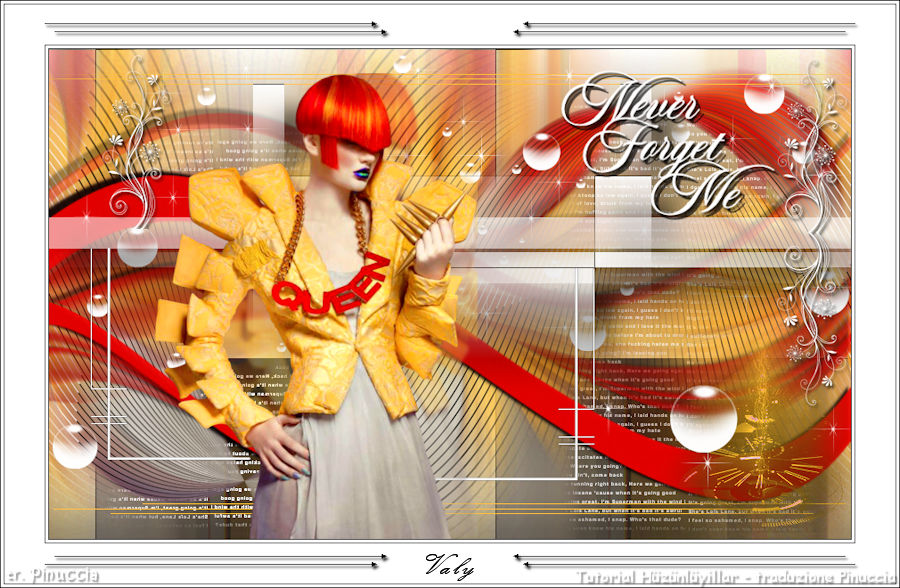
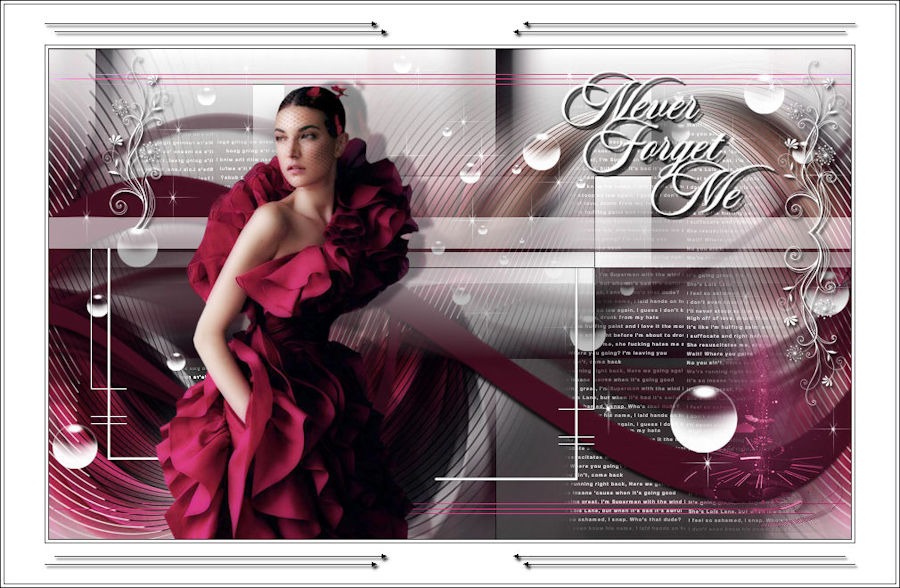
Thank you Valy

Thank you Kalanne
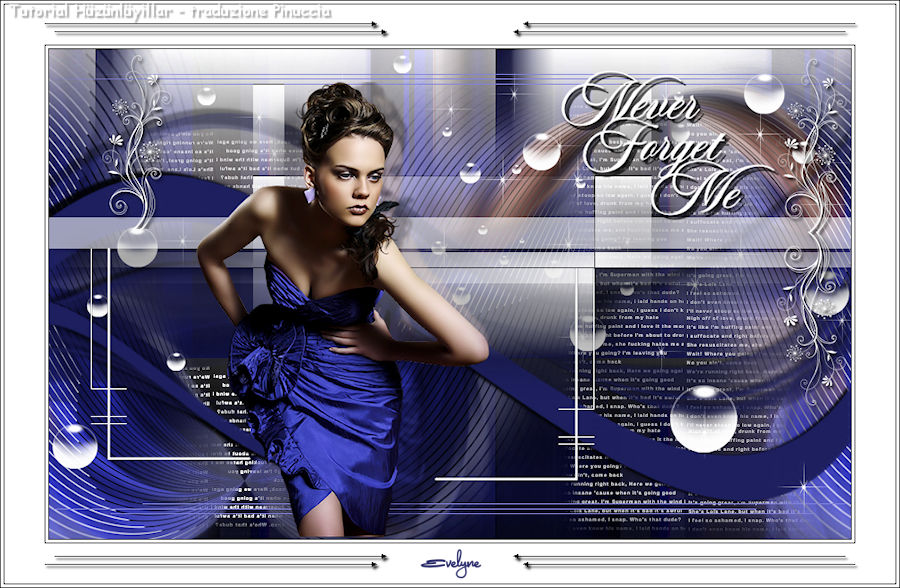
Thank you Evelyne
Thank you Valy