
This Tutorials is writen with Corel PSP X8
The colors, layer density and blending mode are for the meterials of this lesson.
If you use different meterial,just take a look at what is best for you
Merci Pinuccia pour la traduction française

Thanks Pinuccia for the italian translation


Danke Inge Lore für die deutsche Übersetzung


Bedankt voor de Nederlandse vertaling Angela

Gracias Sylviane por la traducción al español.


Bedankt voor de Nederlandse vertaling Lisette


Plugins
Image Effects
Filters Unlimited 2.0
Mehdi
Simple
Toadies
Tramages
Alien Skin Eye Candy 5:Impact
Tube
Net
NeNa Silva(vvs)
Mask
12020
Deco
Hüzünlü Yıllar(Vahide)
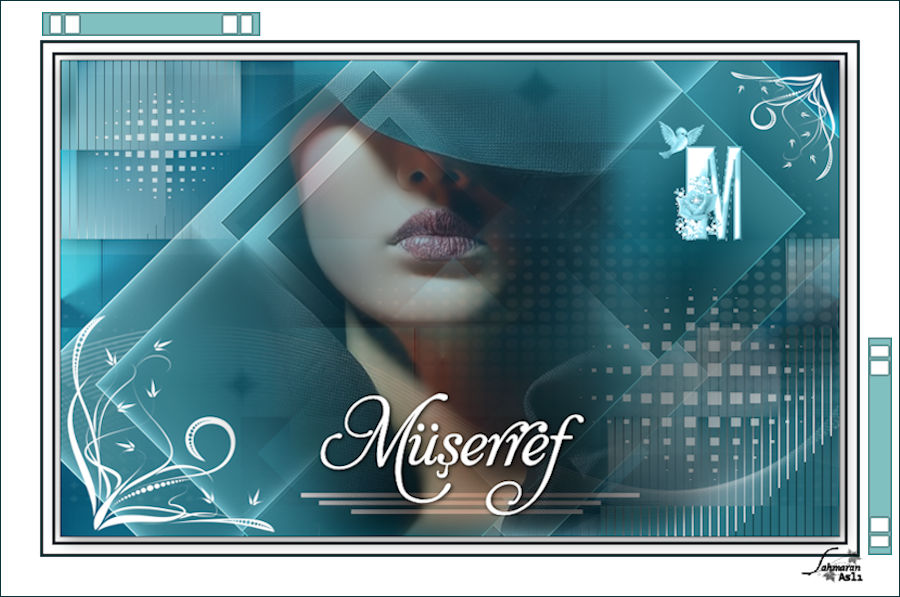
Sahmaran(Aslı)
Text
Sahmaran(Aslı)
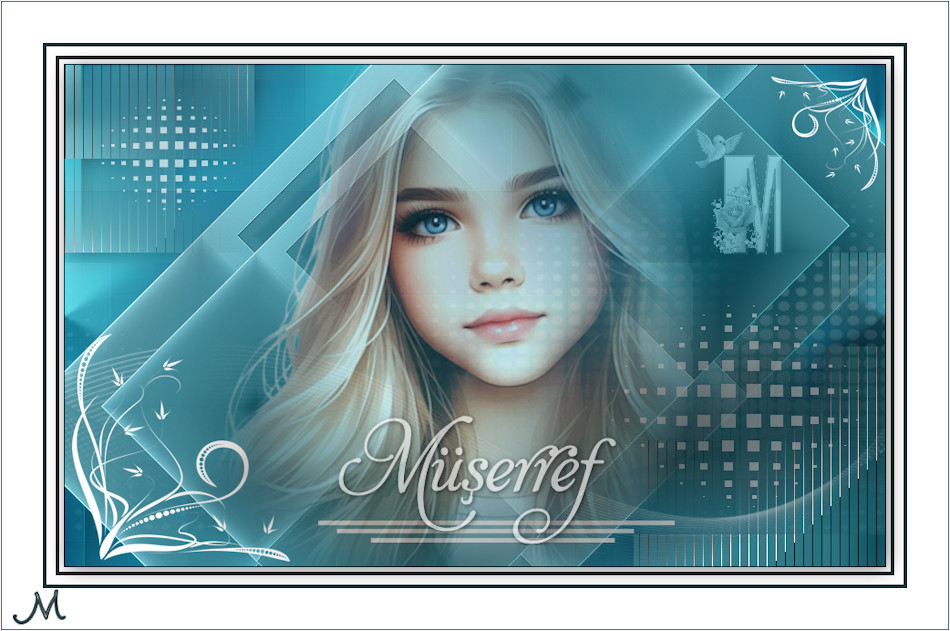
Materials

Preparations:
Foreground color to #0b4f5d
Background color to #7ec9d8
1
File/New Open 900×550 Transparent Image
Flood Fill Tool (F) -Fill With Your Gradient

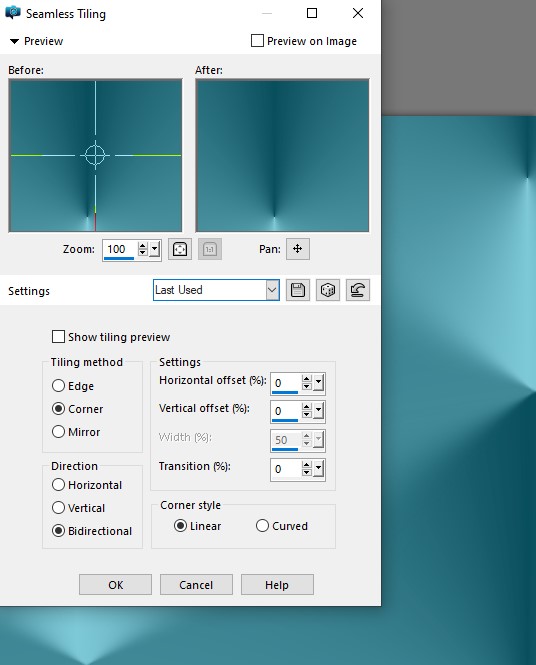
Effects – Image Effects – Seamless Tiling
Layers Duplicate (2 times)
Close Copy(2) of Raster1 layer
2
Open – Copy of Raster 1
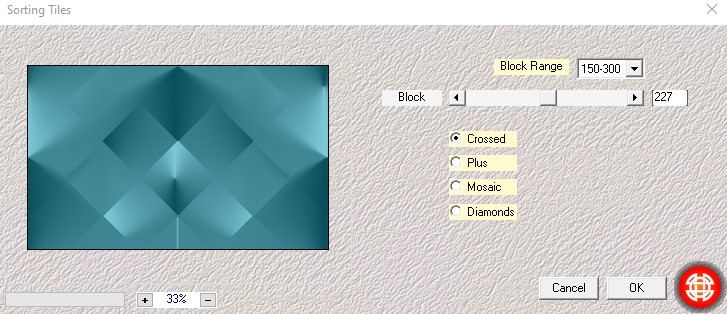
Effects – Mehdi – Sorting Tiles
Open -Copy(2) of Raster 1
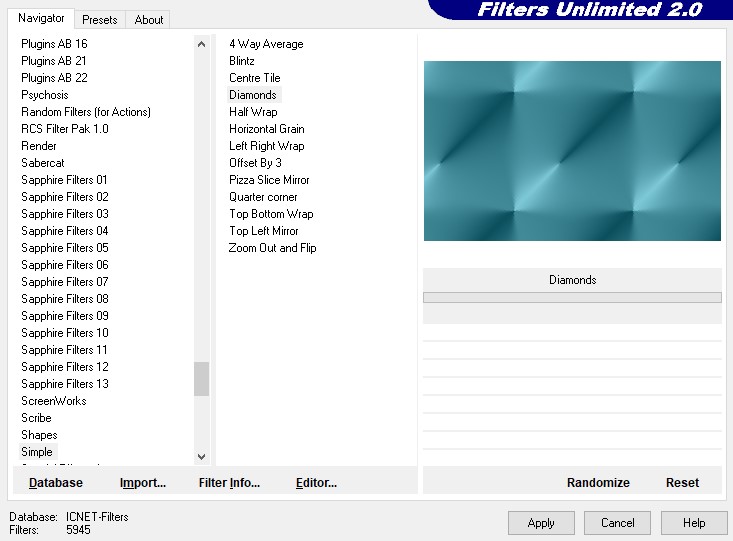
Effects – Filters Unlimited 2.0 – Simple – Diamonds
Effects -Edge Effects – Enchance
Double click on this Layer and set the Blend Mode to (Hard Light)
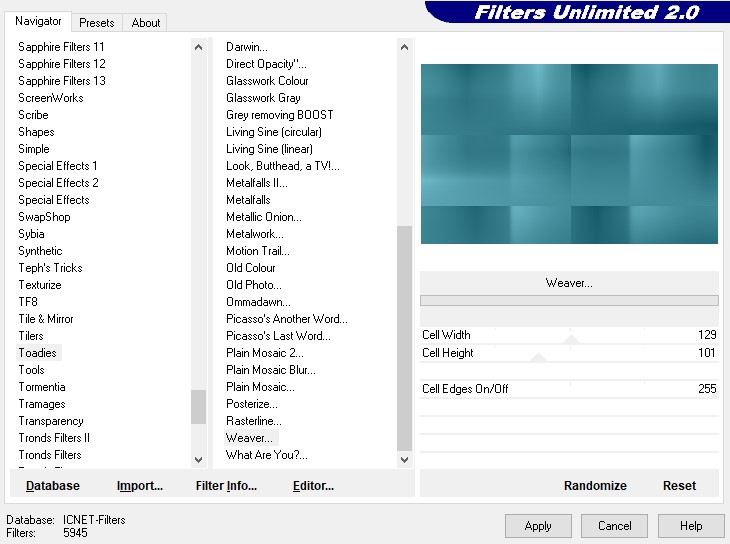
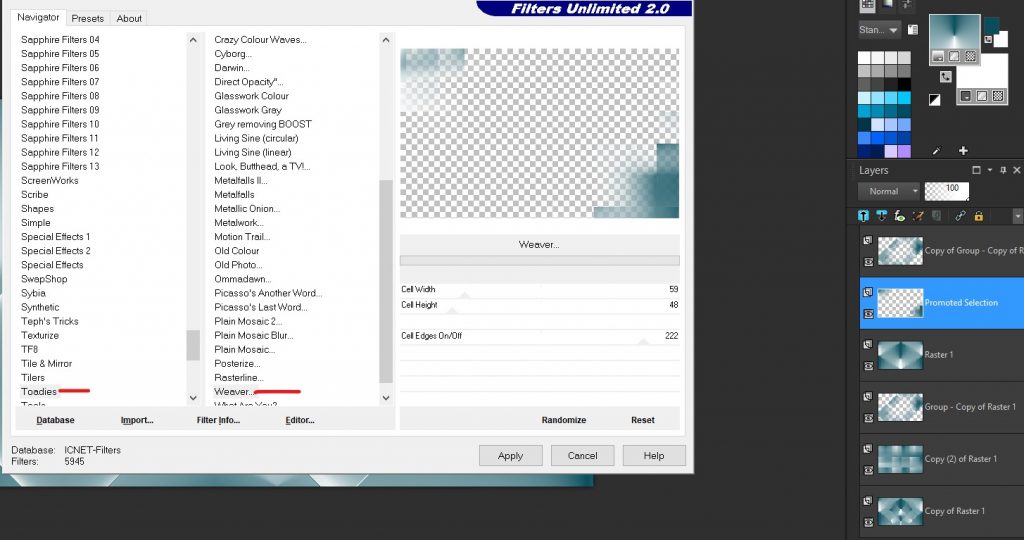
Effects – Filters Unlimited 2.0 – Toadies – Weaver
3
Open – Raster 1
Layers – Arrange – Bring to Top
Layers Duplicate
Open Copy of Raster 1
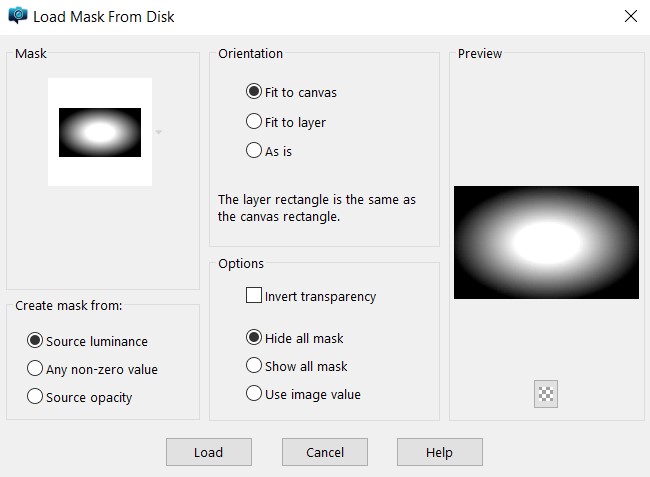
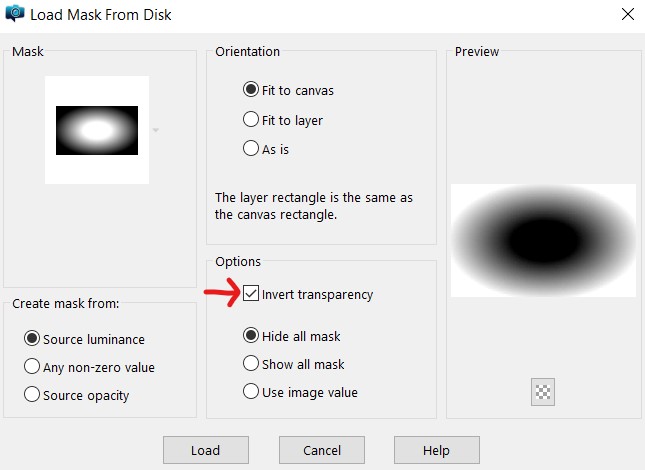
Layers -Load /Save Mask – Load Mask From Disk 12020
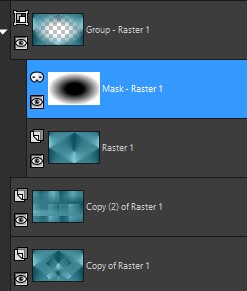
Layers – Merge – Merge Group
Effects -Mehdi – Sorting Tiles
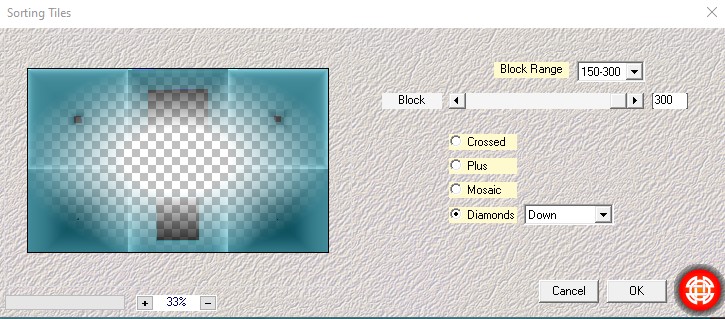
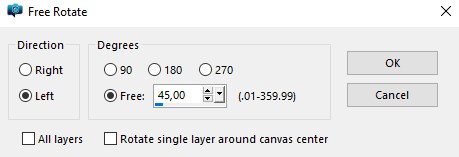
Image – Free Rotate
Effects – Edge Effects – Enhance
Layers Duplicate
4
Open Raster 1
Layers – Arrange – Move Up
Open – Selections- Load / Save Selection – Load Selection From Disk – Müşerref Selection
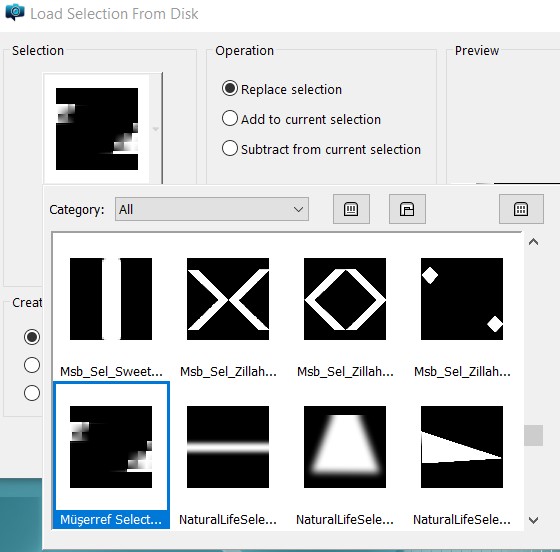
Opens – Selections – Promate Selection to Layer
Close Raster 1
Effects – Filters Unlimited 2.0 Toadies – Weaver
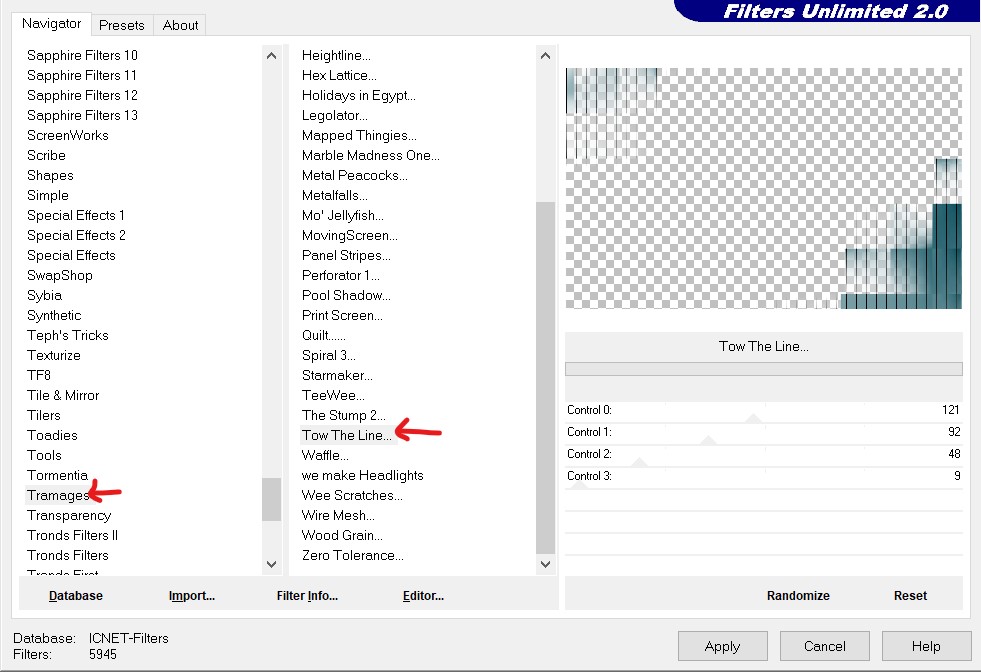
Effects – Filters Unlimited 2.0 – Tramages – Tow The Line
Effects – 3D Effects – Drop Shadow (3-3-50-32 – color #000000)
Selections – Select None
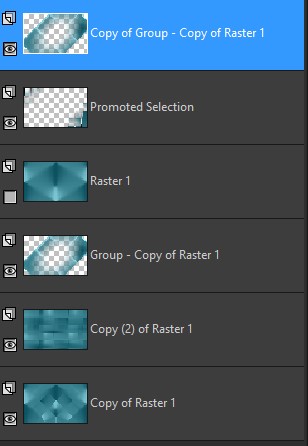
Open- Layer -Copy of Group – Copy of Raster 1

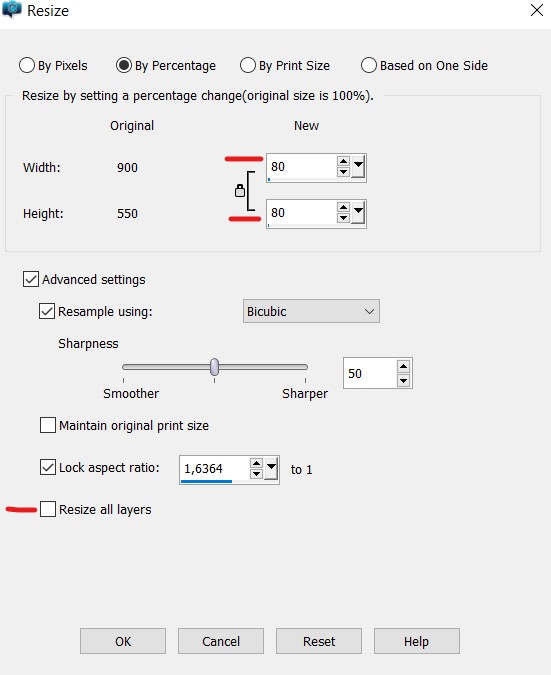
Open-Image- Resize
5
File – Open – Deko – Sah -Müşerref Deko 1
Edit/Copy
Activate your work
Edit / Paste – Paste As New Layer
Layers – Arrange – Move Down
Activate top layer
File – Open – Deko – Sah – Müşerref Deko 2
Edit /Copy
Activate your work
Edit / Paste – Paste As New Layer
Activate Pick Tool and place it like this

File- Open- Deko- Sah – Müşerref Deko 3
Edit / Copy
Activate your work
Edit/Paste – Paste As New Layer
Activate Pick Tool and place it like this

File- Open- Deko- Sah- Müşerref Deko 4
Edit/Copy
Activate your work
Edit/Paste – Paste As New Layer
Activate Pick Tool and place it like this

File-Open- Deko- Sah- Müşerref Deko 5
Edit/Copy
Activate your work
Edit/Paste – Paste As New Layer
Activate Pick Tool and place it like this

File-Open- Deko- Sah-Müşerref Deko 6
Edit/Copy
Activate your work
Edit/Paste-Paste As New Layer
Activate Pick Tool and place it like this

6
File -Open- Tube-Netten
Edit/Copy
Activate your work
Edit/Paste- Paste As New Layer
Activate Pick Tool and place it like this

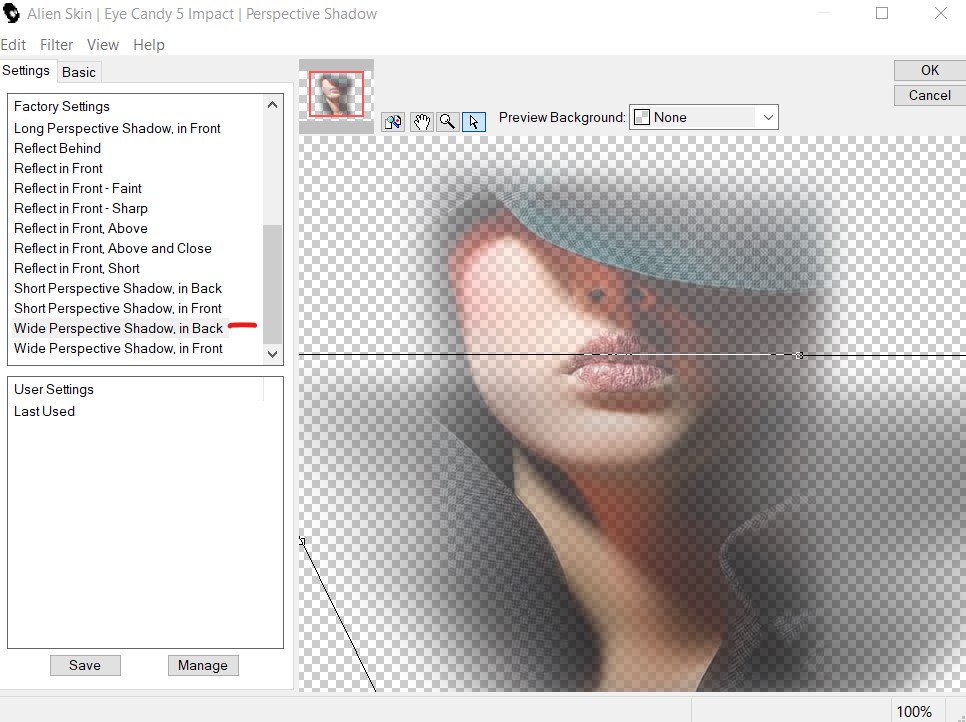
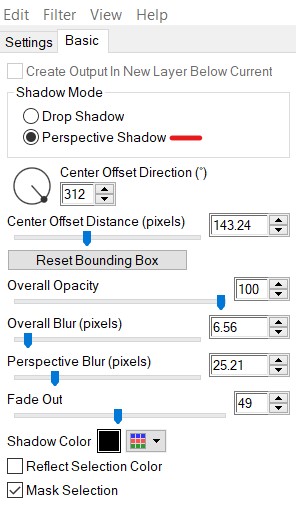
Effects-Alien Skin Eye Candy 5:Impact
Perspective Shadow(Wide Perspective Shadow,in Back)
7
File-Open-Text -Sah Müşerref Text
Edit/Copy
Activate your work
Edit/Paste-Paste As New Layer
Activate Pick Tool and place it like this

File- Open-Text -Müşerref Text 2 Net
Edit/Copy
Activate your Work
Edit/Paste- Paste As New Layer
Activate Pick Tool and place it like this

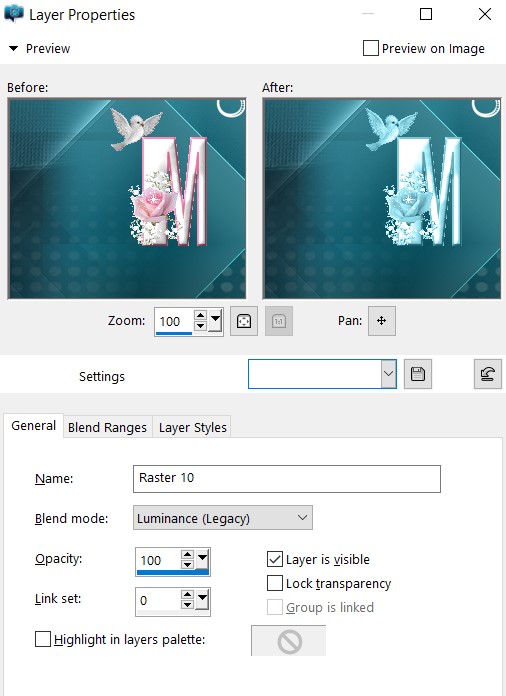
Double click on this Layer and set the Blend Mode to ( Luminance (Legacy)
8
Layers – Merge – Merge Visible
Edit/Copy
File -Open- Frame- Sah – Müşerref Frame
Edit/Paste-Paste Into Selection
Effects-3D Effects – Drop Shadow(3-3-50-32 color#000000)
Selectinos-Select None
9
File-Open-Deko- Sah- Müşerref Deko 7
Edit/Copy
Activate your work
Edit/Paste- Paste As New Layer
Activate Pick Tool and place it like this
You can change foreground color Adjust Hue and
Saturation Colorize
File-Open-Deko- Sah-Müşerref Deko 8
Edit/Copy
Activate your work
Edit/Paste- Paste As New Layer
Activate Pick Tool and place it like this
You can change foreground color Adjust Hue and
Saturation Colorize
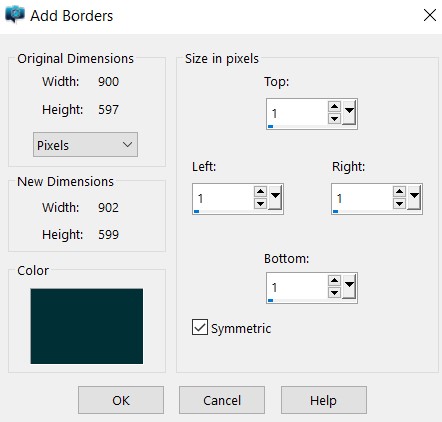
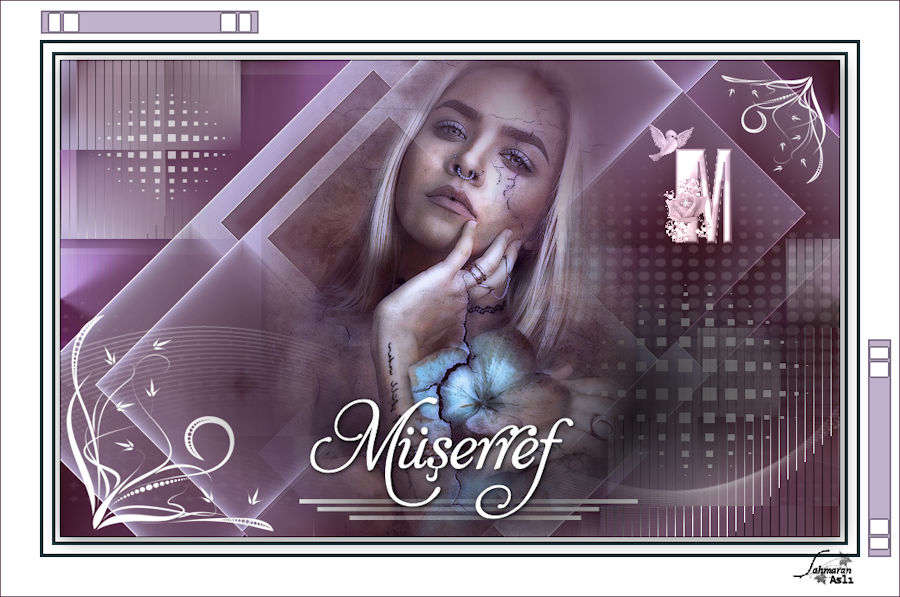
Image- Add Borders
Put Your Watermarkt
Image- Resize 900 Pixels
Save JPEG
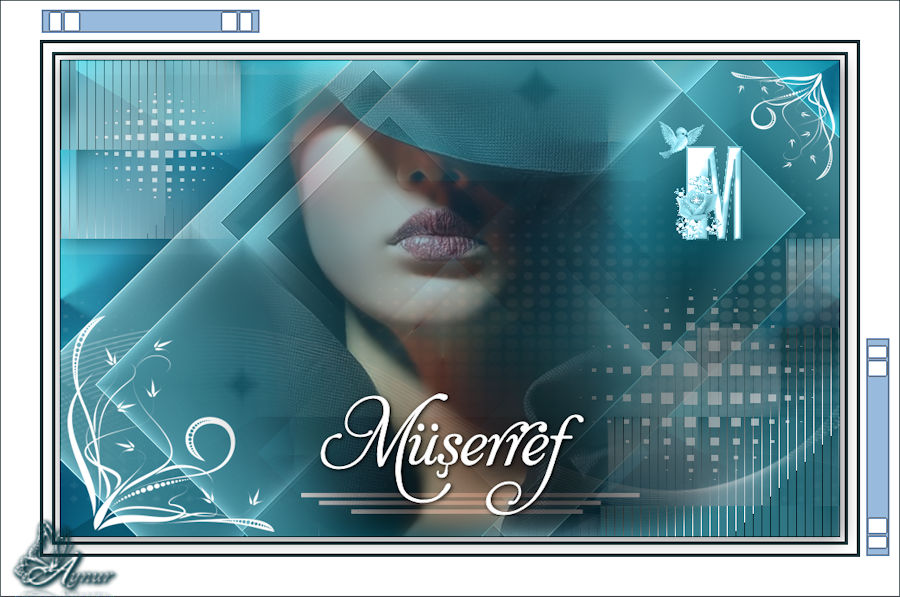
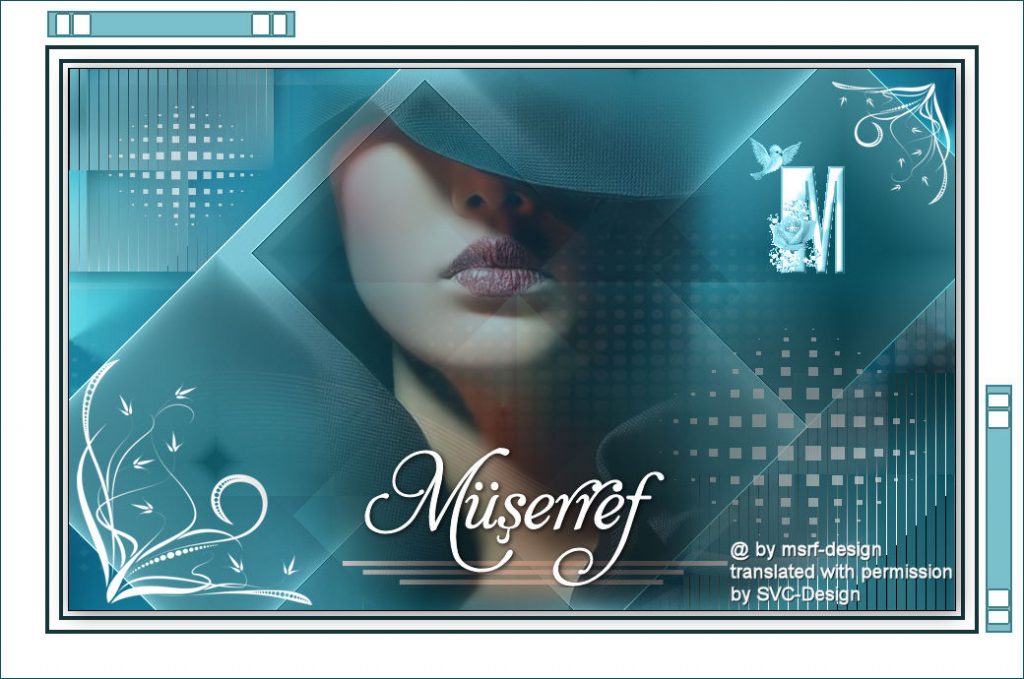
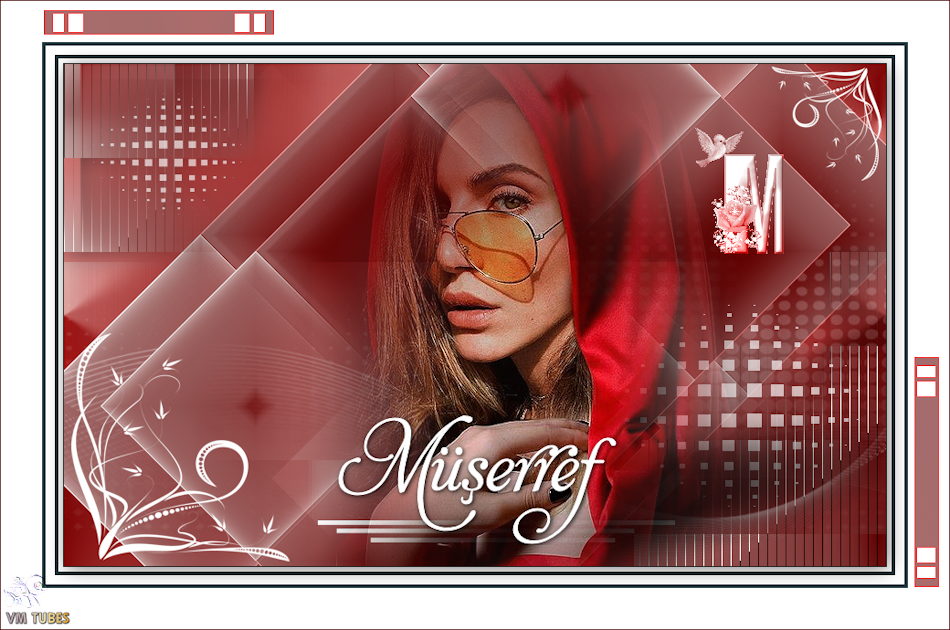
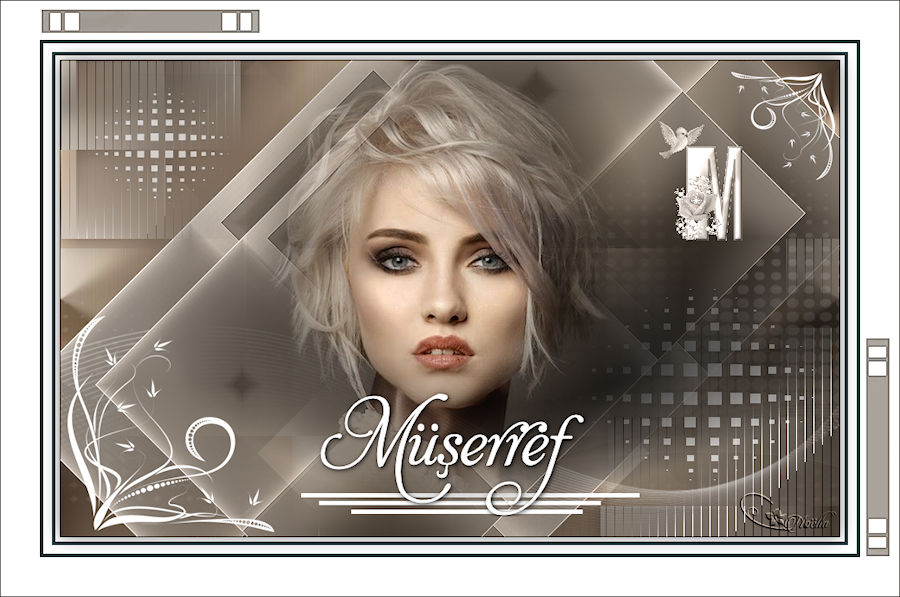
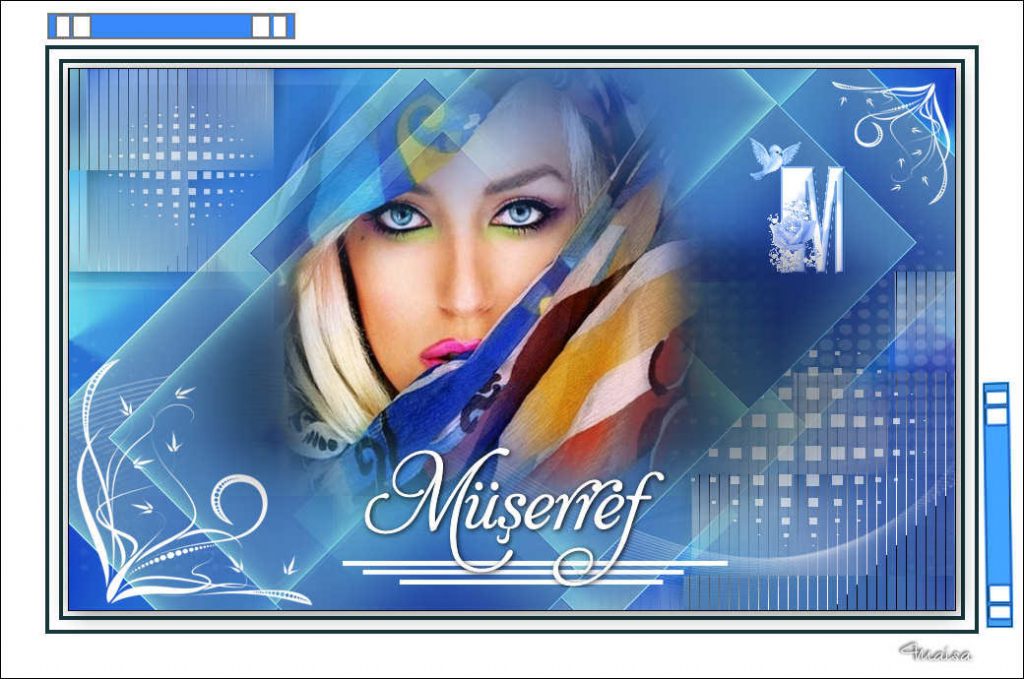
Thanks for the test Aynur
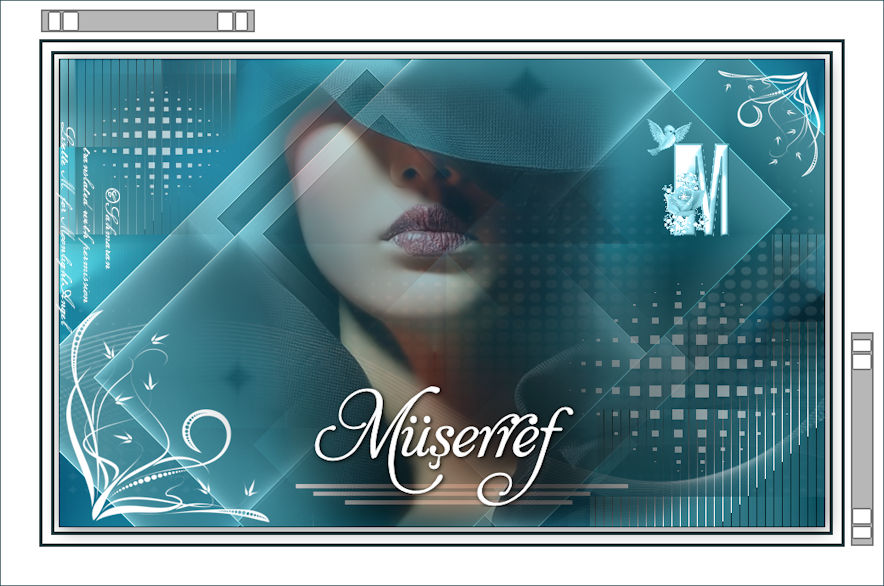
Thank you Lisette
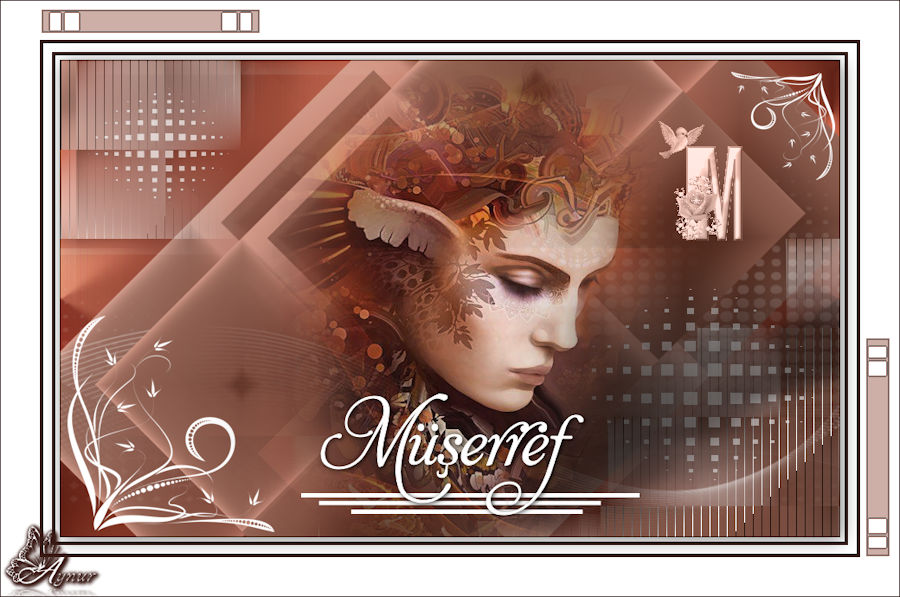
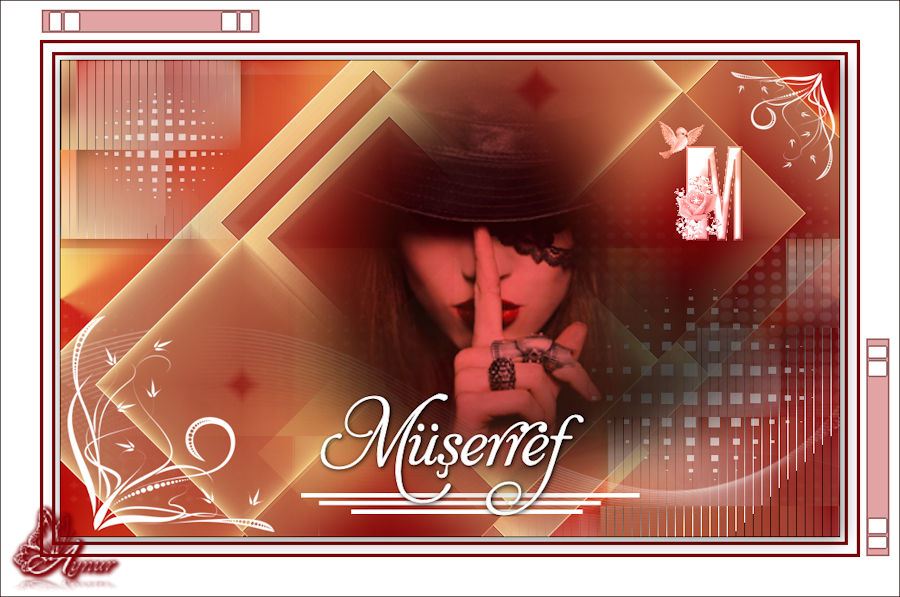
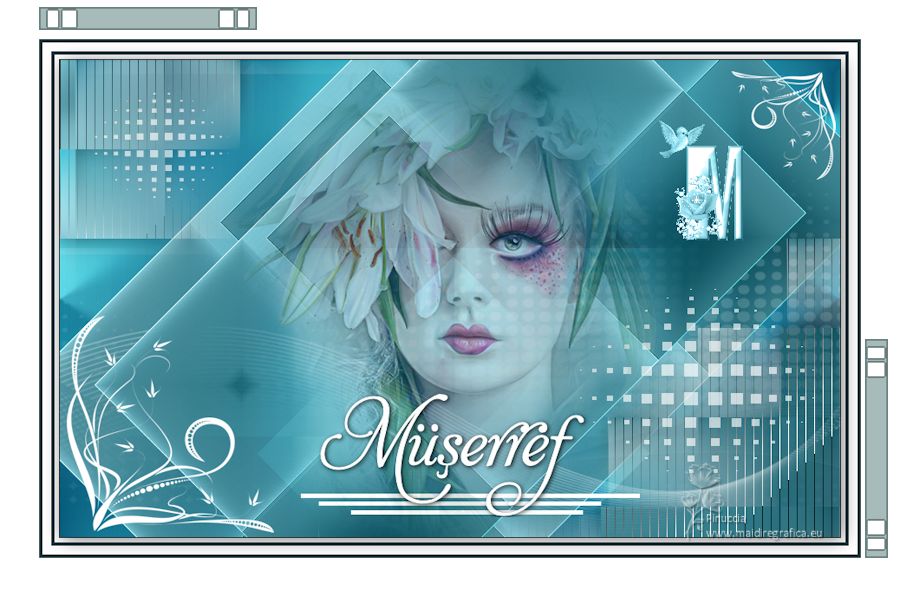
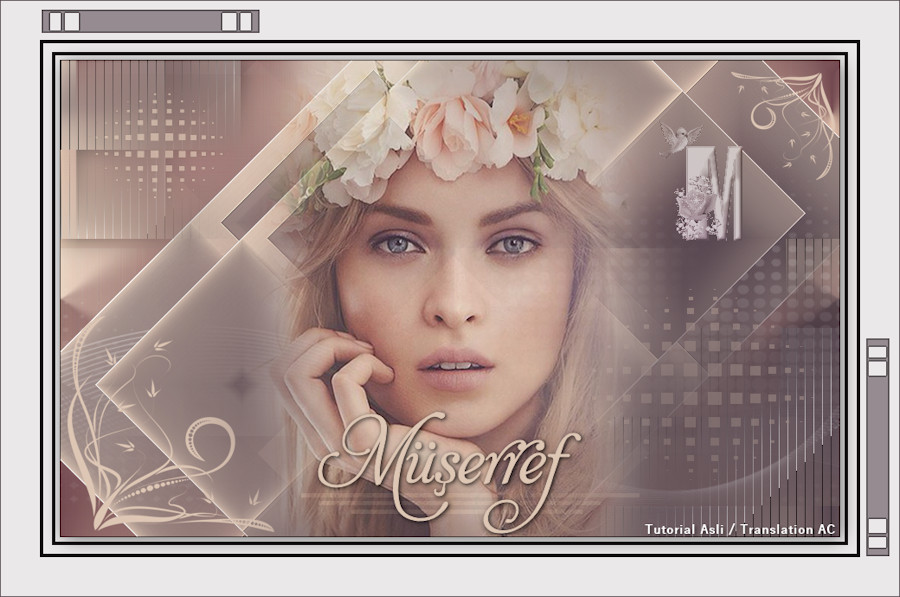
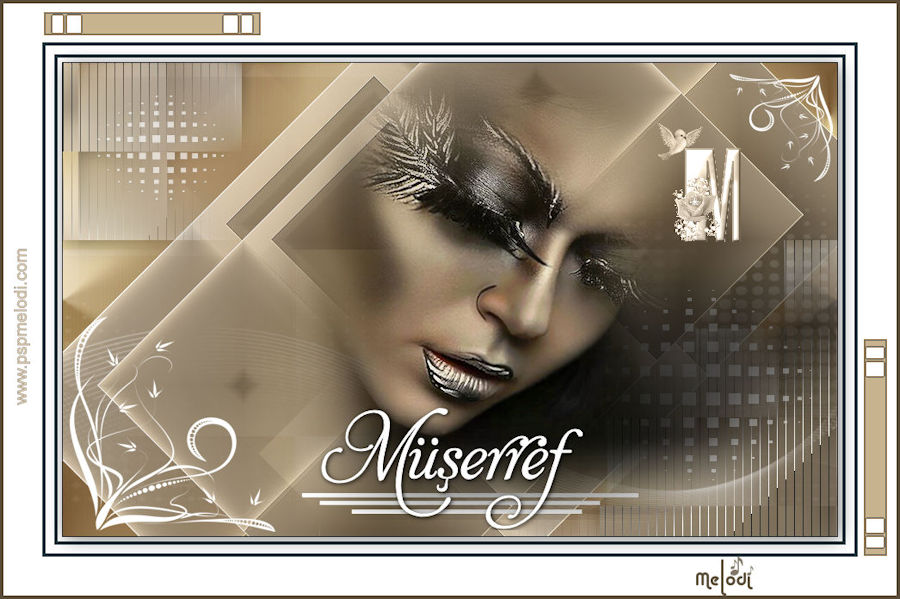
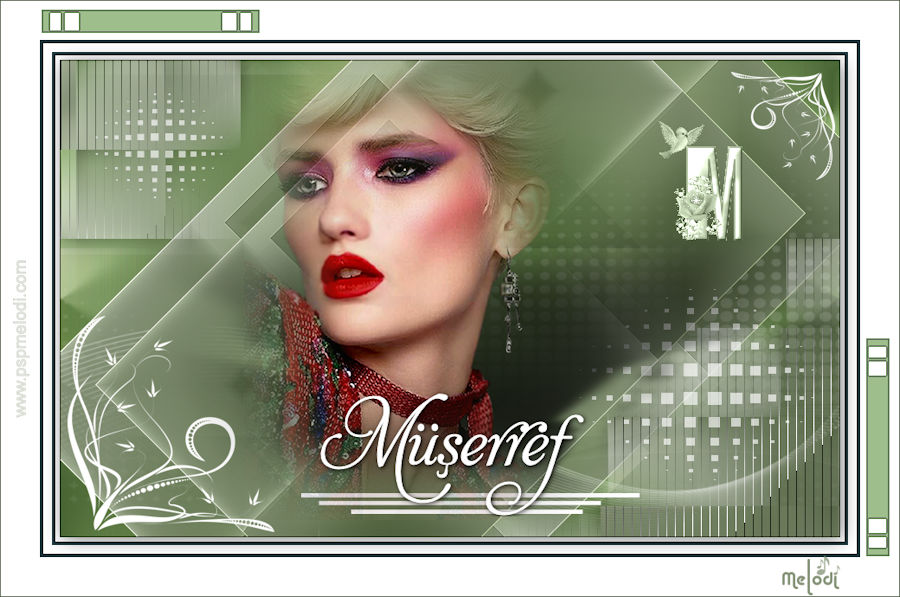
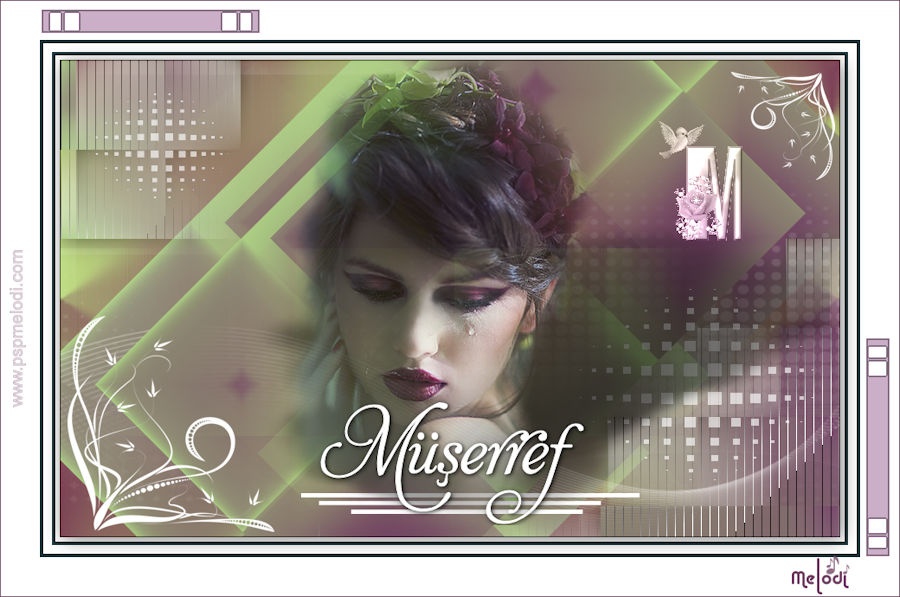
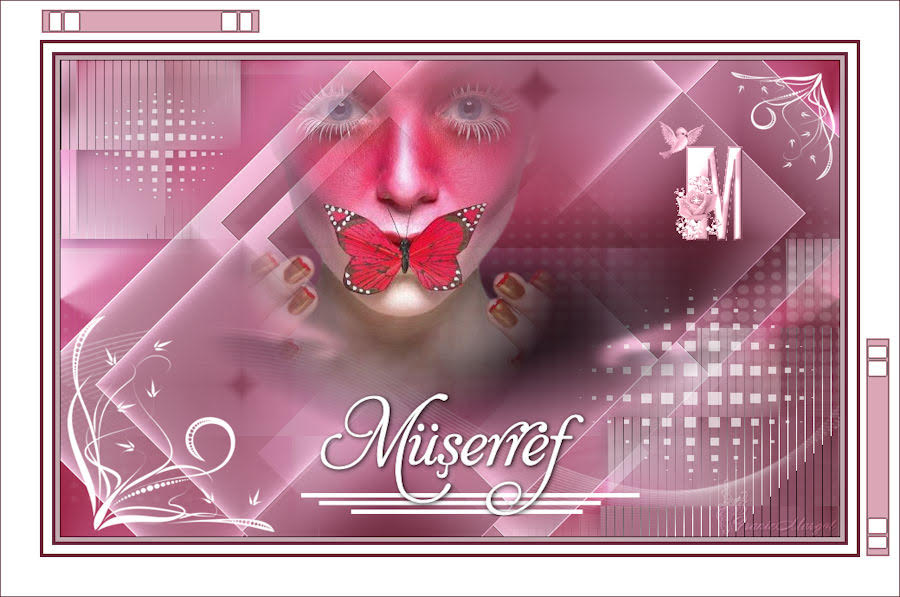
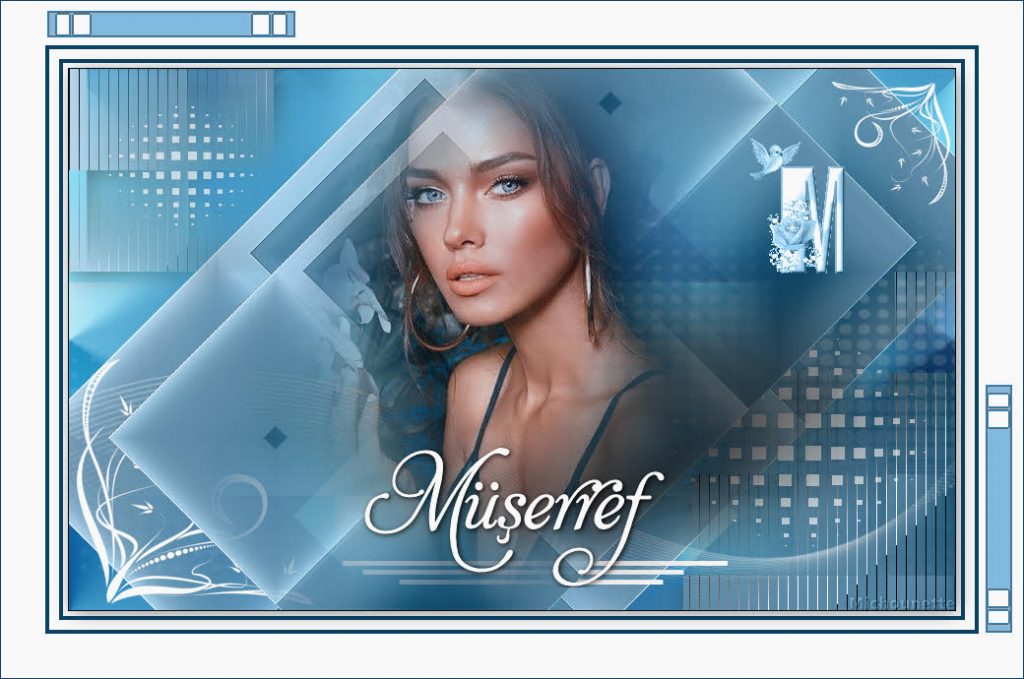
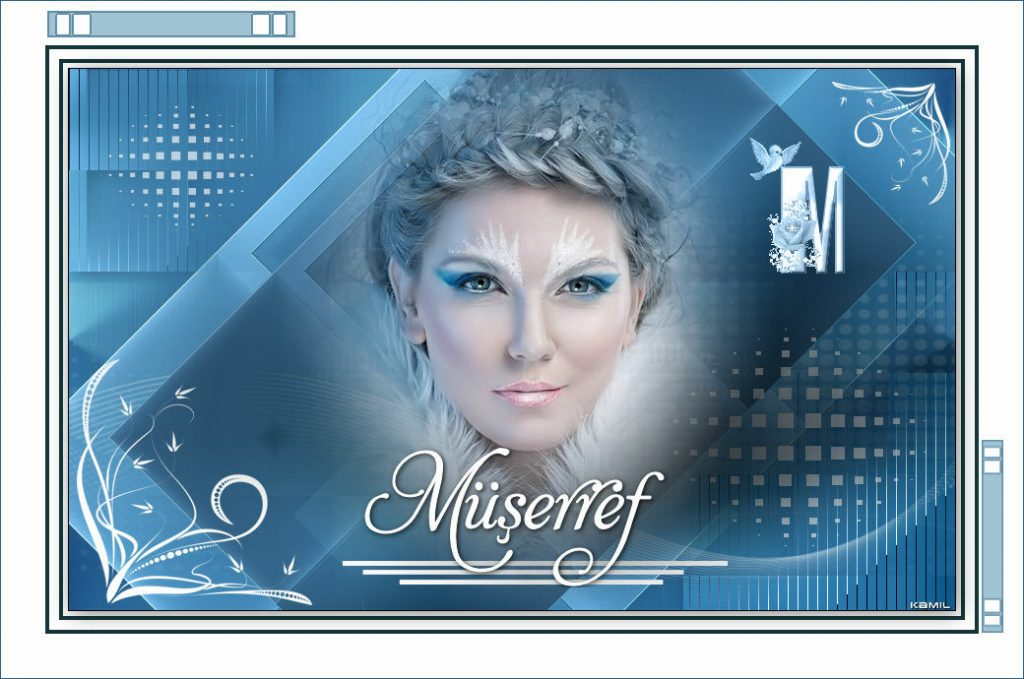
Many thanks for the versions.
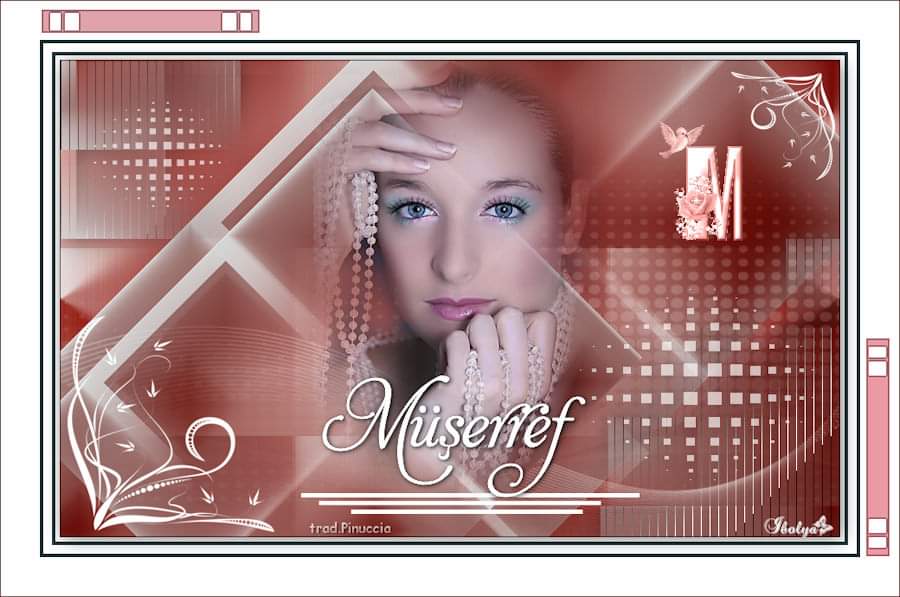
Pinuccia
Inge Lore

Angela
Sylviane
Melodi
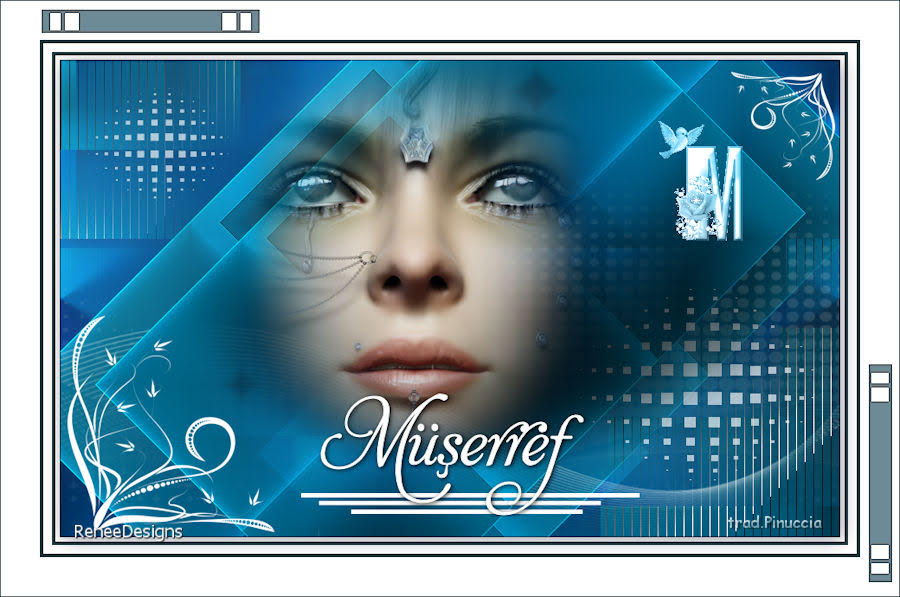
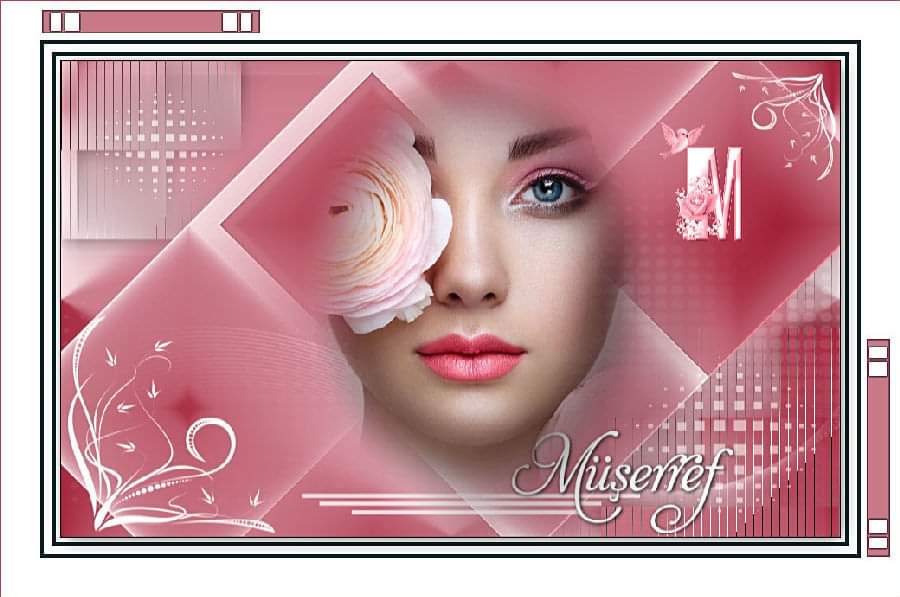
Renee
Veronika
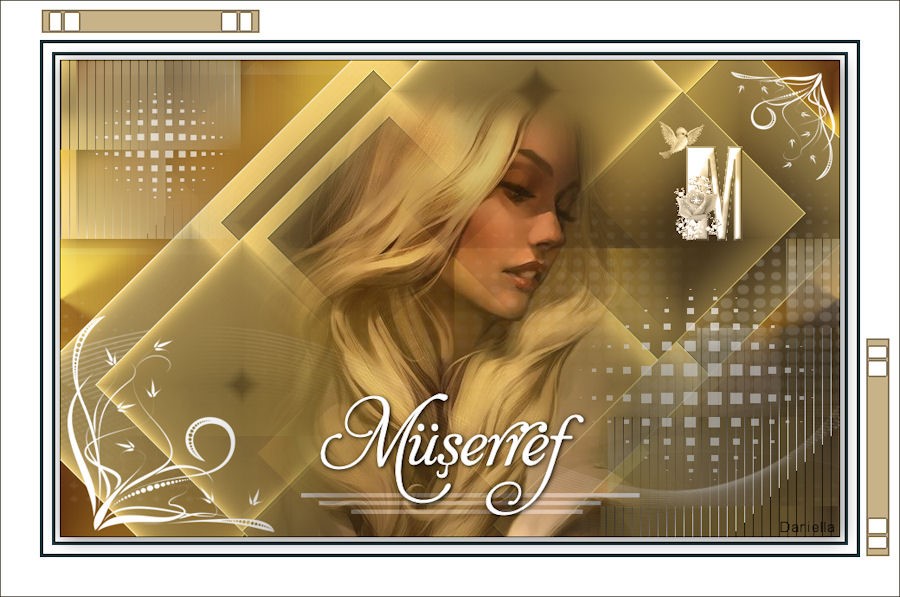
Daniella
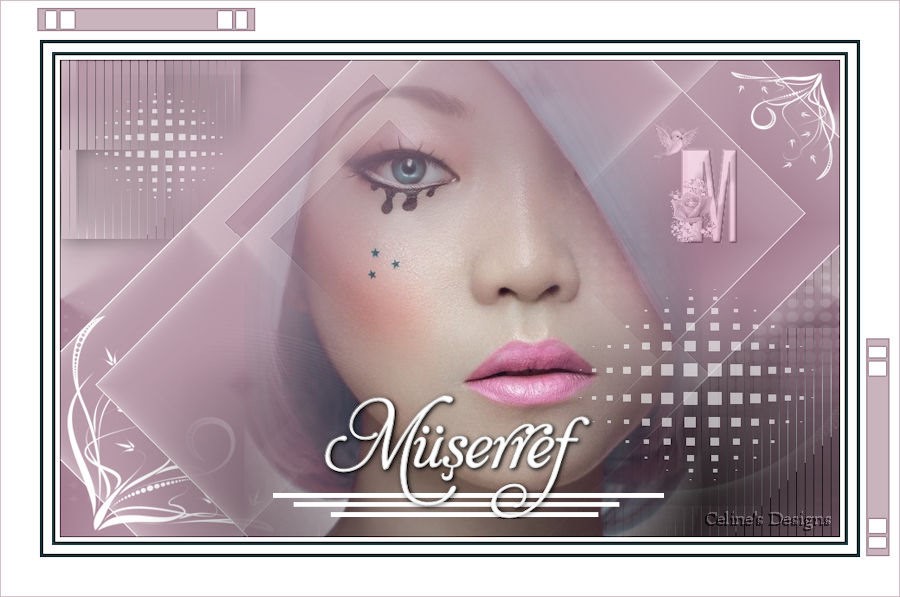
Celine
lynaya6
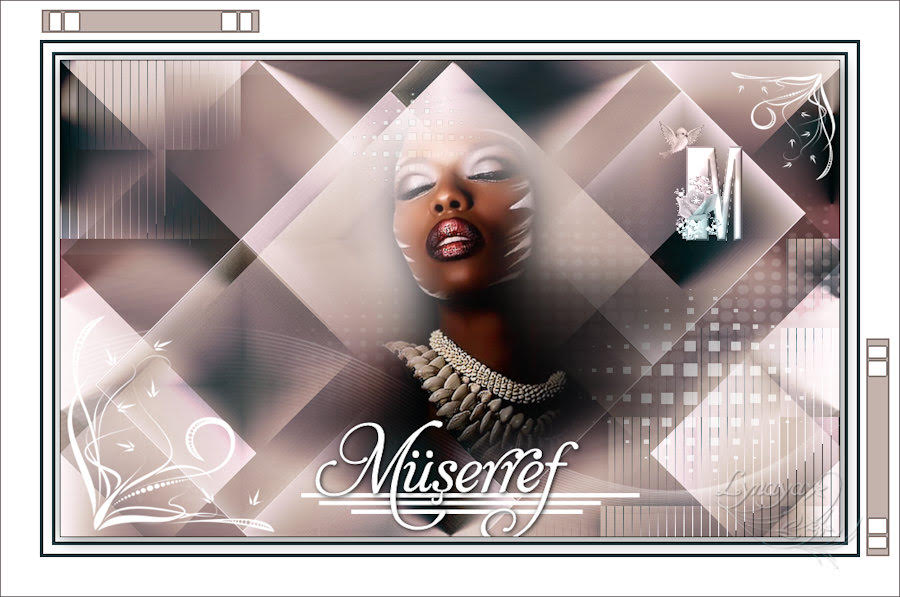
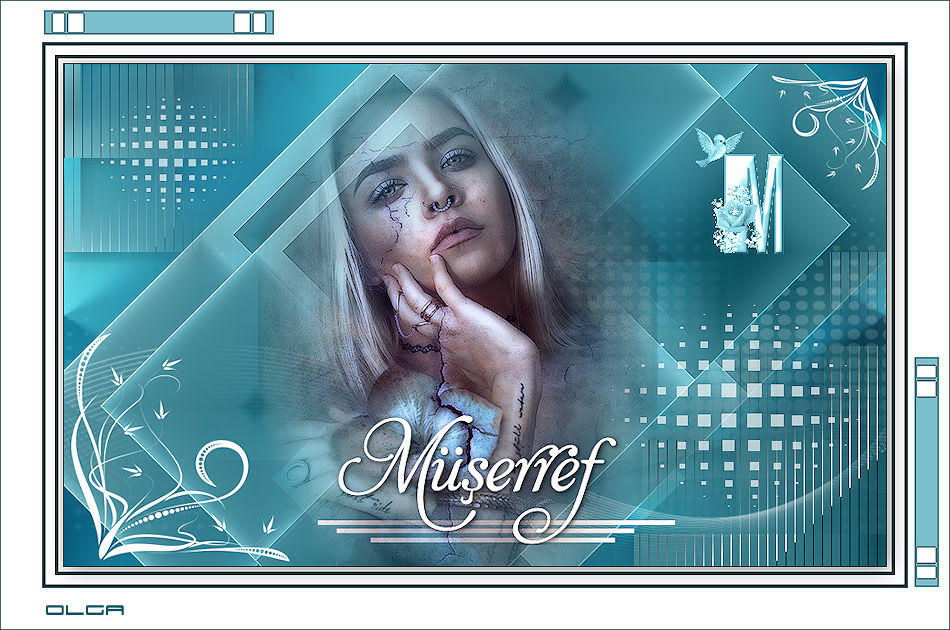
Olga
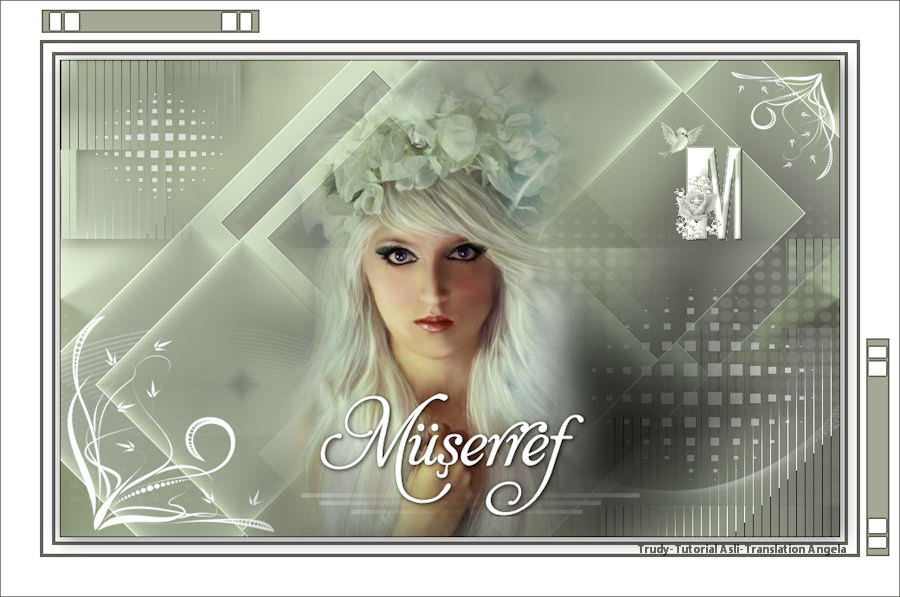
Trudy
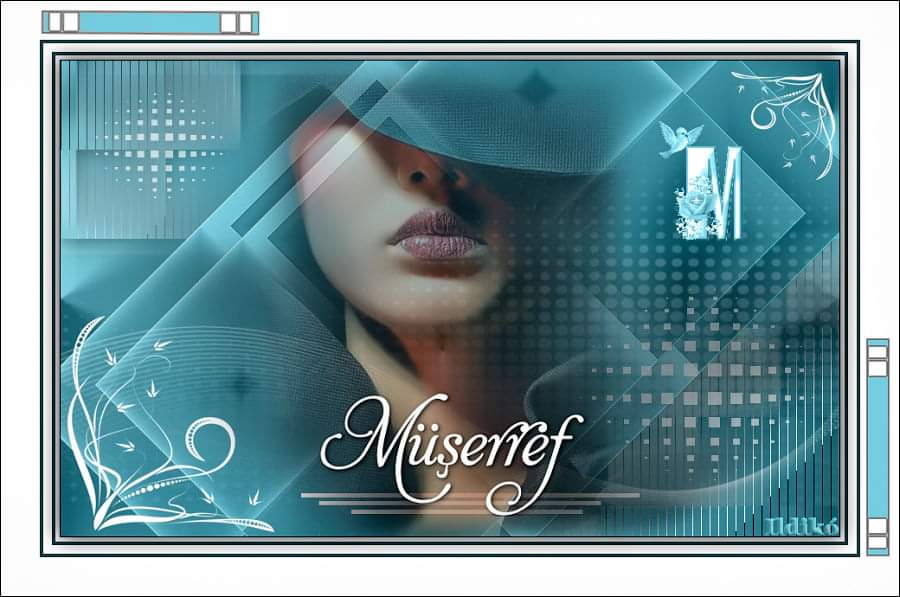
Ildiko
Grances
Cat’s Graffitis
Nicole
Irene
Simone
Peggy
Annelie

Danny
Roos
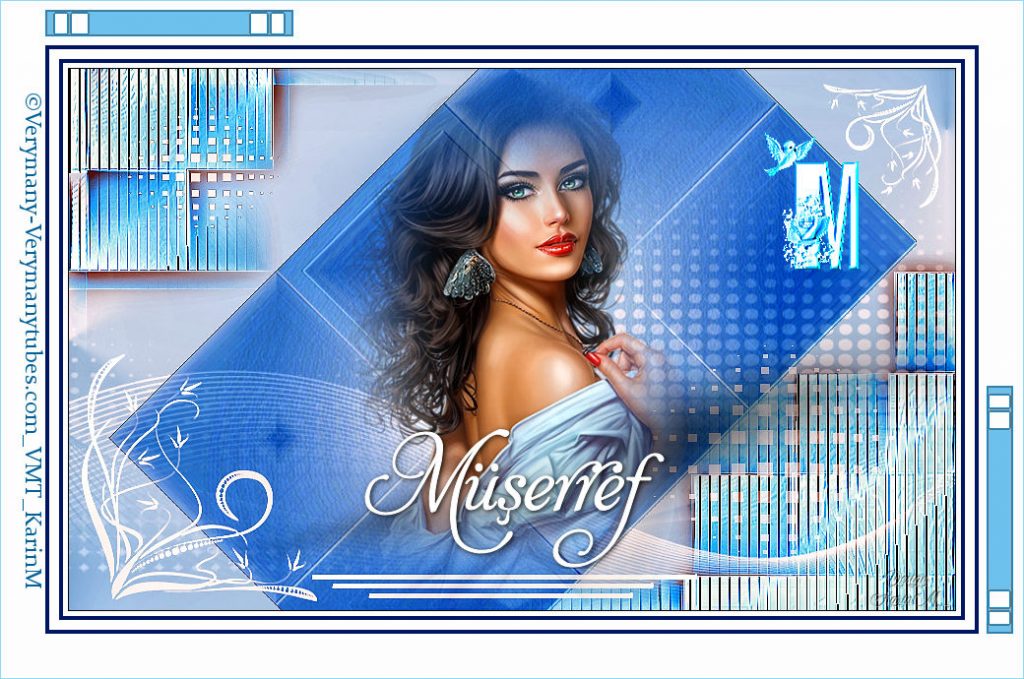
KarinM
UtaQu

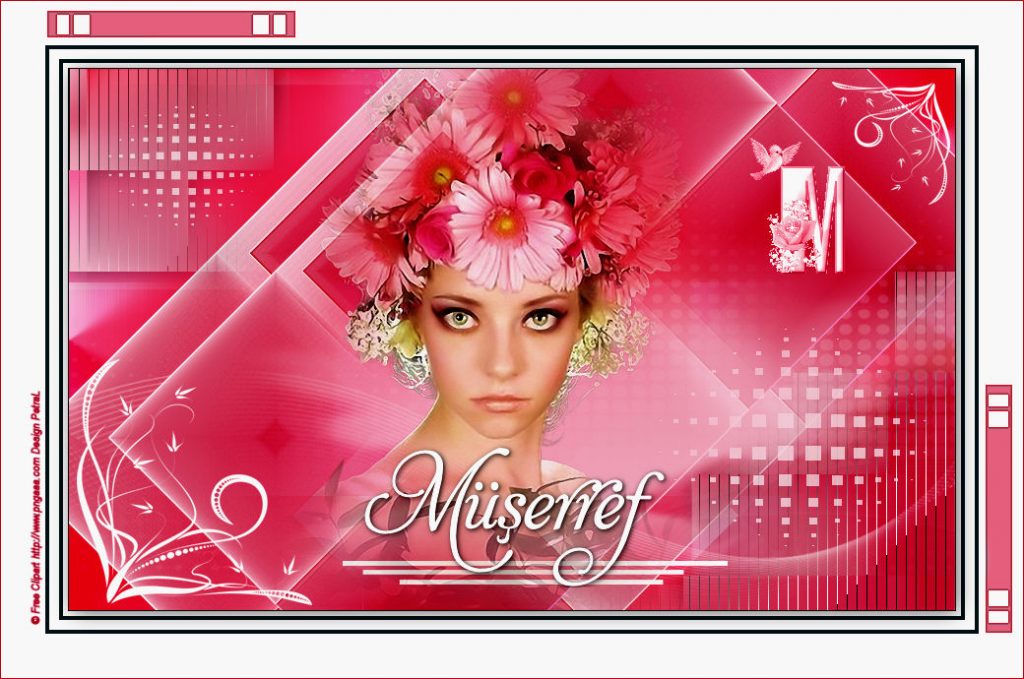
Petral
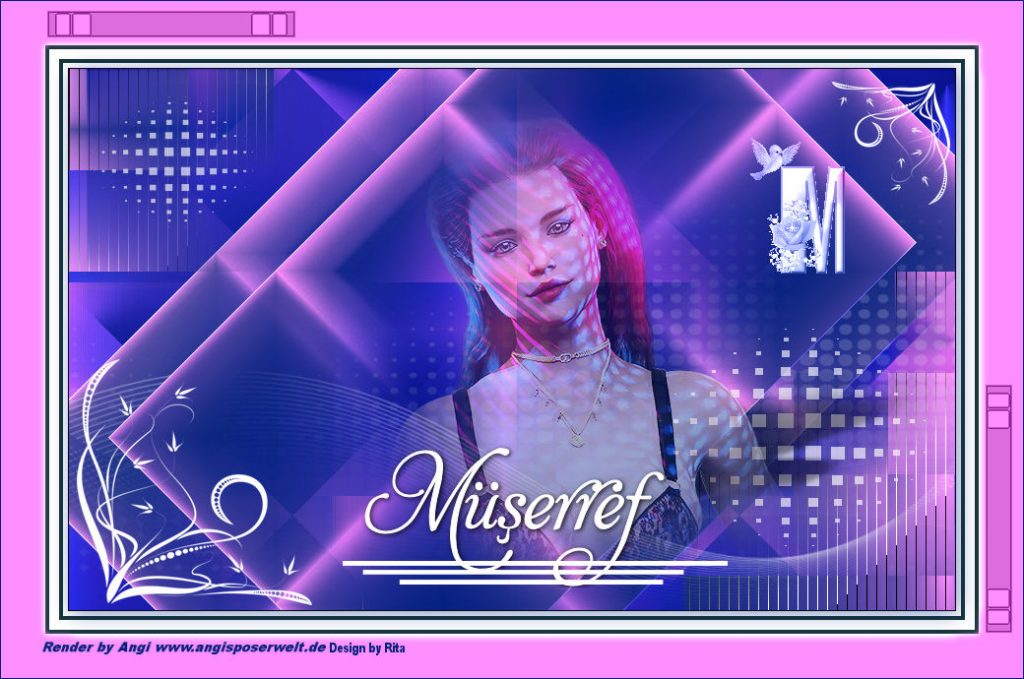
Rita
Gisella

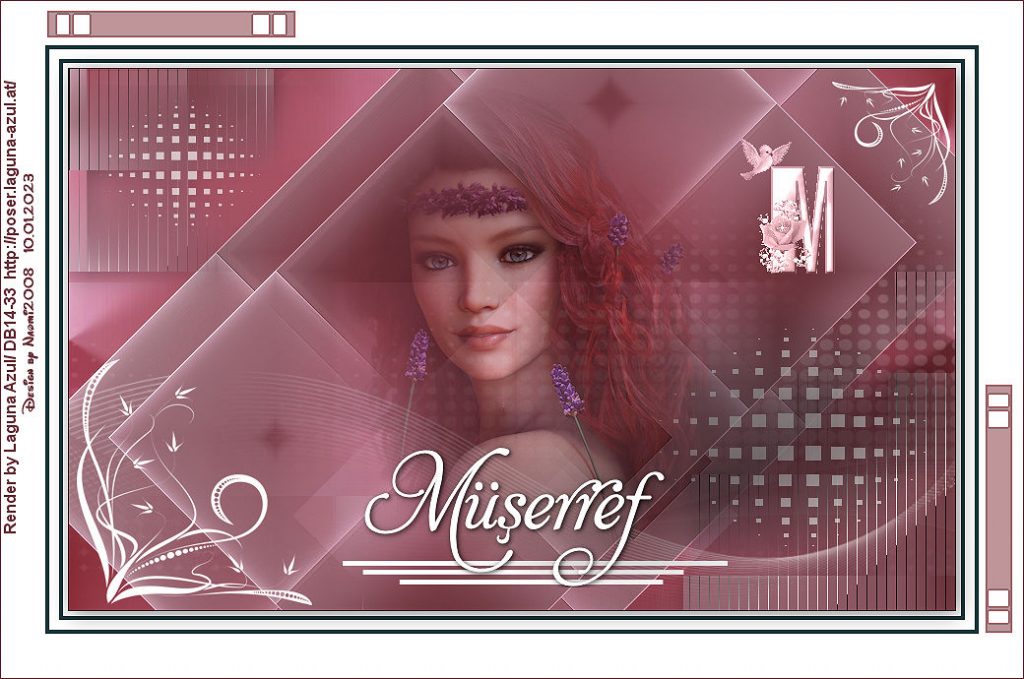
Azul
Pia
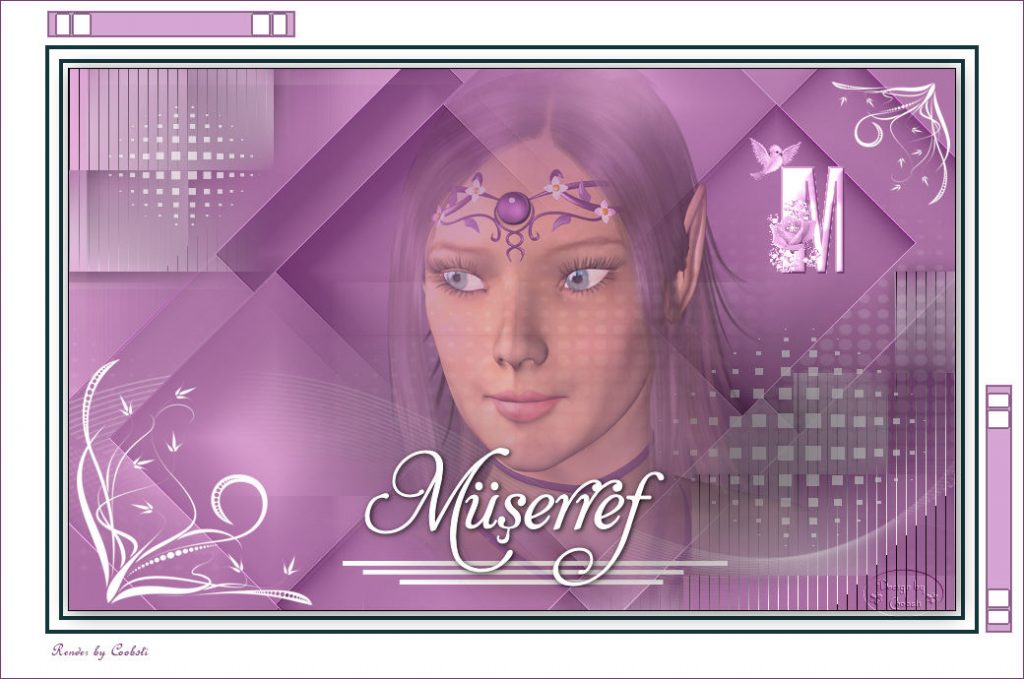
Coobali
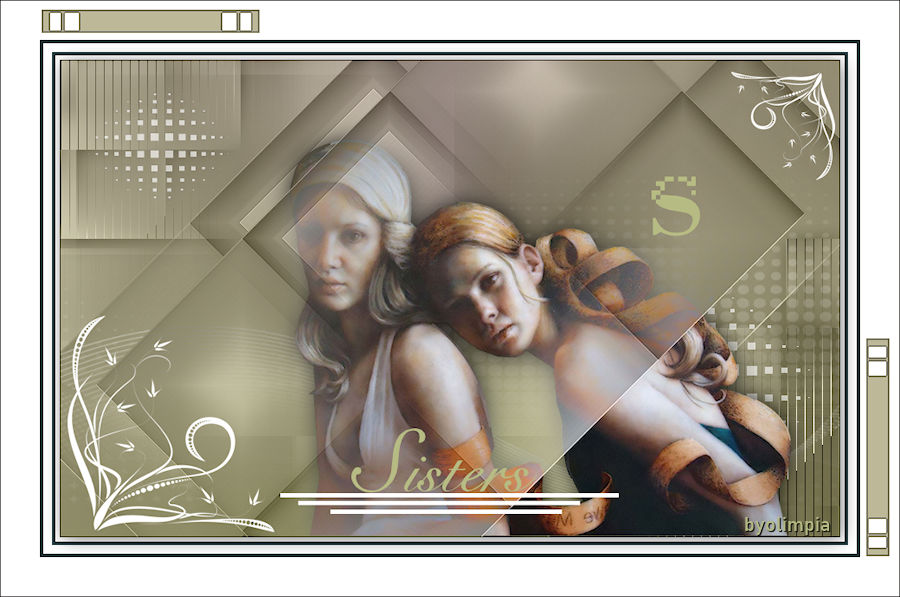
Olimpia
Kamelius
Noella
Franie Margot
Michounette31
Kamil
Kata

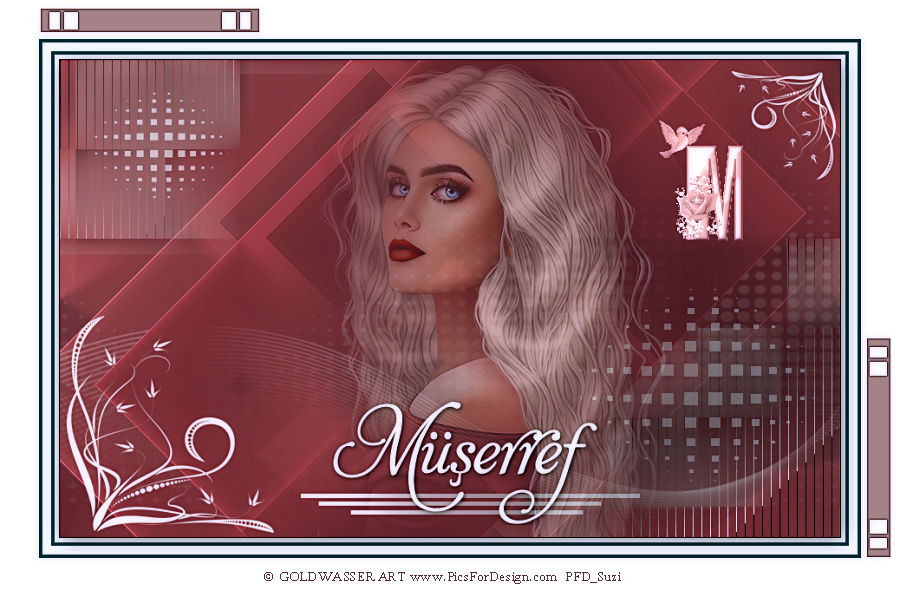
Suzi ( ines)
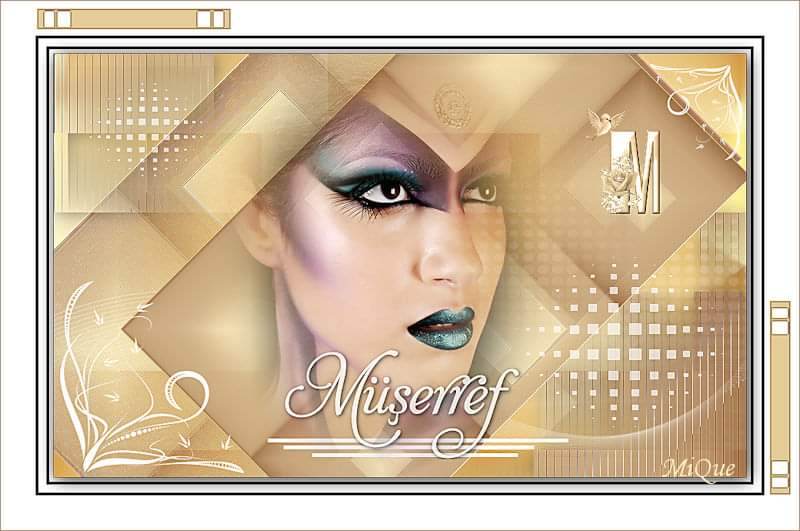
MiQue
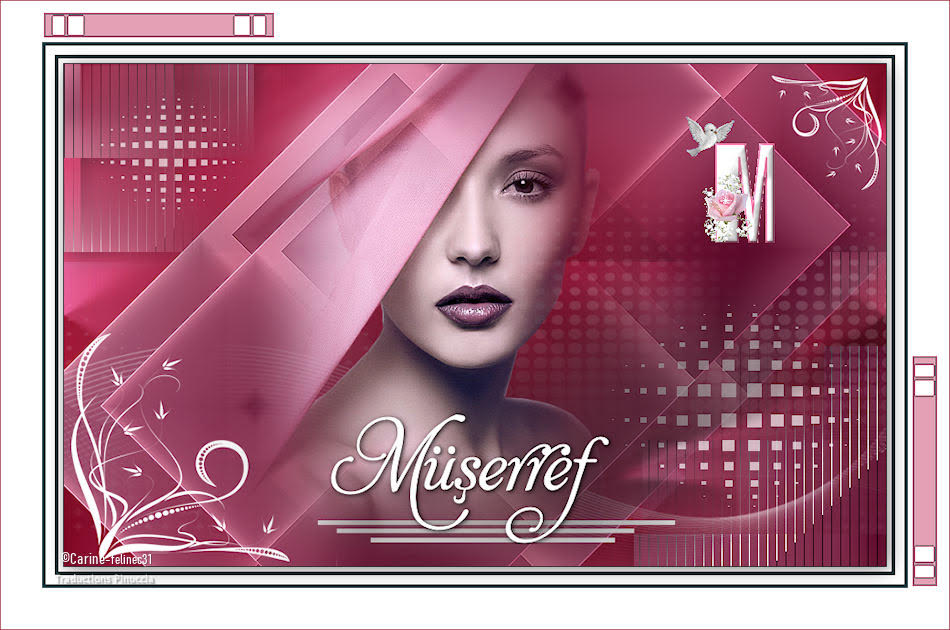
Carine
Veronika
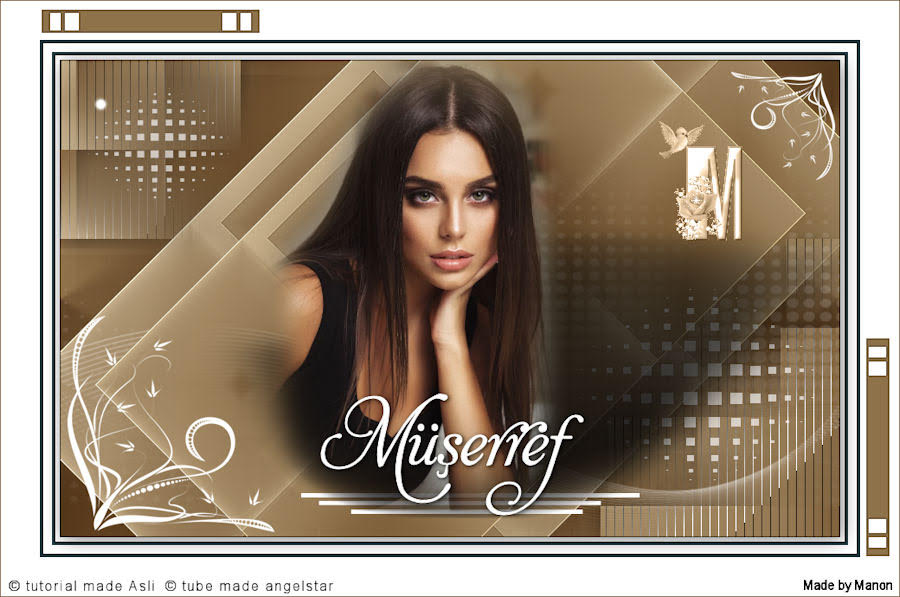
Manon
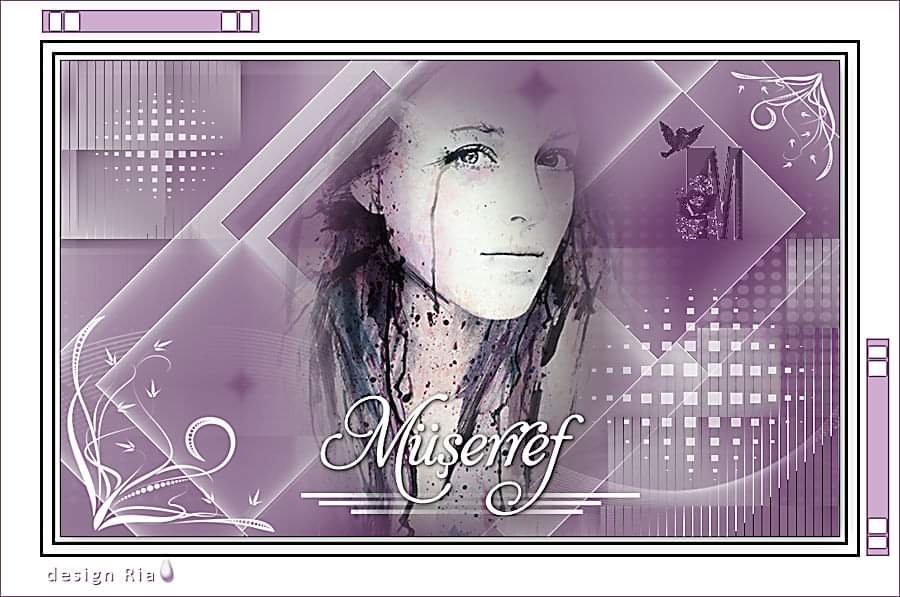
Ria
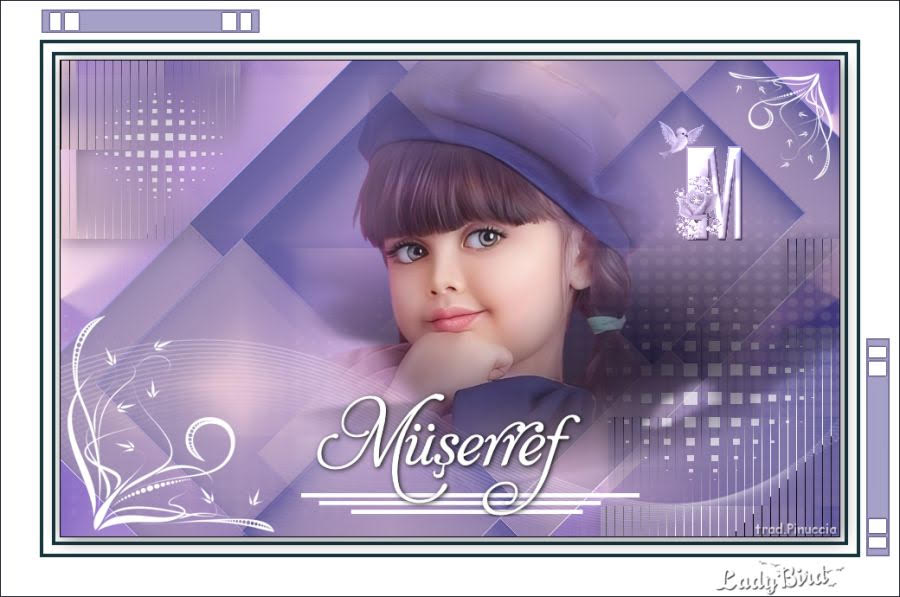
Lady Bird
CleideM
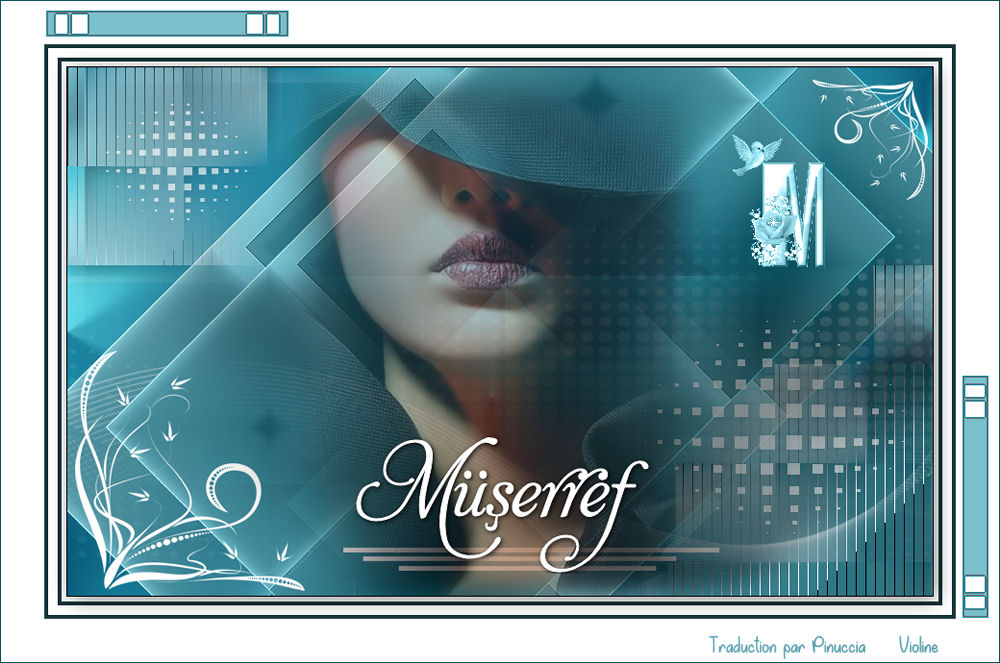
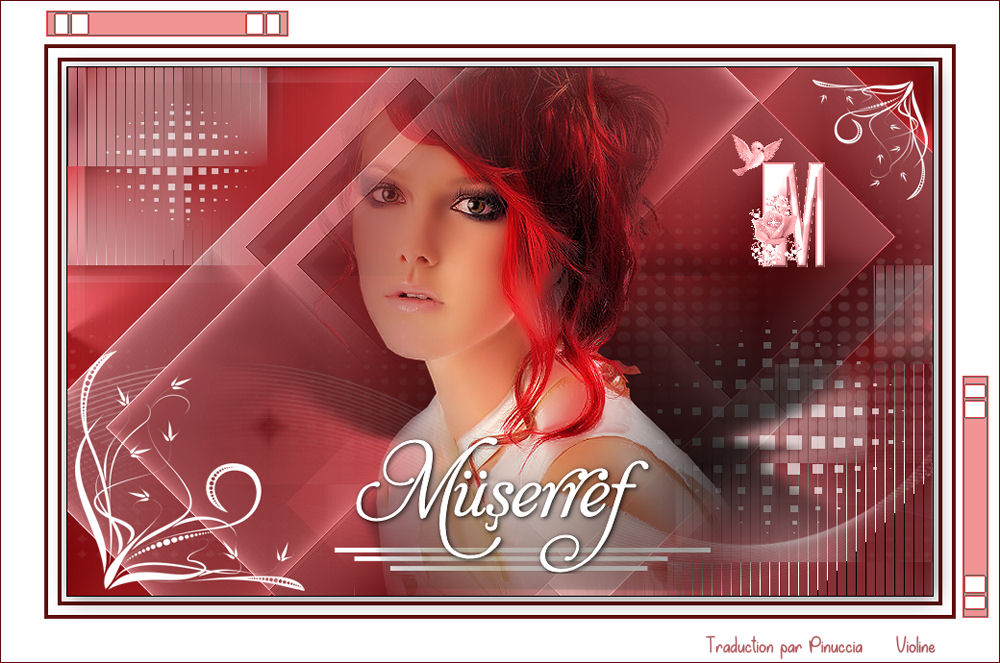
Violine
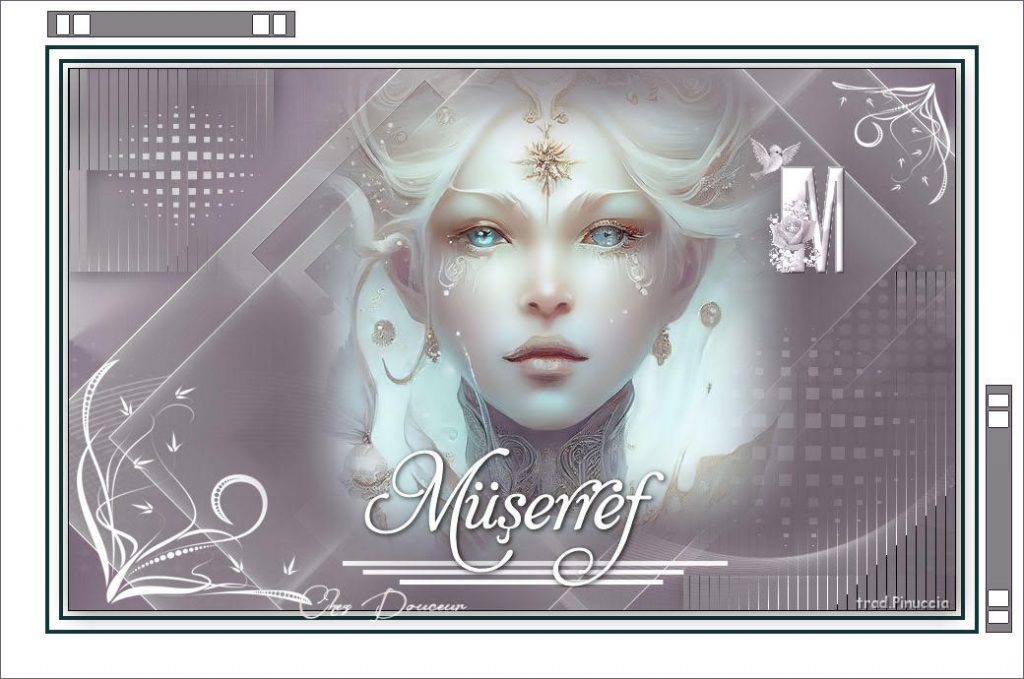
Chez. Douceur
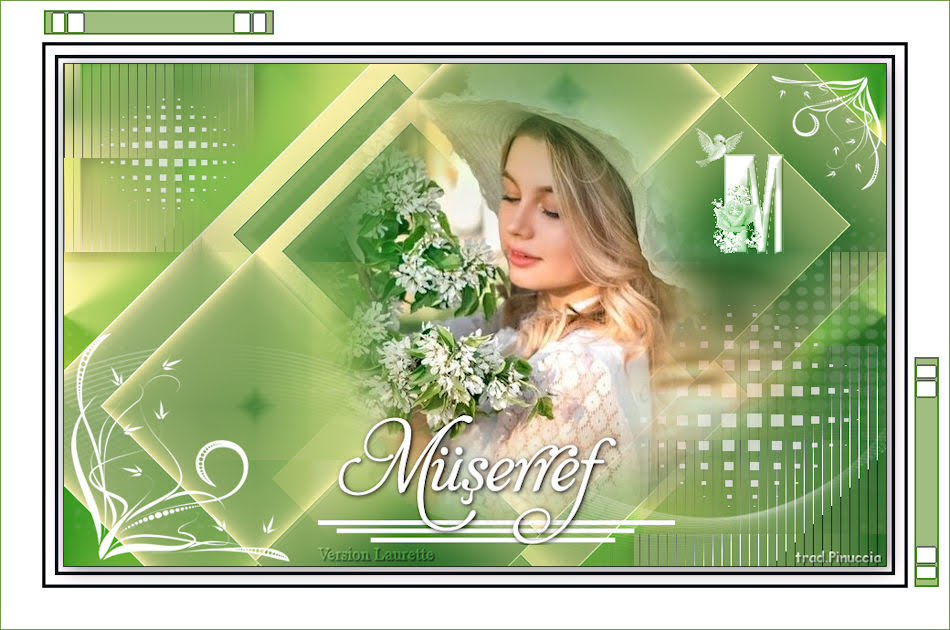
Laurette
Maísa
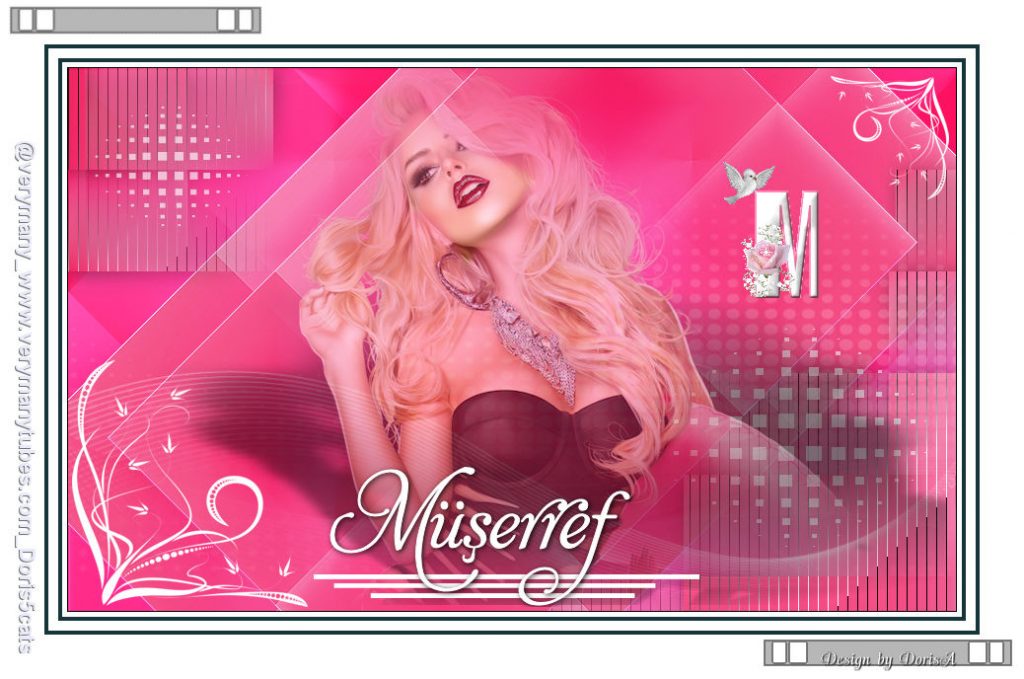
Doris
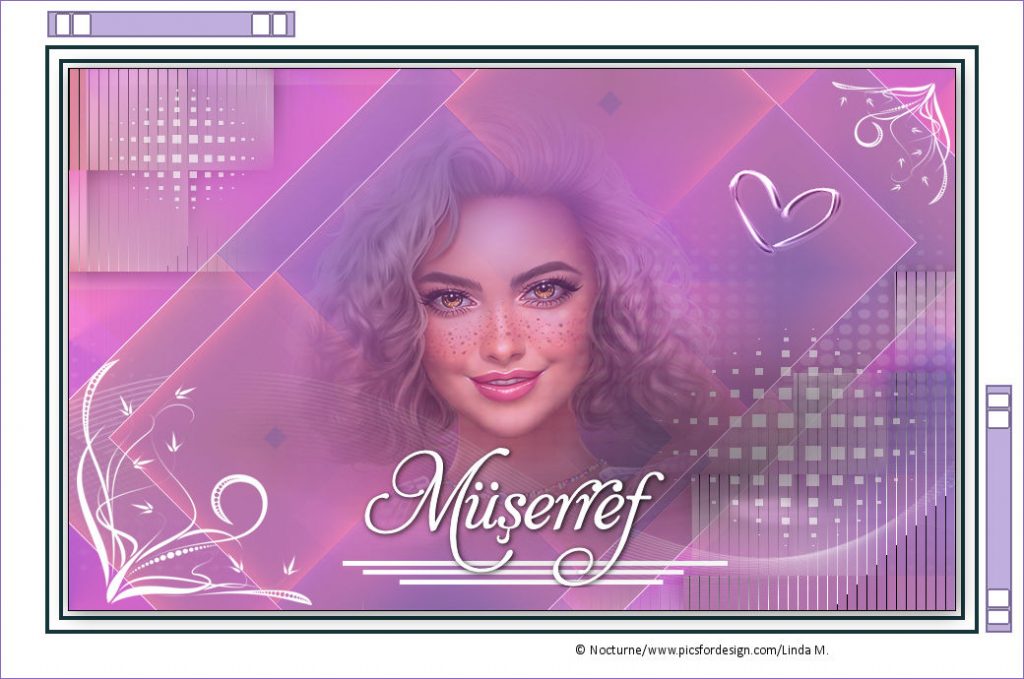
Linda M
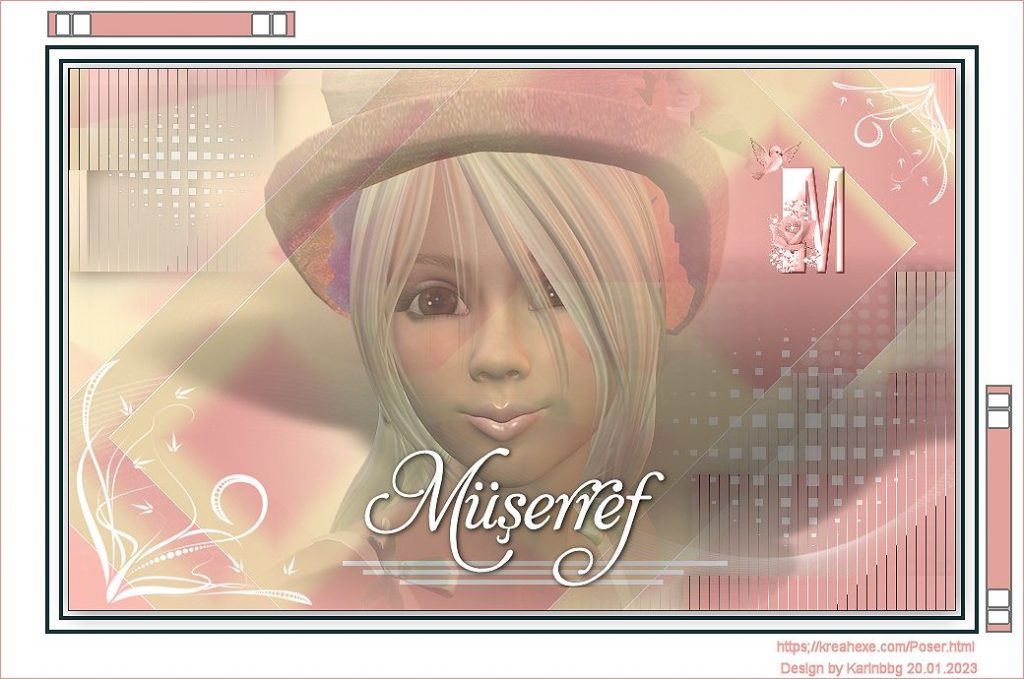
Karin
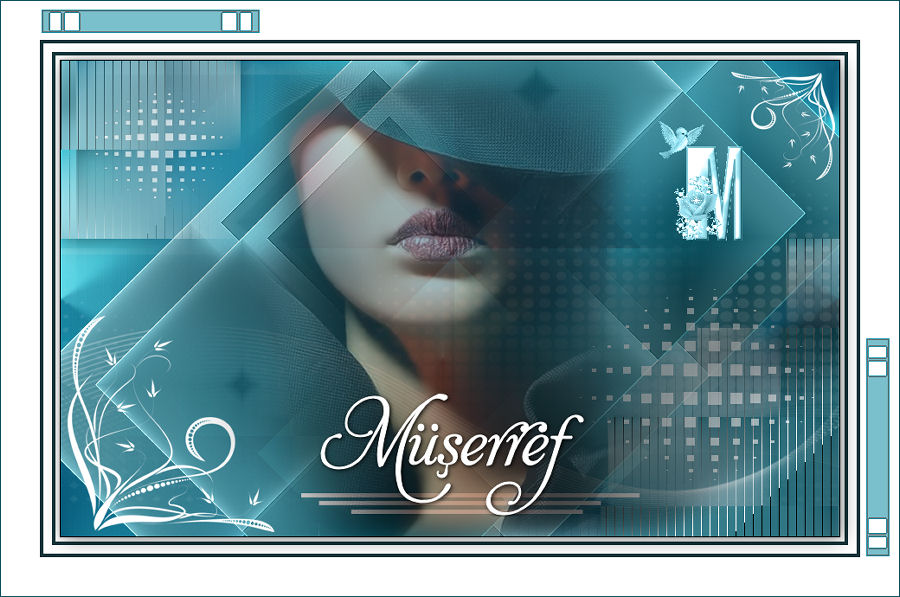
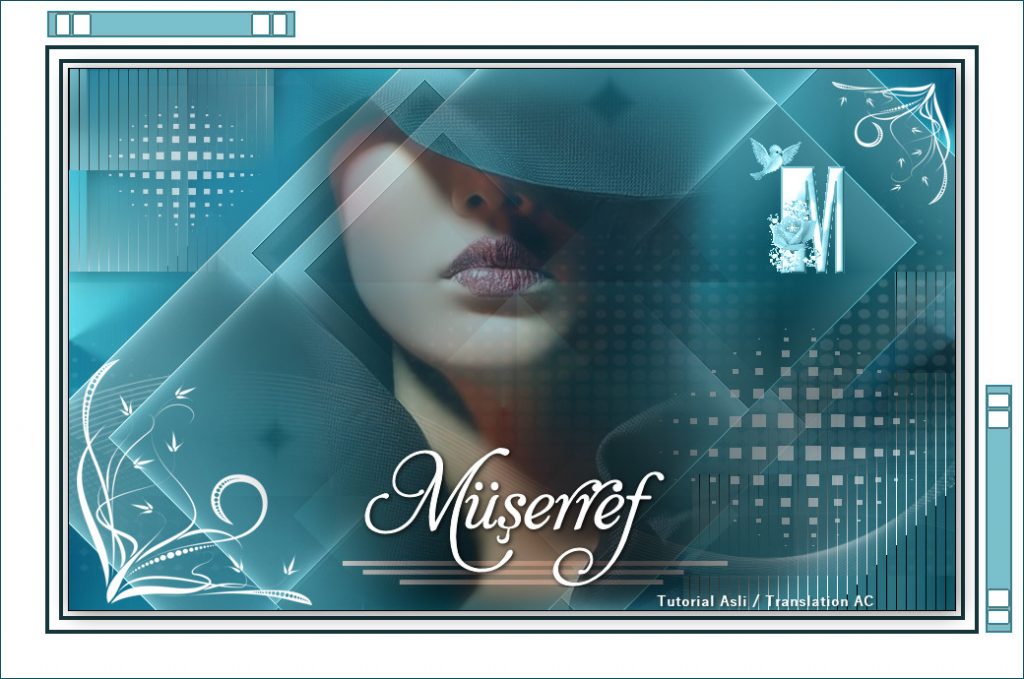
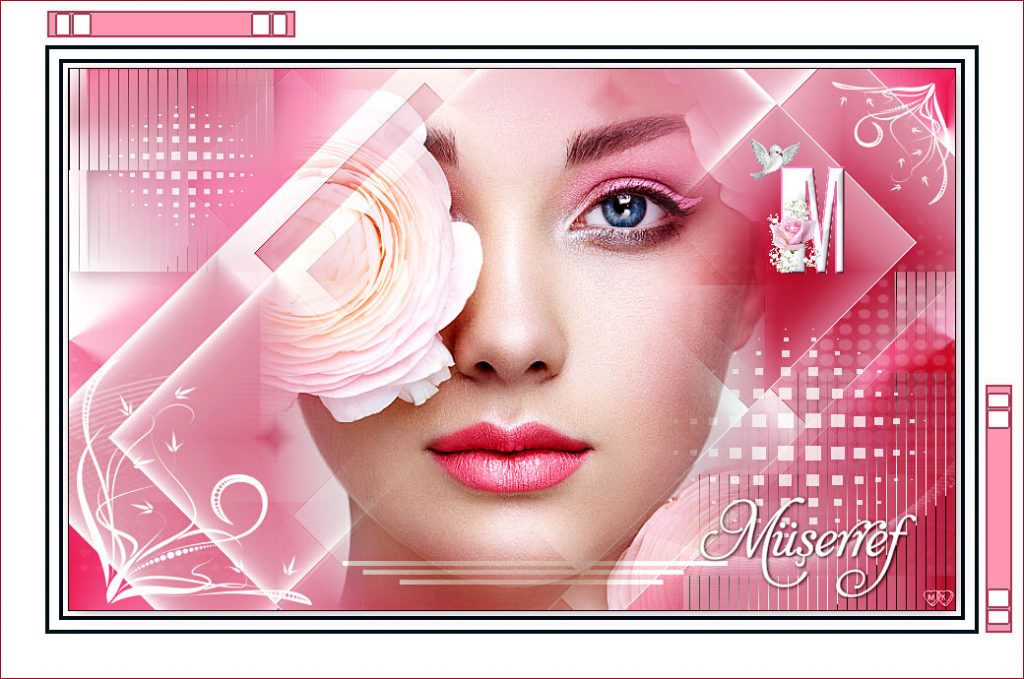
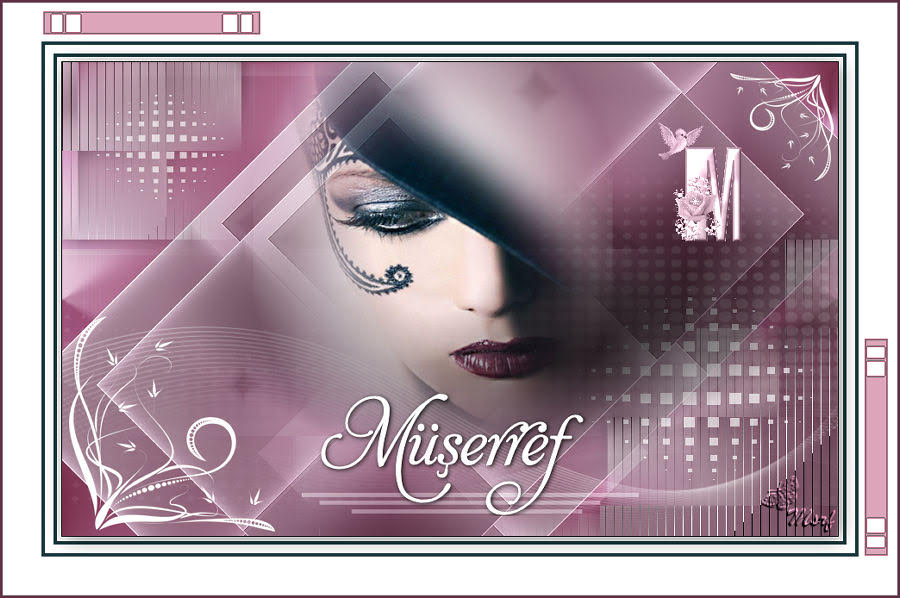
Müşerref
Ibolya
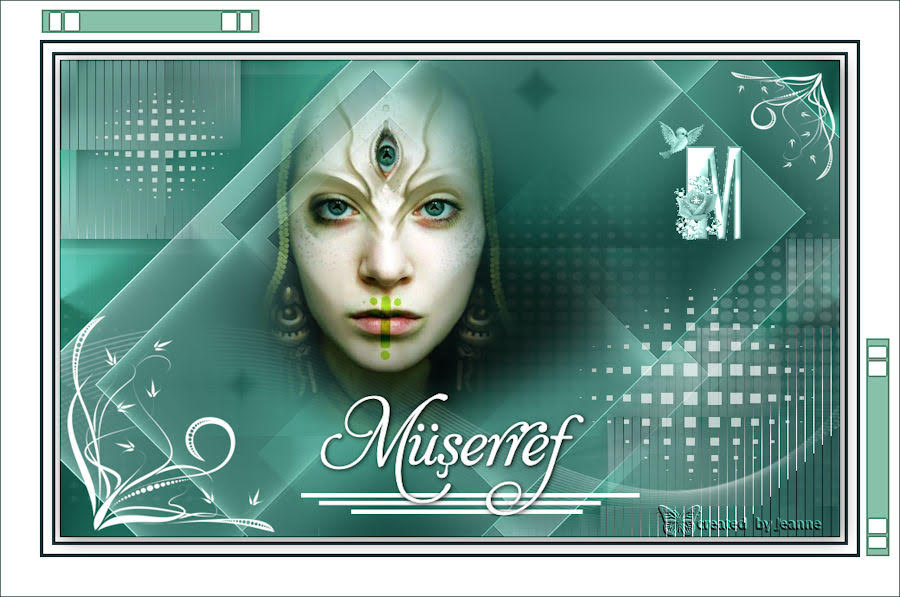
Jeanne
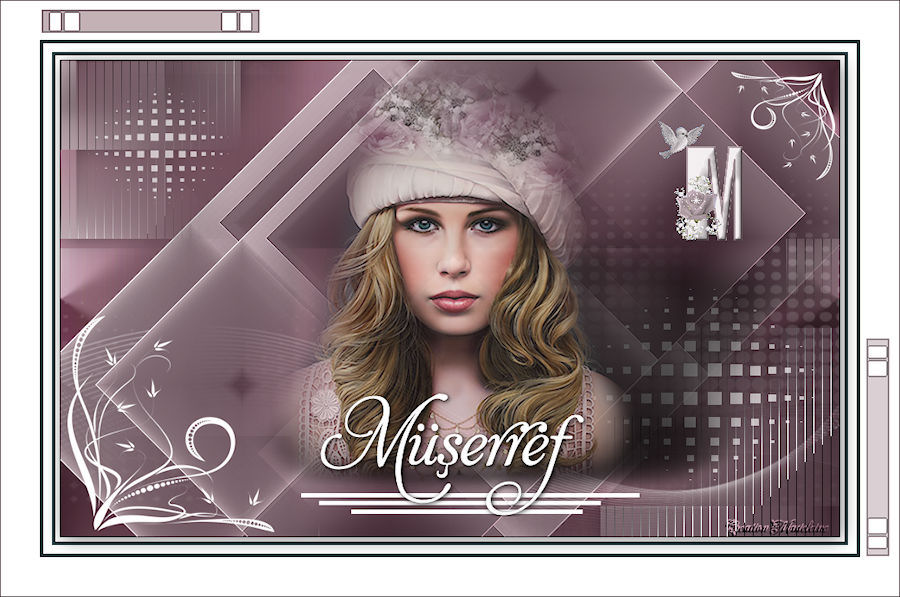
Madeline
Henny
CorryvdWiel
Thank you Marion
Thank you Mayke