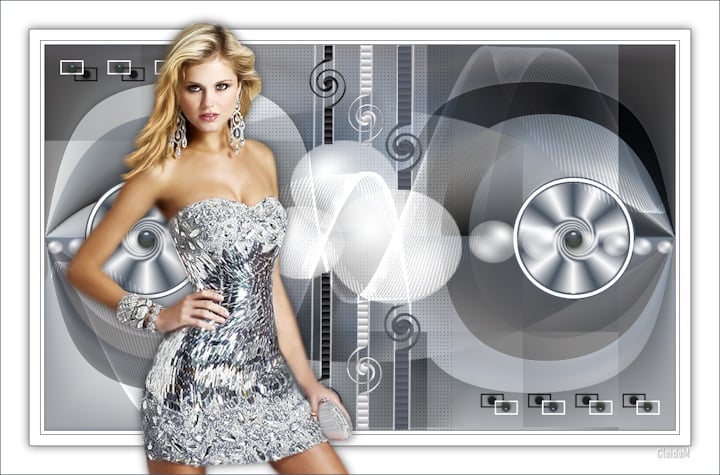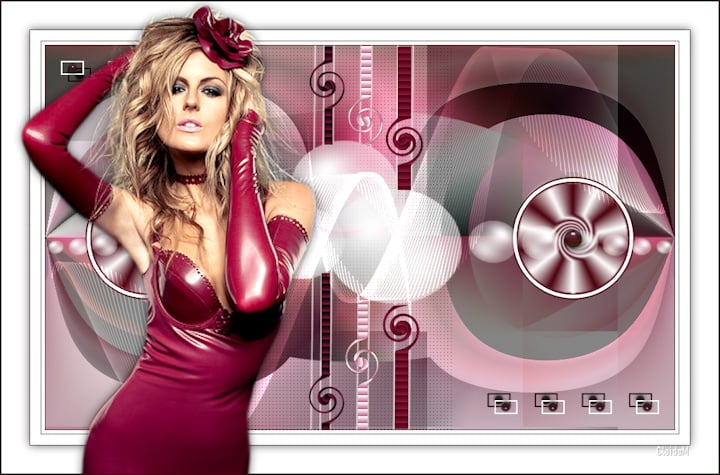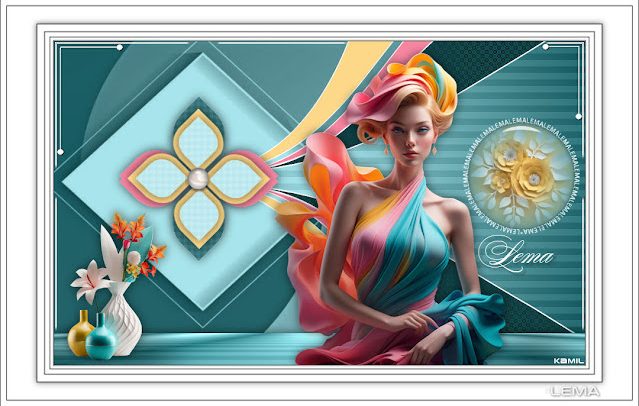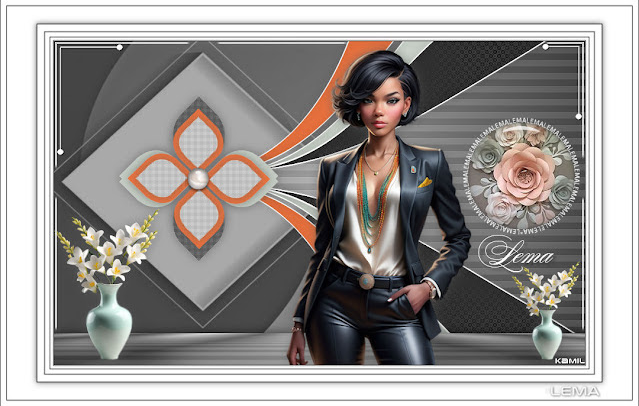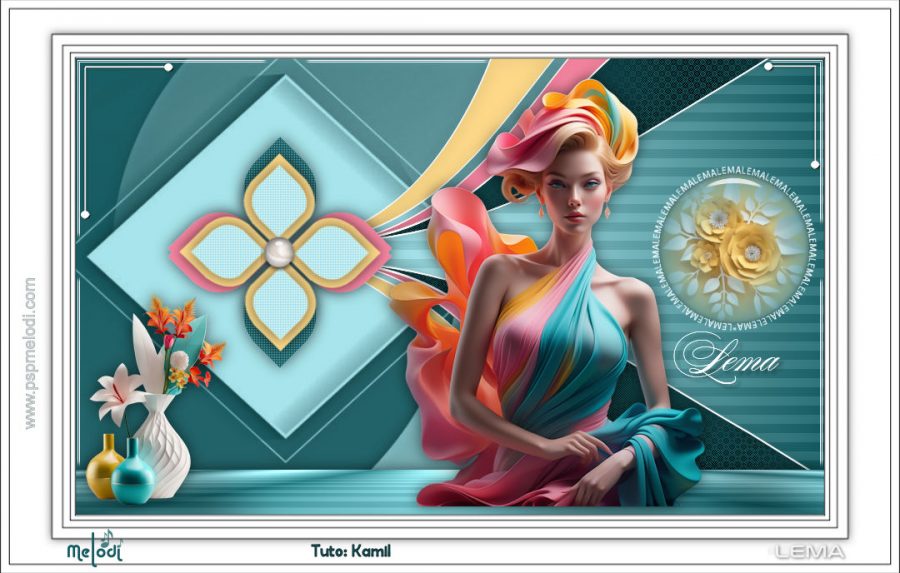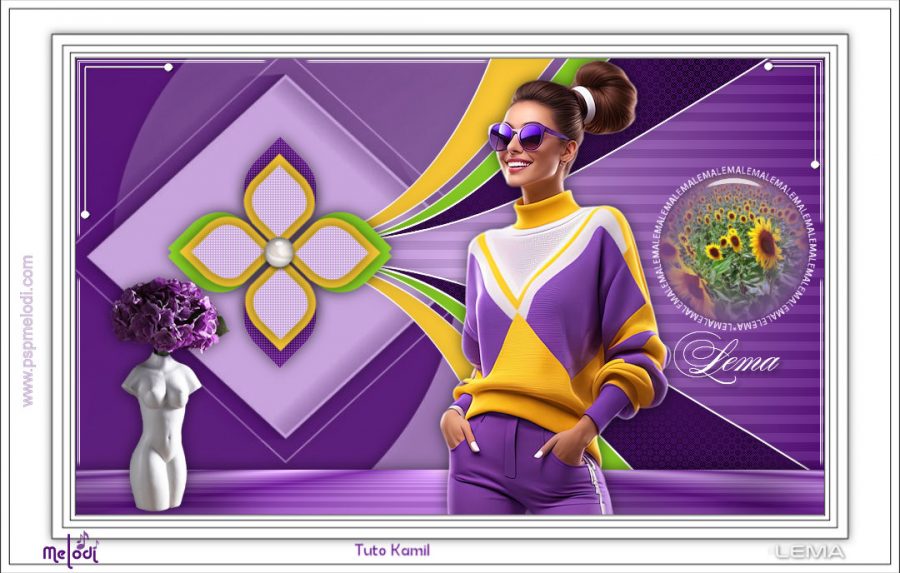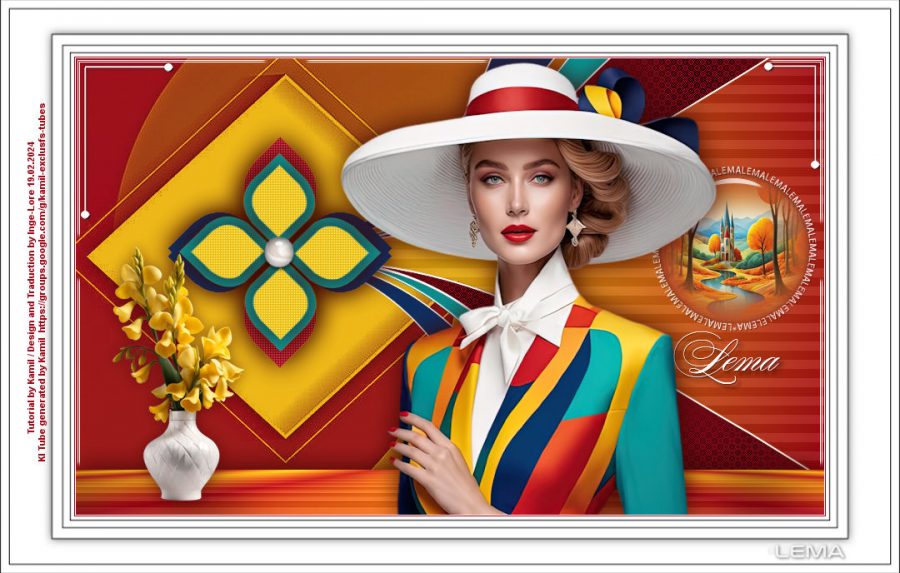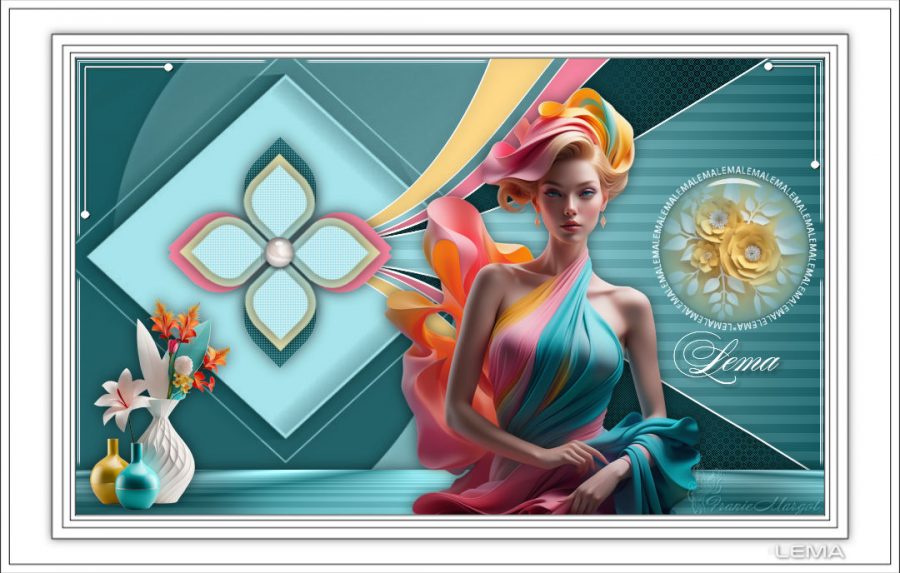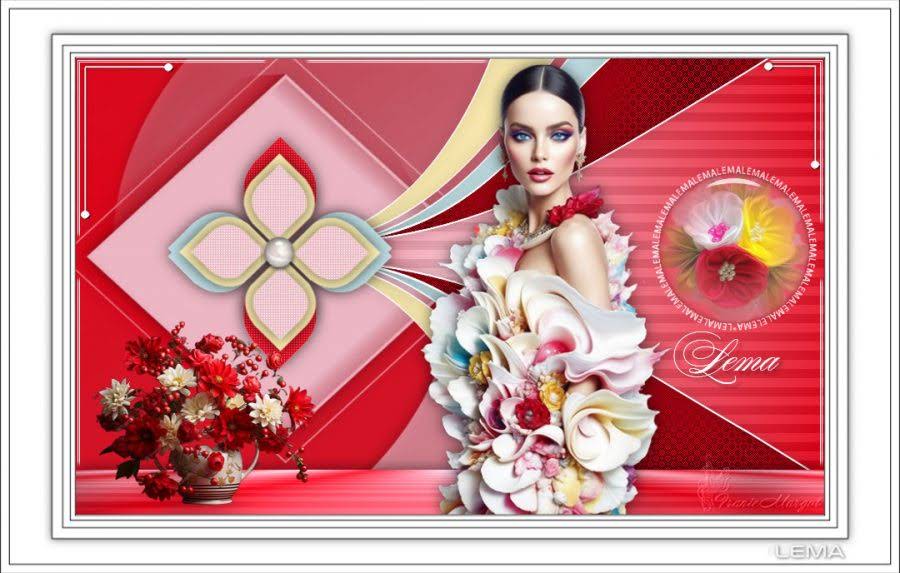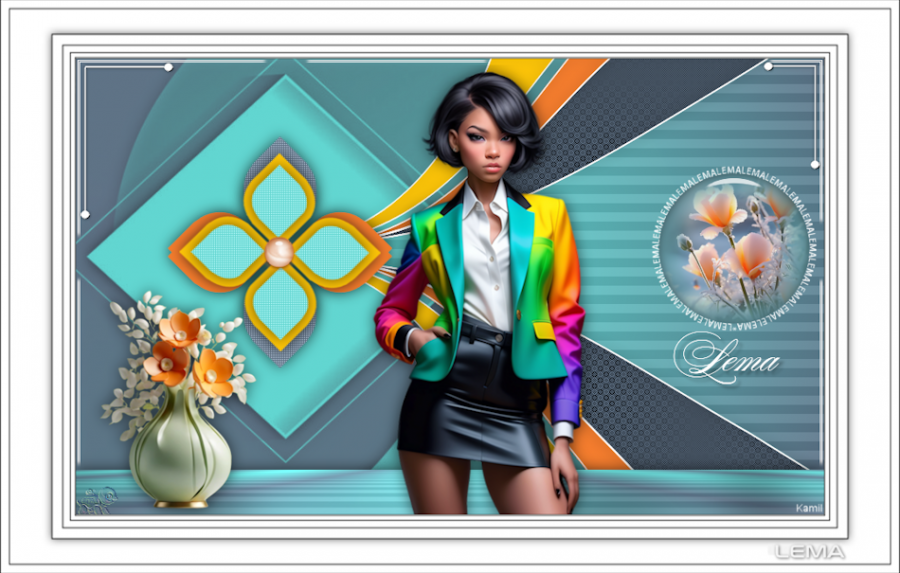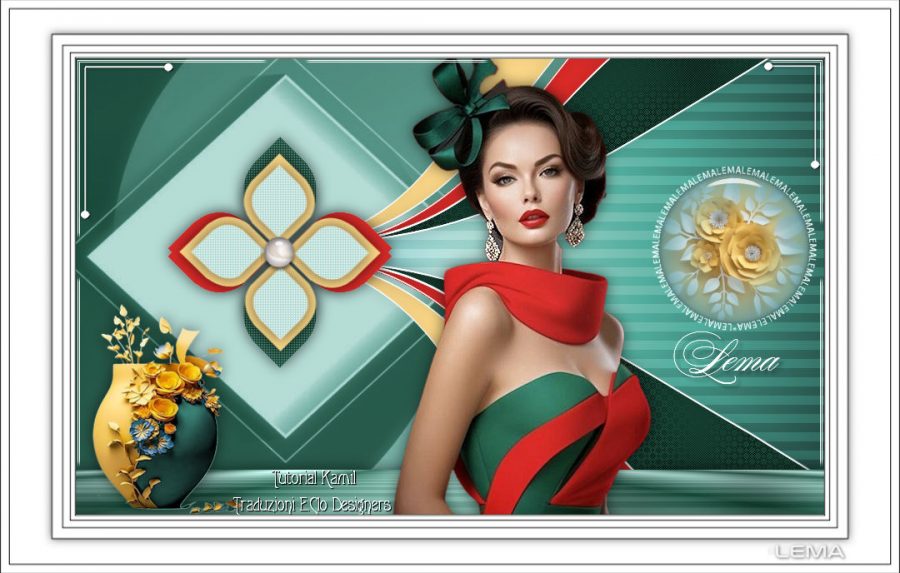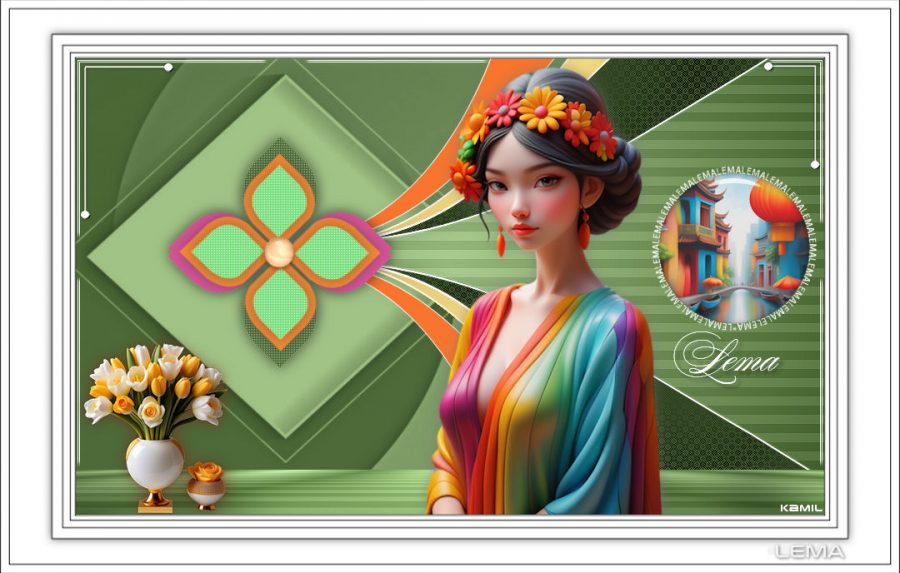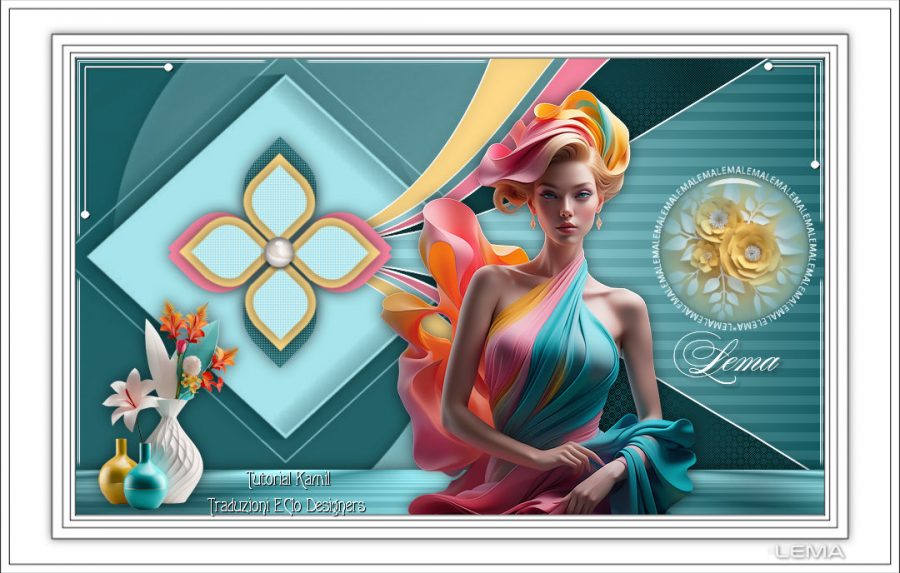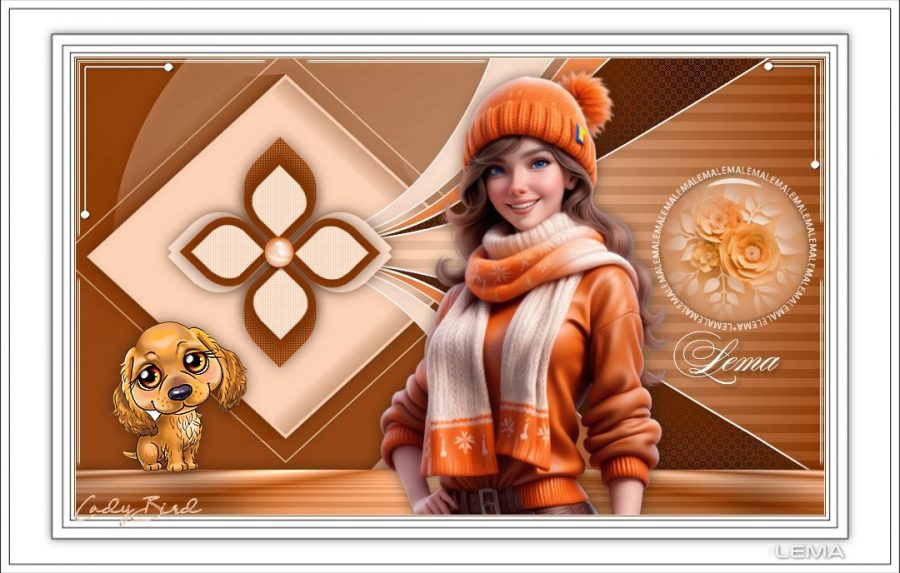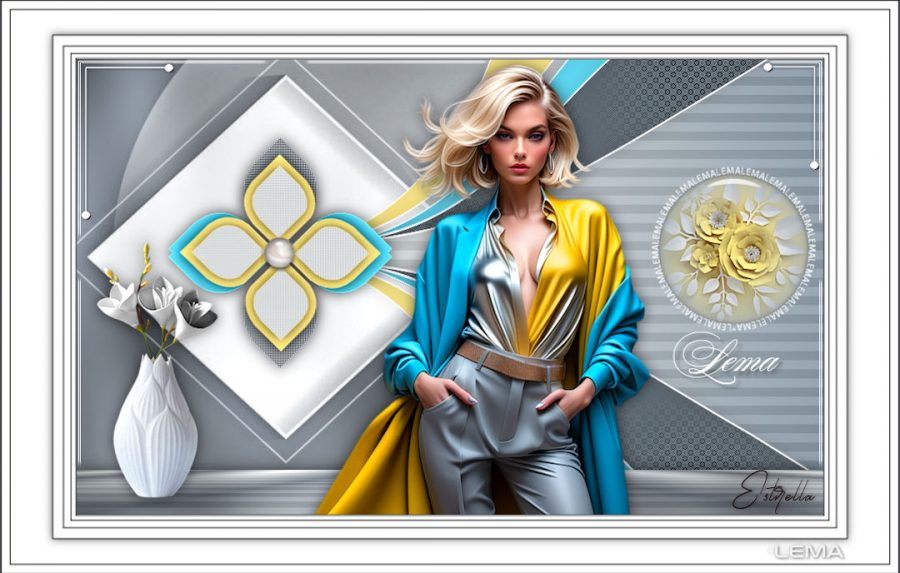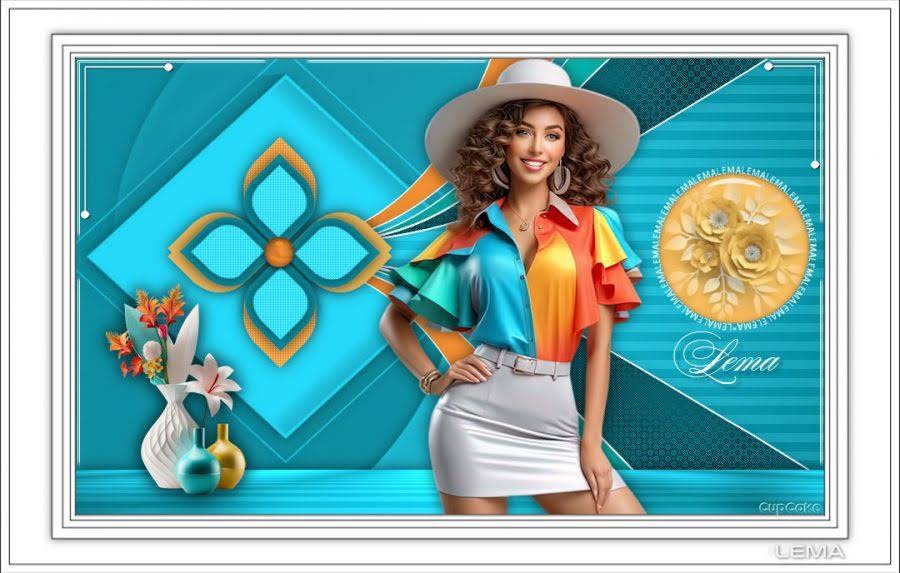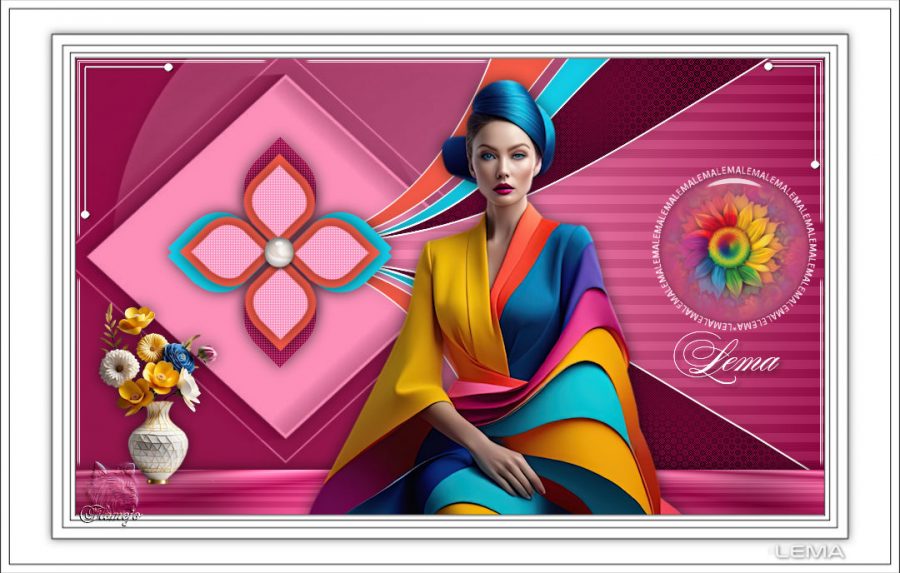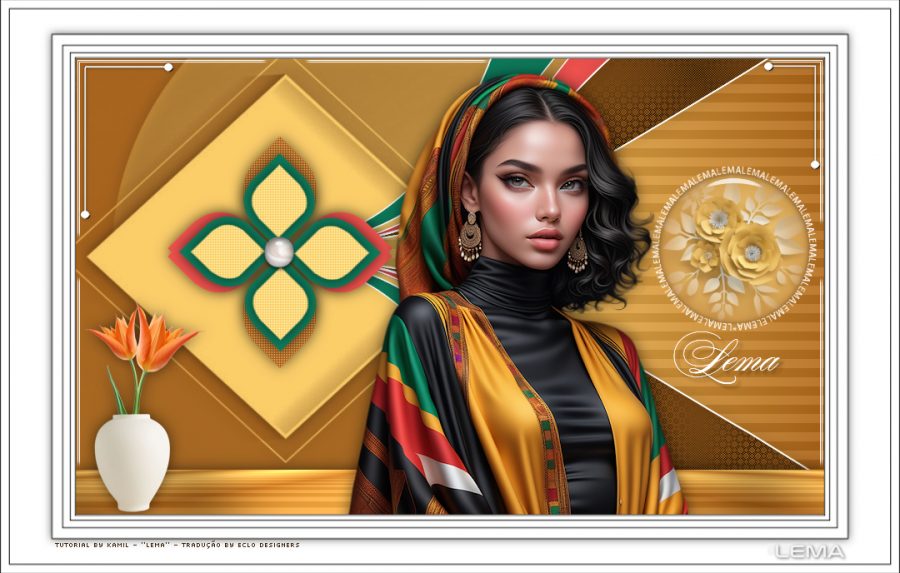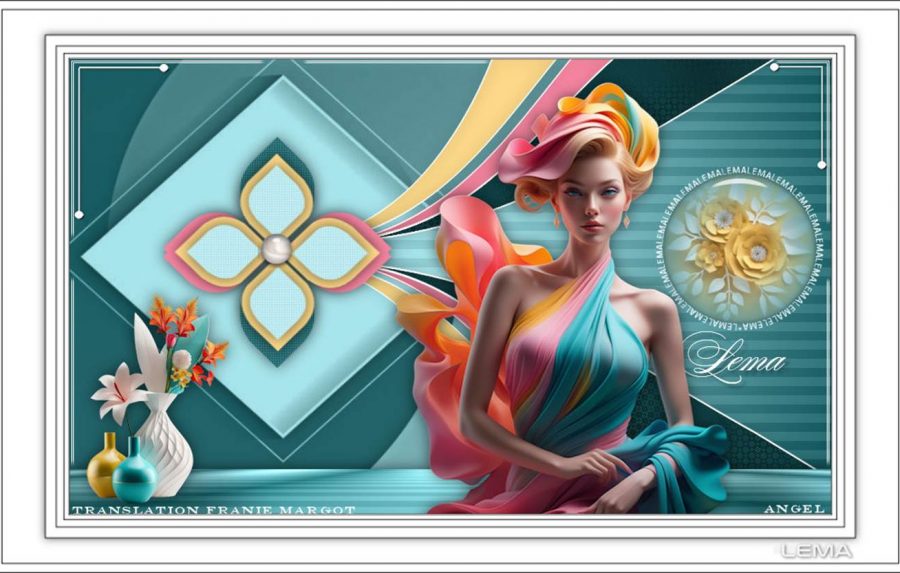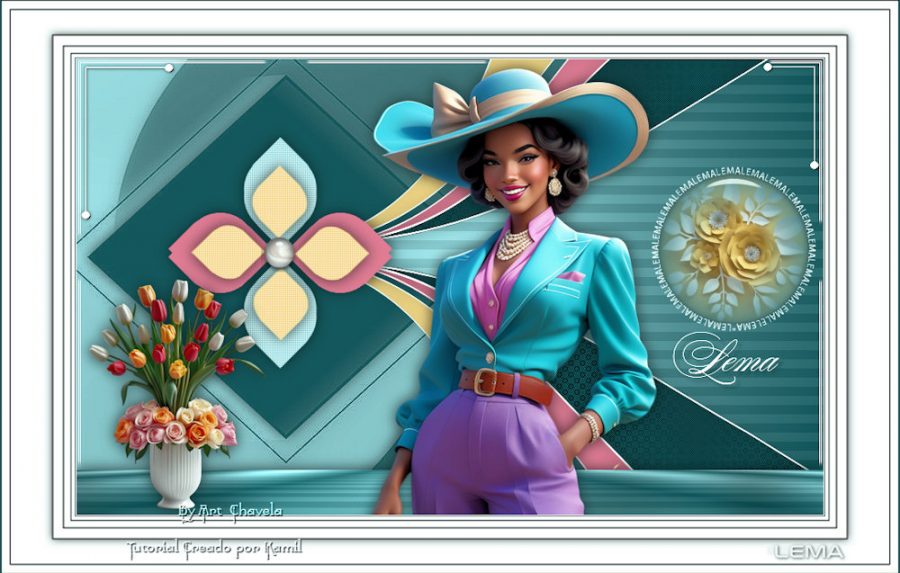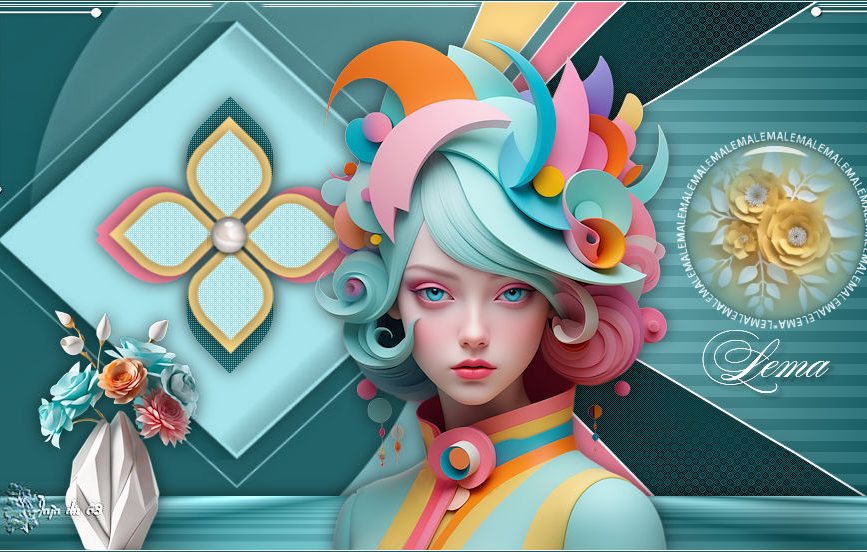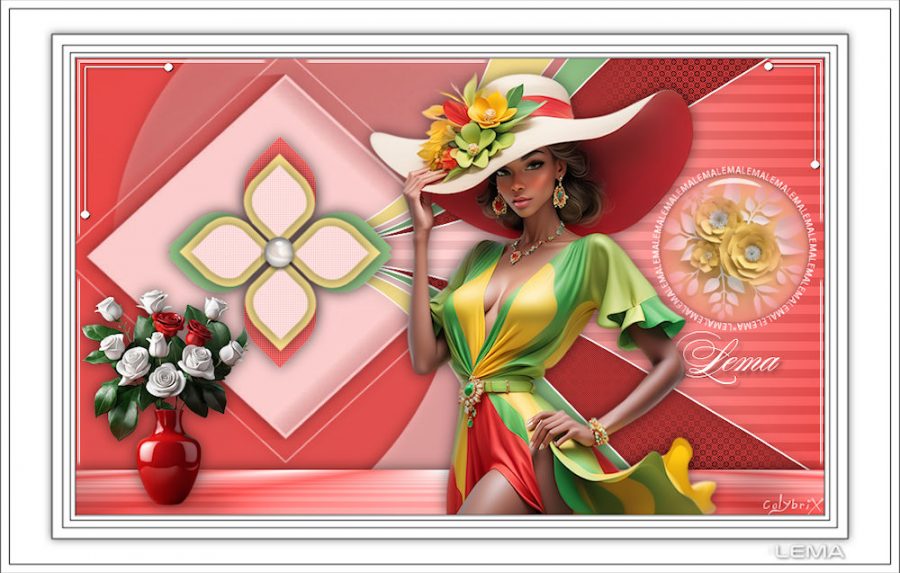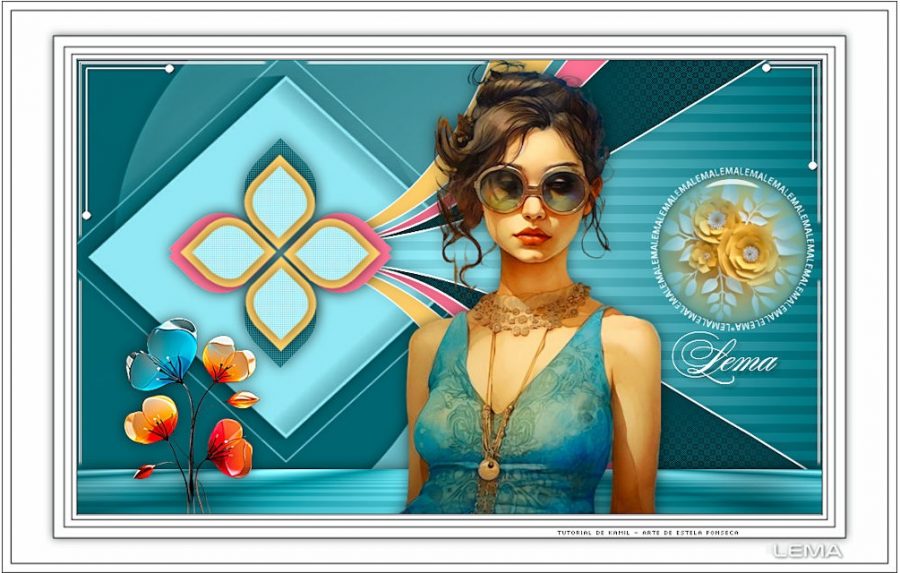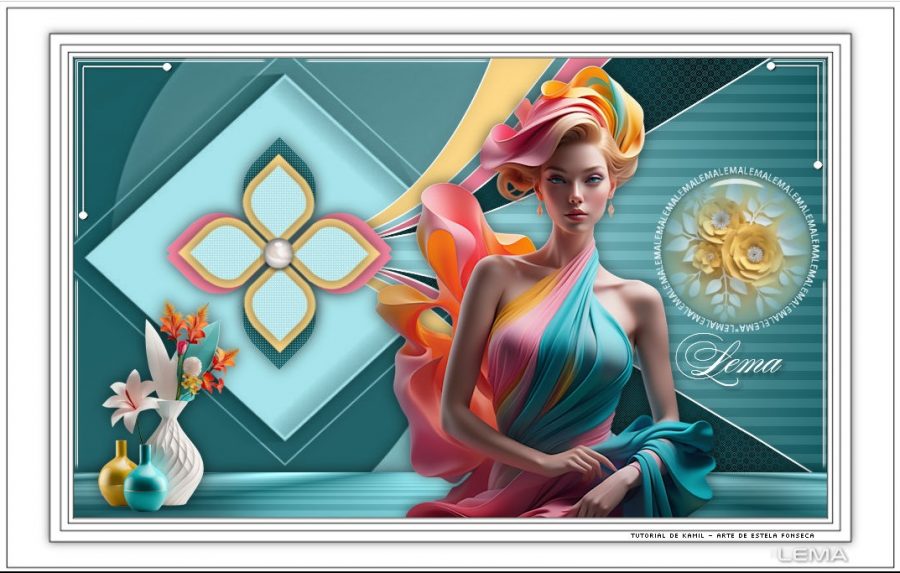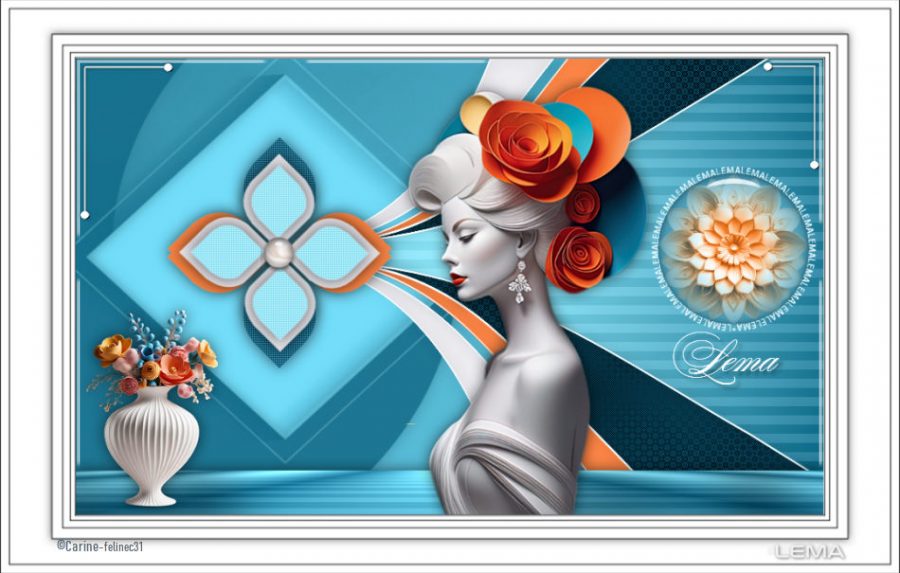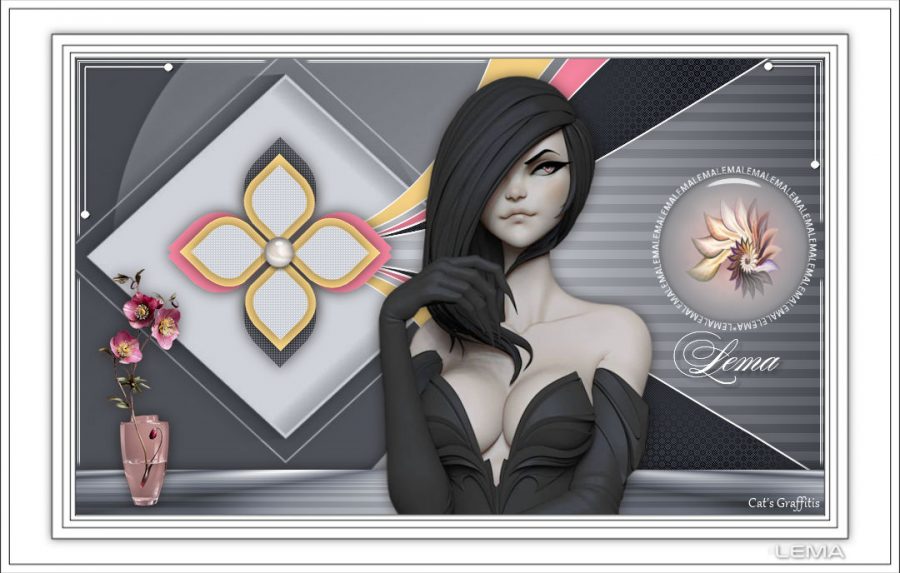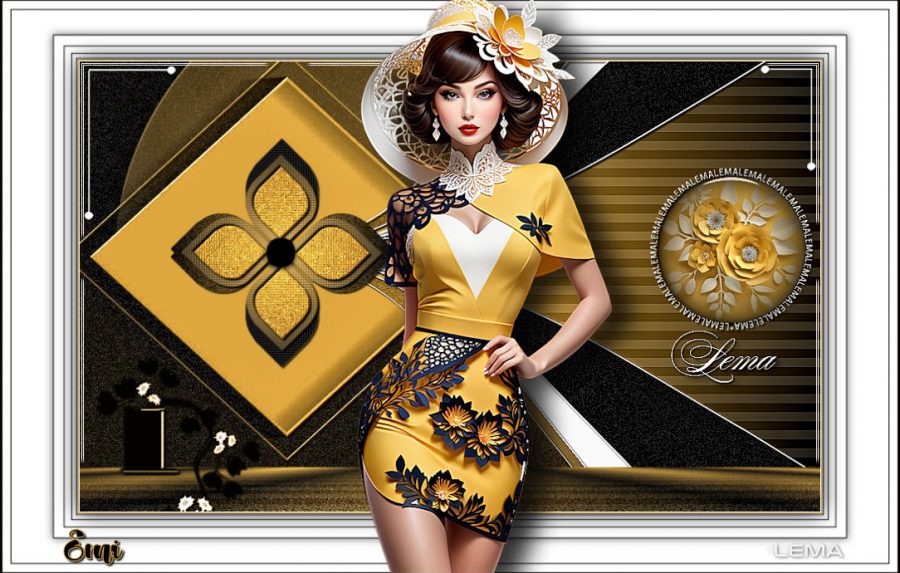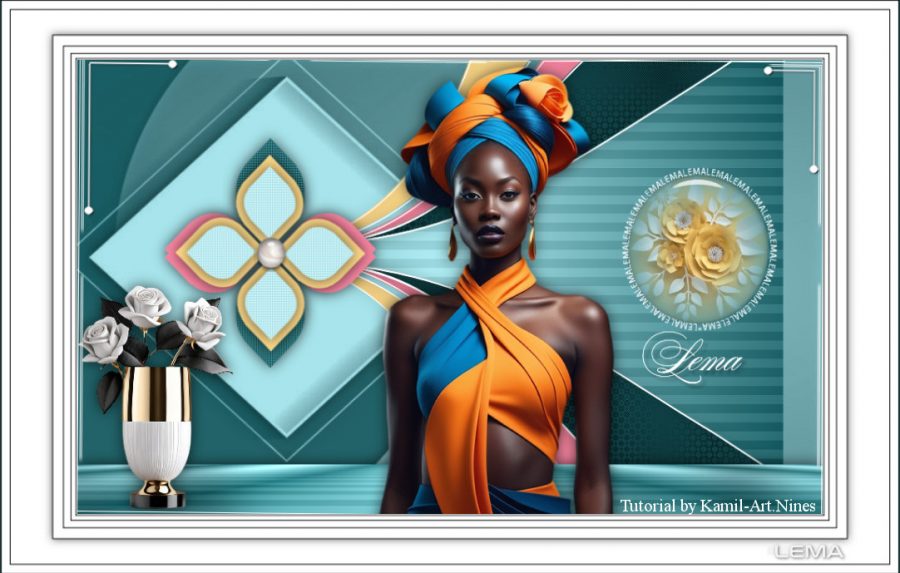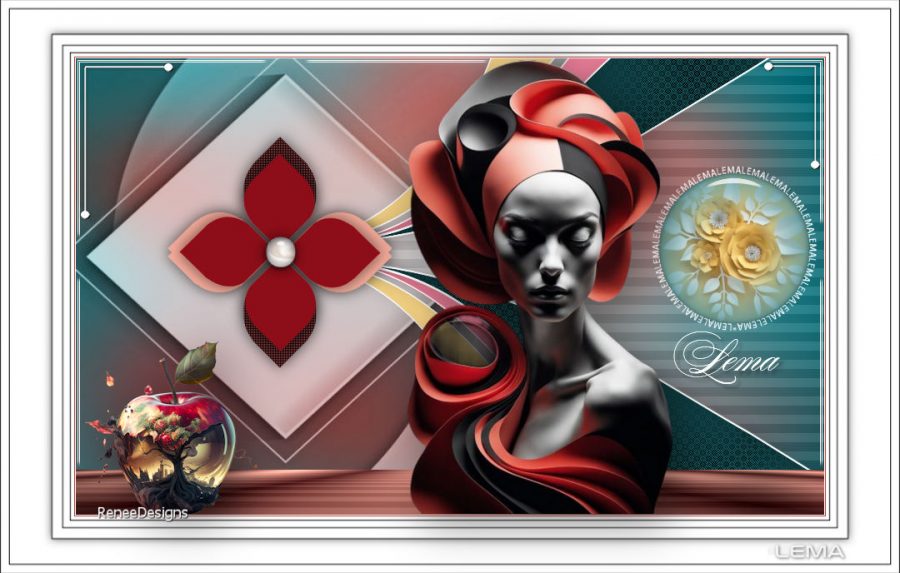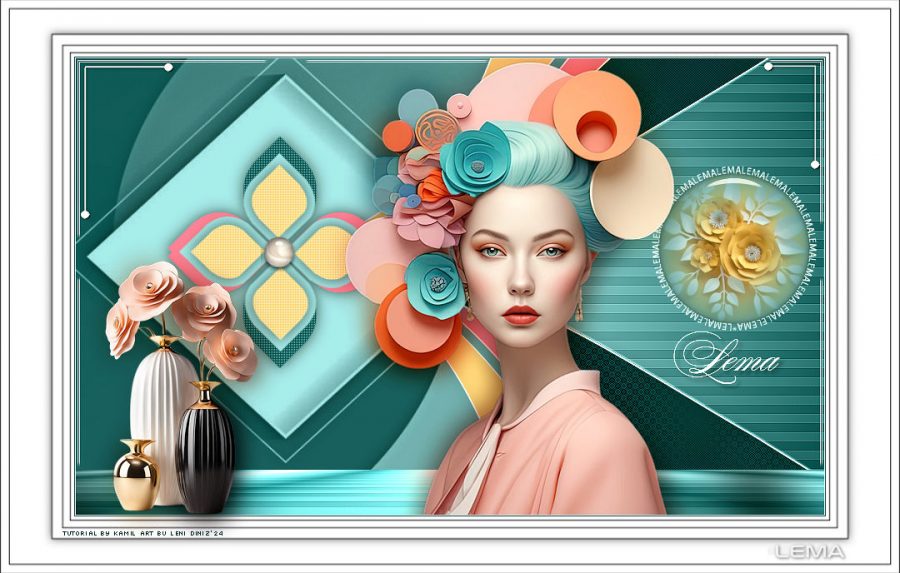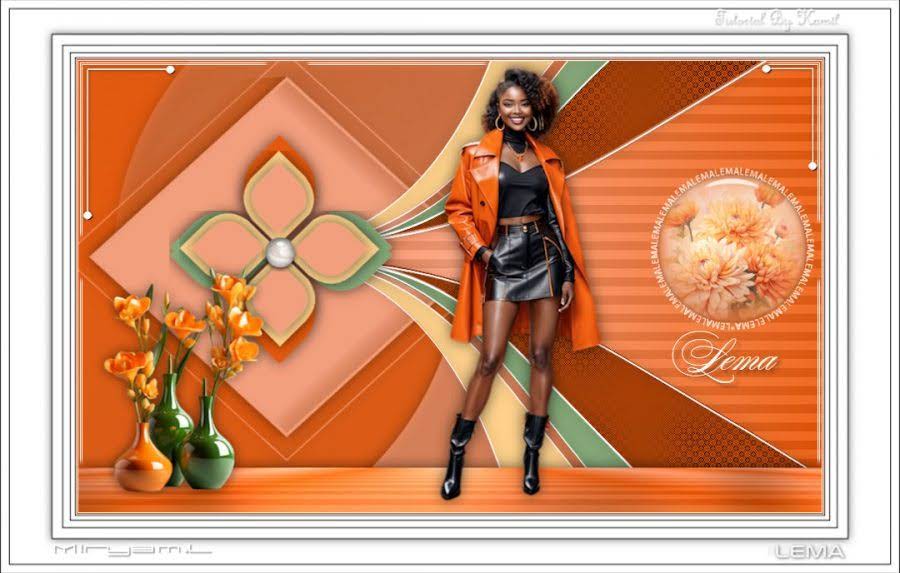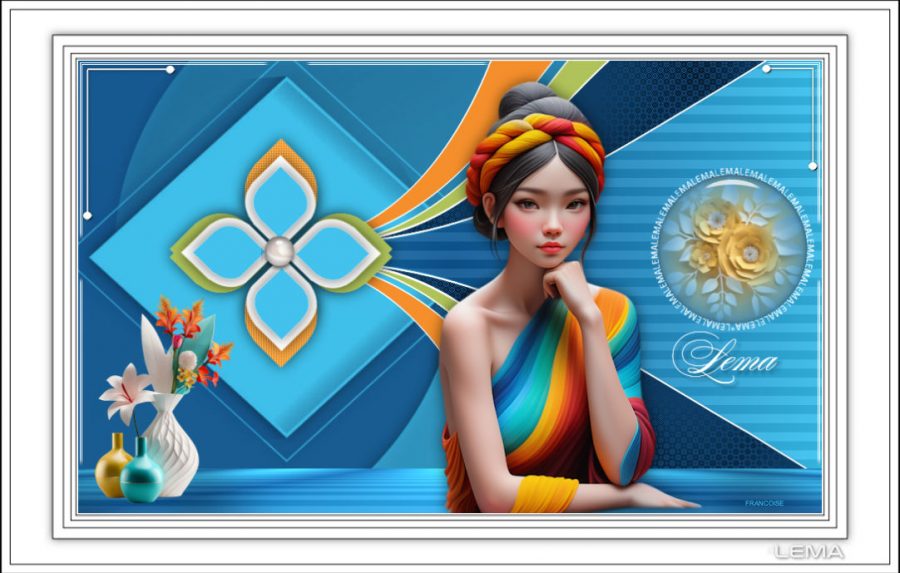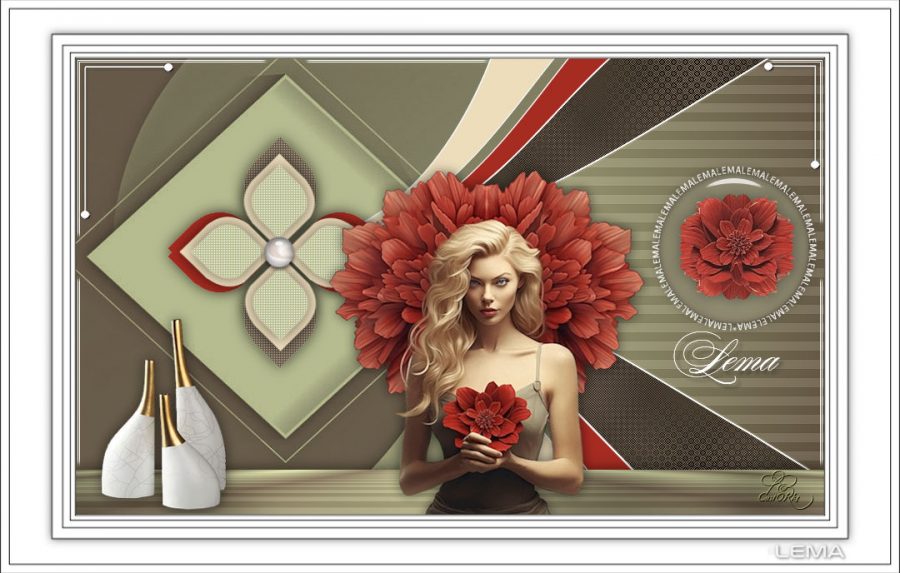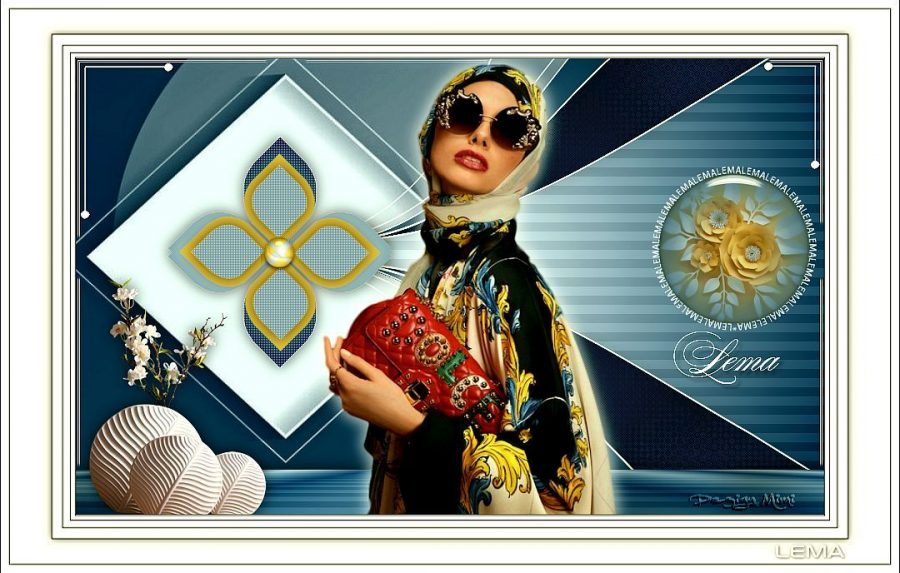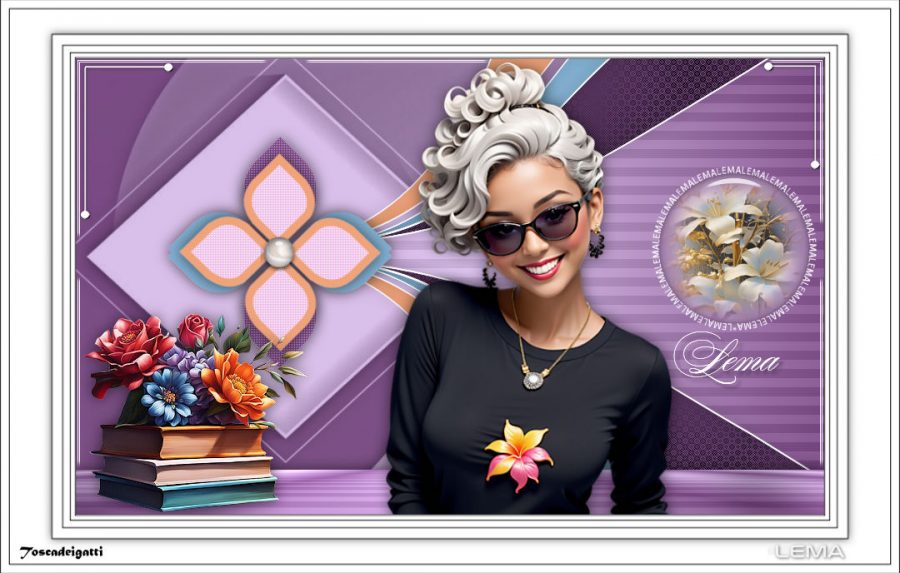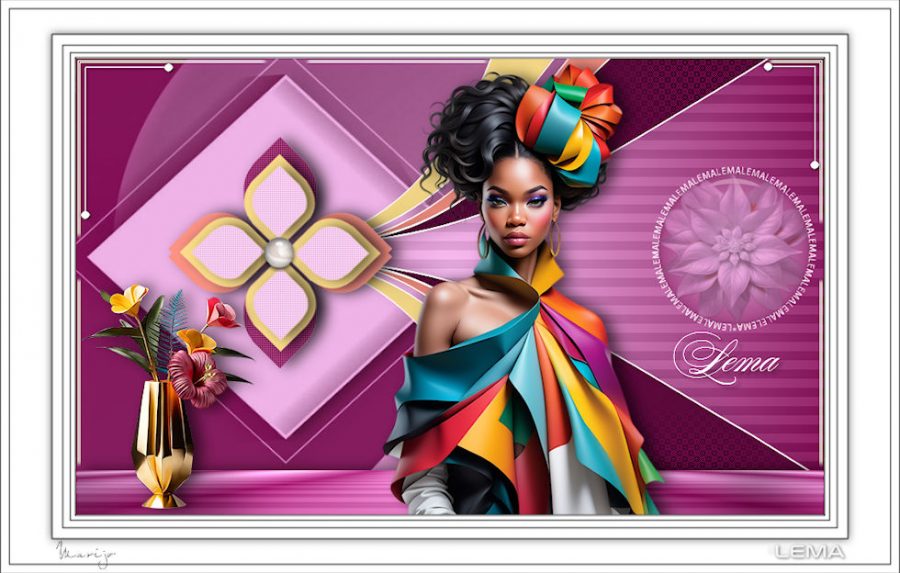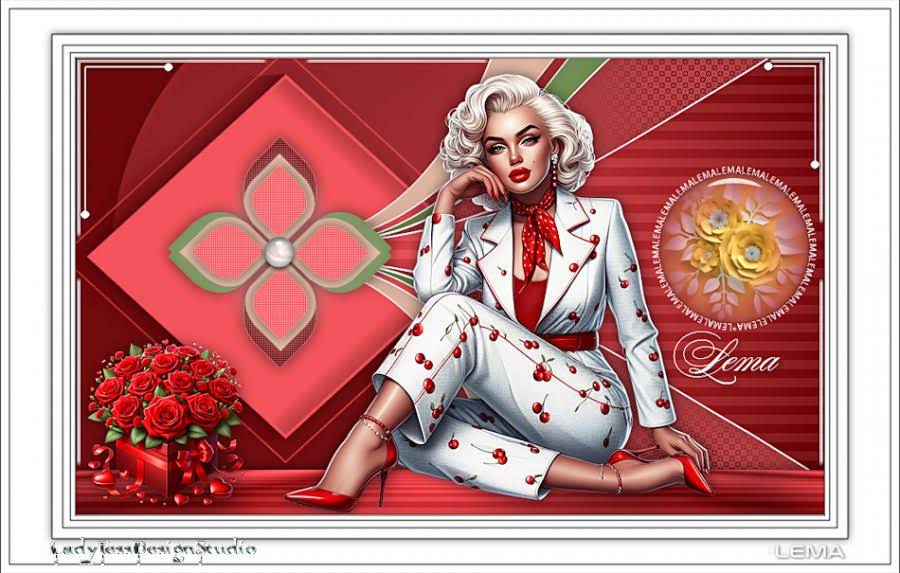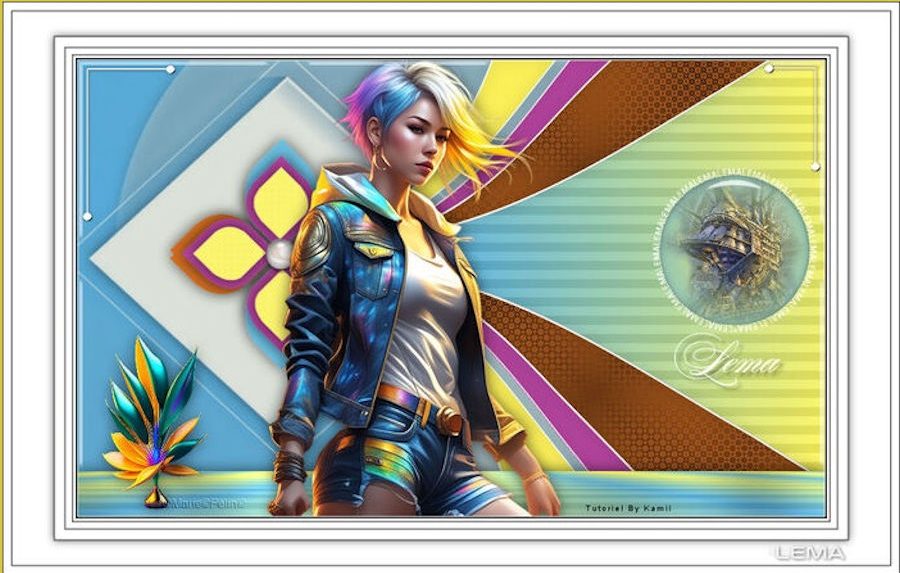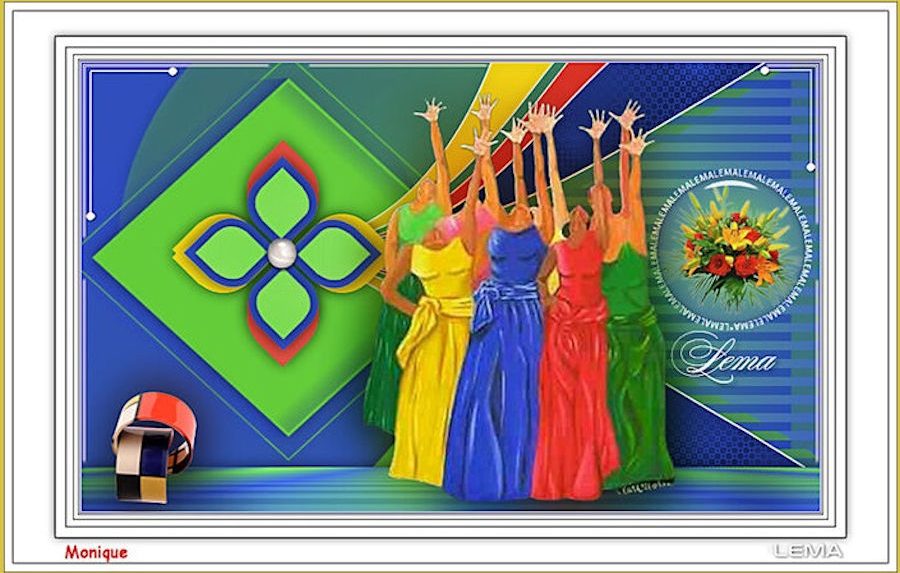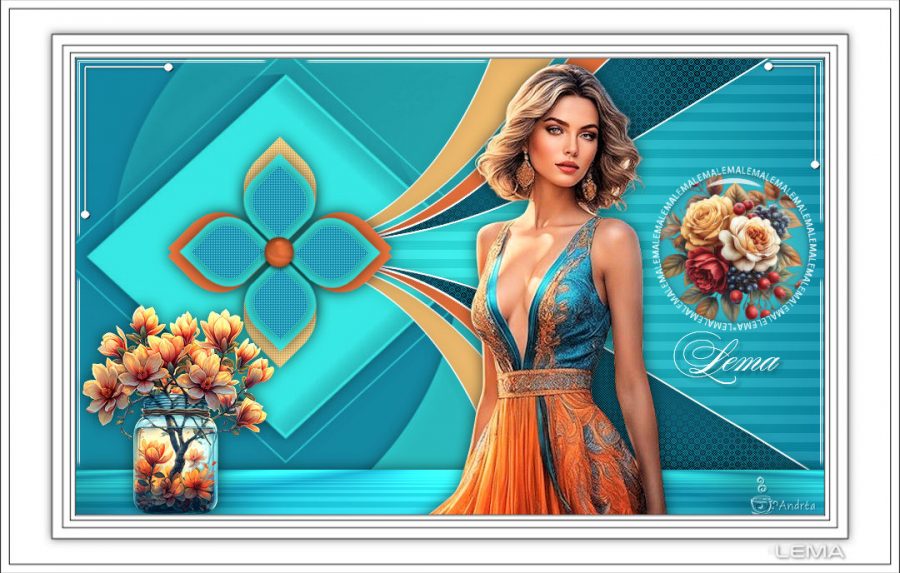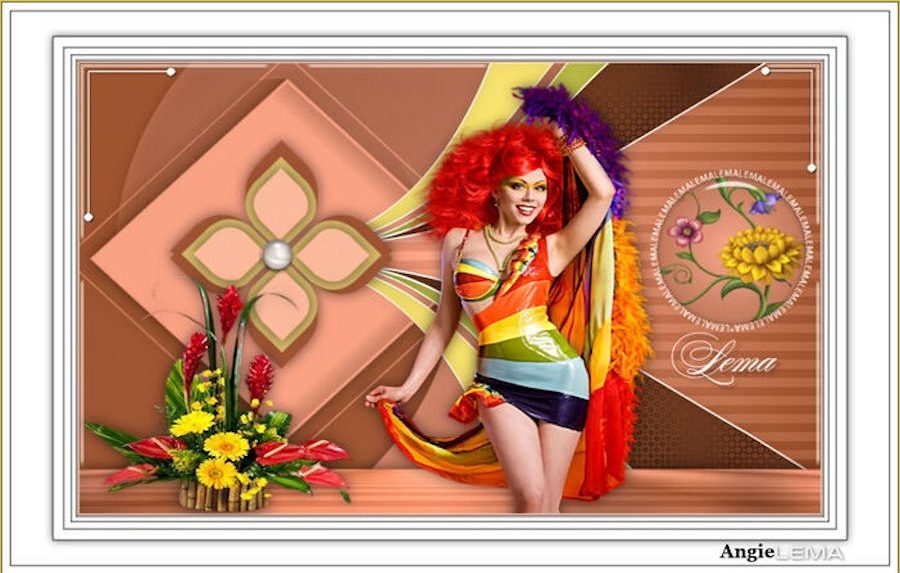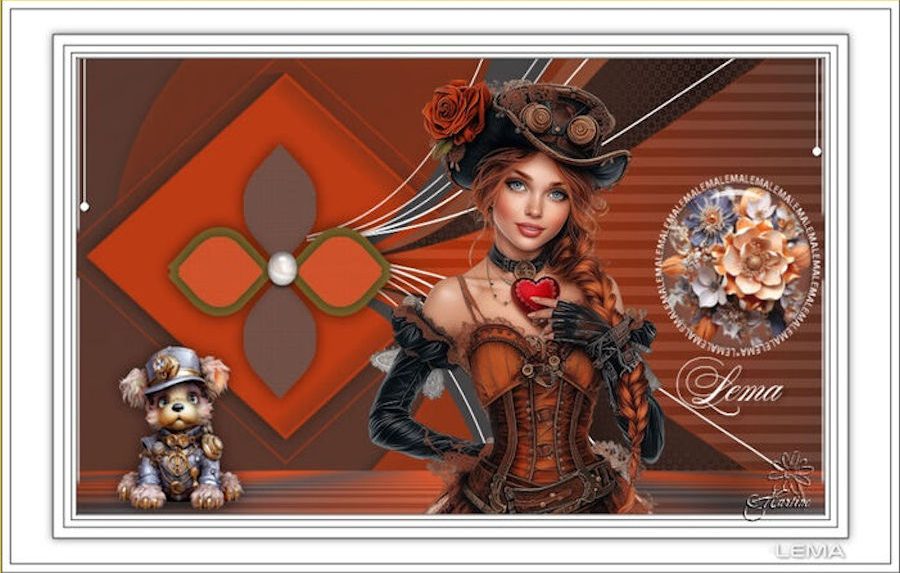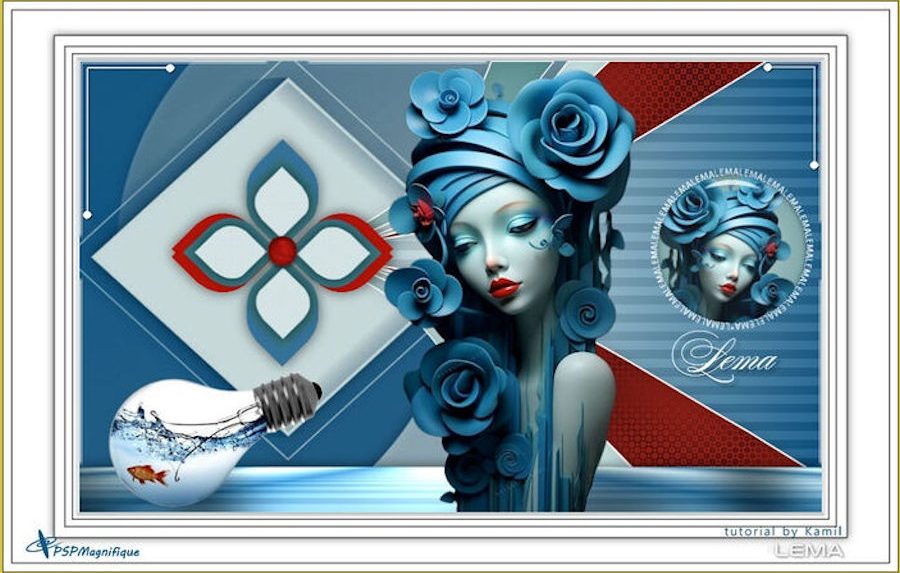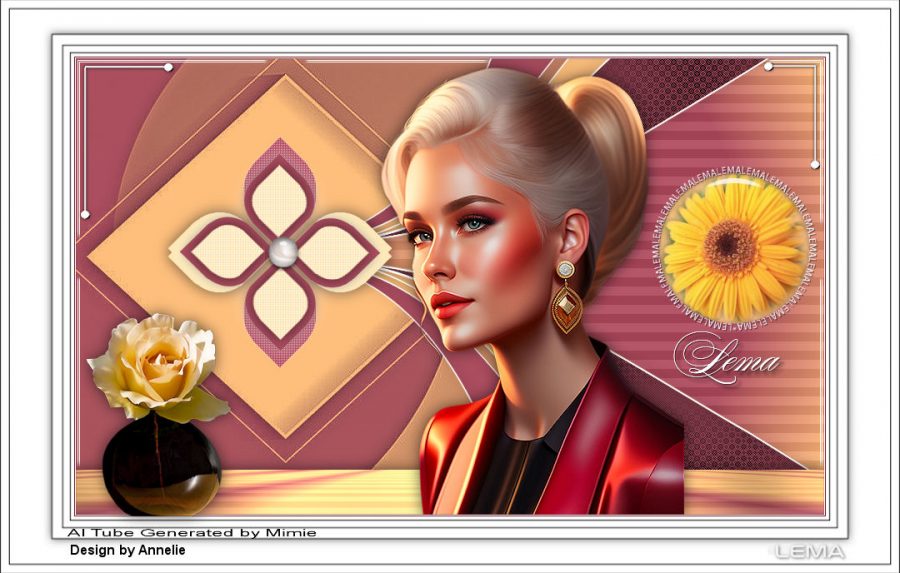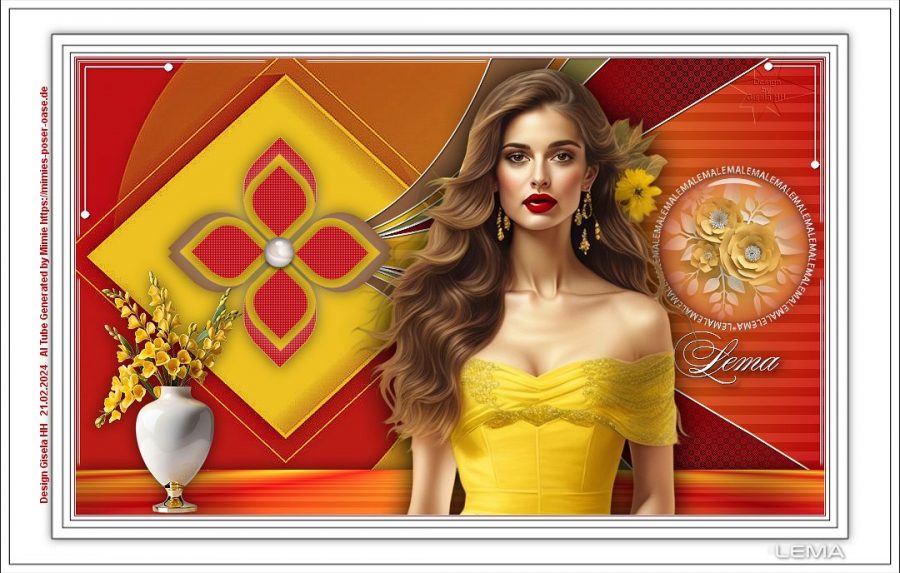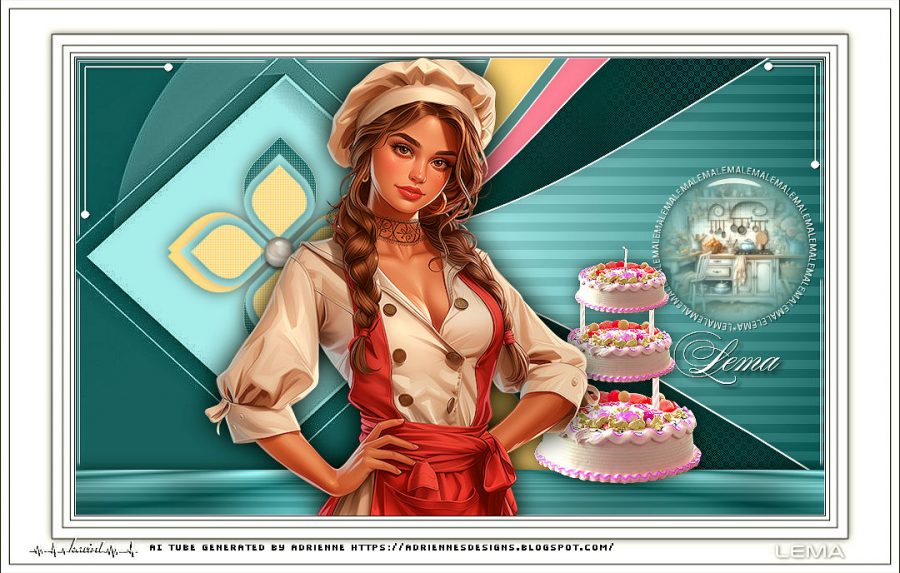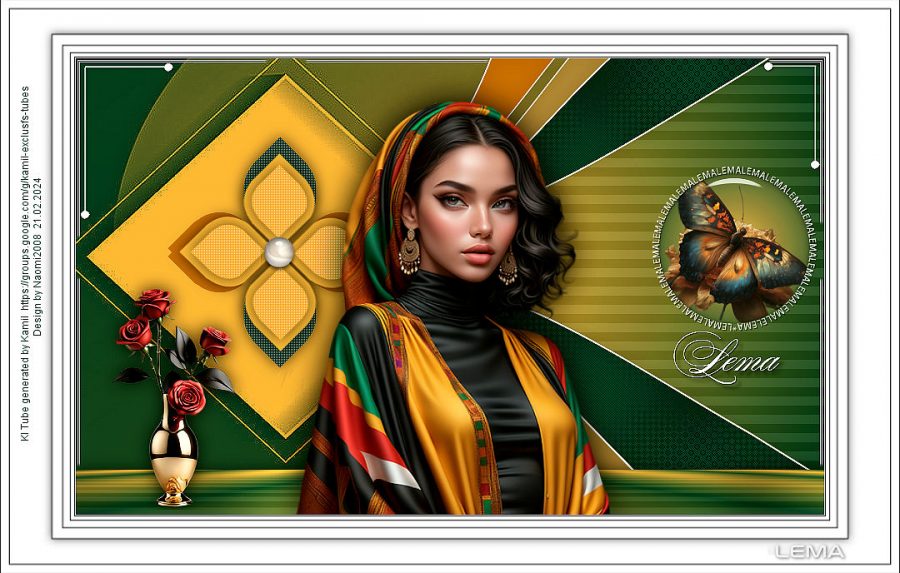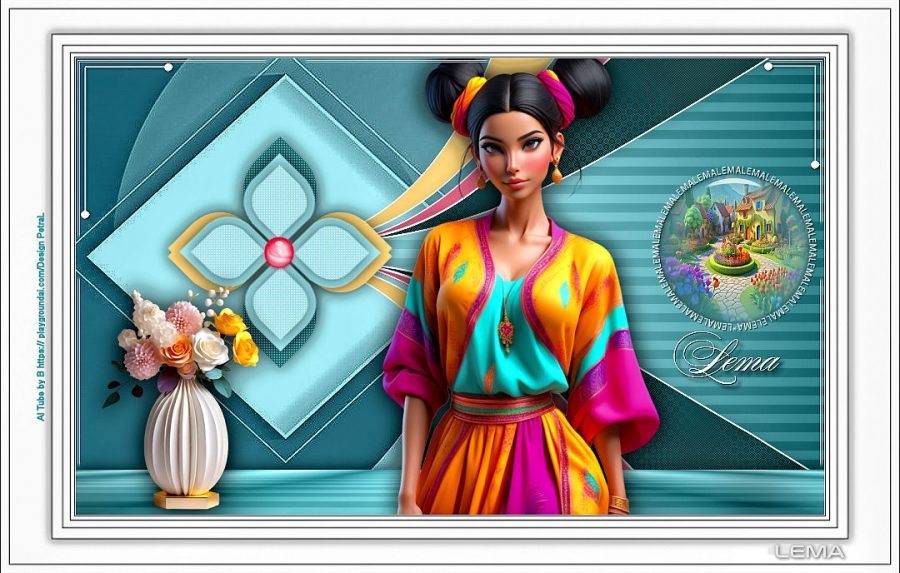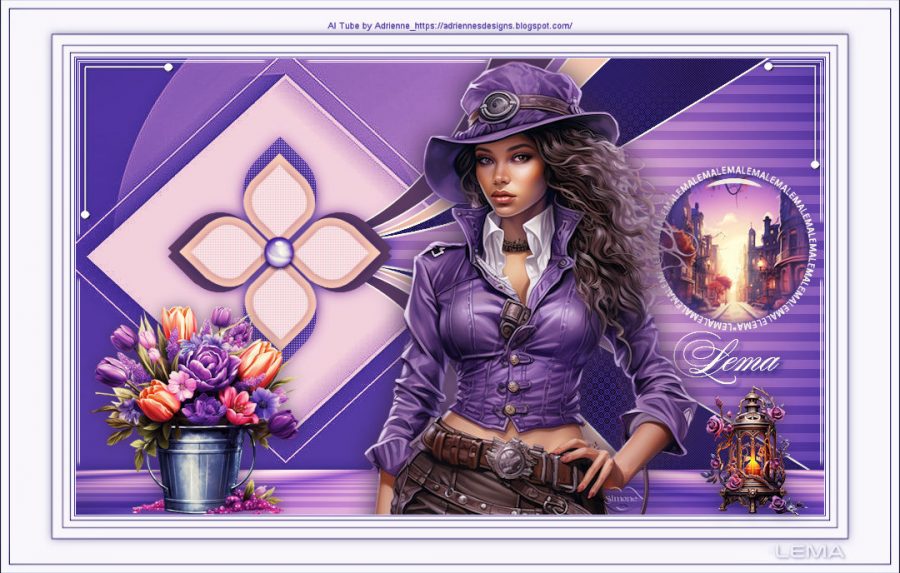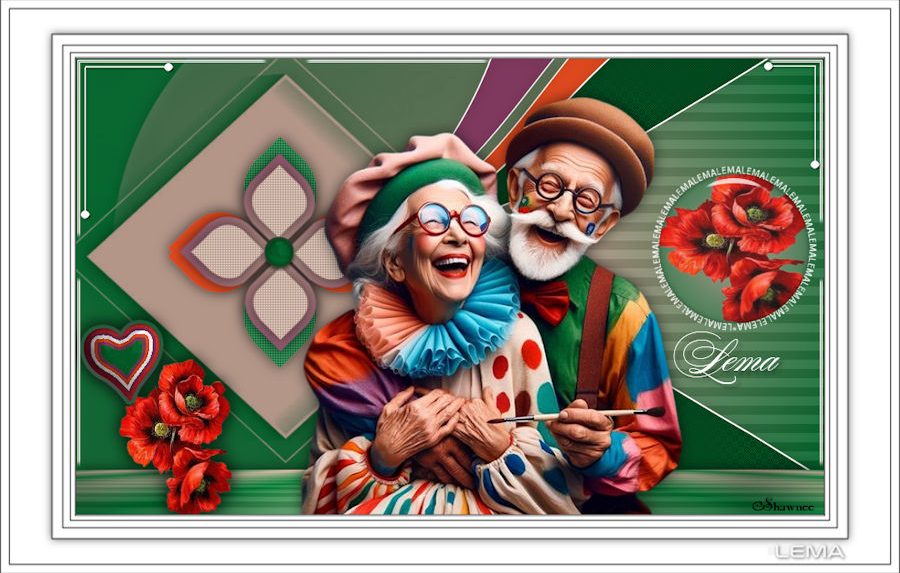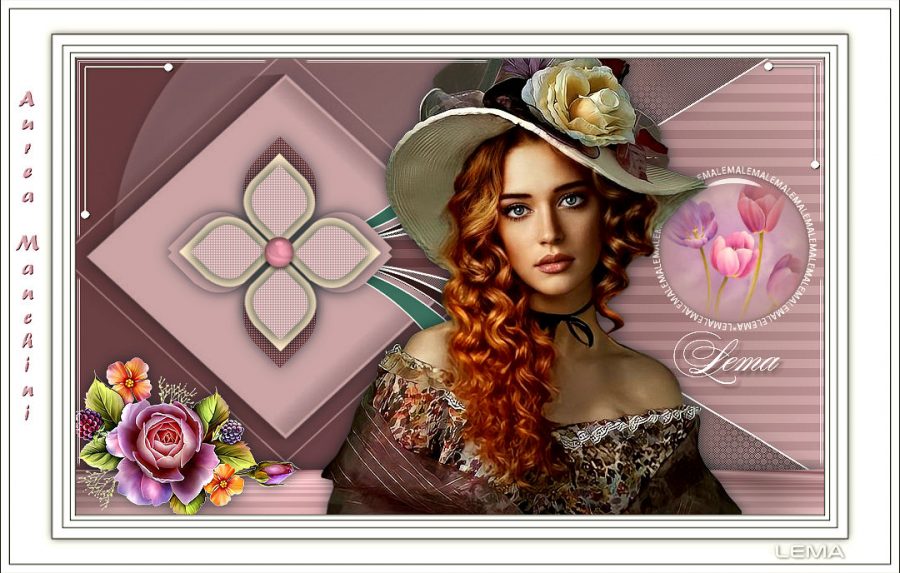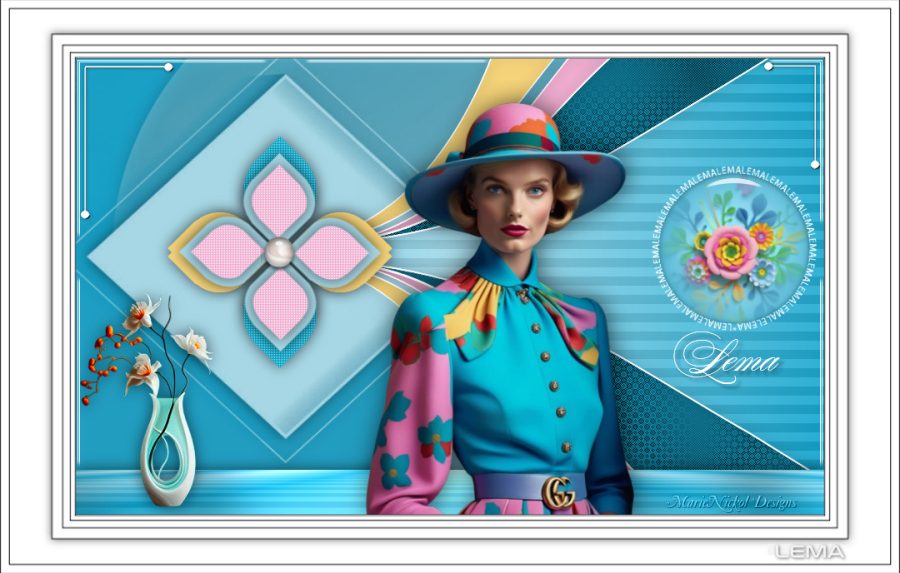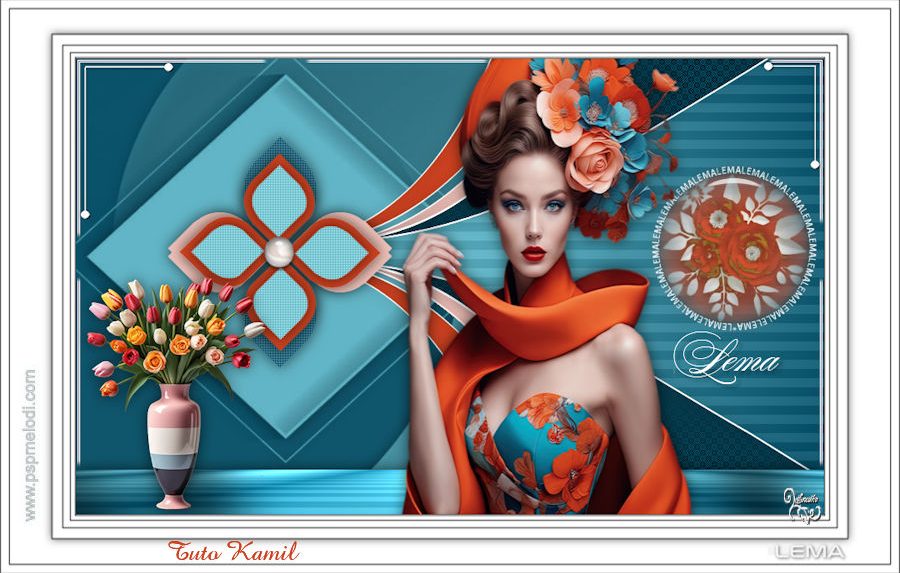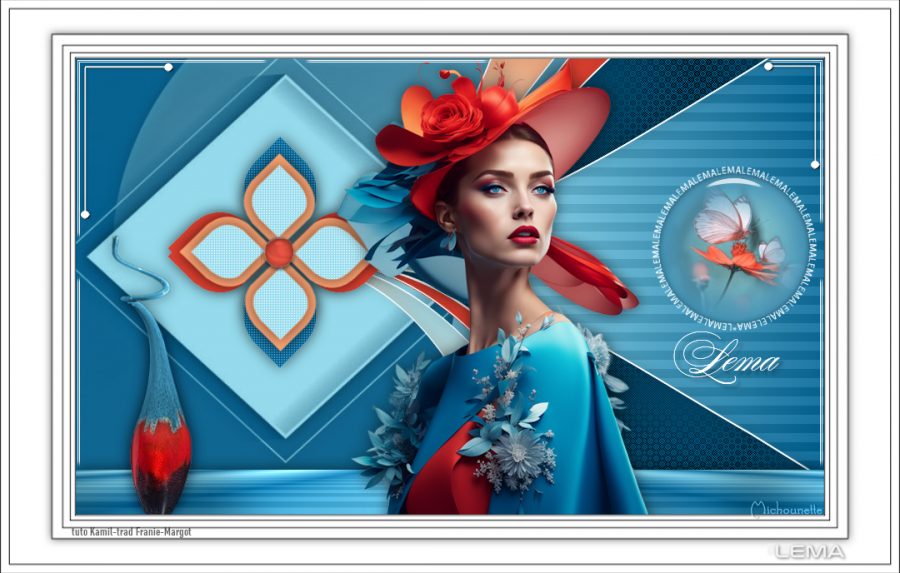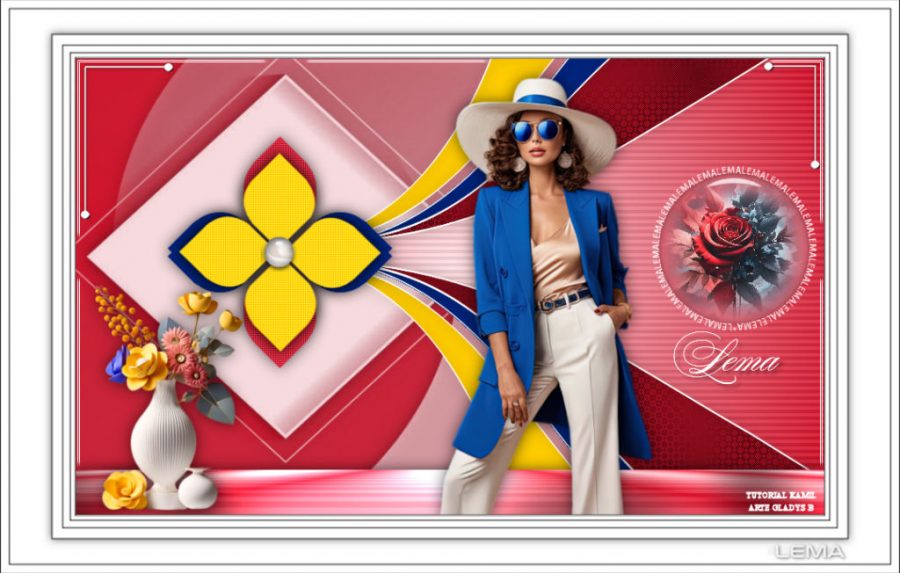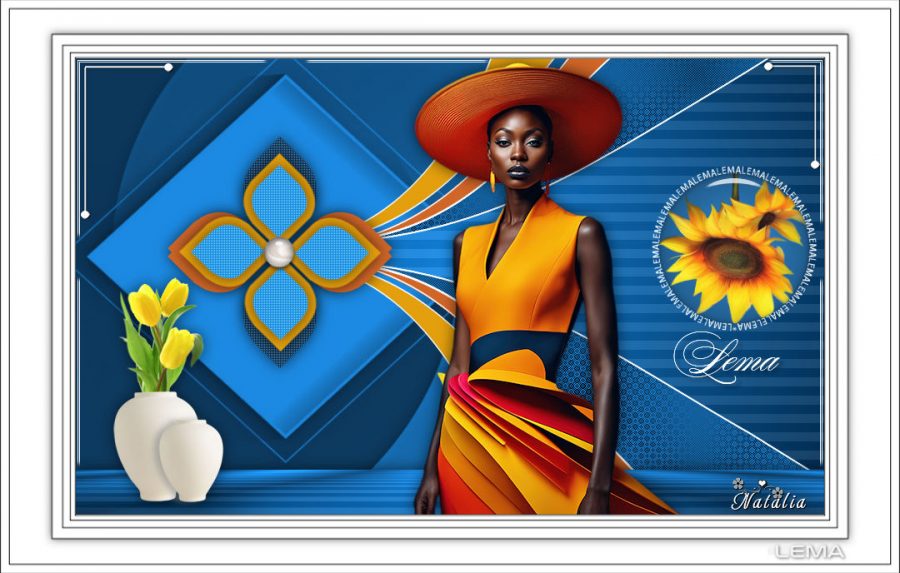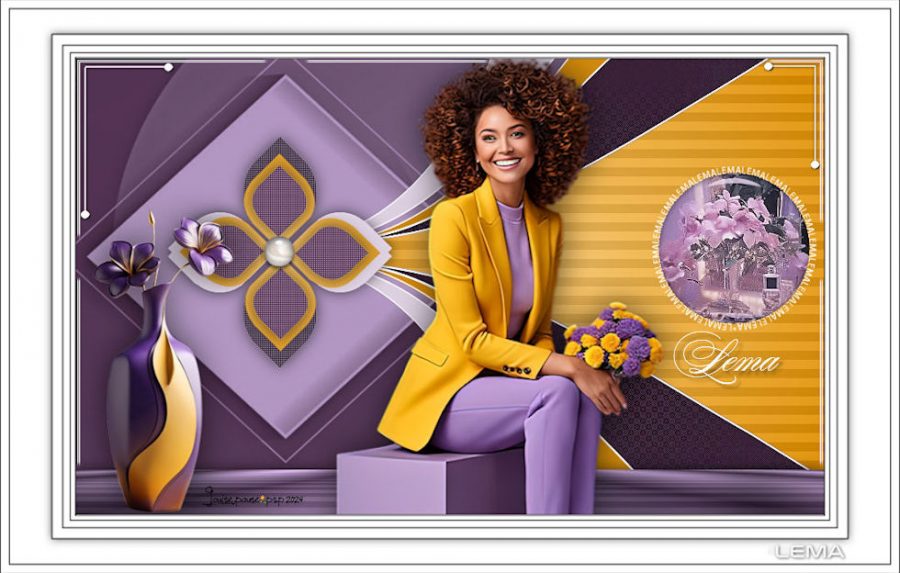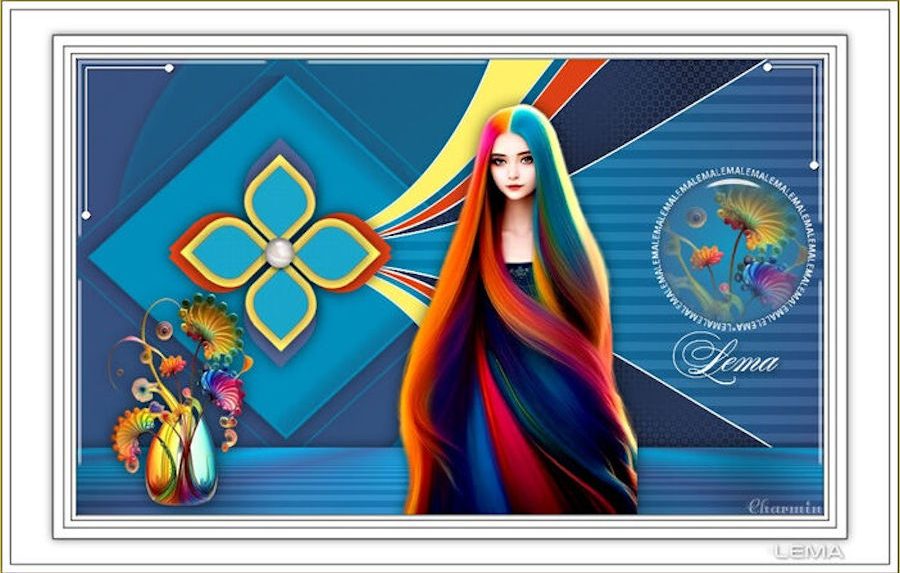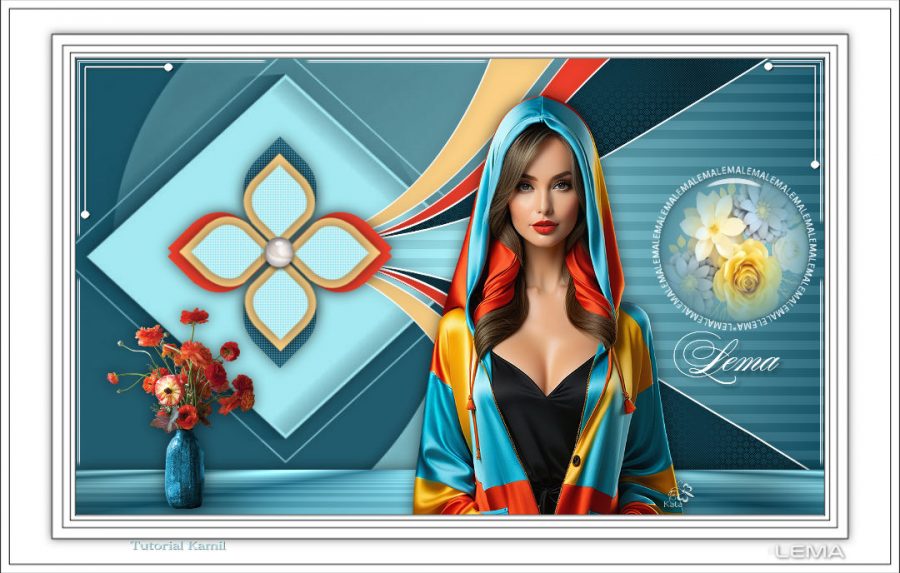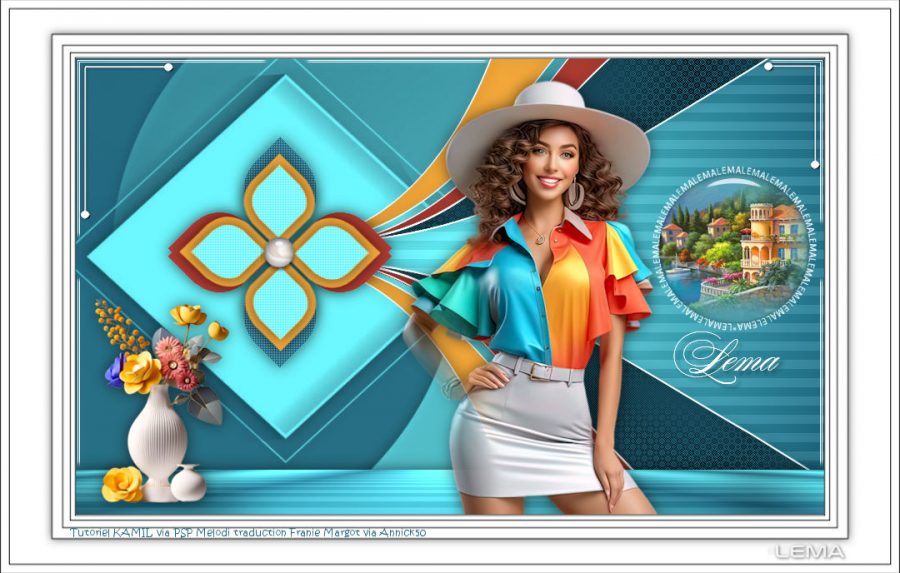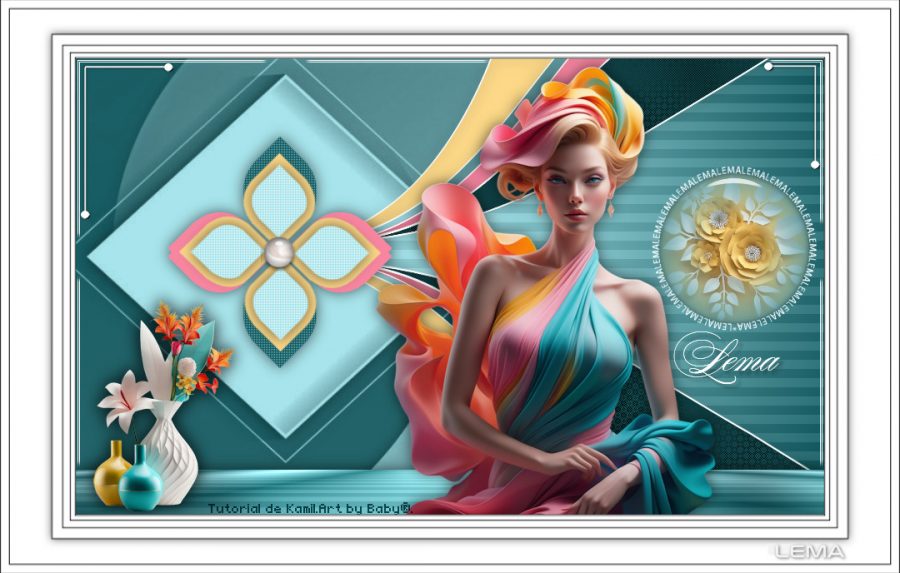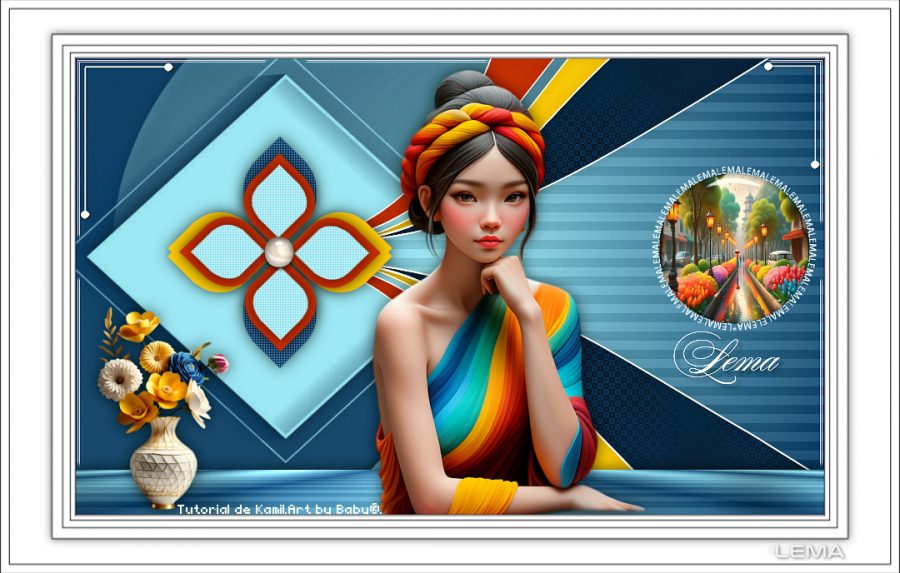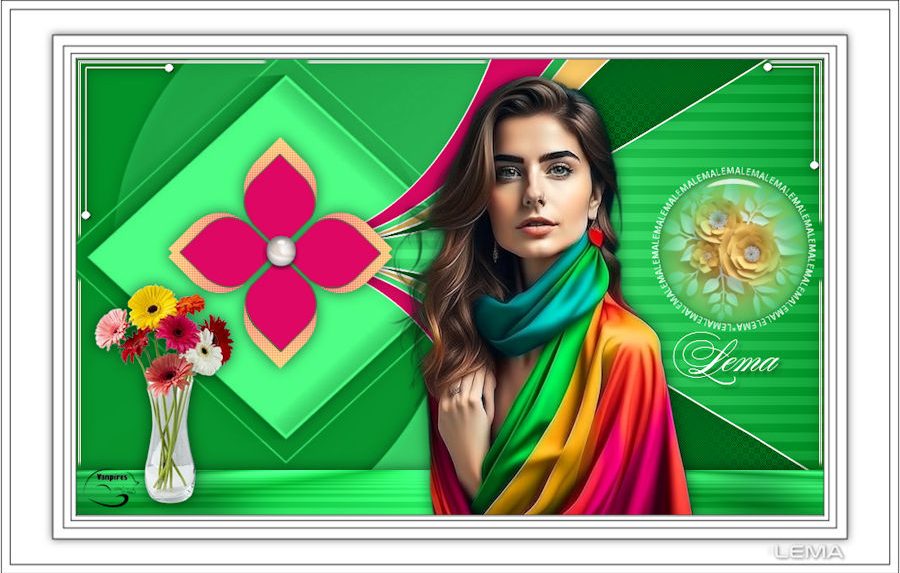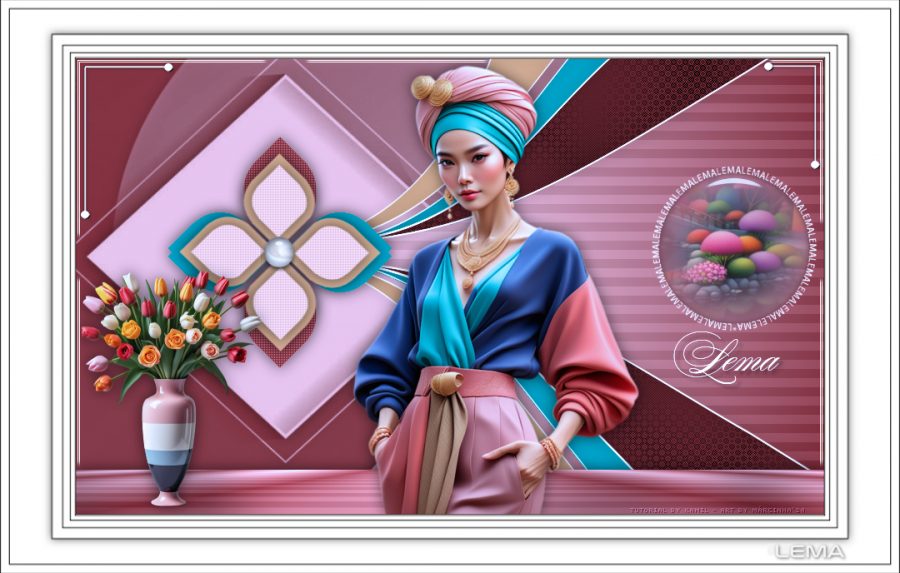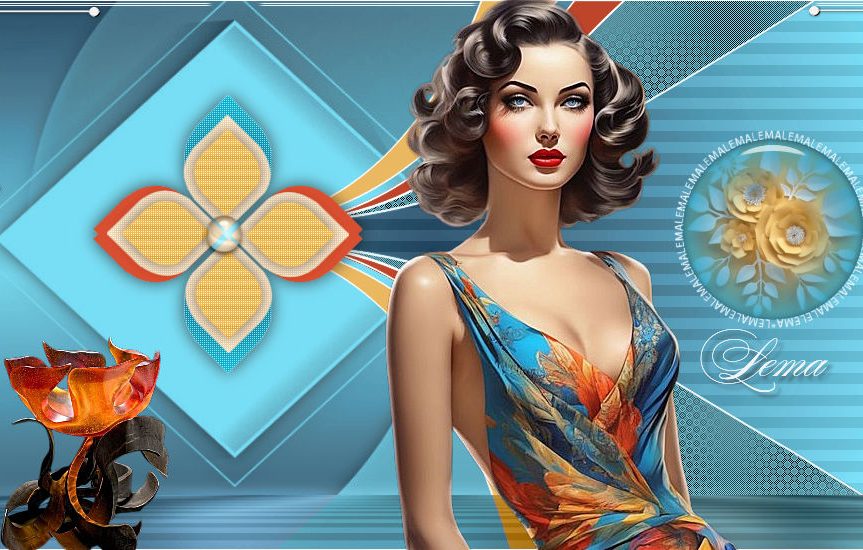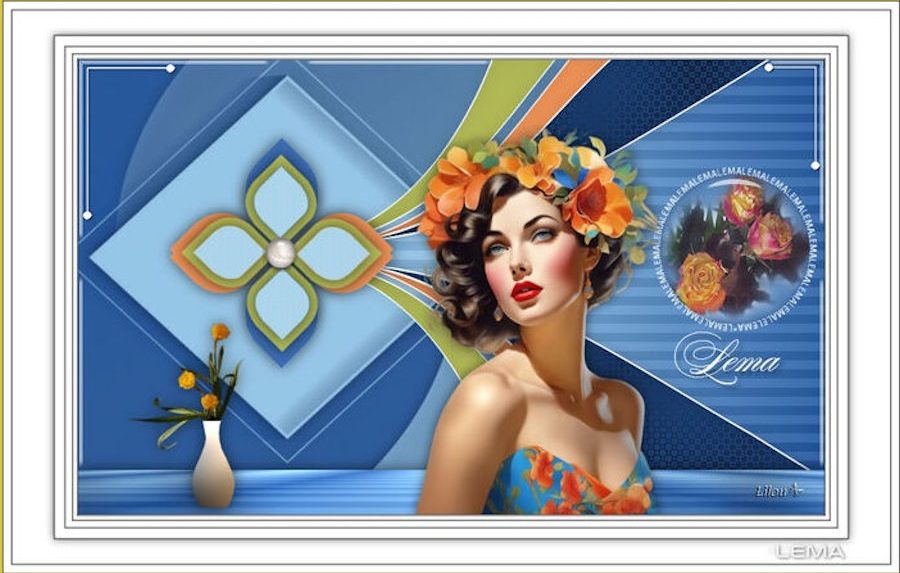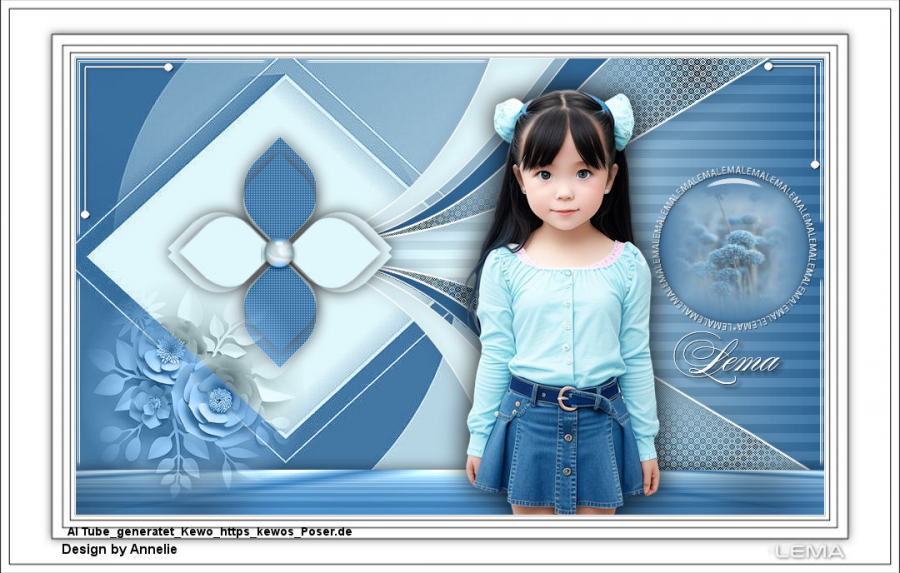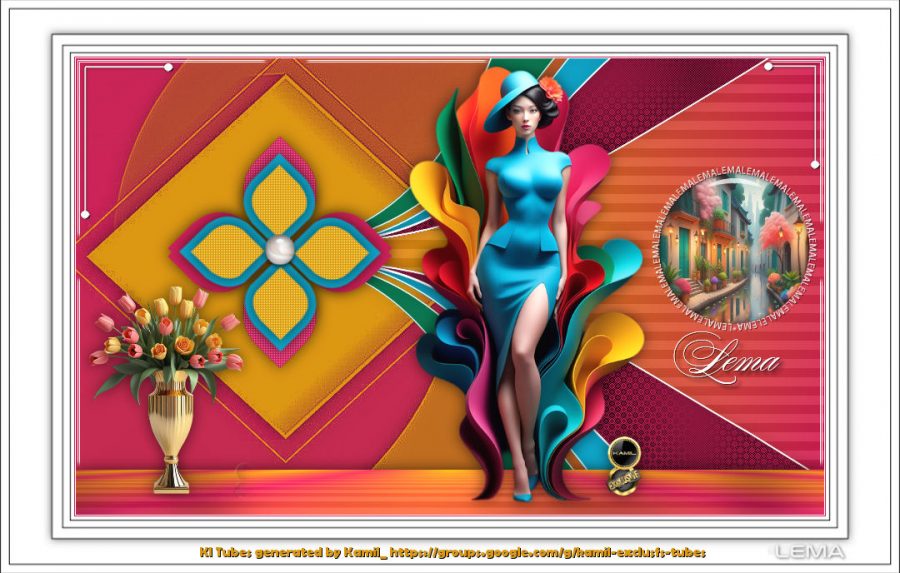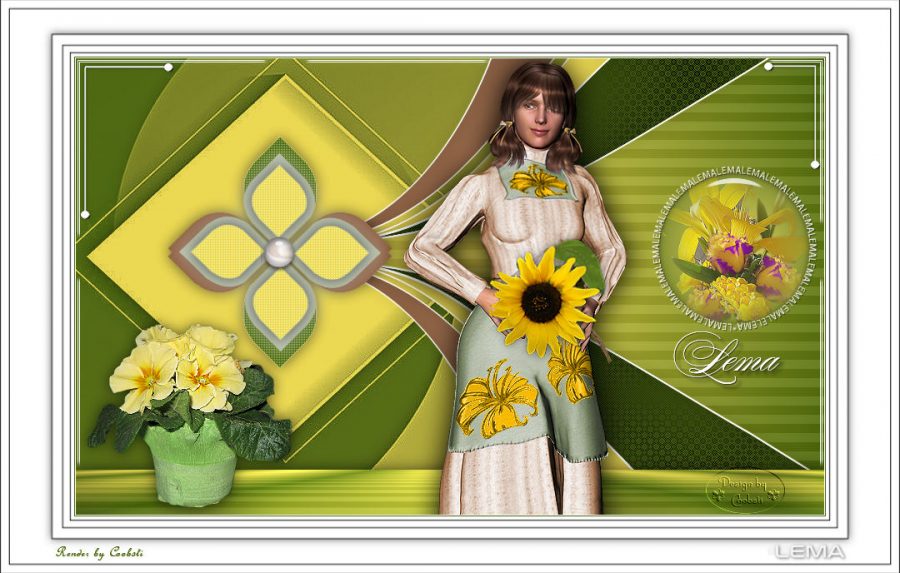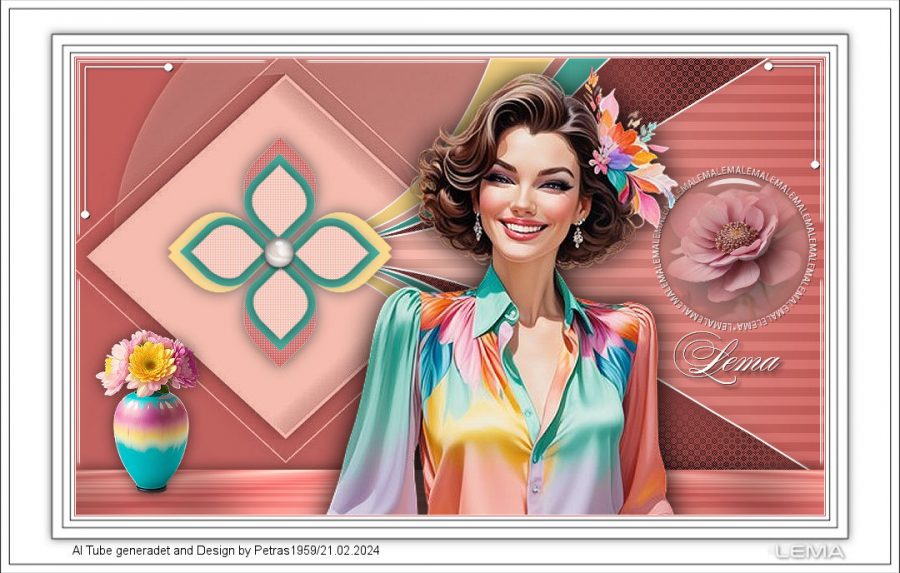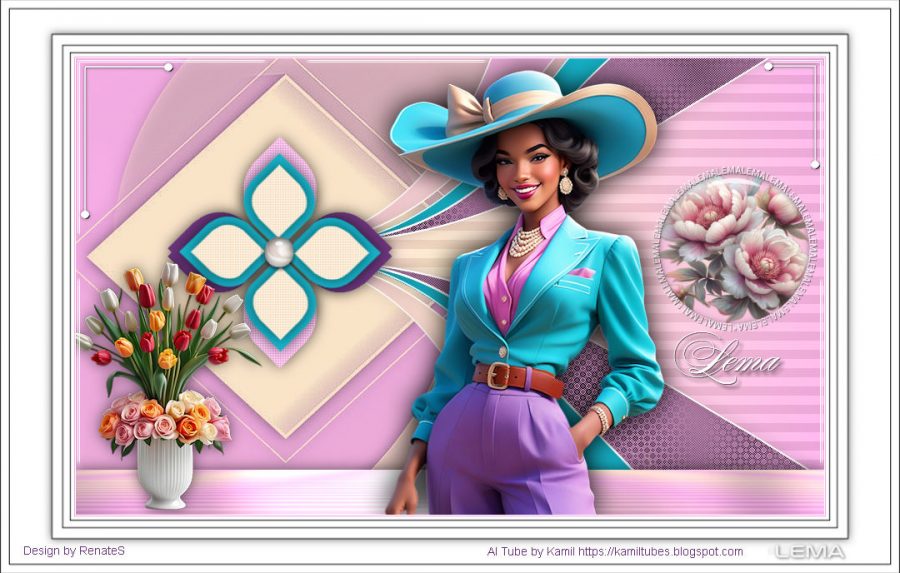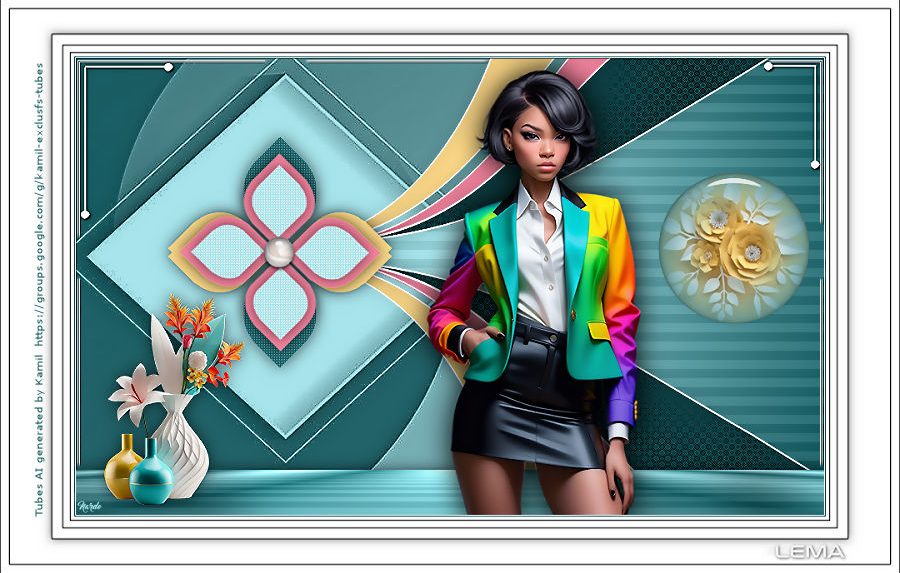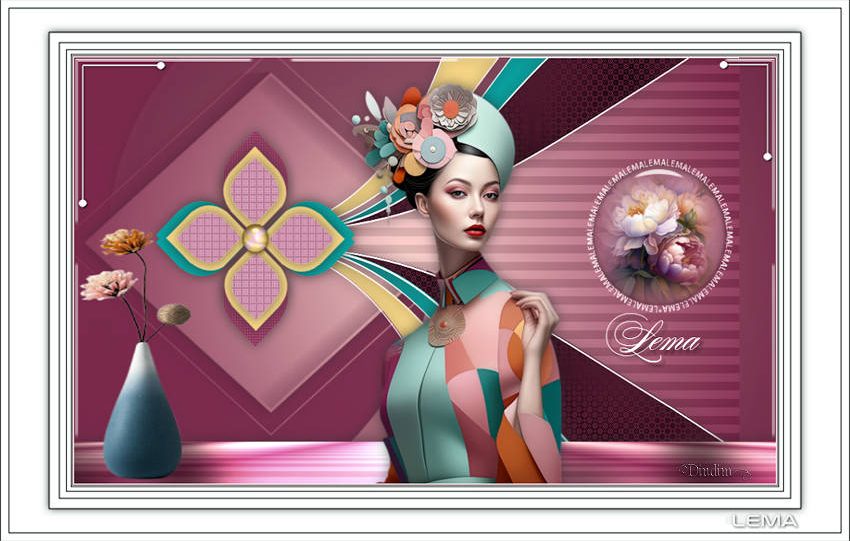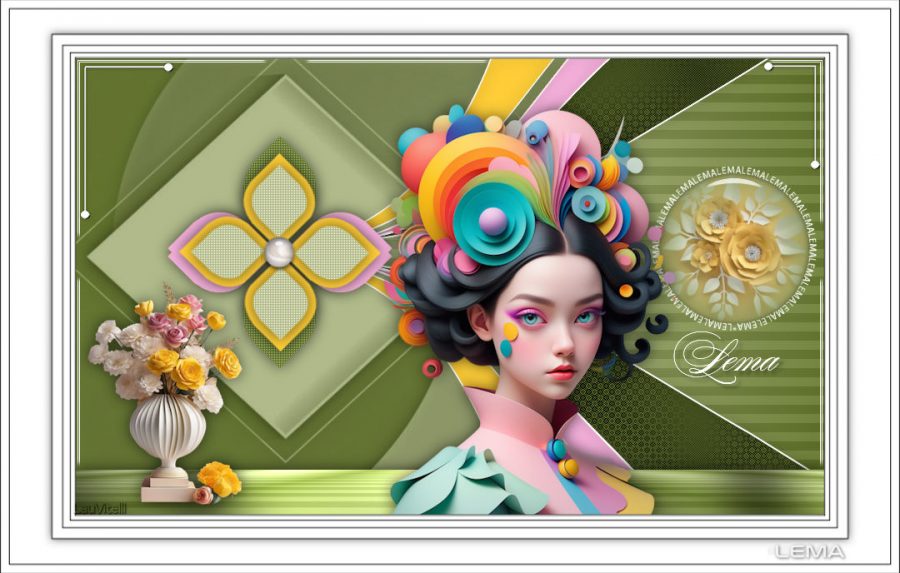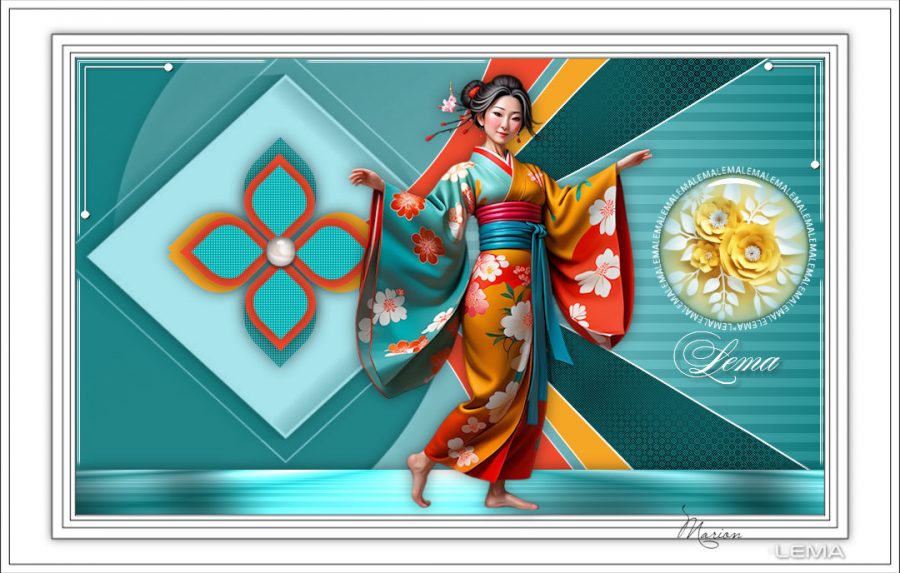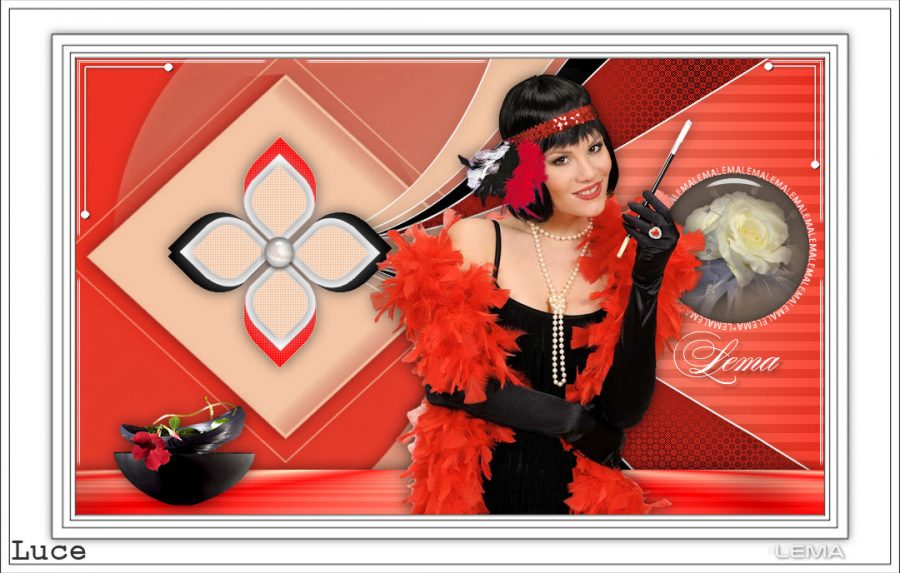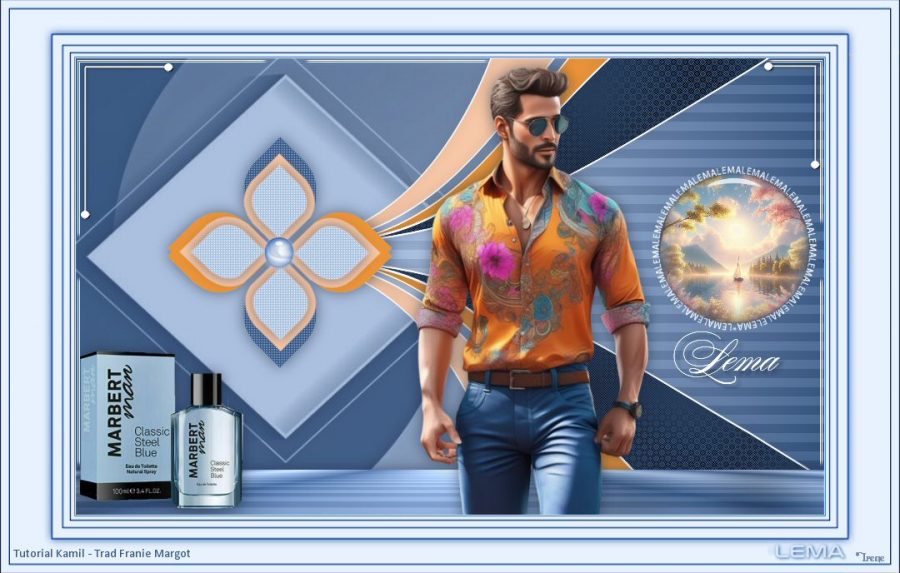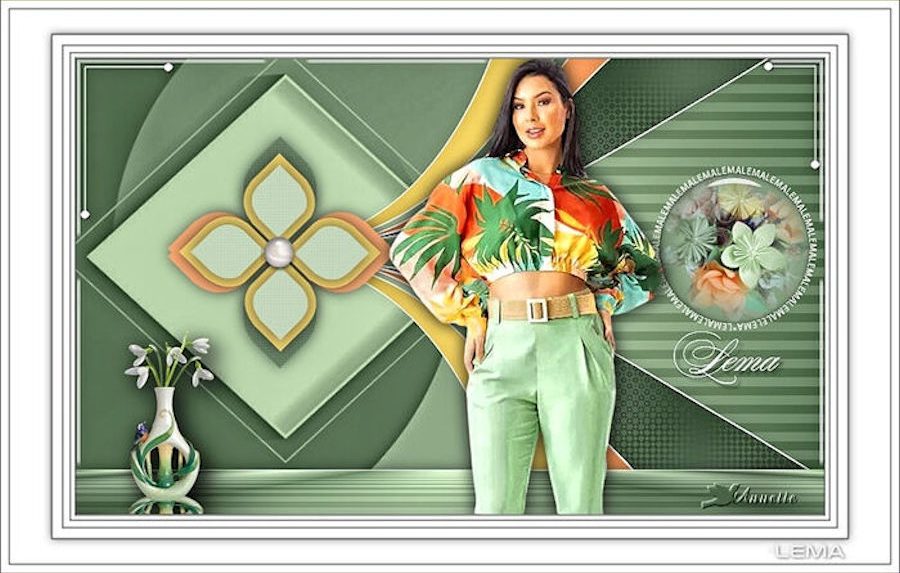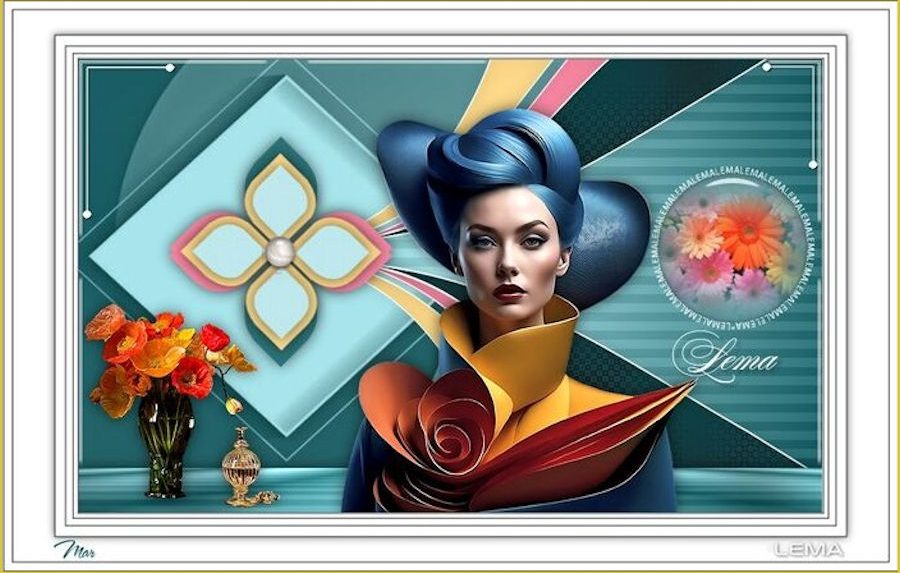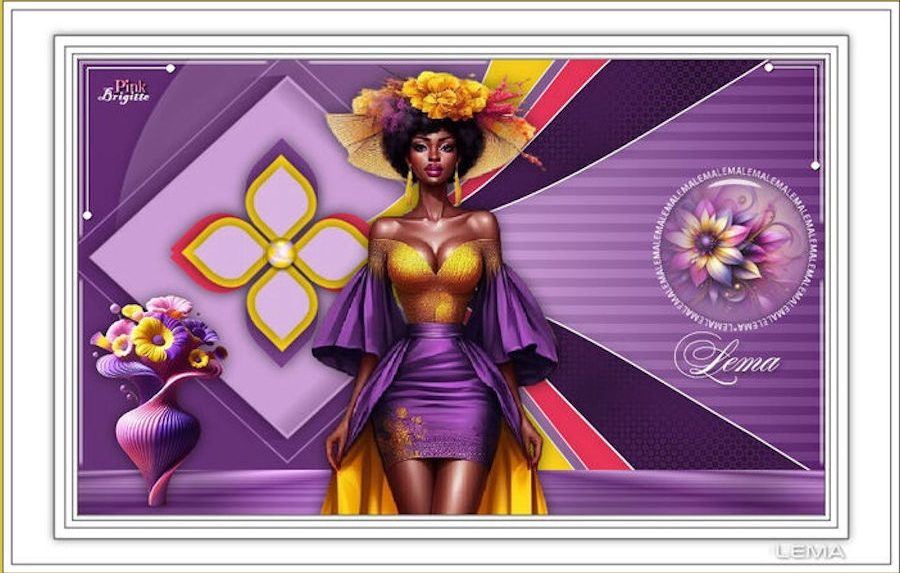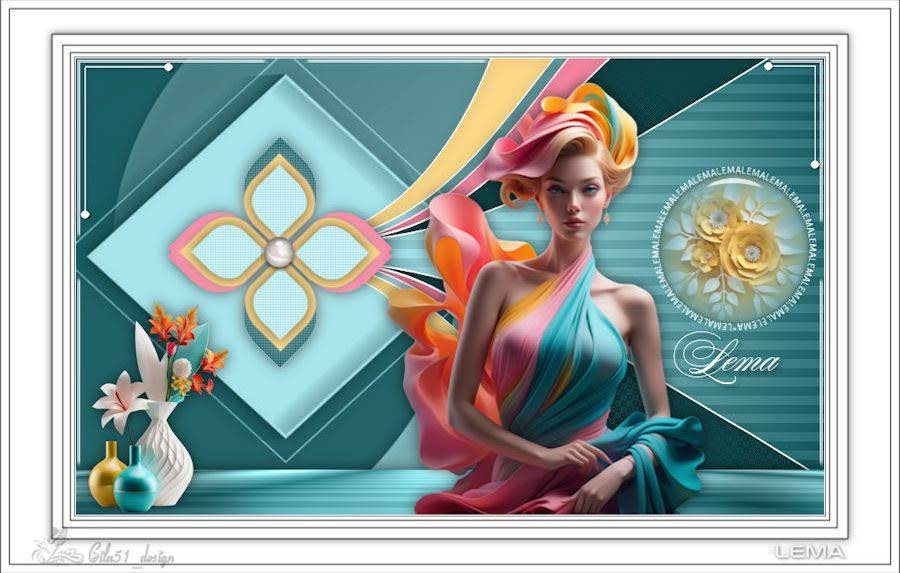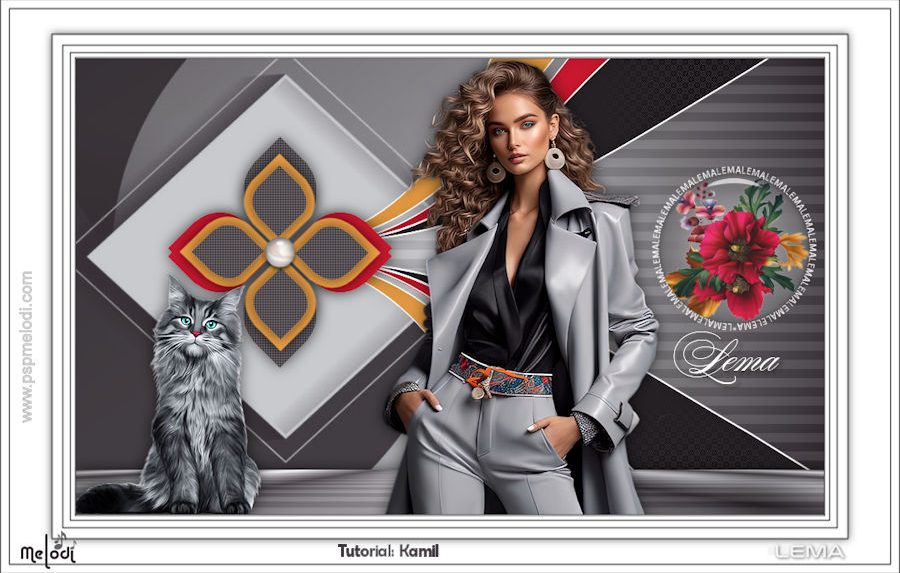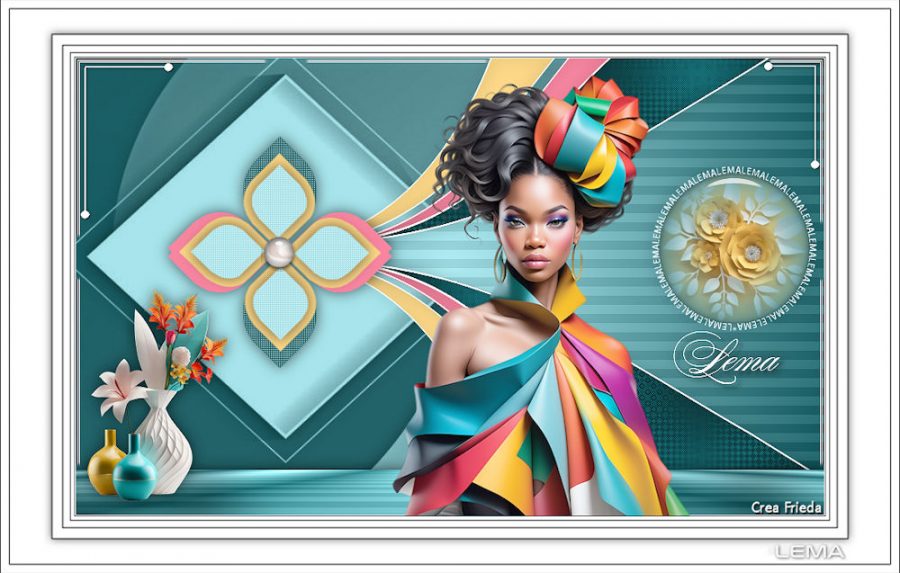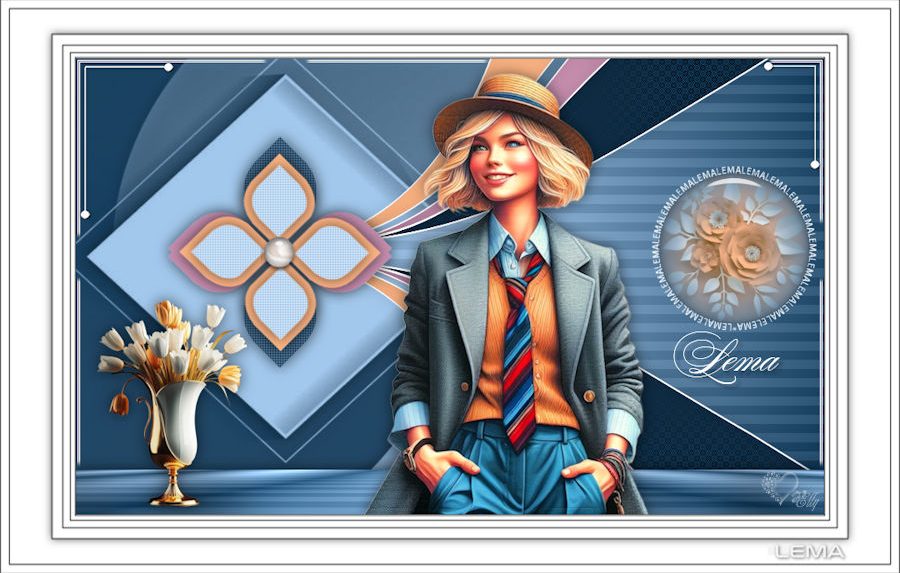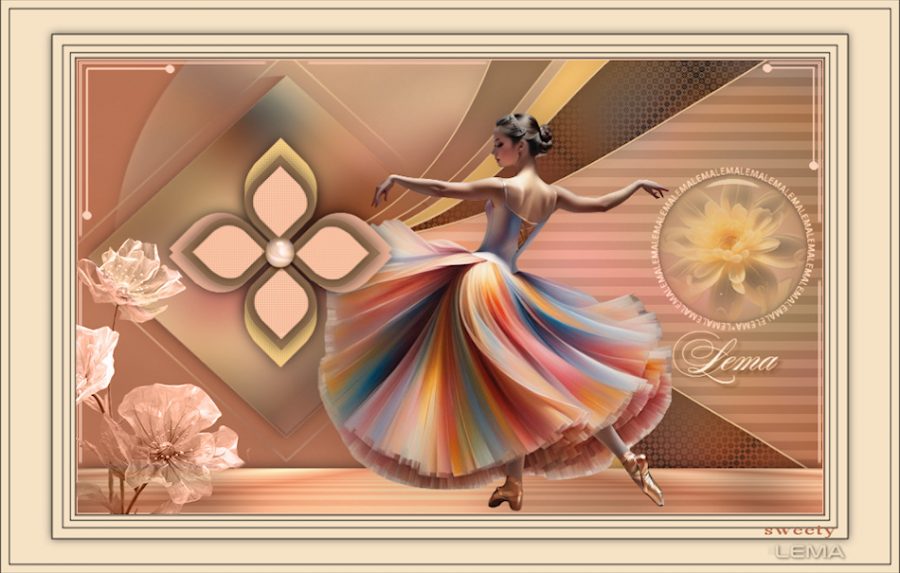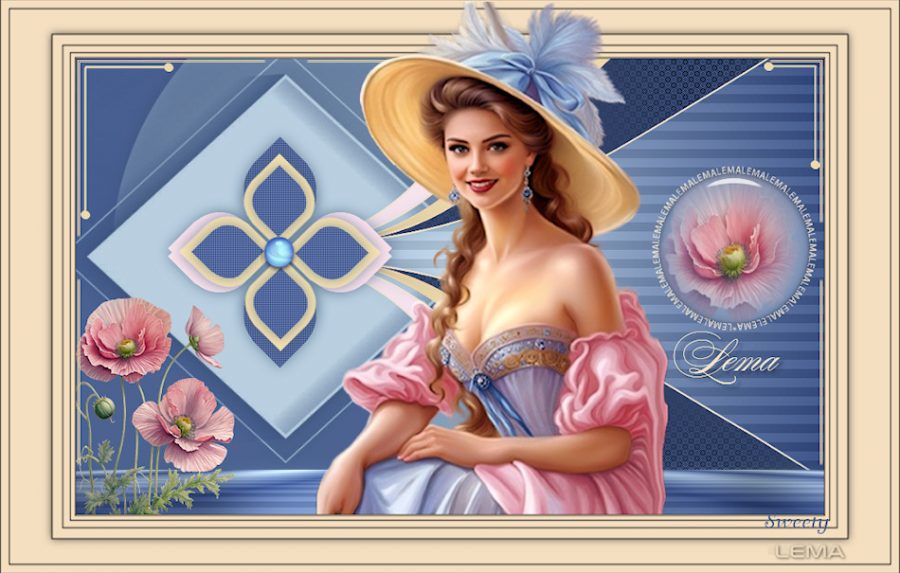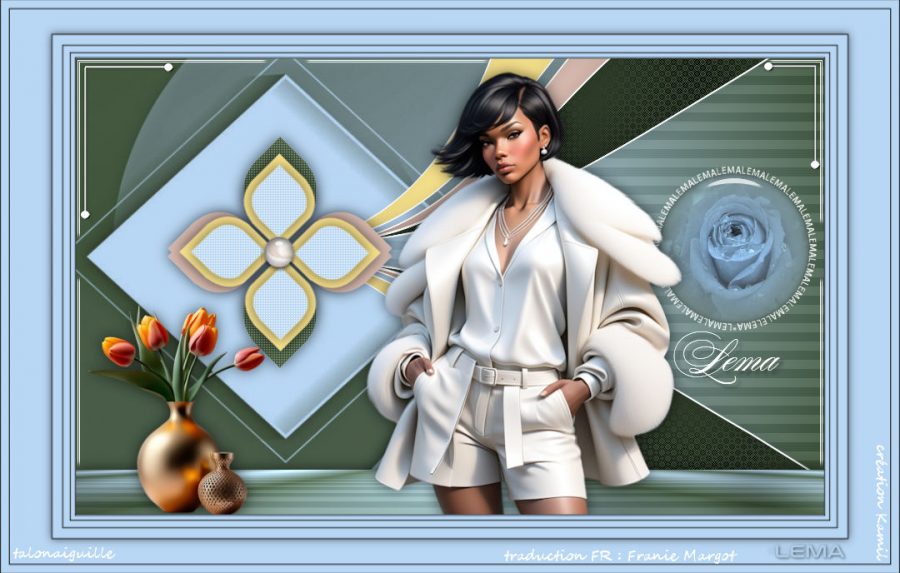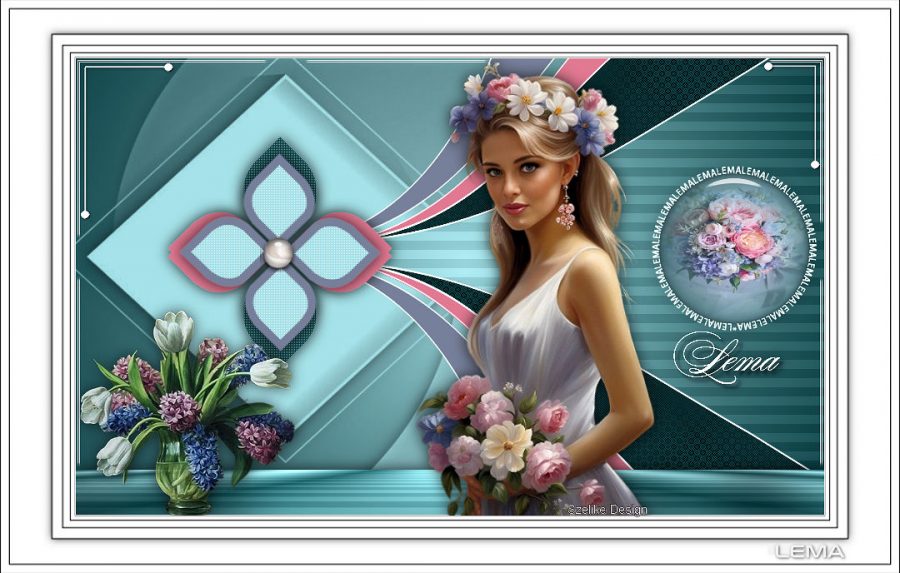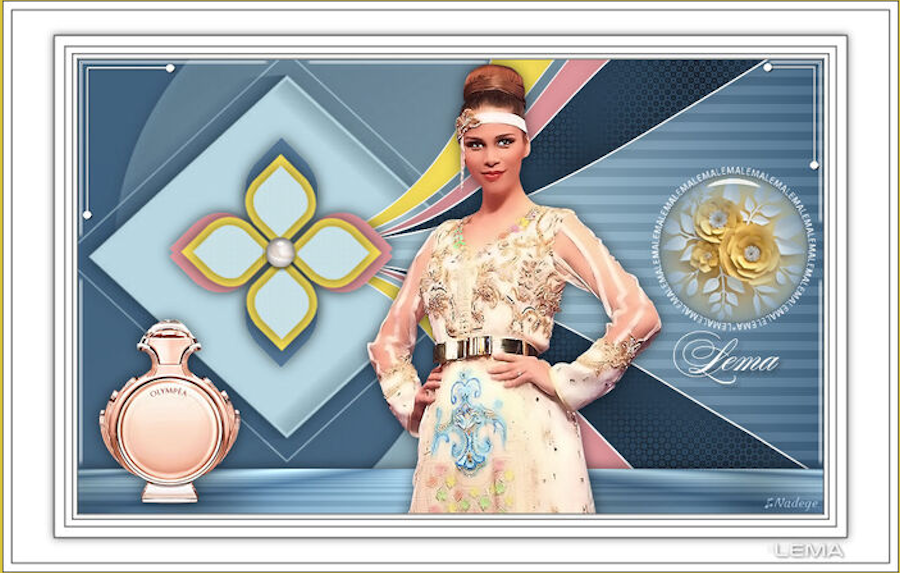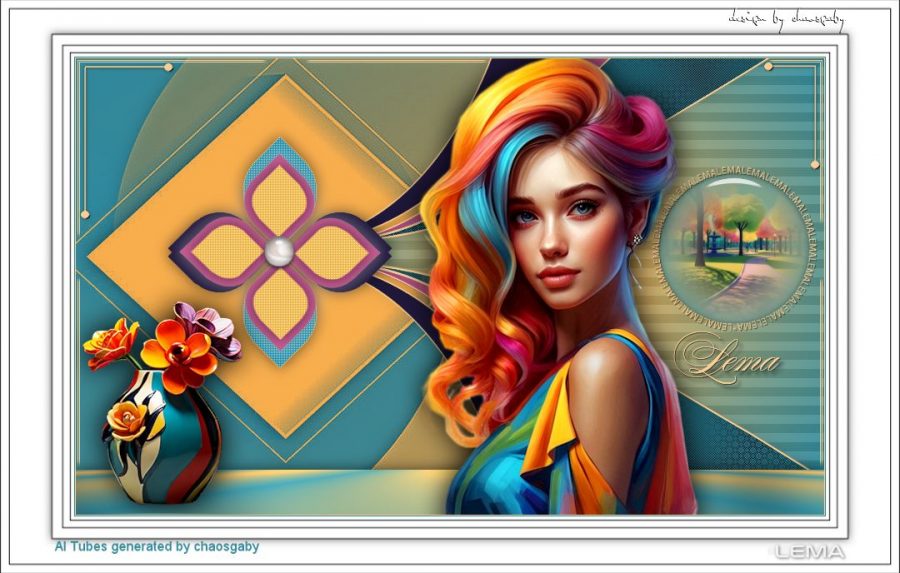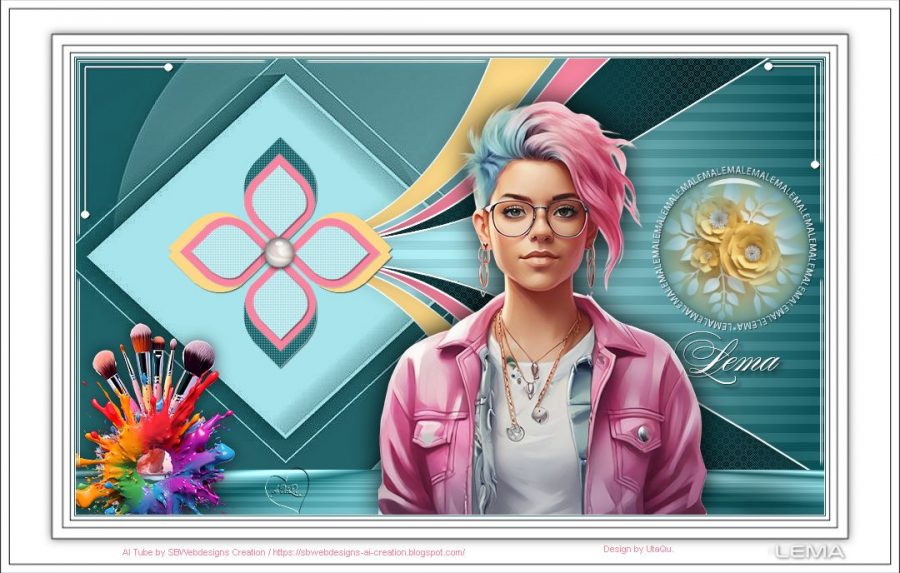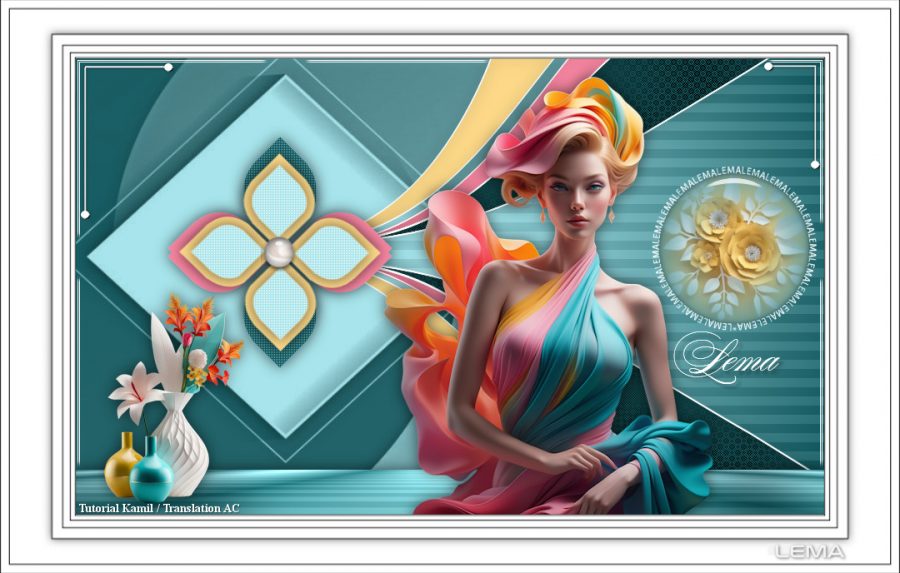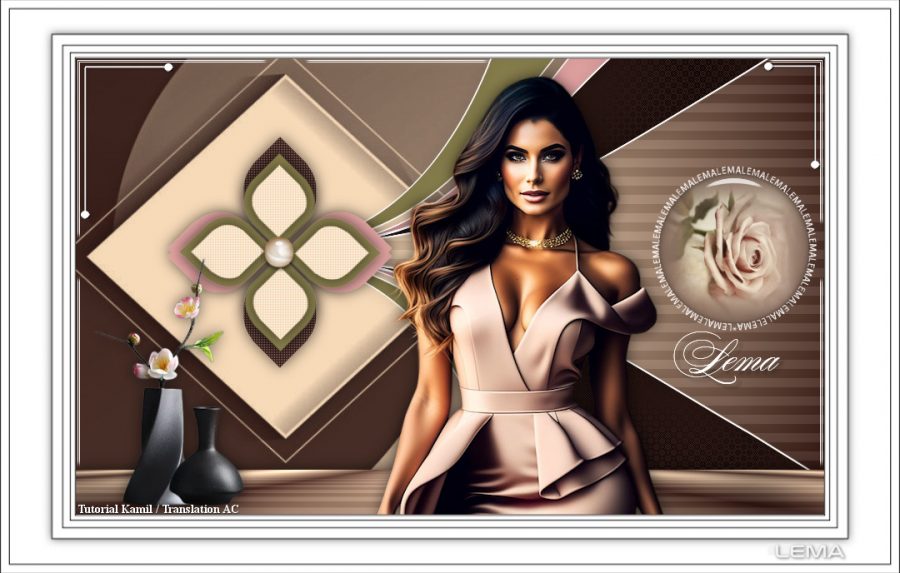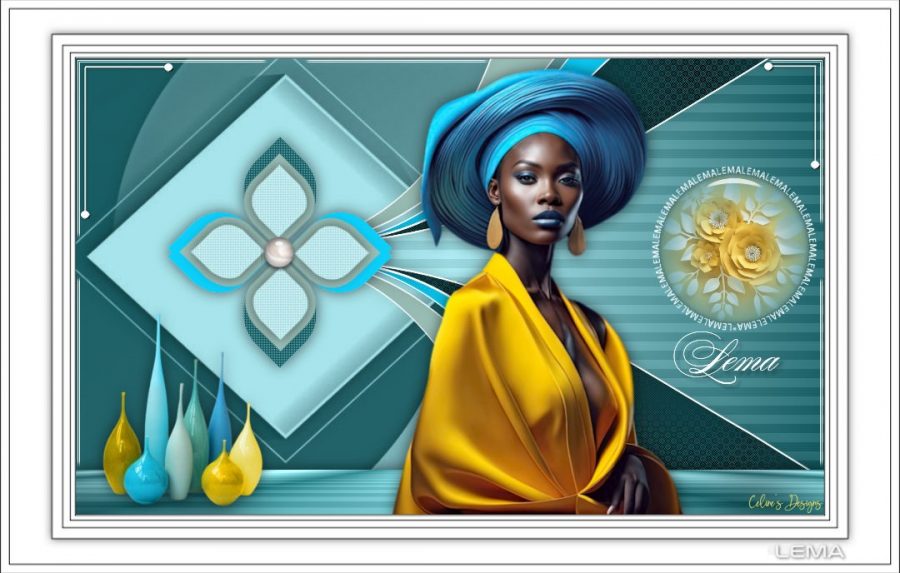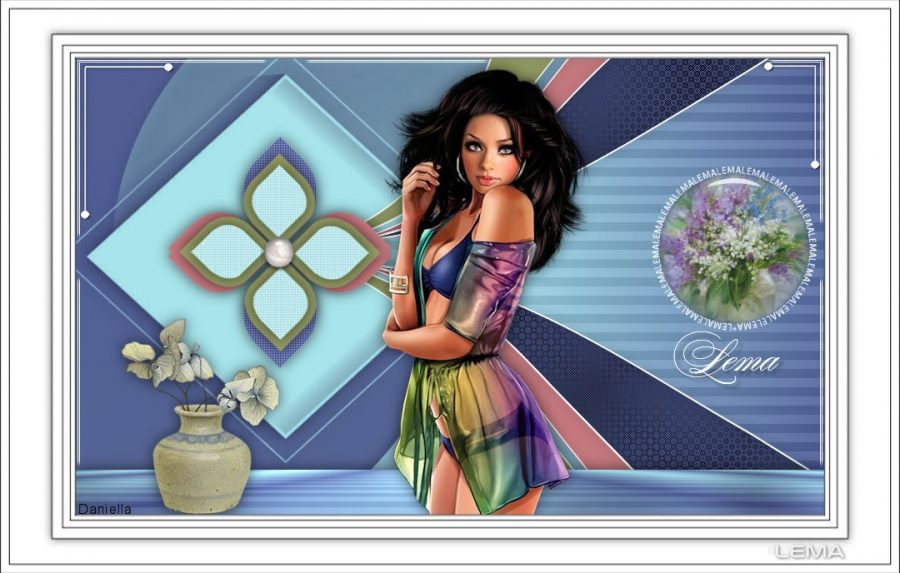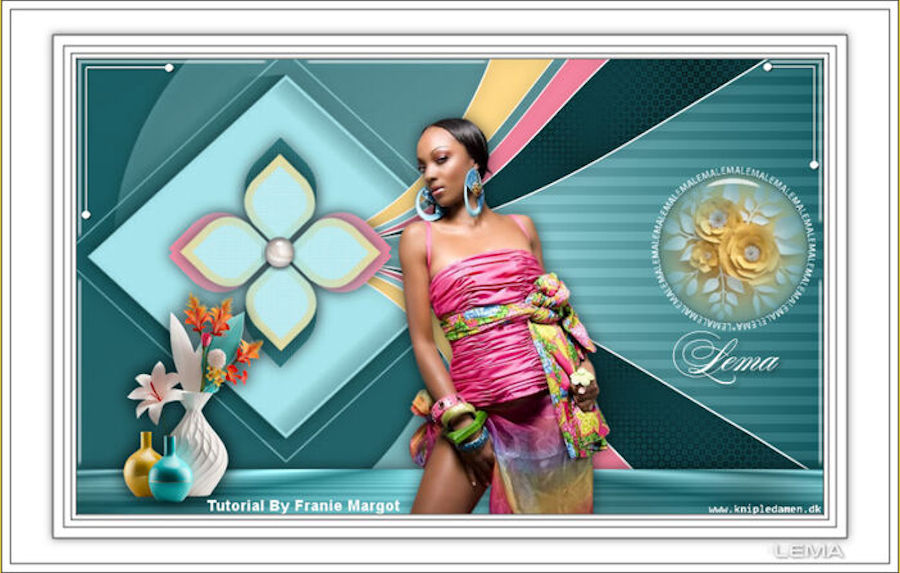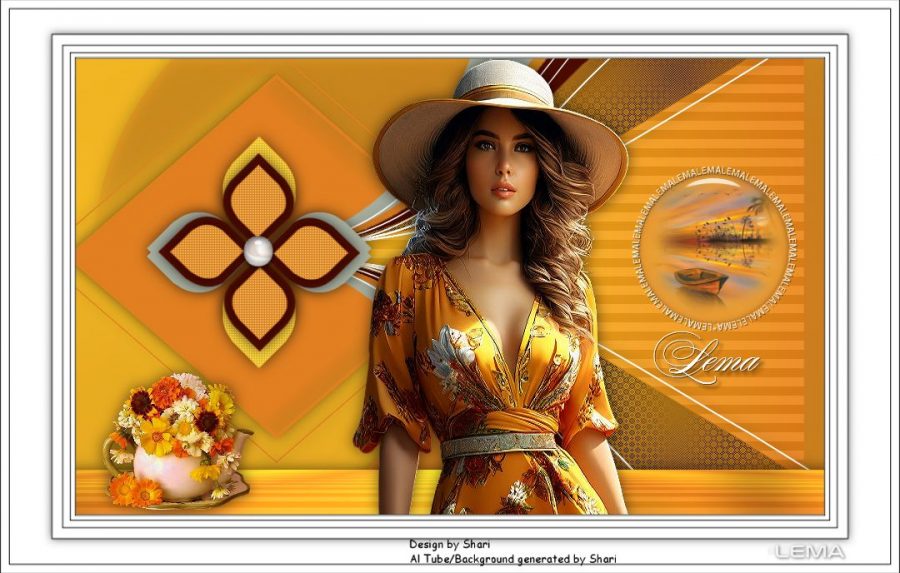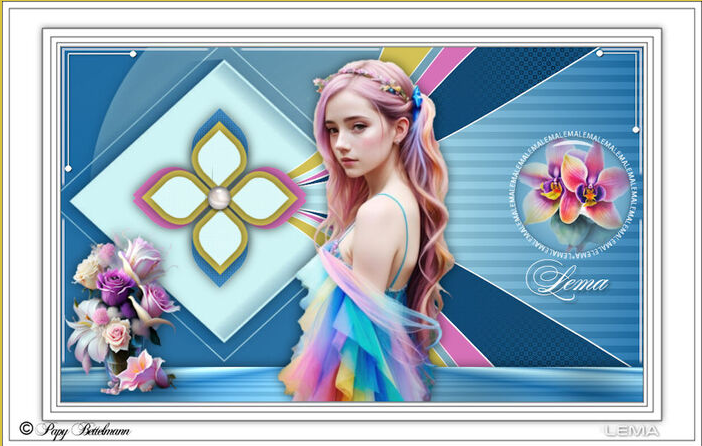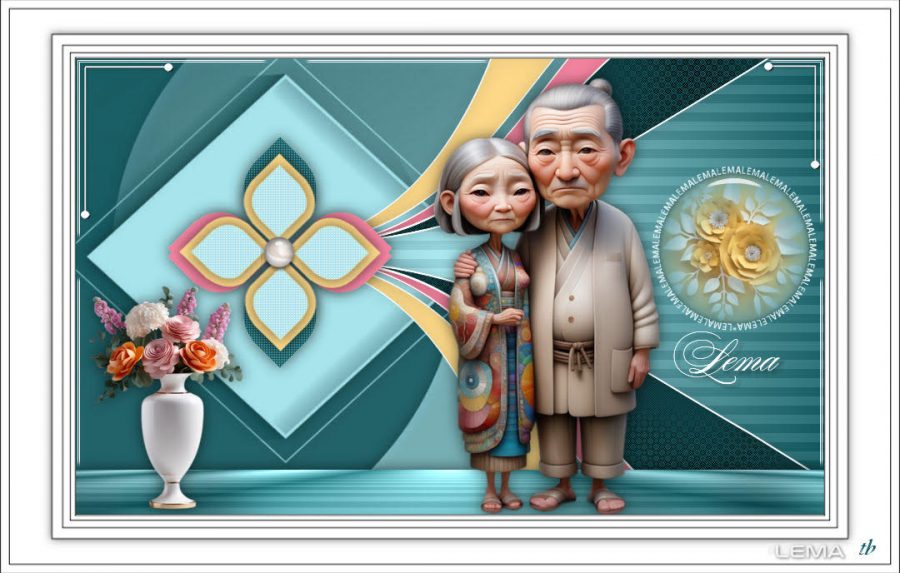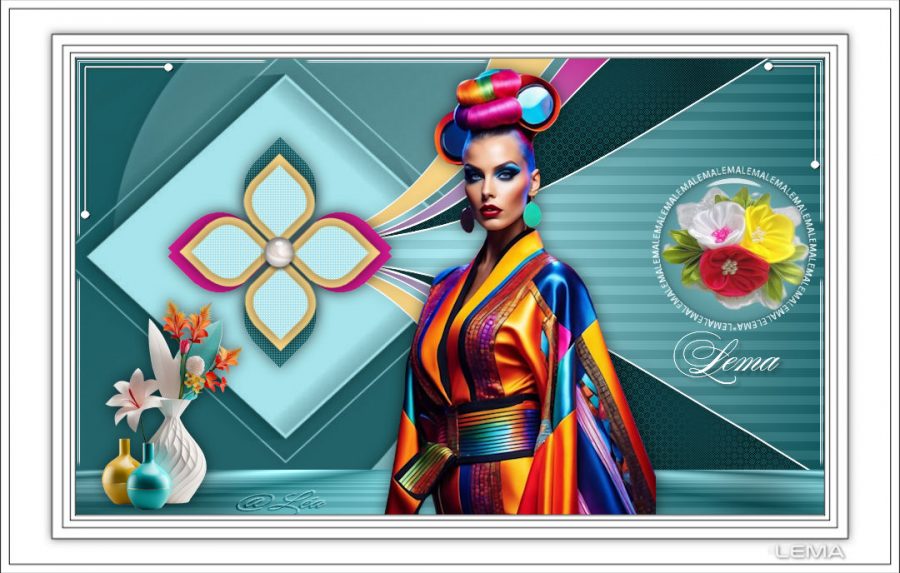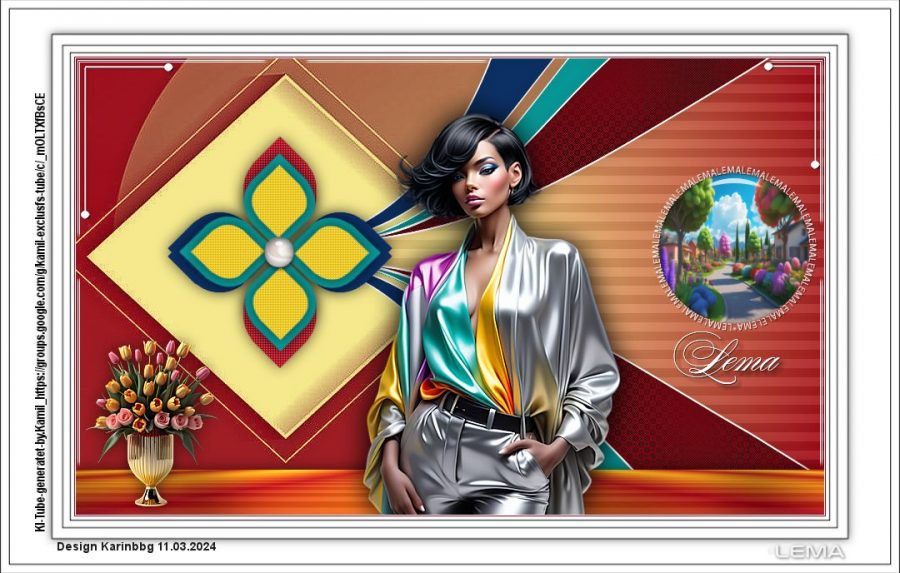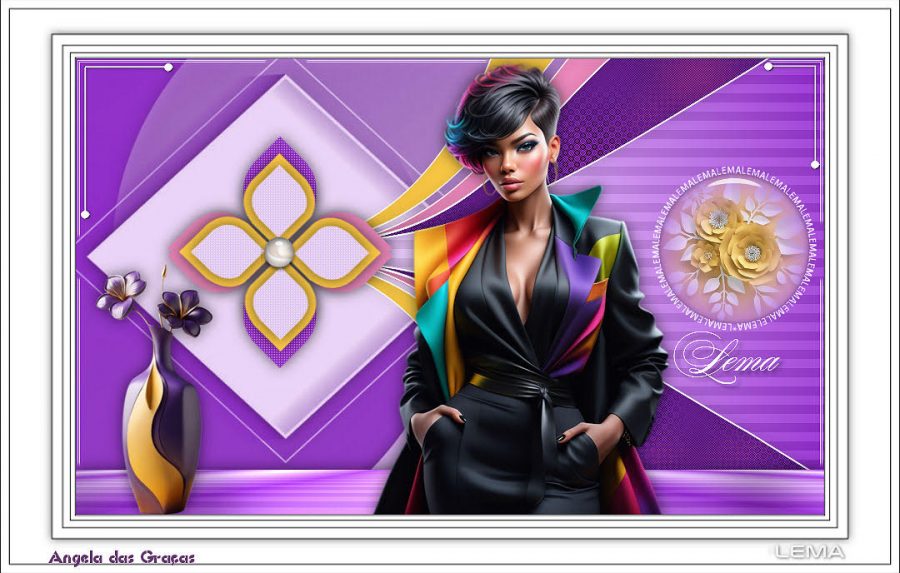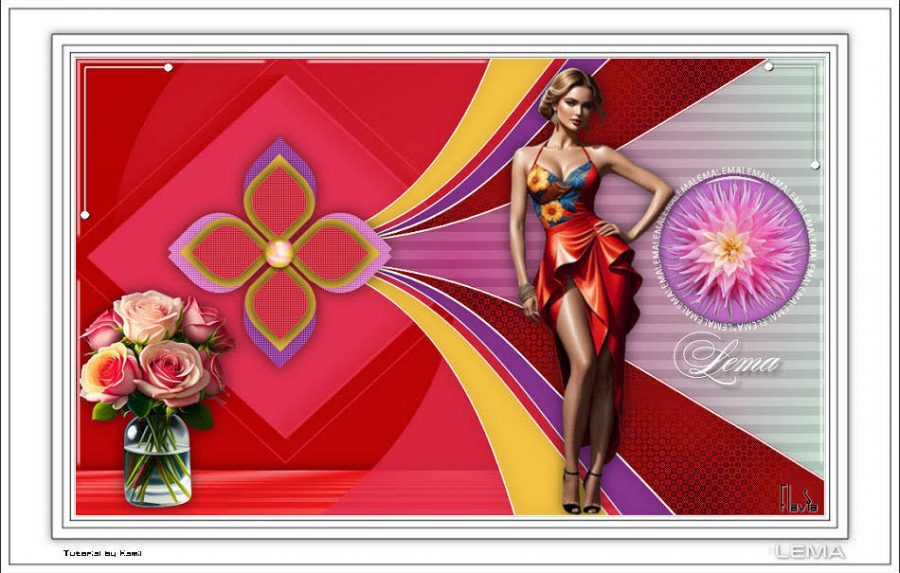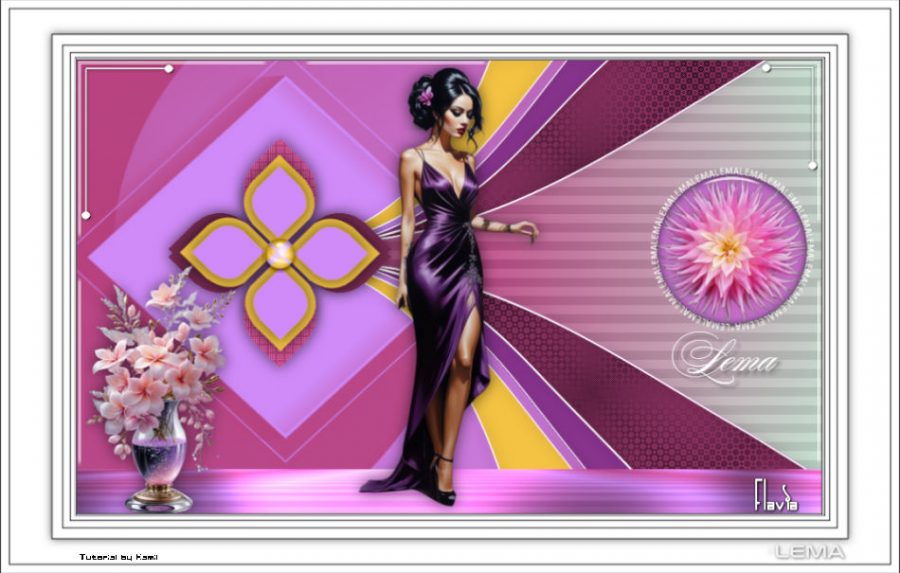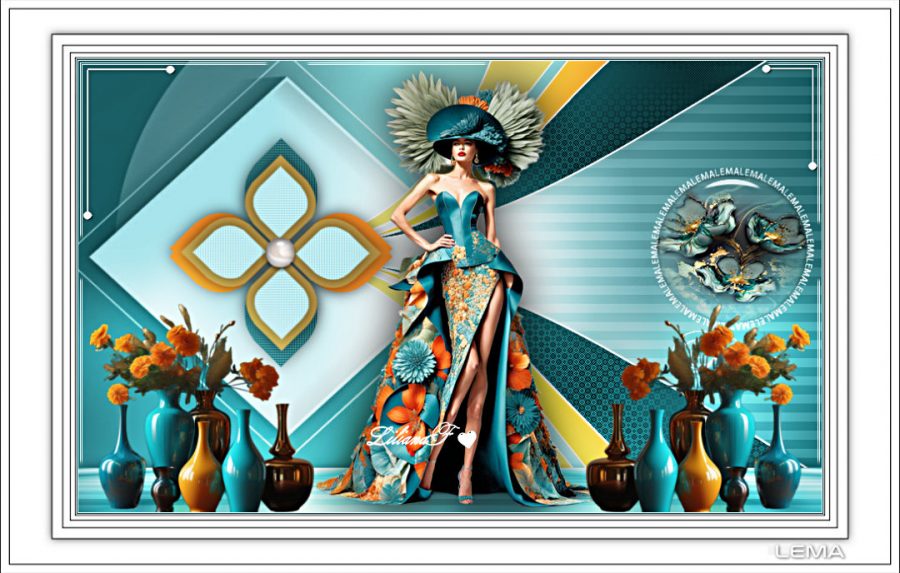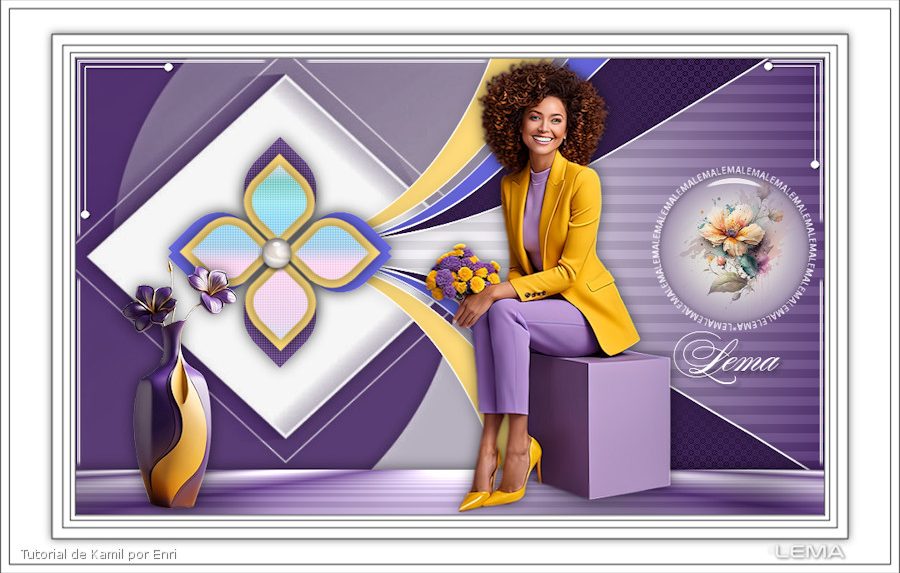
MOR
This MorTutorial is written in PSP x8
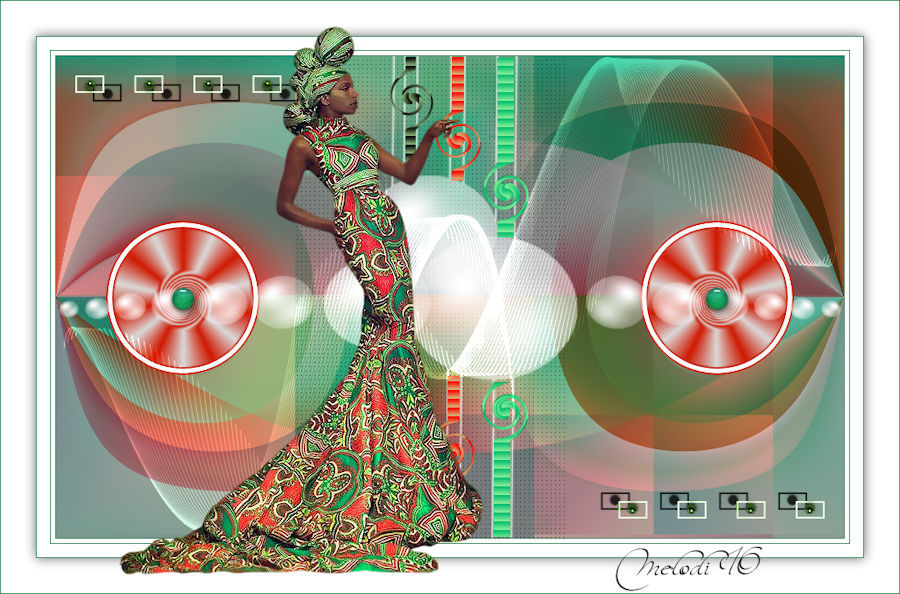
Bonne journée à tous avec la traduction du tutoriel de
Obrigada por traduzir este tutorial
Danke für die Deutsch Übersetzung Anja
Merci pour la traduction française, Sophie

Tubes : Radi
Mask : Narah
Plugins:
Mehdi – Wavy Lab 1.1
Mehdi –Sorting Tiles
Flaming Pear / Ornament
Flaming Pear / Tachyon
Plugin-Alien Skin Eye Candy 5 Impact / Glass
MuRa’s Filter Meister / Copies
DragonFly / Sinedots II
My Colors
Foreground color to : #d071d5 
Background color to: #000000 
Other colors: #491355  #ffffff
  #762597
Preparation:
The colors, layer density and blending mode are for the materials of this lesson. If you use different material, just take a look at what is best for you…
Before Open psp Copy the Selection file in the Selections Folder of Psp
Download materials by clicking below

If you’re ready, let’s start
Mor Tutorial Paintshop Pro Lesson
STEP 1
File Open – New 900 x 550
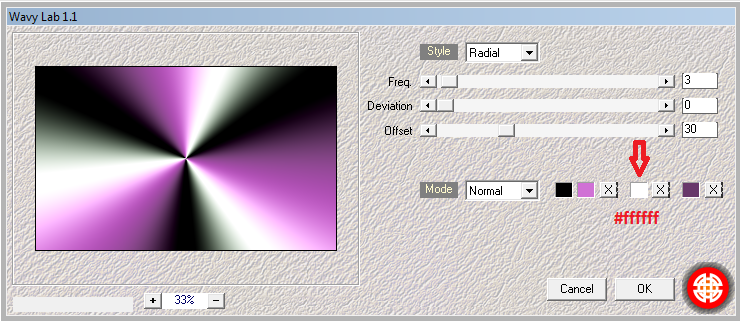
Effects -Plugins – Mehdi – Wavy Lab 1.1 Style Radial – Freq: 3 / Deviation: 0/ Offset: 30
Effects -Plugins – Mehdi –Sorting Tiles / Block Range 150-300/ Block 273 / Plus
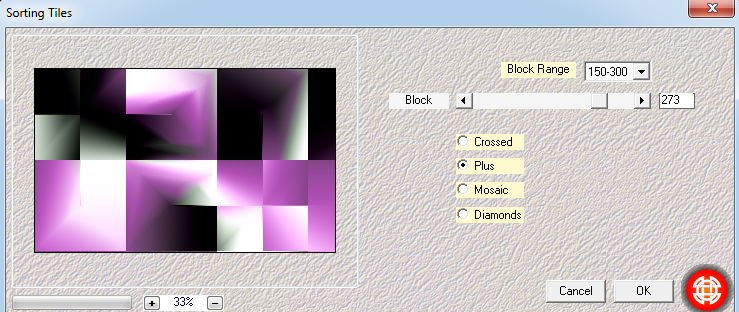
Layers – Duplicate
Effects -Plugins – Flaming Pear / Ornament
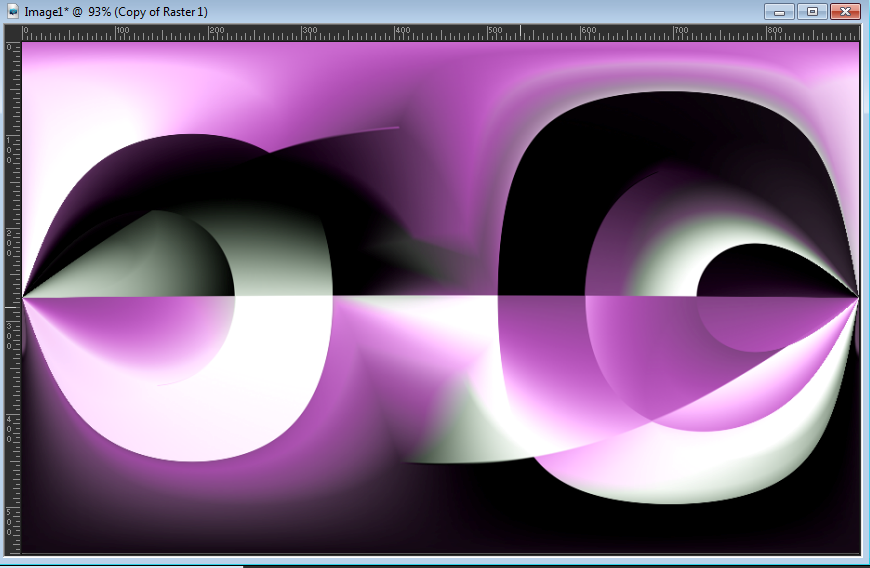
Layers – Duplicate
Effects -Plugins – Flaming Pear / Tachyon
Image –Mirror / Mirror Horizontal
Opacity %65
Merge-Merge Down
Opacity %75
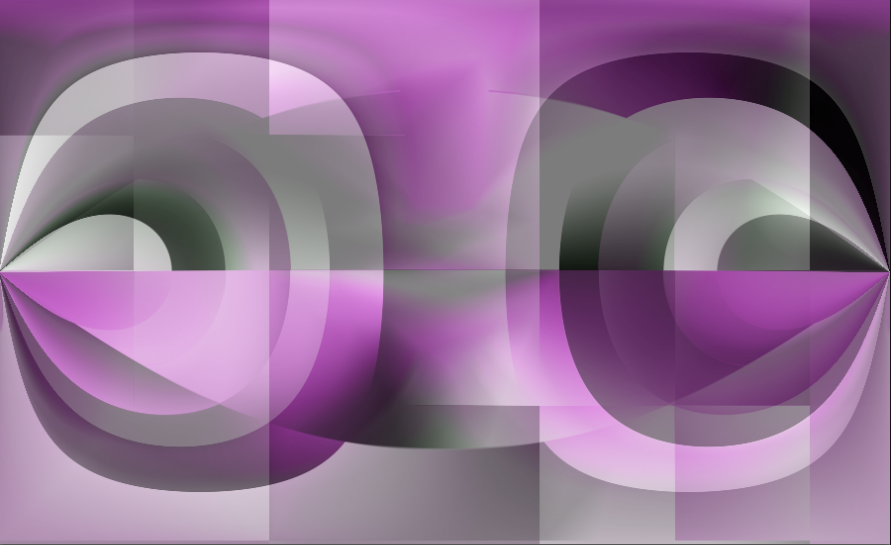
Merge – Merge Down
Selections /Load/Save Selection/Load Selection From Disk/ melodi mor 1
Effects -Texture Effects / Weave color #d071d5 (Foreground)
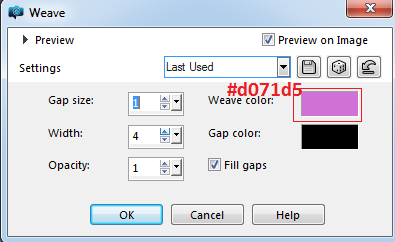
Selections – Select None
STEP 2
Layers -New Raster Layer
Selections /Load/Save Selection/Load Selection From Disk/melodi mor 2
Flood Fill Tool / Fill color #491355 (choose color from tube)
Selections – Modify / Contract 2 pixels
Flood Fill Tool / Fill color #ffffff
Selections – Modify / Contract 5 pixels
Flood Fill Tool / Fill color #491355
Selections – Modify / Contract 2 pixels
Press delete key on keyboard
STEP 3
Foreground color to : #491355
Background color to: #ffffff
Prepare gradient
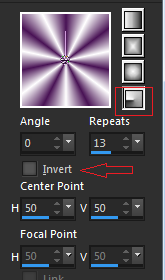
Flood Fill Tool / Fill gradiend
Adjust/ Blur / Gaussian Blur /Radius 1
Selections – Select None
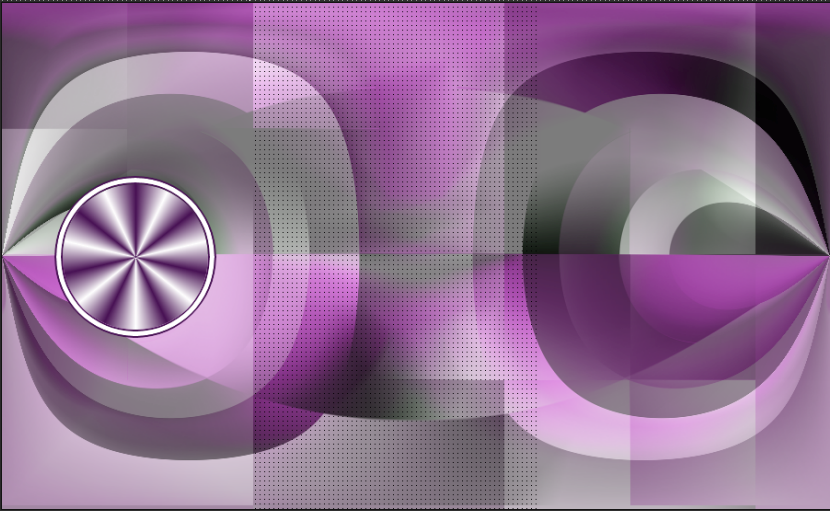
STEP 4
Toolbar Options / Wrap Brush

Wrap modes: Left Twirl / Size: 70

Click CTRL and hold the location shown . Rotate 3 turn seconds
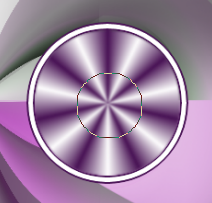
Result
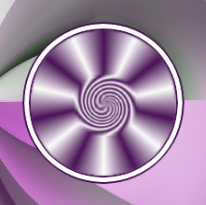
Layers – Duplicate
Image mirror –Mirror Horizontal
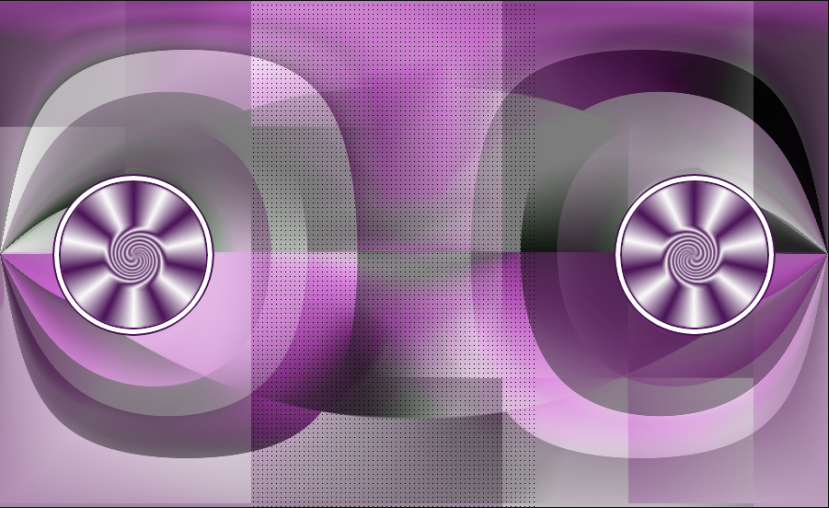
Merge/ Merge All (Flatten)
STEP 5
Layers -New Raster Layer / Flood Fiil Tool –Color #ffffff
Open- Narah_mask_0677/minimize /return work
Layers –New Mask Layer- From Image / Narah_mask_0677
Merge Grup
Result
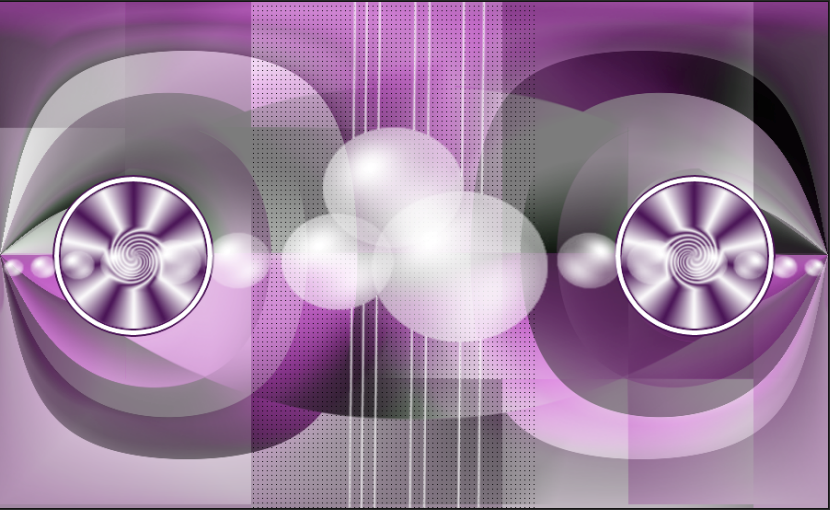
STEP 6
Layers -New Raster Layer
Selections /Load/Save Selection/Load Selection From Disk/melodi mor 3
Flood Fill Tool / Fill color #491355 (choose color from tube)
Selections – Select None
Effects -Plugin-Alien Skin Eye Candy 5 Impact / Glass
Settings /Clear with Reflection
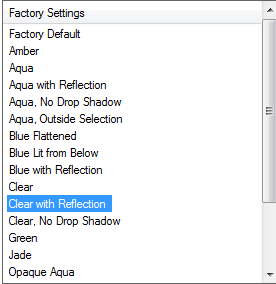
Layers – Duplicate
Image mirror –Mirror Horizontal
Merge- Merge Down
Effets – 3D Effects – Drop Shadow V: 5 H: 5 O: 40 B: 15
Result
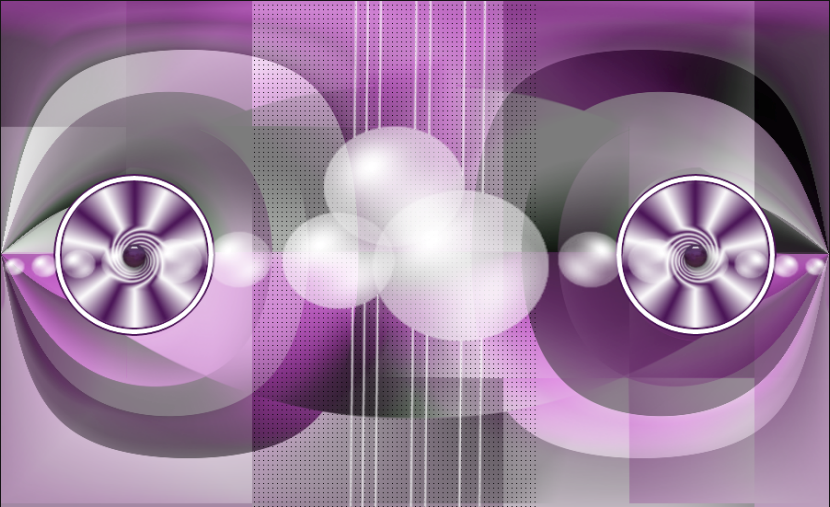
STEP 7
Layers -New Raster Layer
Selections /Load/Save Selection/Load Selection From Disk/melodi mor 4
Flood Fill Tool / Fill color #491355
Selections /Load/Save Selection/Load Selection From Disk/melodi mor 5
Flood Fill Tool / Fill color #ffffff
Selections /Load/Save Selection/Load Selection From Disk/melodi mor 6
Flood Fill Tool / Fill color #000000
Selections – Select None
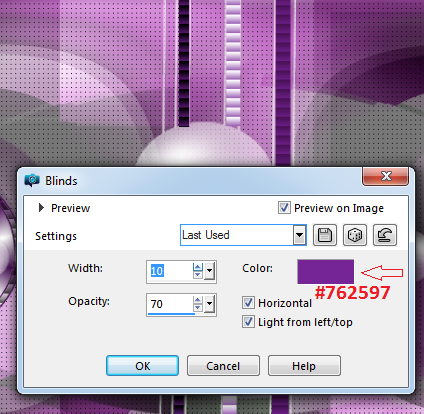
Effects -Texture Effect / Blinds /color #762597
(Get a lighter color than your foreground color)
Toolbar Options – Wrap Brush

Wrap modes: Left Twirl / Size: 70

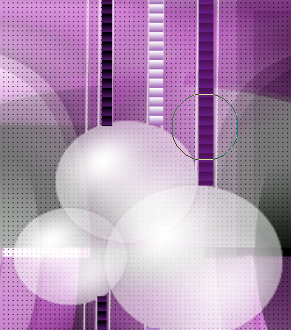
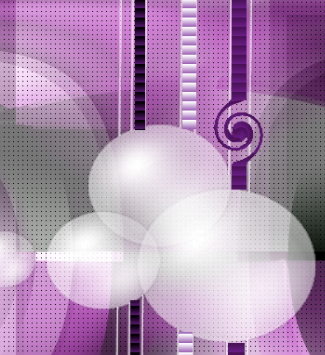
Click CTRL and hold the location shown . Rotate 2 seconds turn
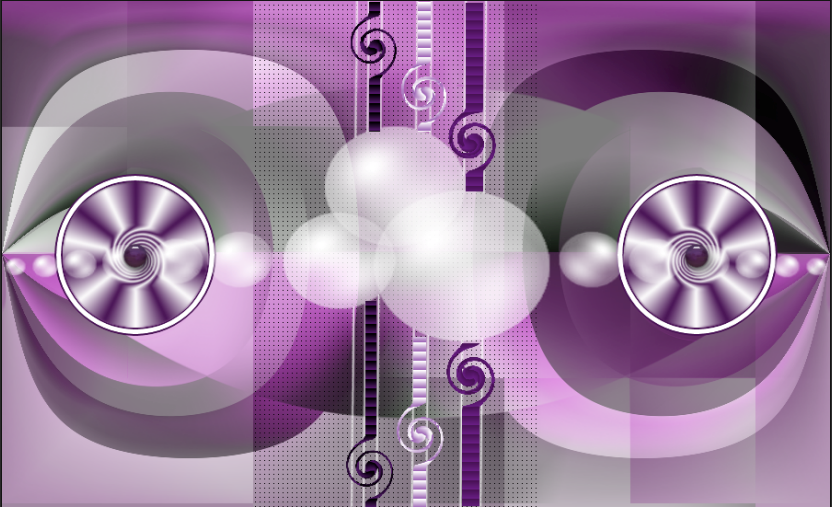
Apply to other bars
Result
STEP 8
(You can skip this step and use the ready “deco mor melodi” from the material folder. those who want to decorate can continue the steps)
Layers -New Raster Layer
Selections /Load/Save Selection/Load Selection From Disk/melodi mor 7
Flood Fill Tool / Fill color #ffffff
Selections – Modify / Contract 2 pixels
Press delete key on keyboard
Selections – Select None
Layers -New Raster Layer
Selections /Load/Save Selection/Load Selection From Disk/melodi mor 8
Flood Fill Tool / Fill color #491355
Selections – Select None
Effects -Plugin-Alien Skin Eye Candy 5 Impact / Glass
Settings /Clear with Reflection
Merge/ Merge Down

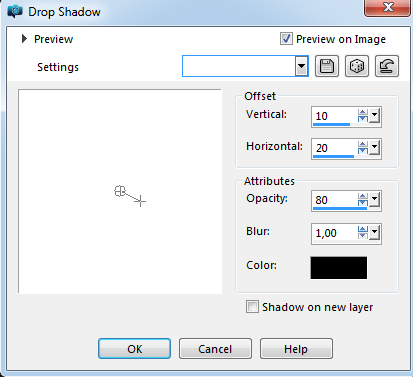
Effets – 3D Effects – Drop Shadow – V: 10 H: 20 O: 80 B: 1

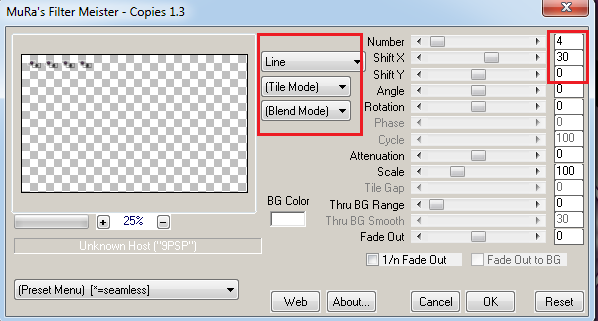
Effects – plugin – MuRa’s Filter Meister / Copies ( Line –Tile Mode- Normal) Number 4/ Shift X 30/ Shift XY 0
Layers – Duplicate
Image Mirror –Mirror Horizontal
Image mirror –Mirror Vertical
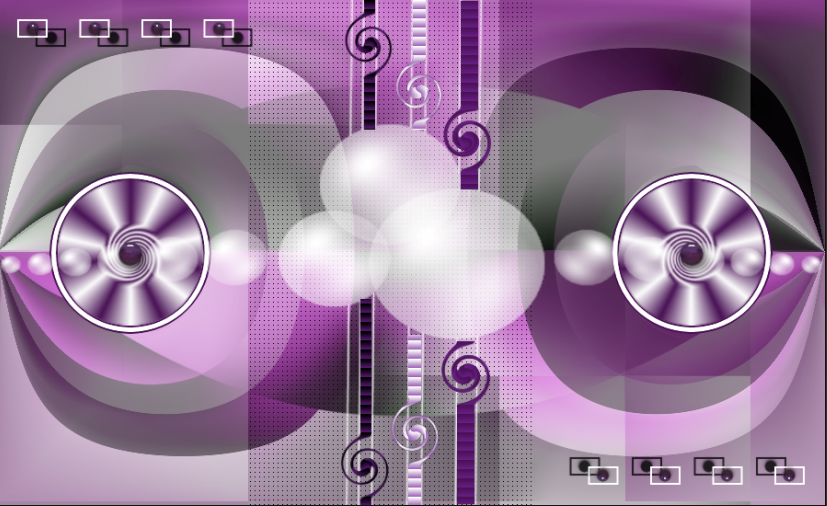
Layers – Merge / Merge All (Flatten)
Result
STEP 9
(You can skip this step and use the ready “melody mor deco 1” in the material folder. Copy your deco as a new layer , paste it into your work and continue after the stars. Those who want to do deco can continue the steps. )
(Bu adımı atlayabilir ve malzeme klasöründe hazır “melodi moru deco 1” i kullanabilirsiniz. Dekonuzu yeni bir katman olarak kopyalayıp çalışmanıza yapıştırın ve yıldızlardan sonra devam edin. Deko yapmak isteyenler adımlara devam edebilir.)
Layers -New Raster Layer
Effects –Plugin – DragonFly / Sinedots II

Apply values in the picture
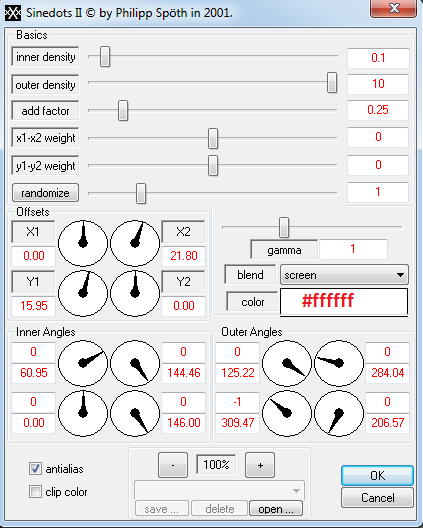
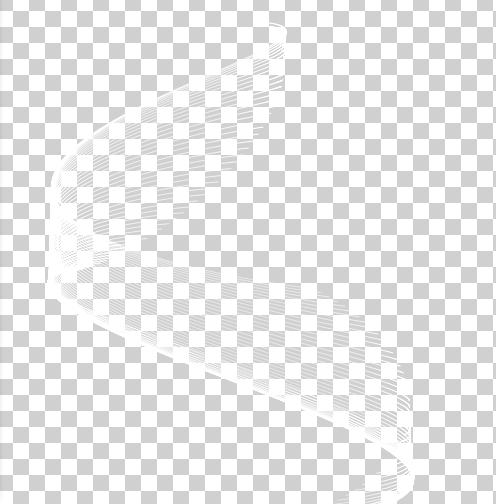
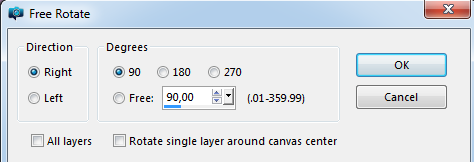
Image – Free Rotate -/ Right / 90
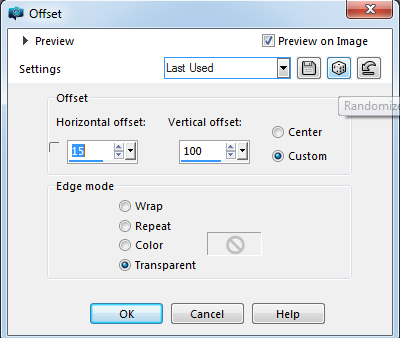
Effects / Image Effects/ Offset H: 15 V: 100
Layers – Duplicate
Image Mirror –Mirror Horizontal
Image mirror –Mirror Vertical
Layers -Merge- Merge Down
****************************************
Layer Blendmode Dodge / Opacity 30
(Adjust the opacity setting to your own work)
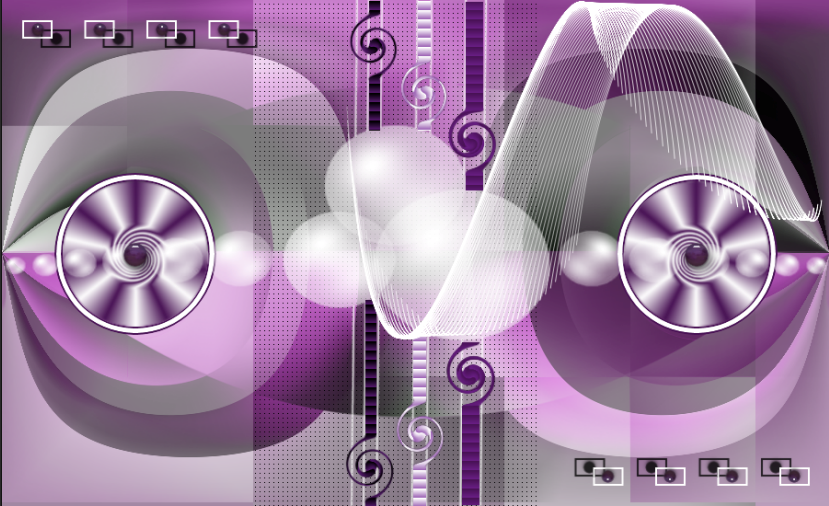
Result
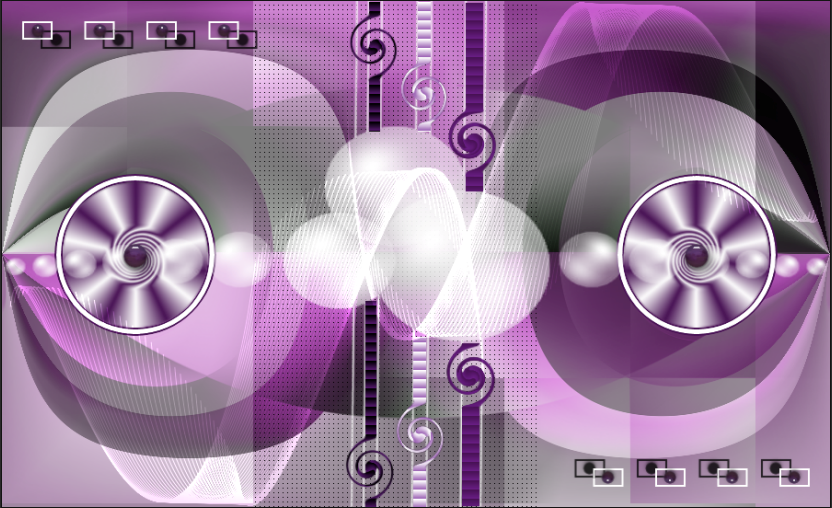
STEP 10
Image – Add Borders – Symmetric checket 1 pixel, color #491355
Image – Add Borders – Symmetric checket 5 pixel, color #ffffff
Image – Add Borders – Symmetric checket 1 pixel, color #491355
Image – Add Borders – Symmetric checket 15 pixel, color #ffffff
Image – Add Borders – Symmetric checket 1 pixel, color #491355
Sellections- Sellect All
Image – Add Borders – Symmetric checket 40 pixel, color #ffffff
Effets – 3D Effects – Drop Shadow V: 0 H: 0 O: 60 B: 20
Sellections- Sellect None
Image – Add Borders – Symmetric checket 1 pixel, color #491355
Result
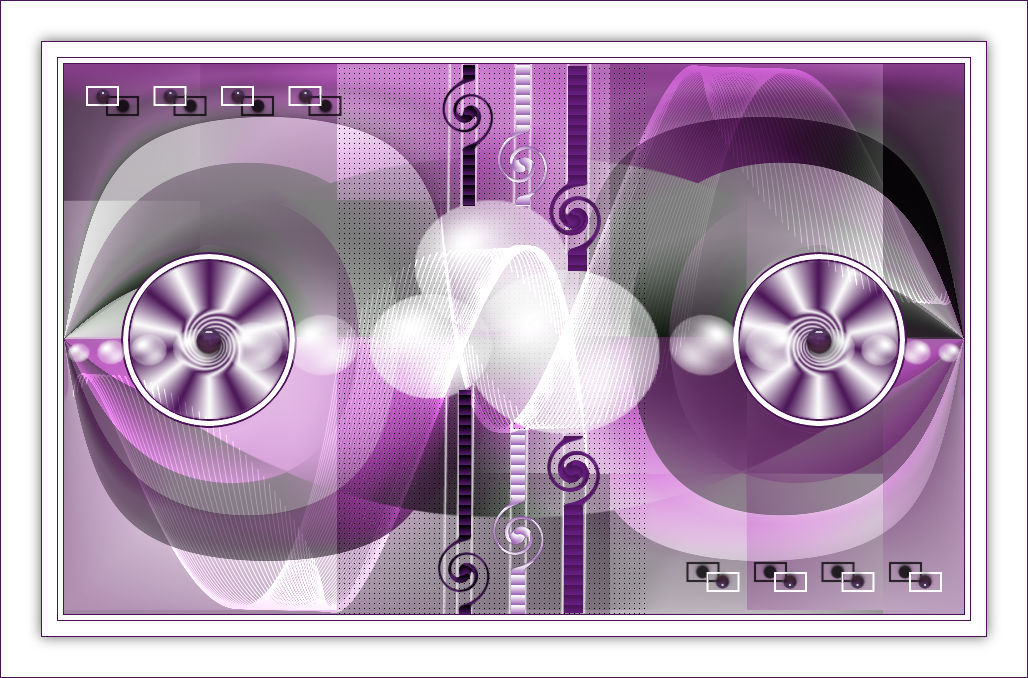
STEP 11
File Open/tube radi_señora_0208/ Delete signature
Edit Copy/ return work
Edit / Paste As New Layer
Image / Resize % 50
Image Mirror –Mirror Horizontal
Effects / Image Effects/ Offset H: -190 V: -33
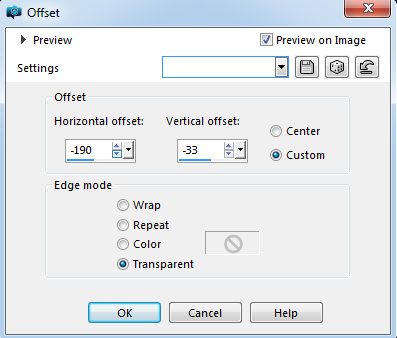
Adjust- Sharpness – Sharpen
Effets – 3D Effects – Drop Shadow V: 0 H: 0 O: 60 B: 20
Add your name or watermark
Resize 900 px
File – Save As JPG
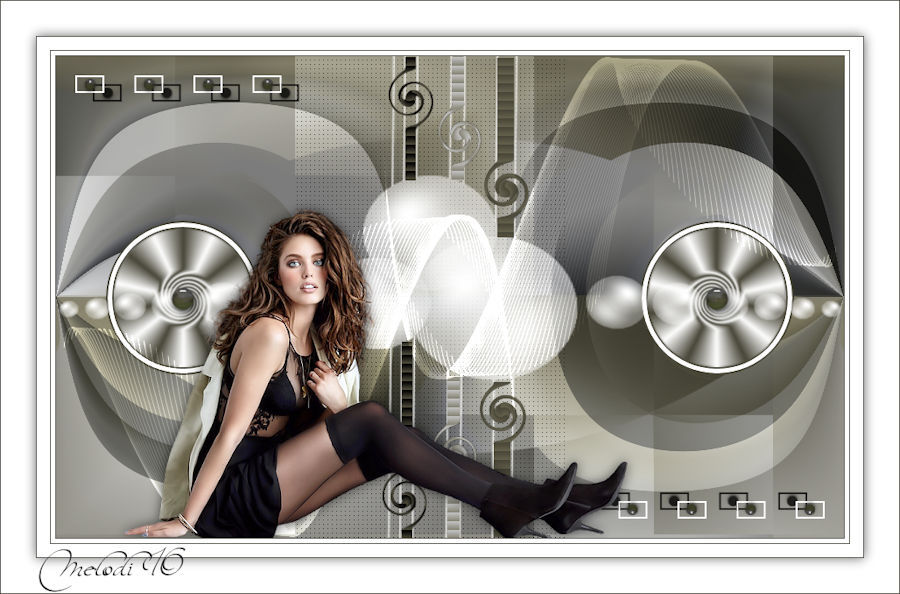
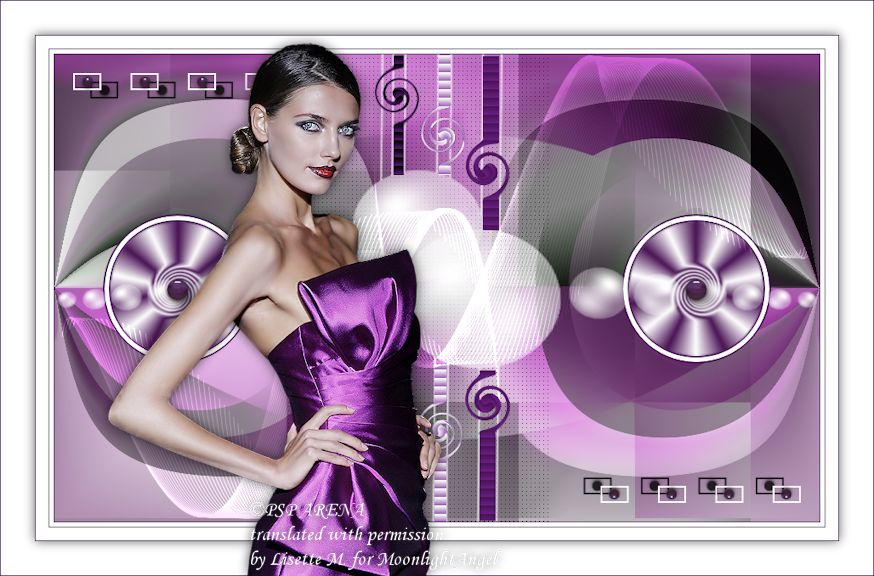
Bedankt voor de Nederlandse vertaling Lisette
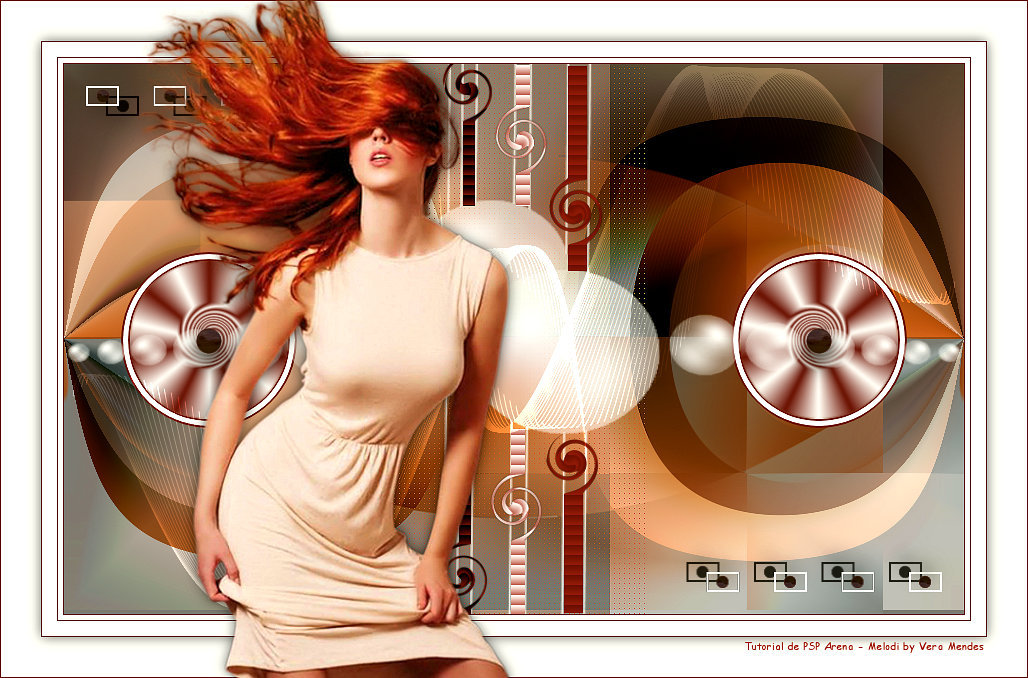
Obrigado pela tradução para o português VERA
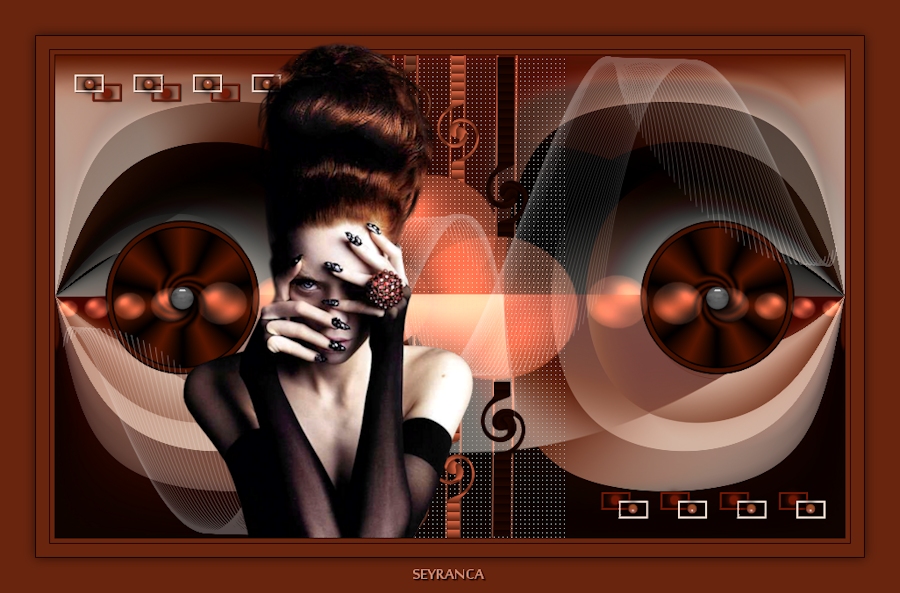
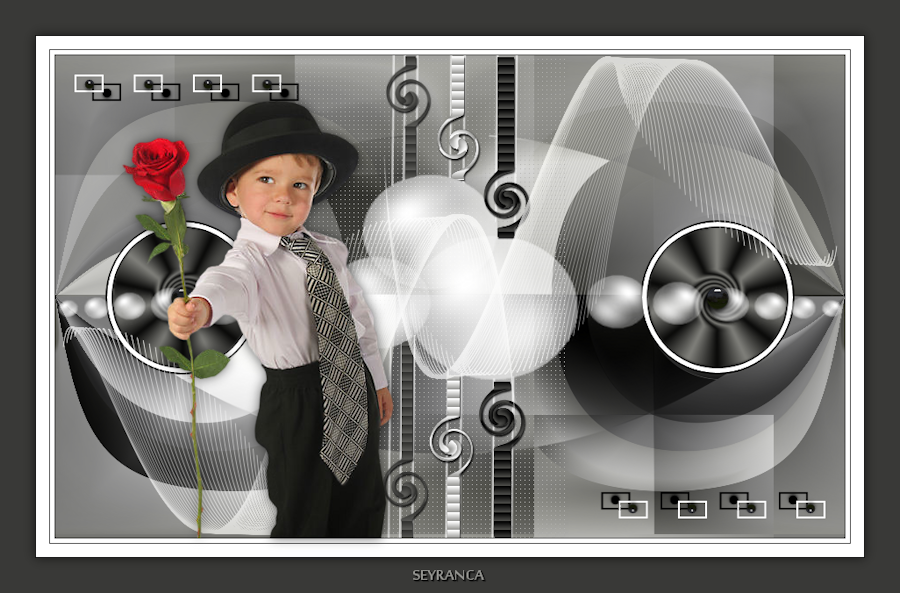
Teşekkürler Seyran
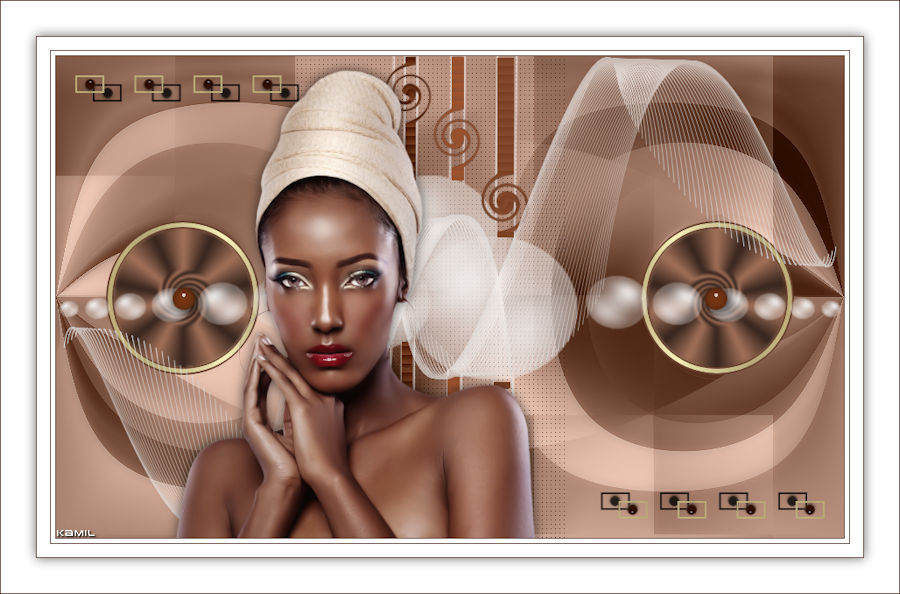
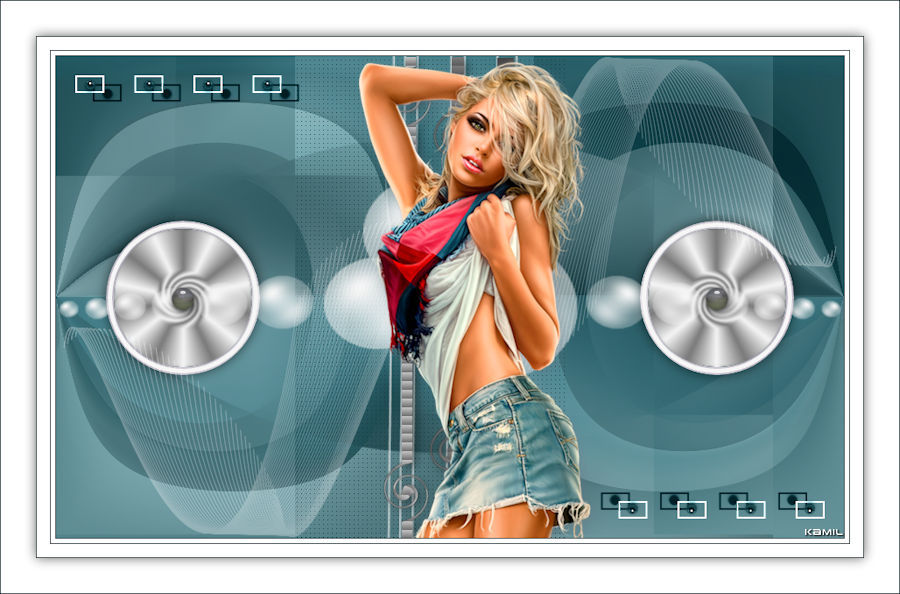
Teşekkürler Kamil
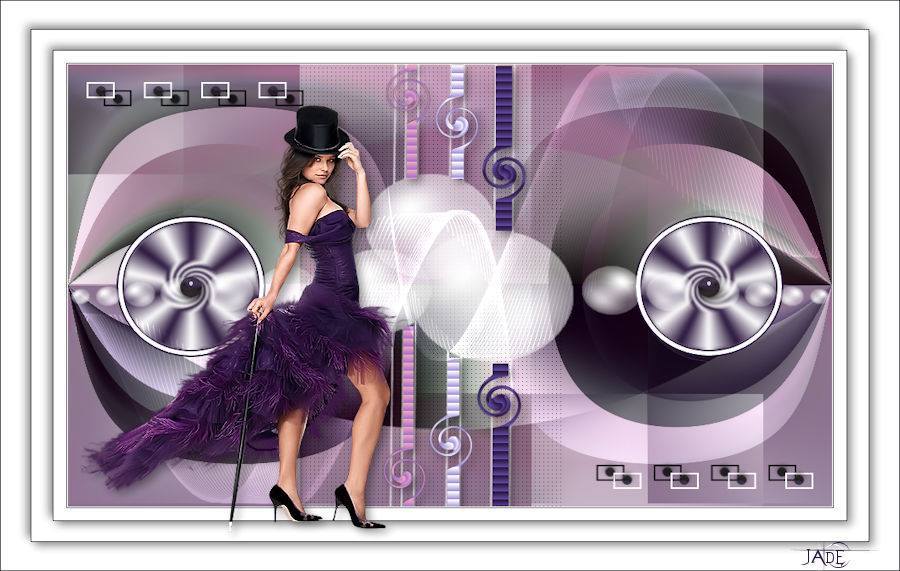
Teşekkürler Jade


Thank you Monica
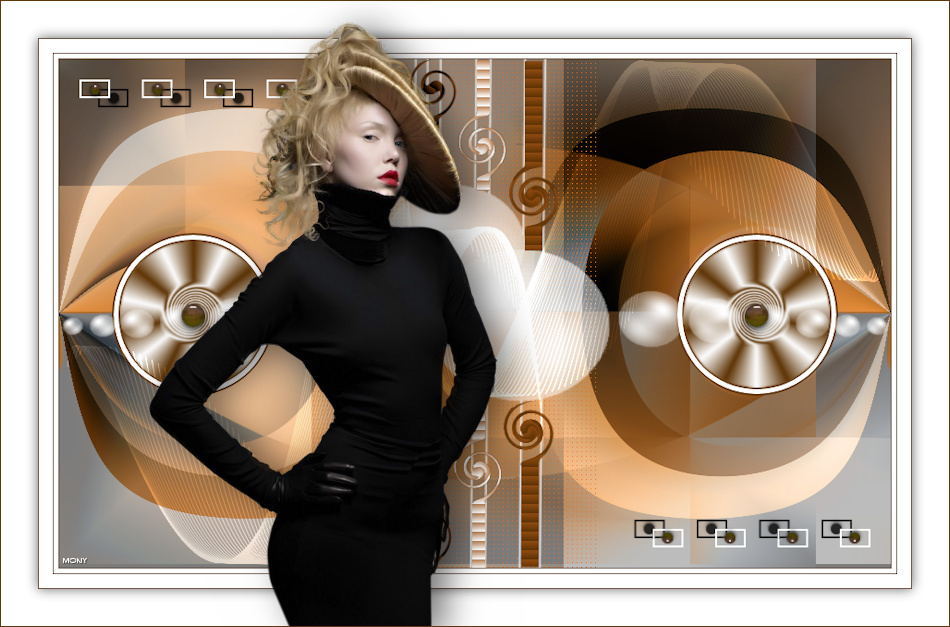
Teşekkürler ATA
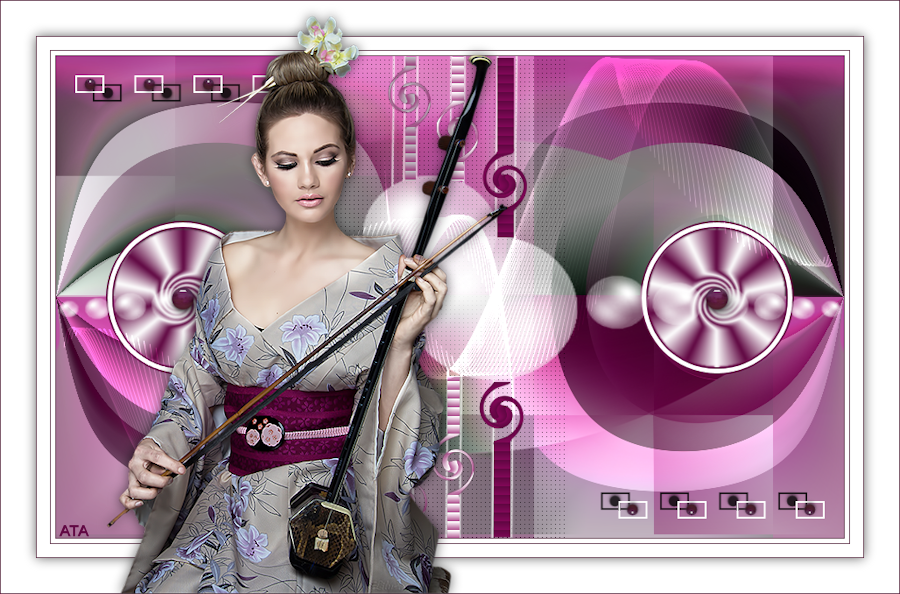
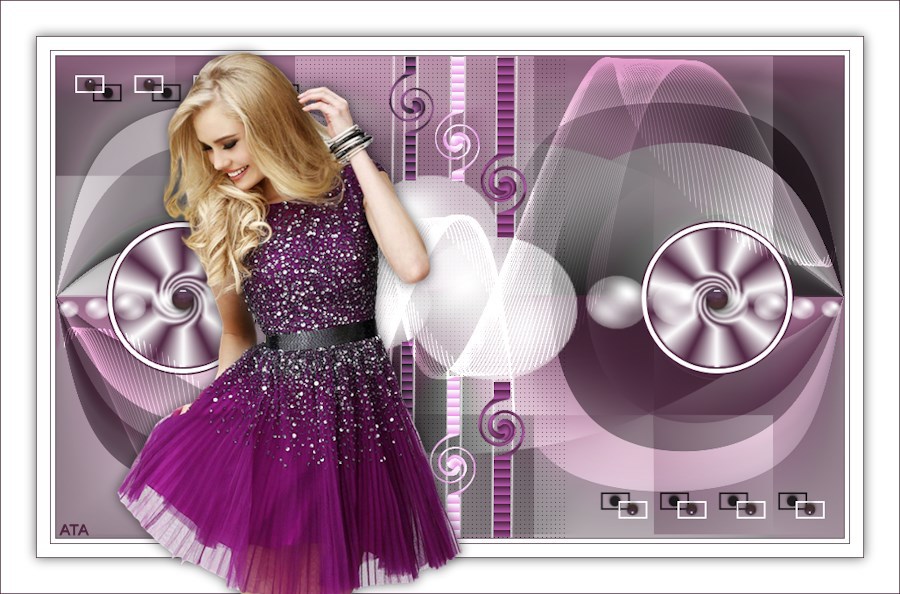
Thank you Kati

Thank you İlia
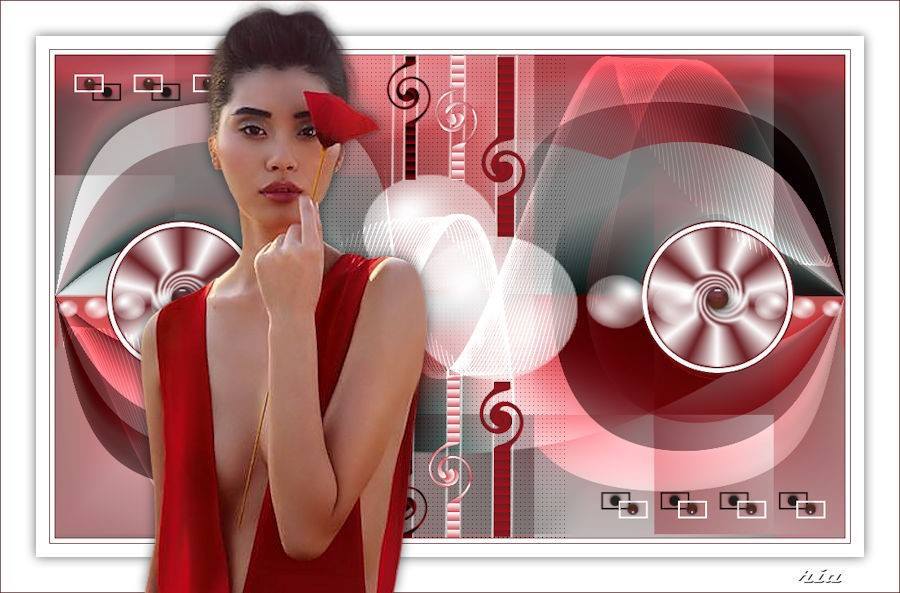
Thank you Mamy
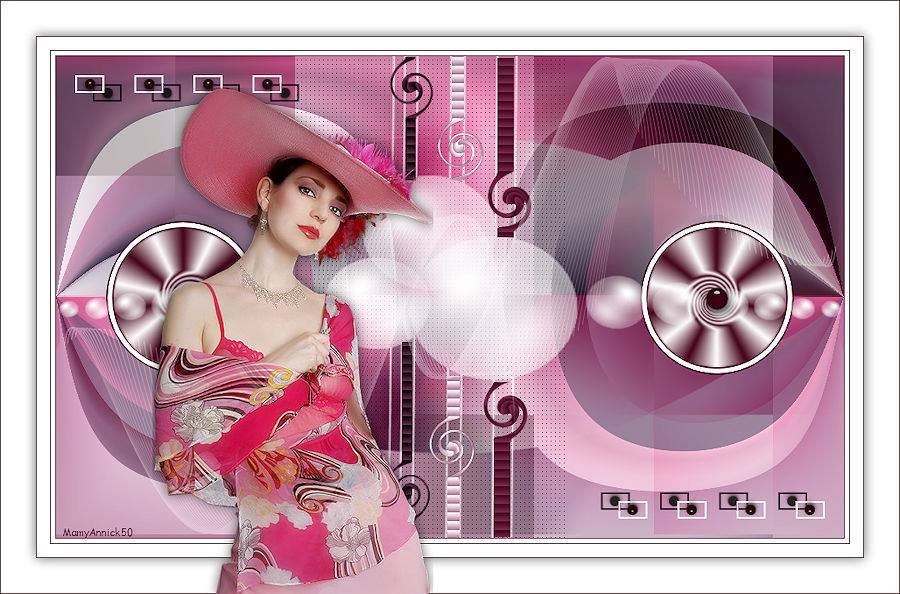
Teşekkürler Barbaros
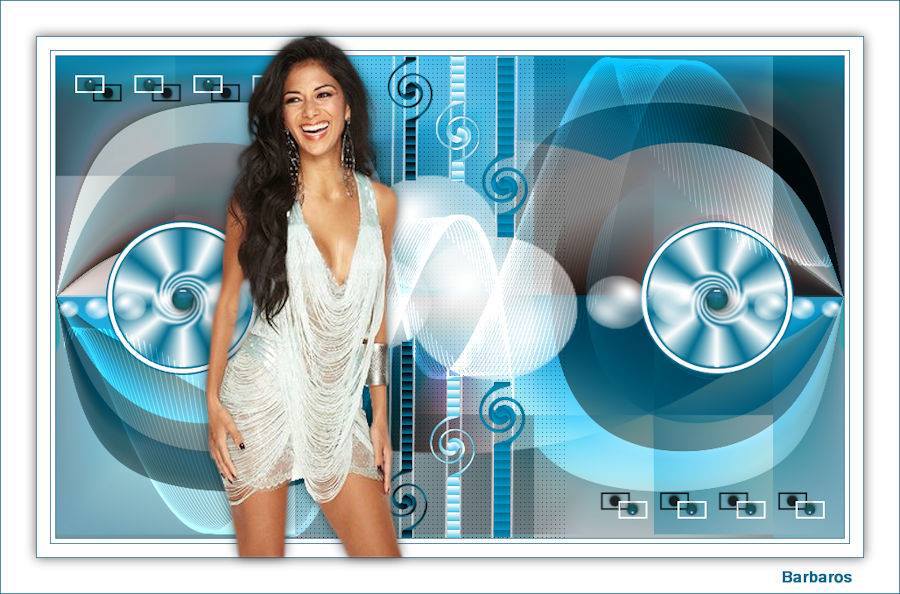
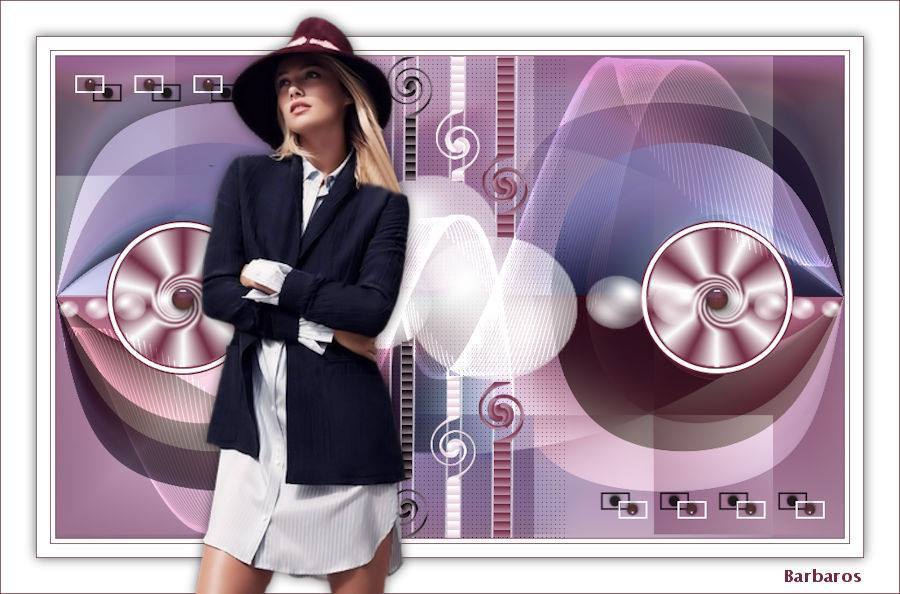
Thank you Nadege
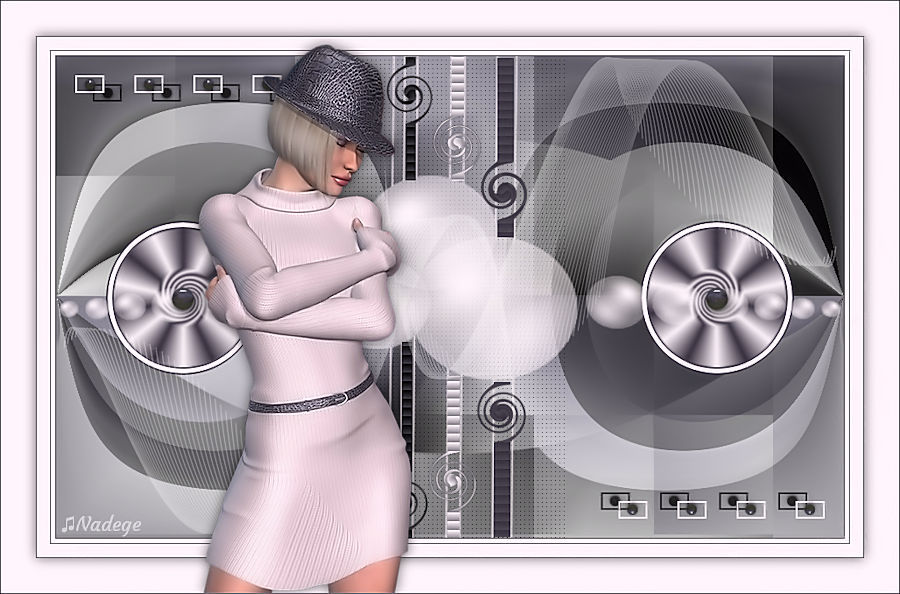
Thank you Dany

Teşekkürler Şahmaran
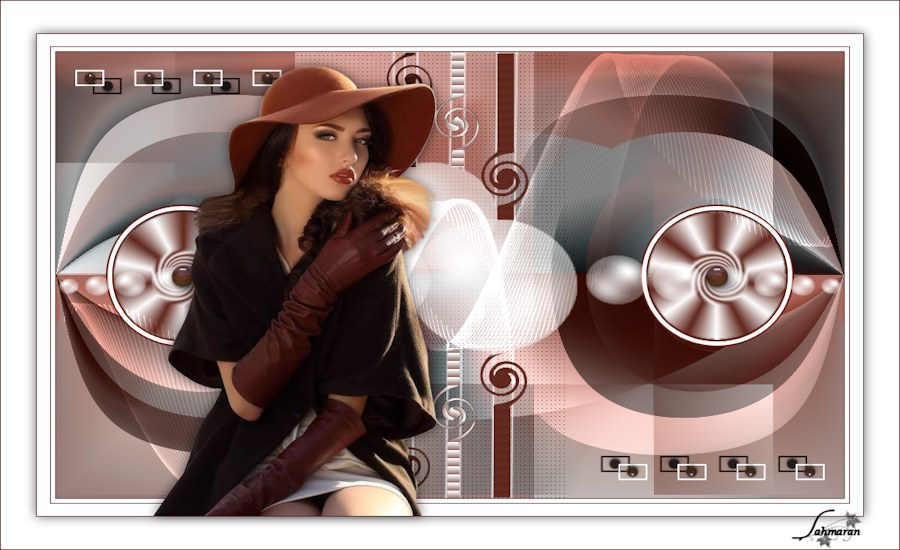
Thank you Maibernie

Teşekkürler Ceylan
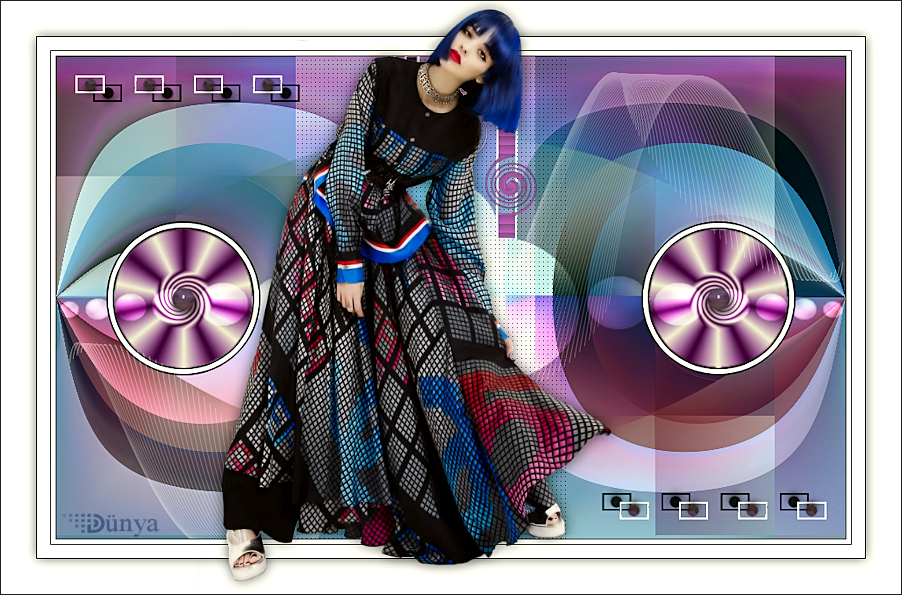
Teşekkürler Mustafa Kemal
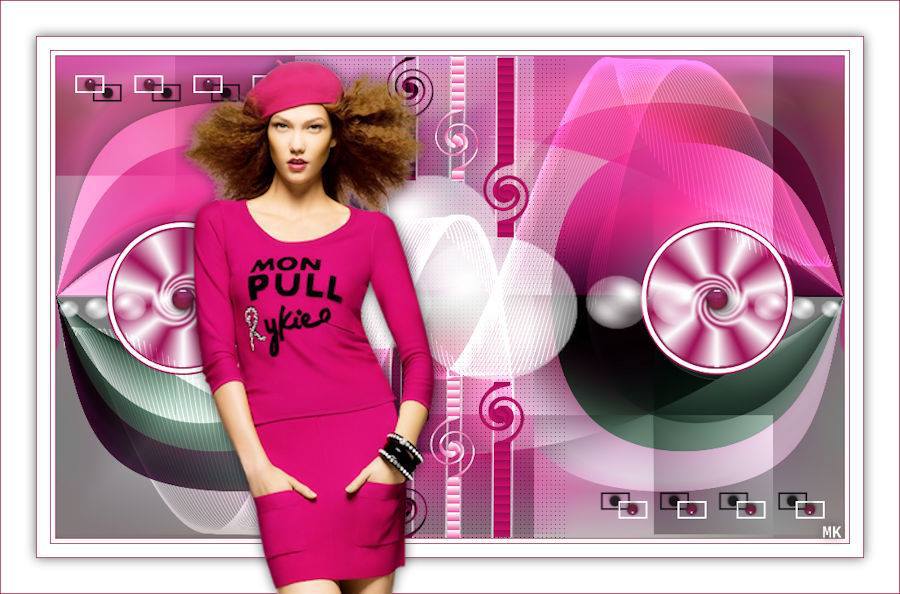
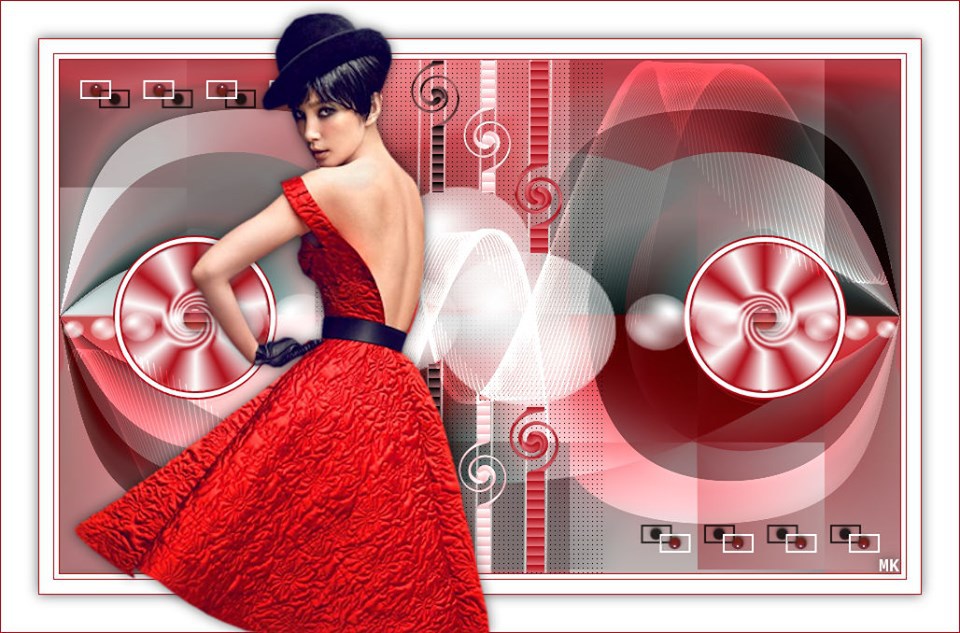
Thank you Anita
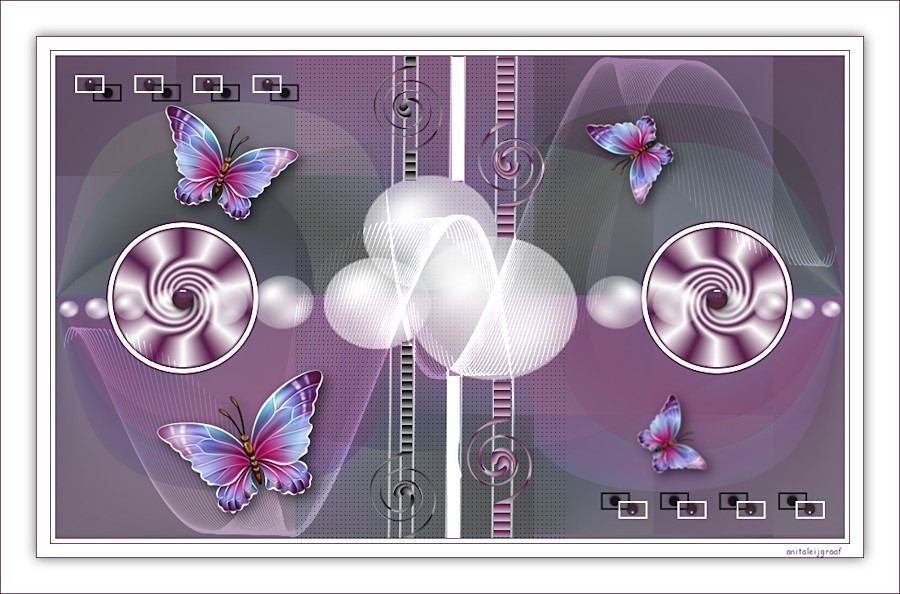
Thank you Anne Marie

Thank you Uschi
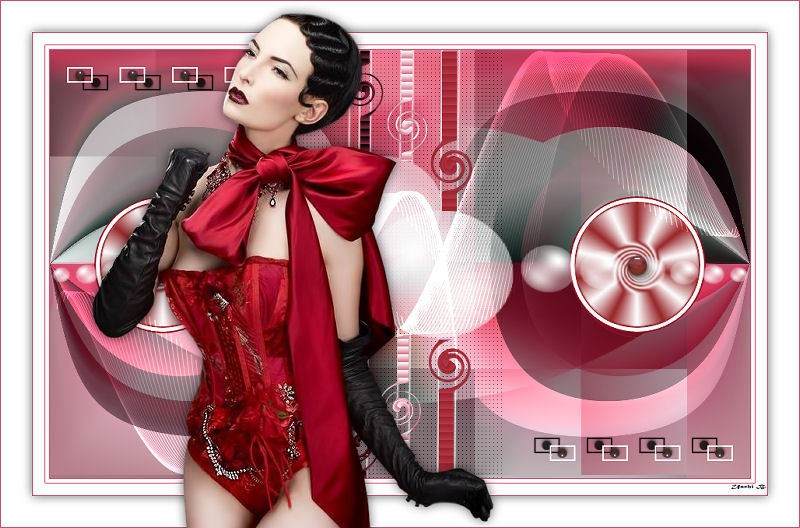
Thank you Rozalia
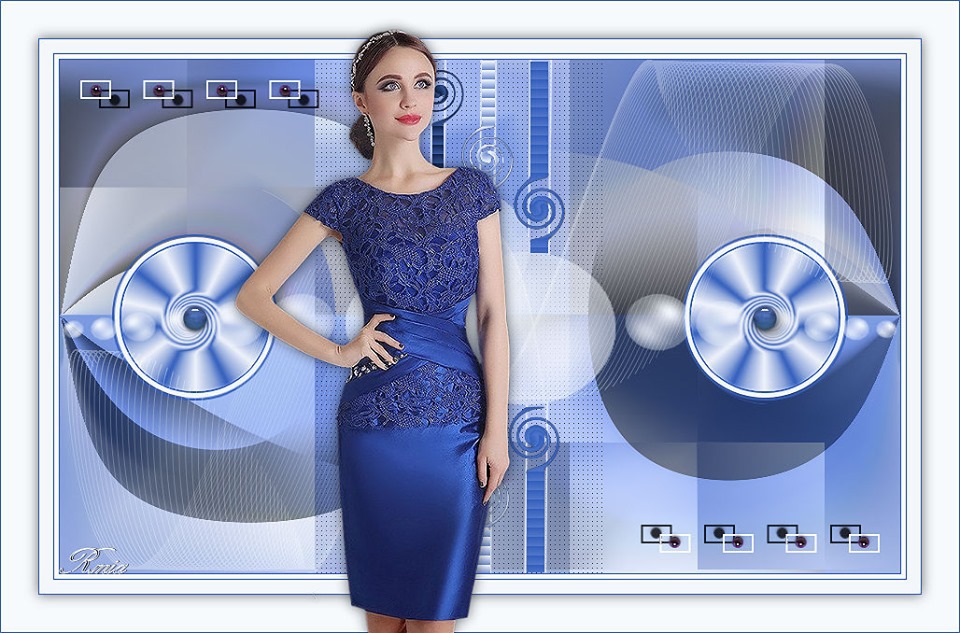
Thank you Alexandra

Thank you Pia
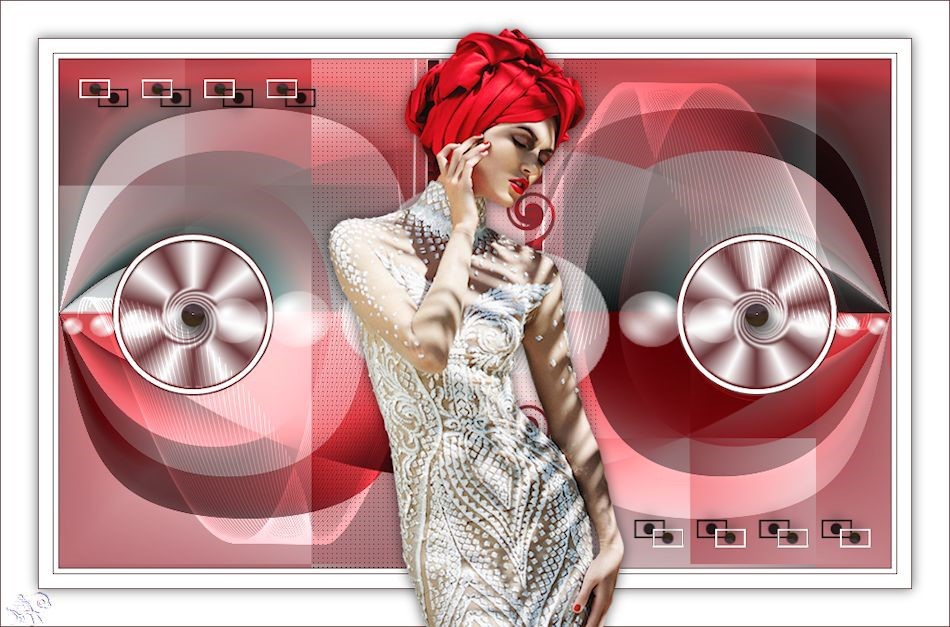
Thank you Olga
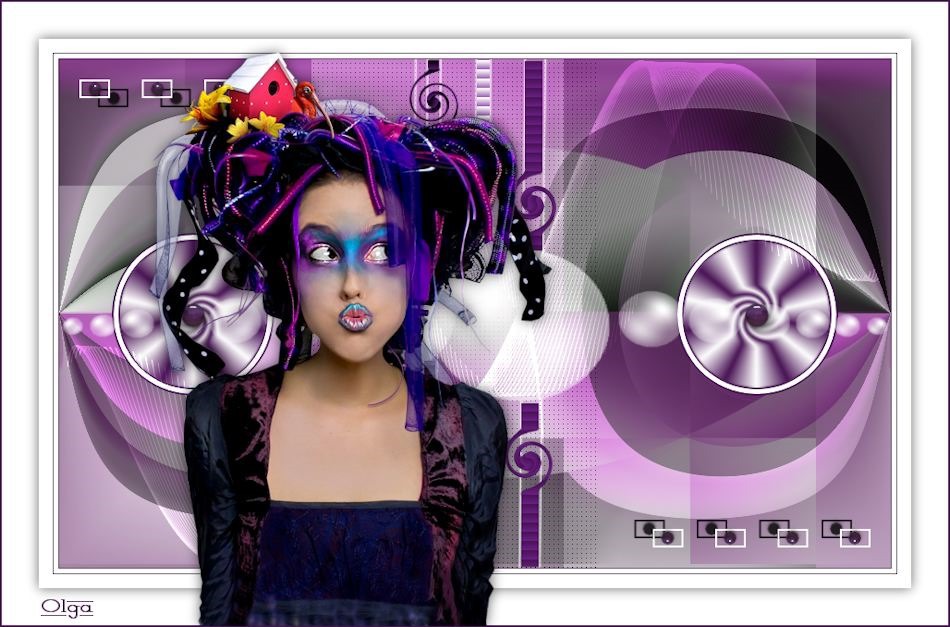
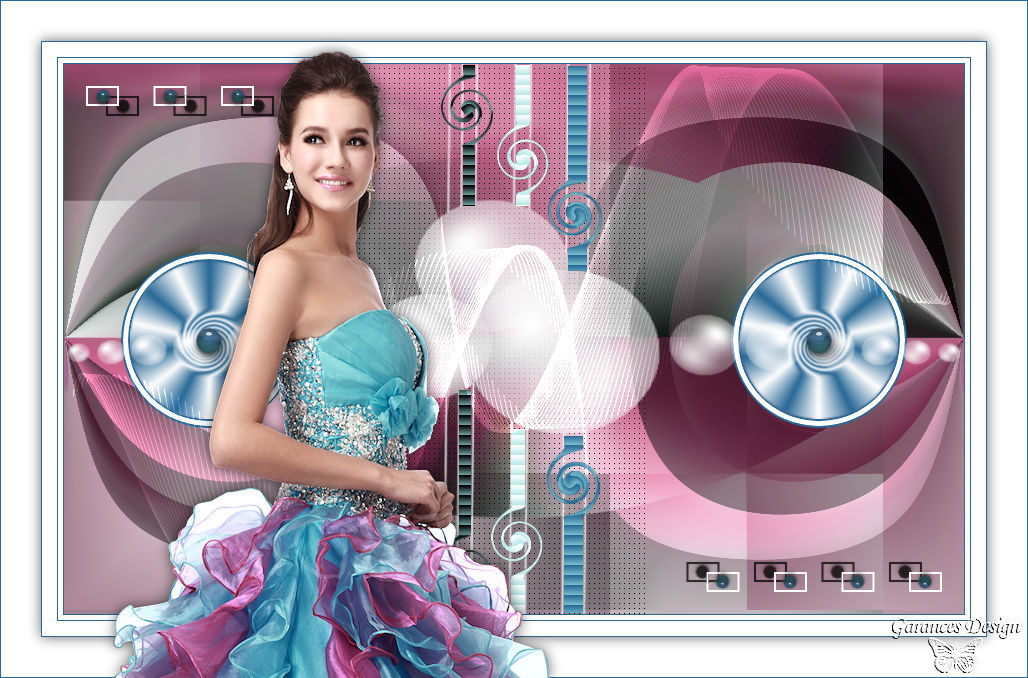
Than you Grances
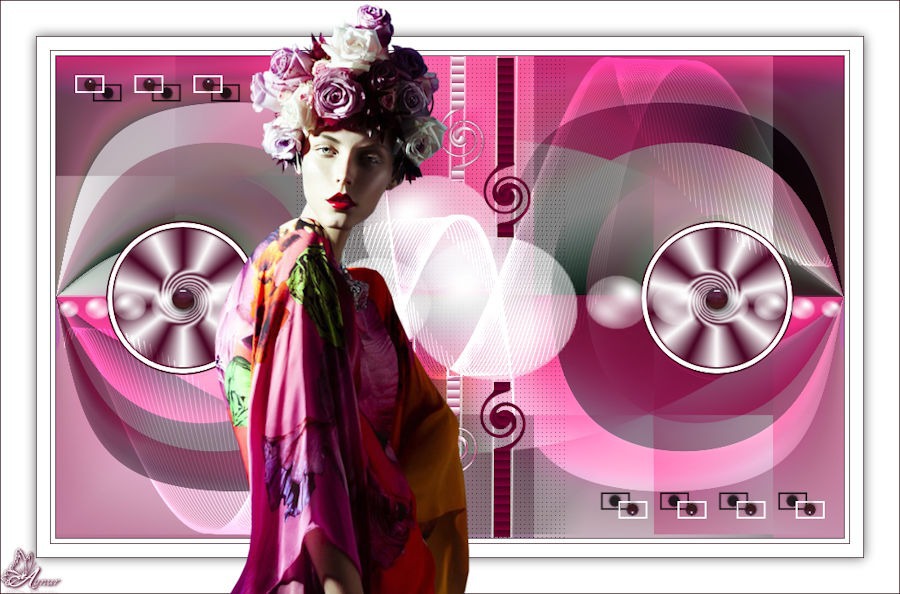
Teşekkürler Aynur
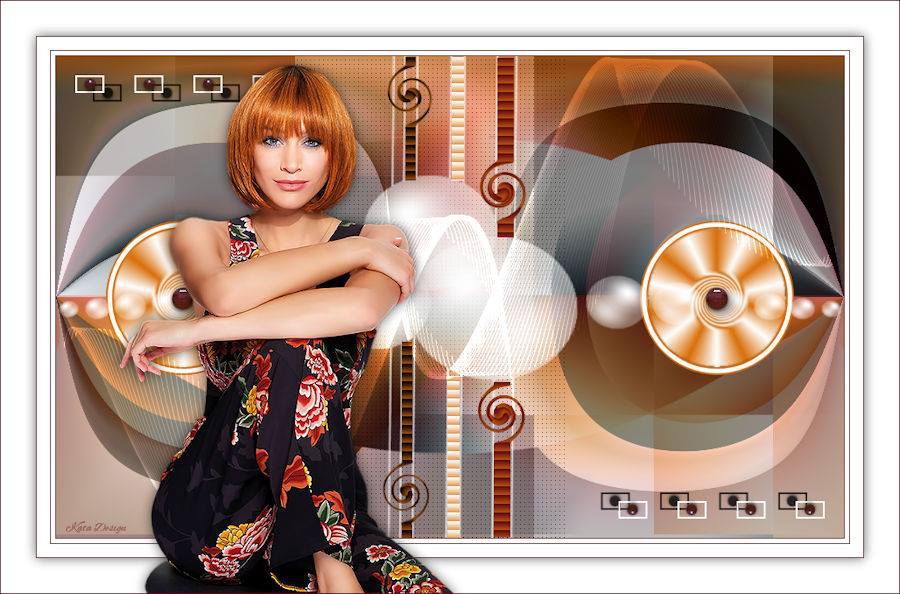
Thank You Kata
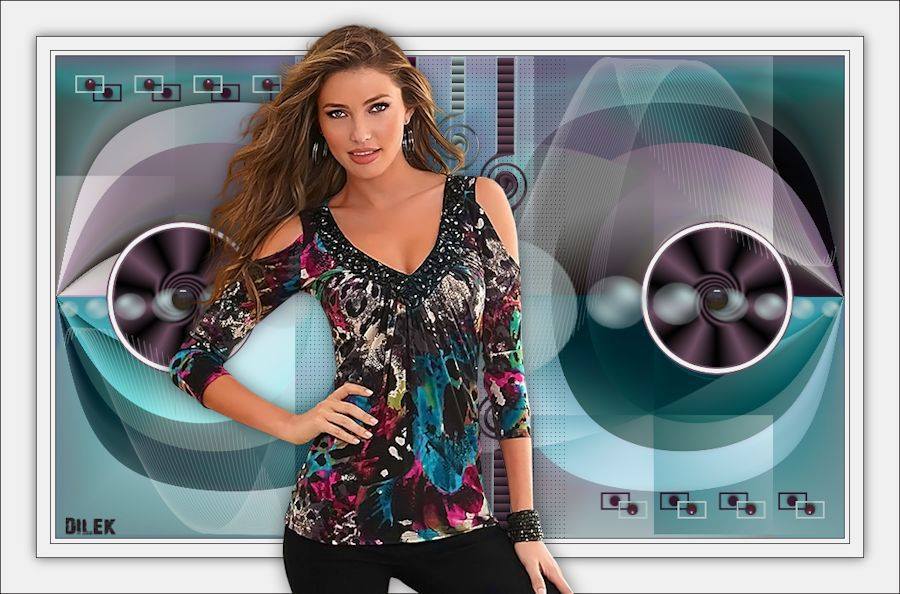
Teşekkürler Dilek
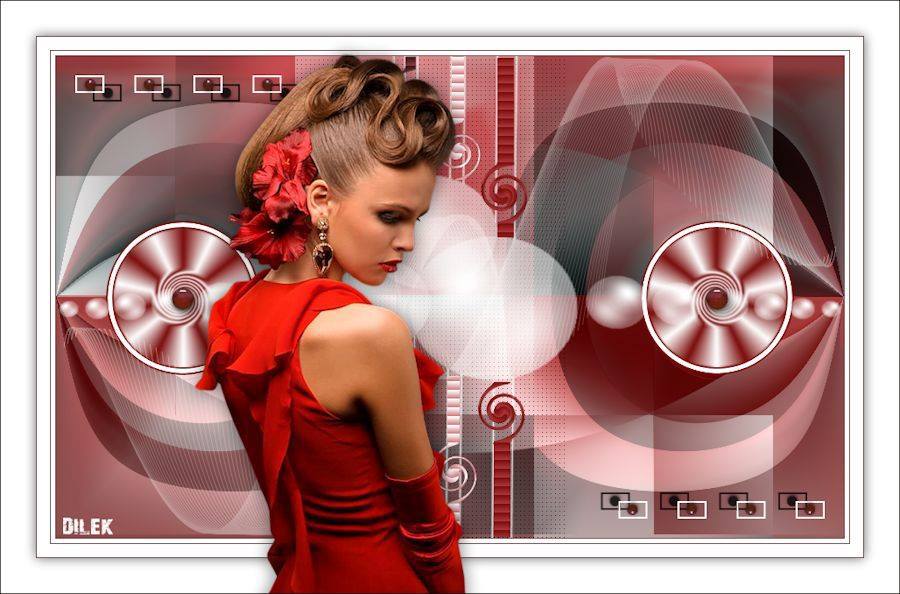
Teşekkürler Nazar
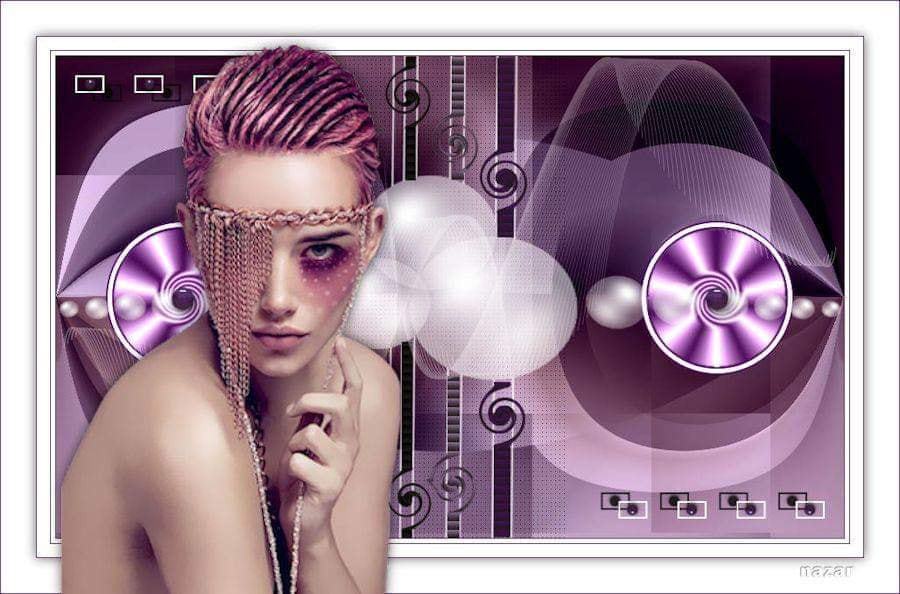
Thank you Deb
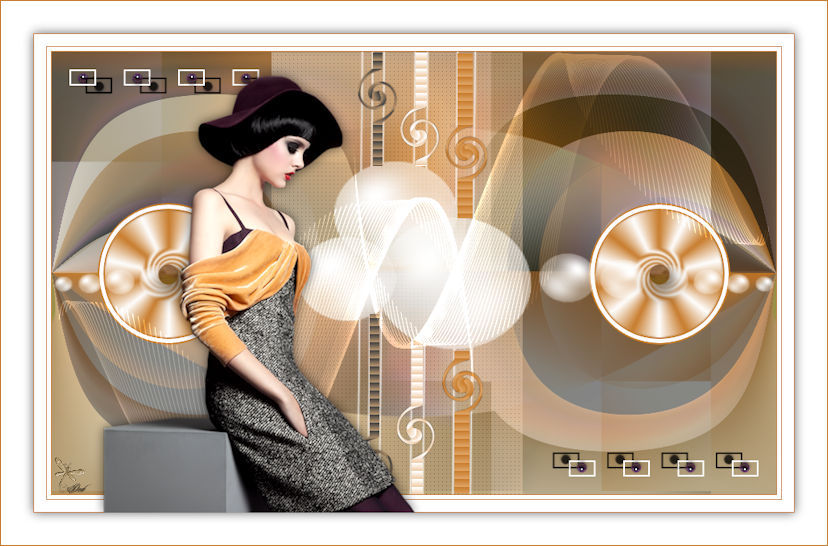
Thank you Anja

Merci Grances
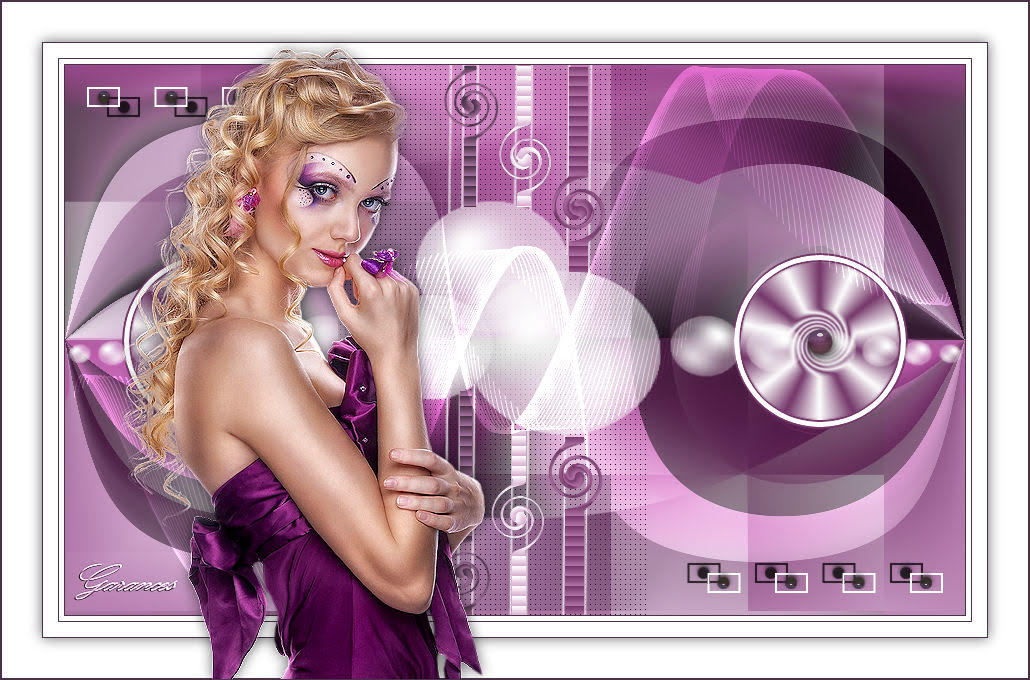
Mary
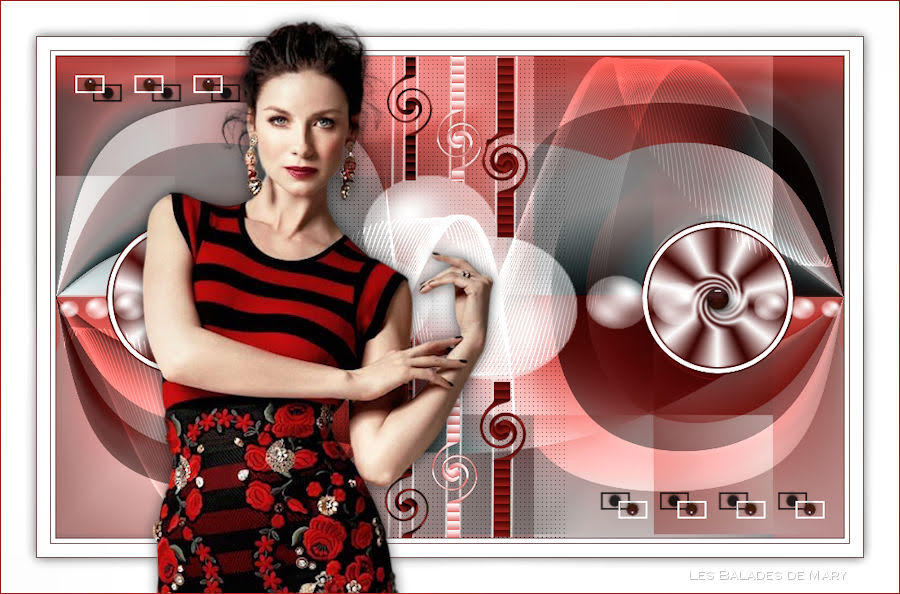
Sophie
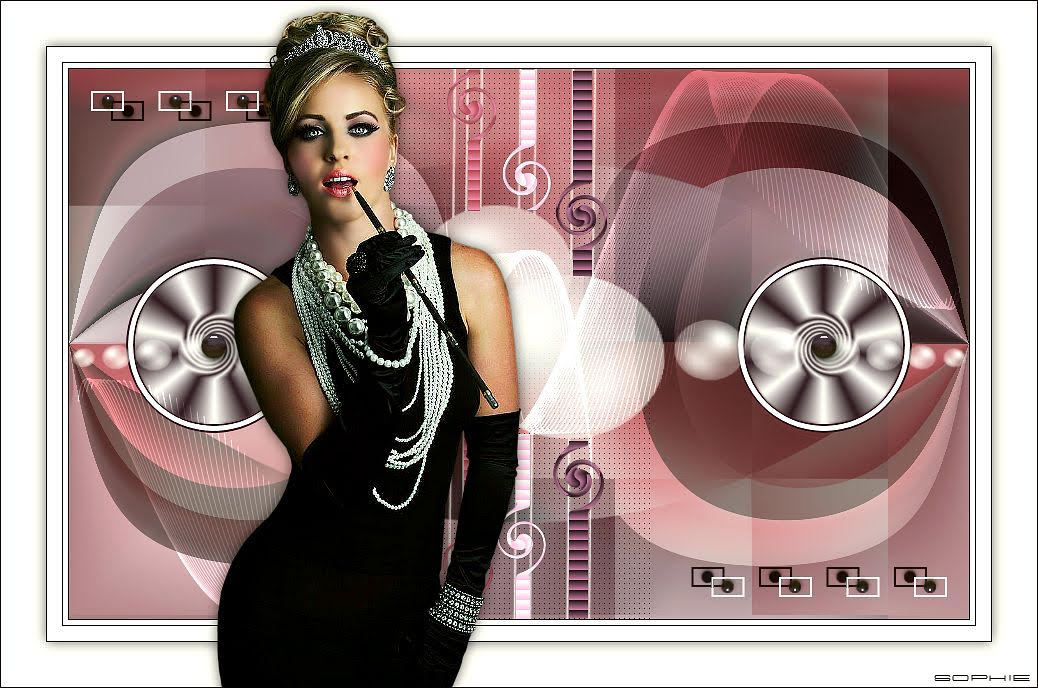
Irene Rene

Thanks Cleide
