
This Tutorial is written with Corel PSP X8
The colors, layer density and blending mode are for the materials of this lesson.
If you use different material, just take a look at what is best for you
Look for more lessons at new casino site no deposit bonus
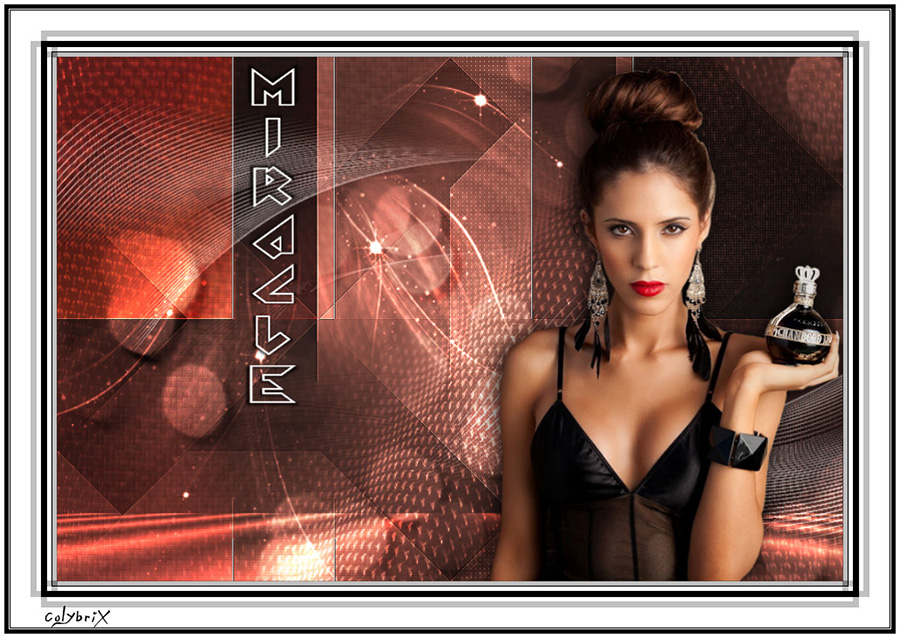
Merci Colybrix pour la traduction française


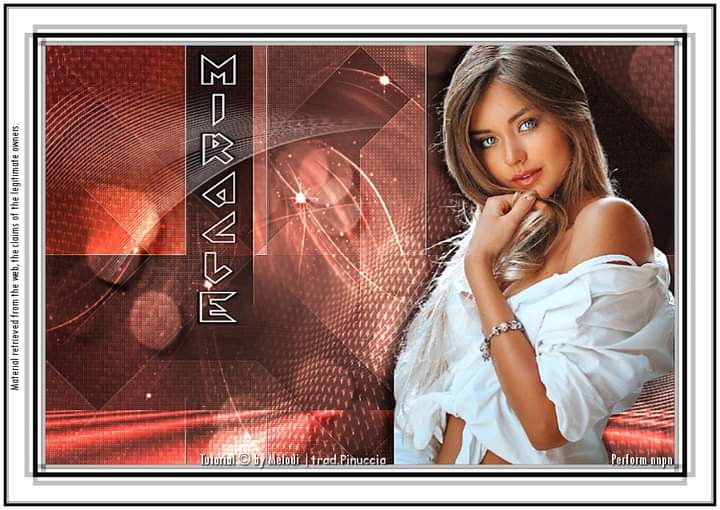
Grazie per la traduzione Pinuccia


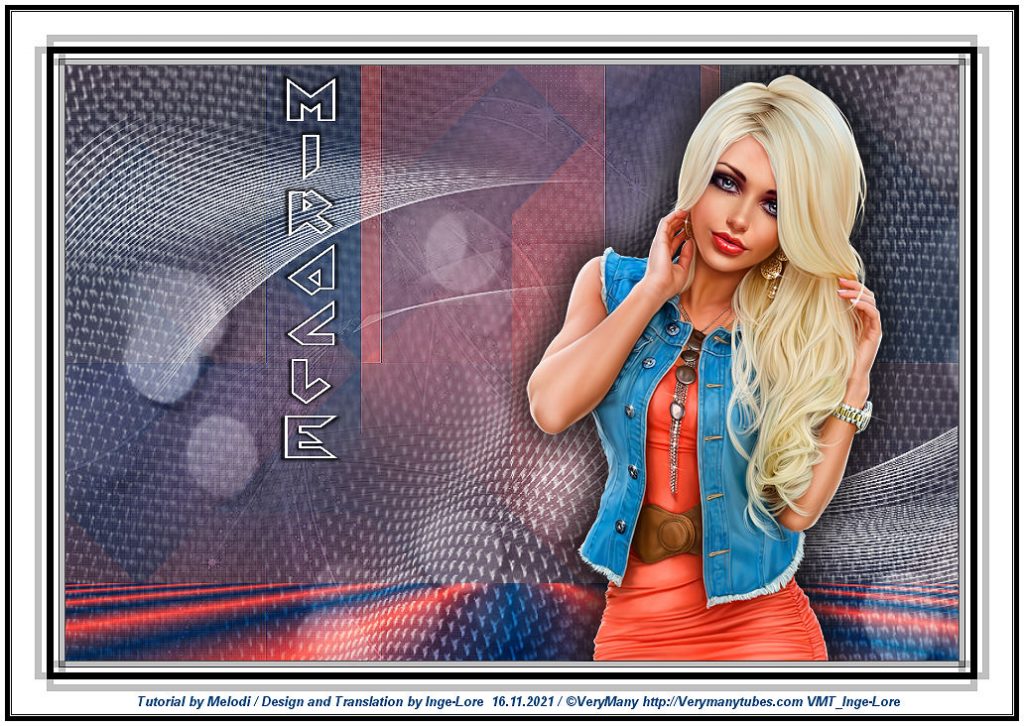
Danke Inge Lore für die deutsche Übersetzung


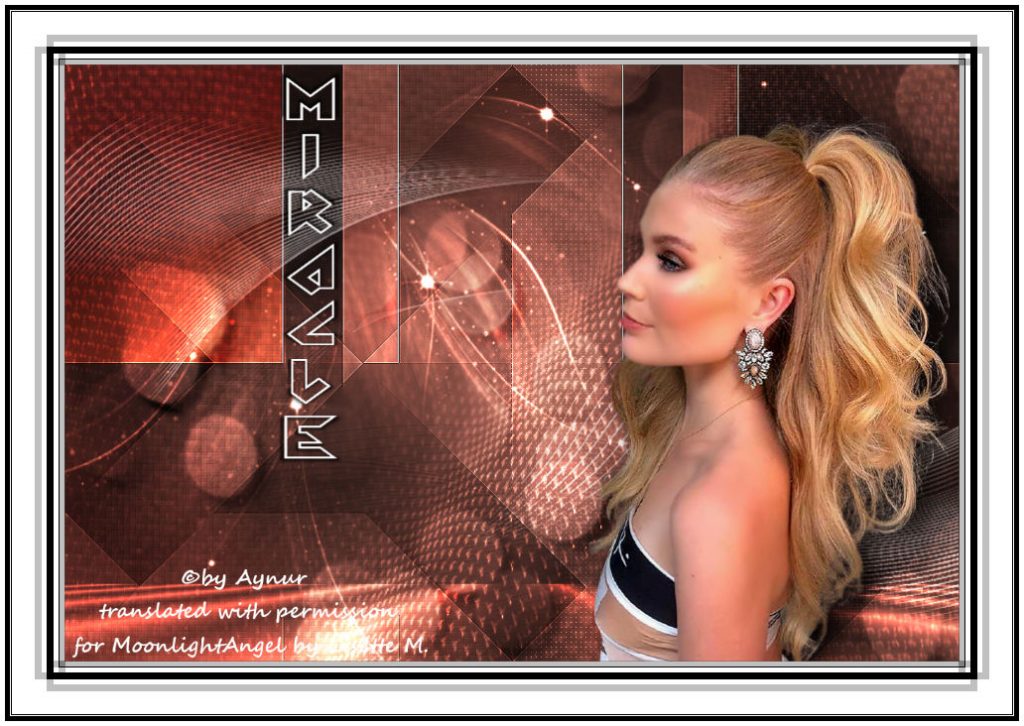
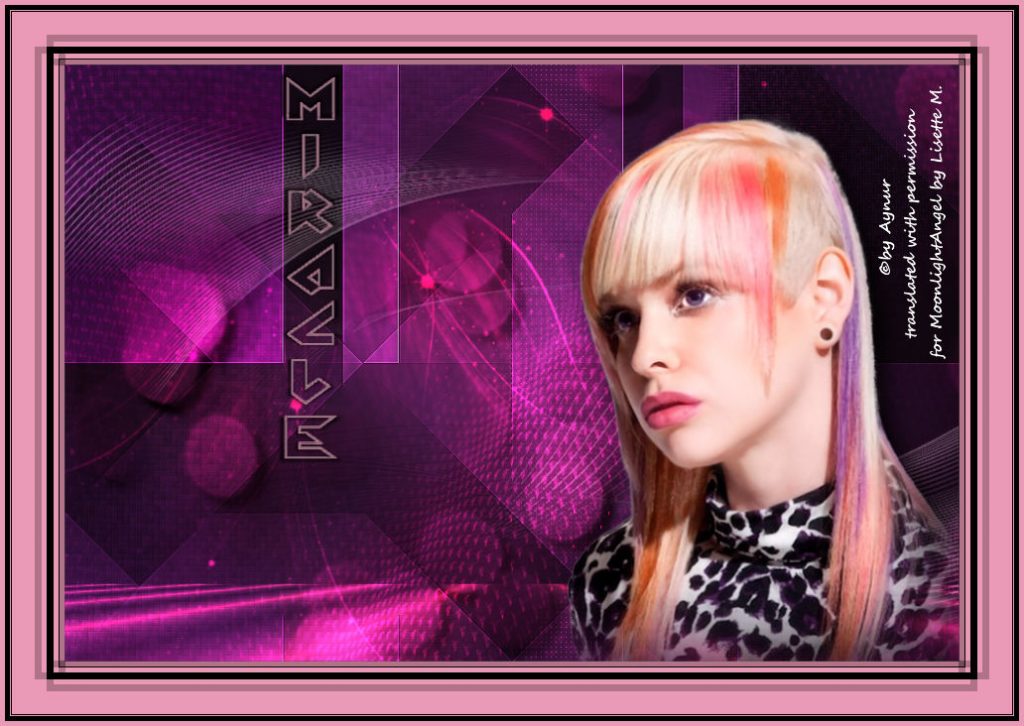
Bedankt voor de Nederlandse vertaling Lisette


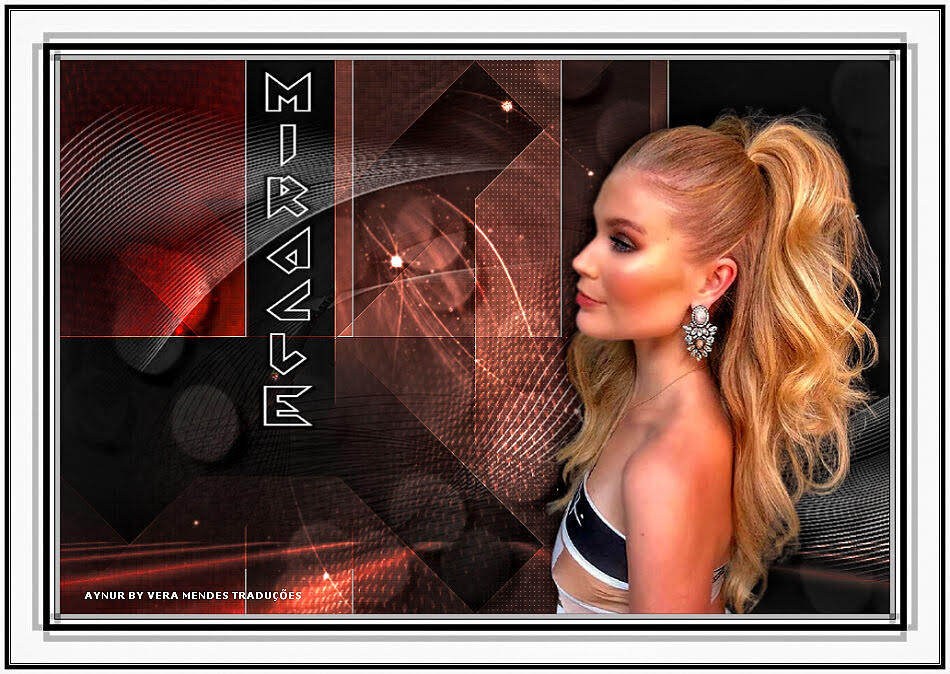
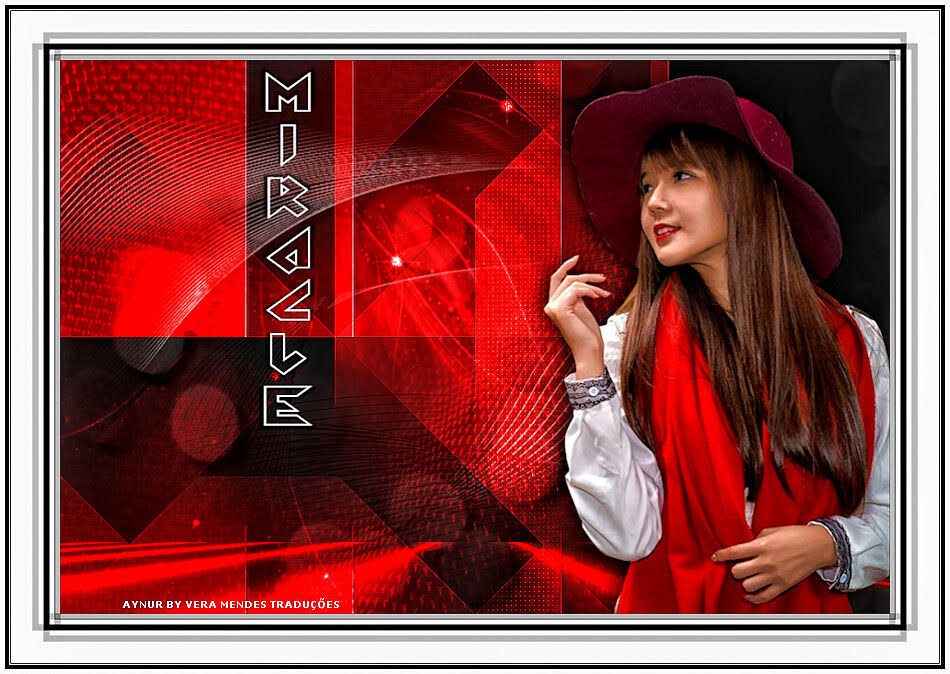
Thanks Vera Mendes for the Portuguese, English end Spanish translation


Gracias Sylviane por la traducción al español.


Plugins:
Filters Unlimited 2.0 -Toadies – What Are You?
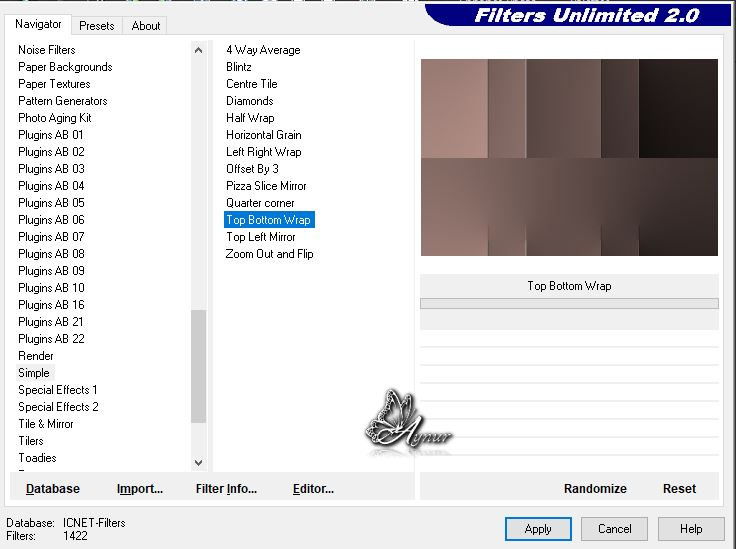
Filters Unlimited 2.0 – Simple – Top Bottom Wrap
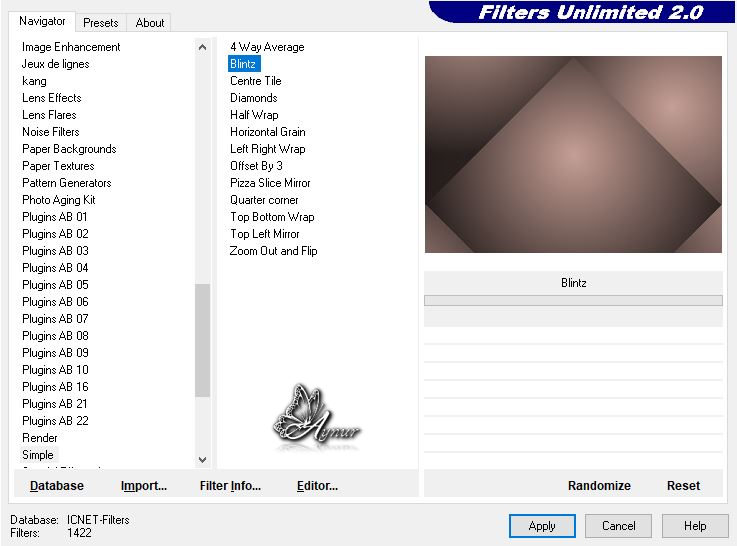
Filters Unlimited 2.0 – Simple – Blintz
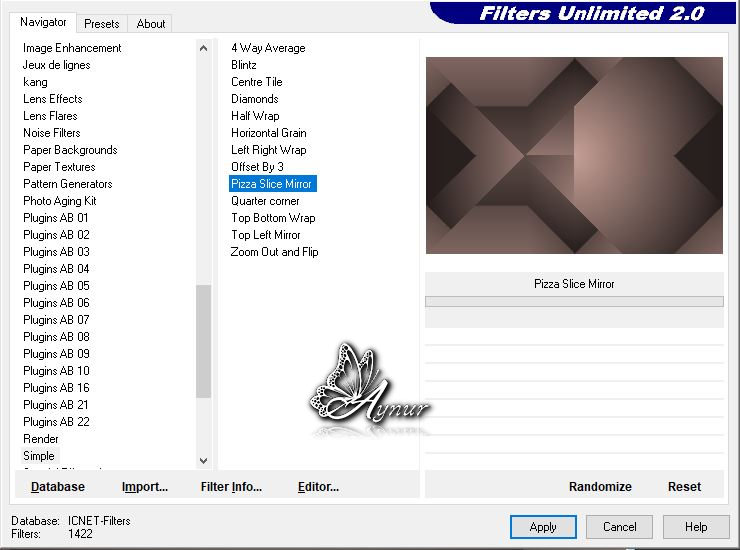
Filters Unlimited 2.0 – Simple – Pizza Slice Mirror
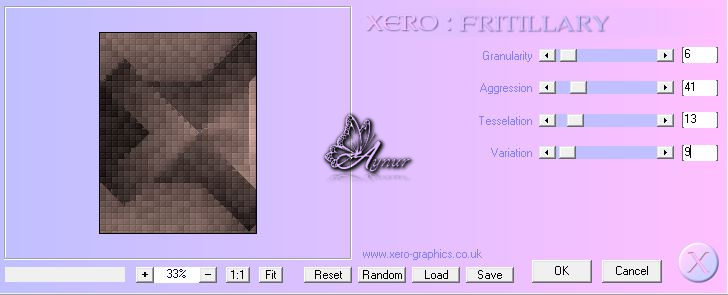
Xero-Fritillary
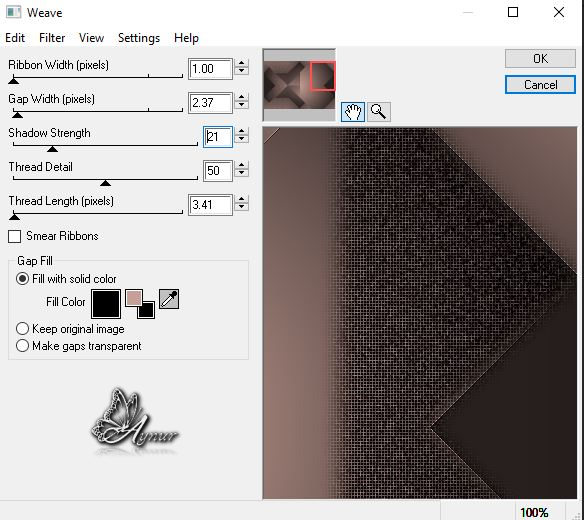
4000- WeaveEye Candy 4000- Weave
AP[Lines]-Lines Silverlining- Dotty Grid
Mura’s Meister-Perspective Tiling
Alien Skin Eye Candy 5 – İmpact-Perspective Shadow
Materials:
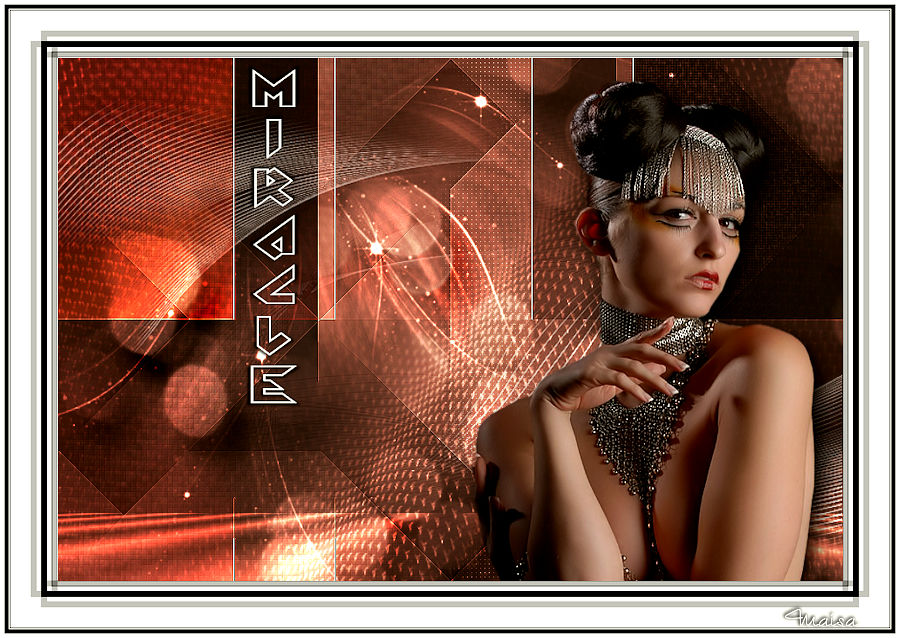
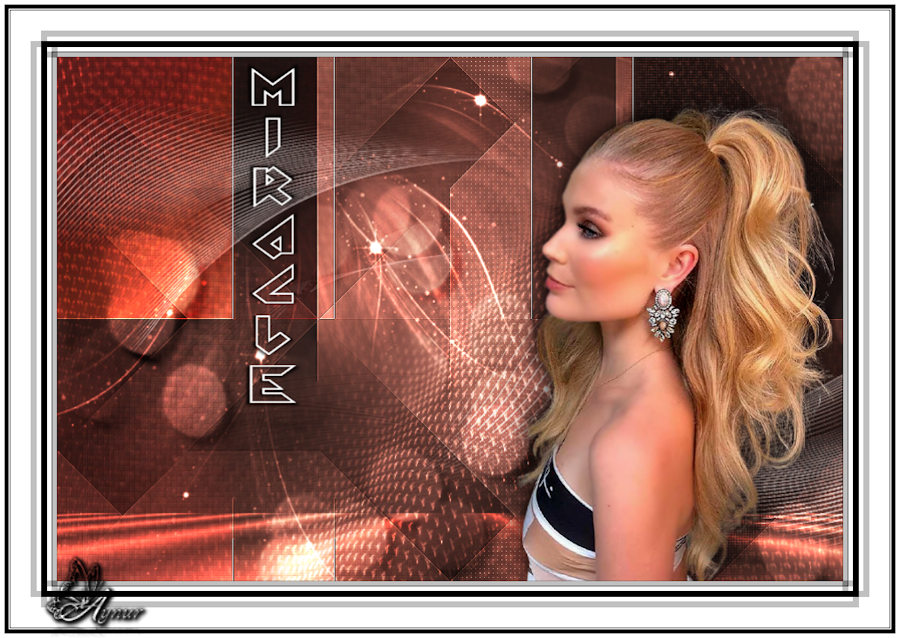
Tube
Luz Cristina
Mask
Narah
Deco
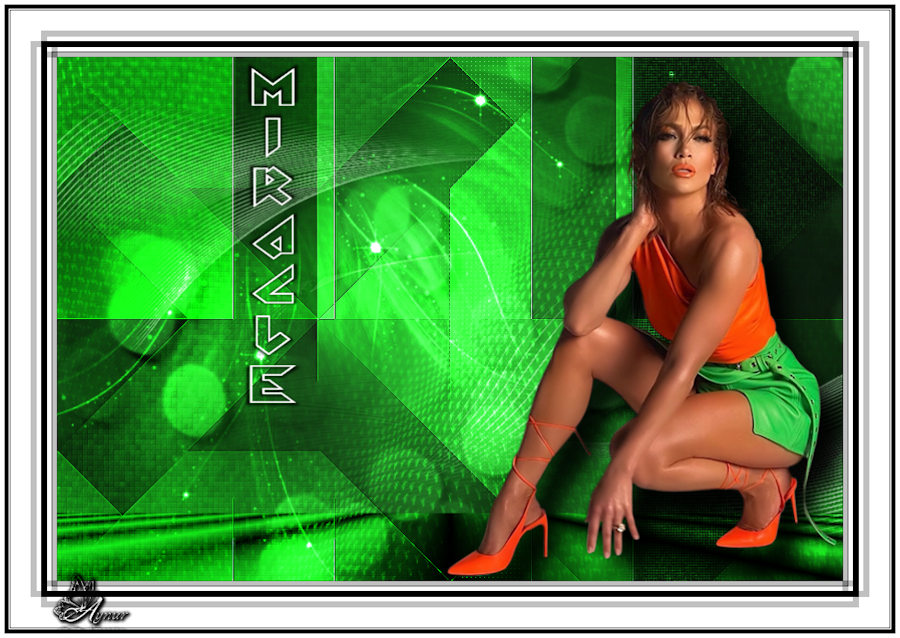
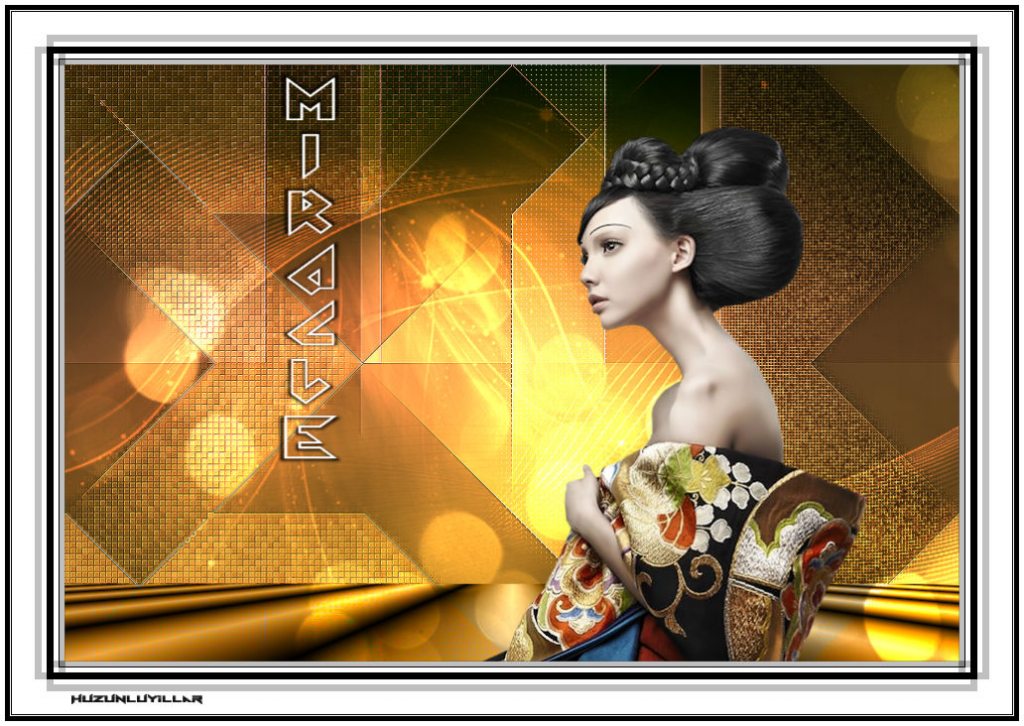
Hüzünlüyıllar
Frame
Hüzünlüyıllar

Preparations:
Choose a light a color from your tube
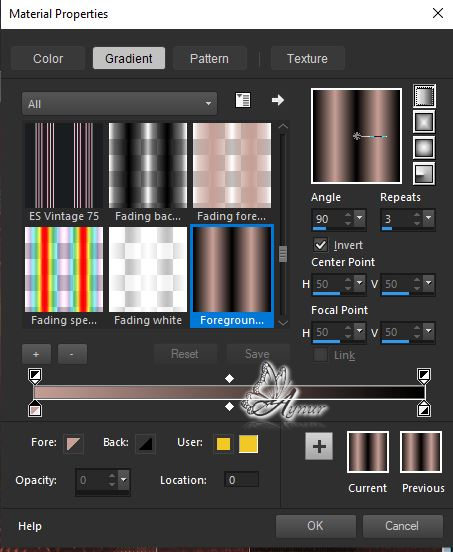
Foreground color #c69f96
Background color #000000
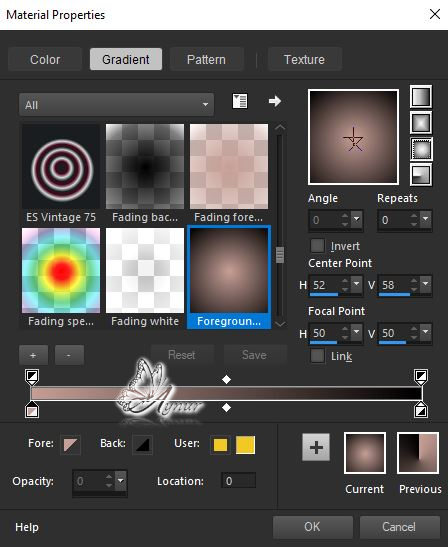
Properties foreground: Make a foreground- background Gradient of these two colors
Note: When working with your own colors, play with the Blend Mode and/or Opacity at your own discretion
File-Open- Alpha Channel
Window – Duplicate and close Alpha Channel
Continue with Raster1 image
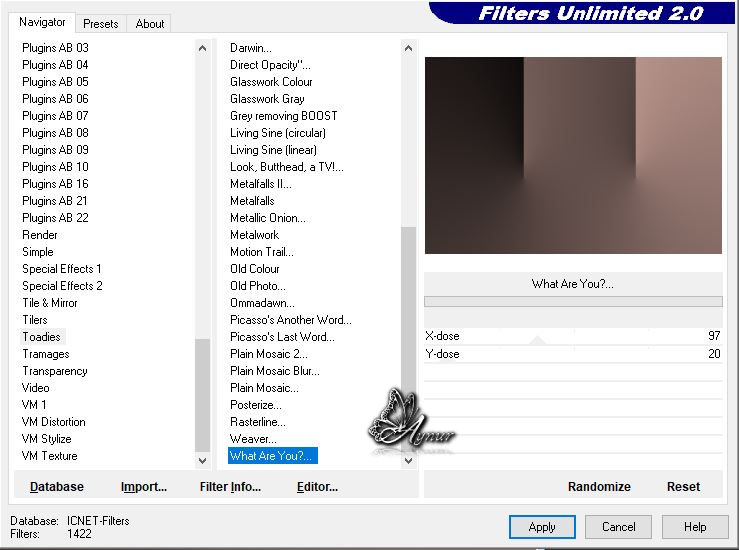
Flood fill – Fill with your Gradient (Radial)

Effects – Plugins- Filters Unlimited 2.0 -Toadies – What Are You?
Effects – Edge Effects – Enhance
Layers – Duplicate
Image- Mirror- Mirror Vertical
Image- Mirror- Mirror Horizontal
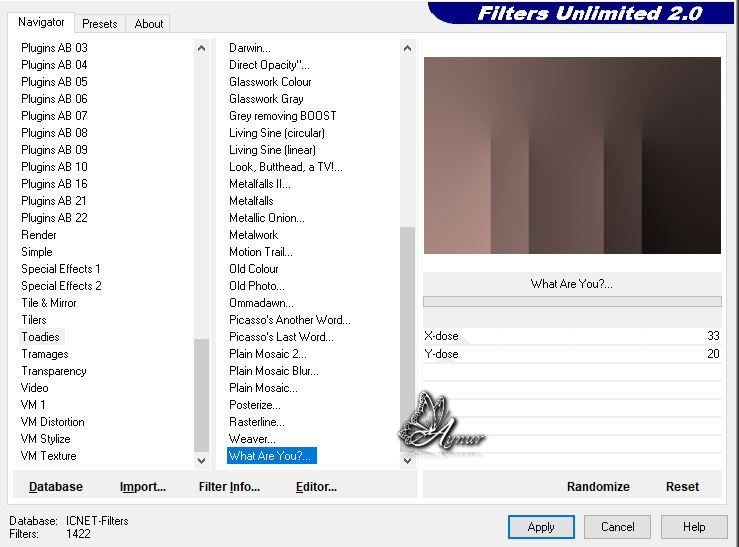
Effects – Plugins- Filters Unlimited 2.0 -Toadies – What Are You?
Effects – Plugins- Filters Unlimited 2.0 – Simple – Top Bottom Wrap
Effects – Edge Effects – Enhance
Layer Palette – Double click on this Layer and set the Blend Mode to Hard Light
Layers – New Raster Layer
Flood fill – Fill with your Gradient (Sunburst)
Effects – Plugins- Filters Unlimited 2.0 – Simple – Blintz
Effects – Plugins- Filters Unlimited 2.0 – Simple – Pizza Slice Mirror
Effects – Edge Effects – Enhance
Layer Palette – Double click on this Layer and set the Blend Mode to Soft Light
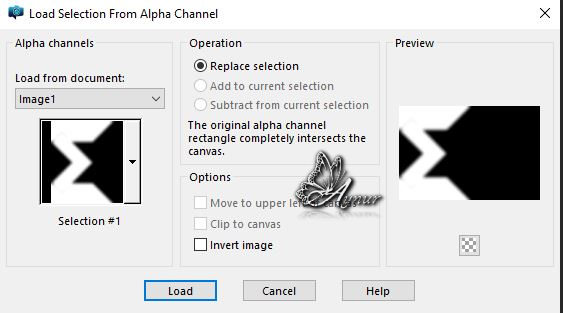
Selections-Load/Save Selection-Load Selection From Alpha Channel-Selection#1
Effects -Plugins – Xero-Fritillary
Selections-Load/Save Selection-Load Selection From Alpha Channel-Selection#2

Effects -Plugins – Eye Candy 4000- Weave
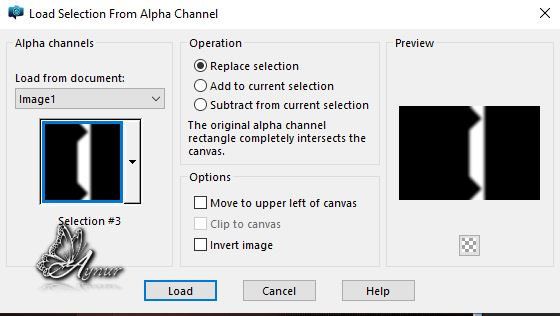
Selections-Load/Save Selection-Load Selection From Alpha Channel-Selection#3
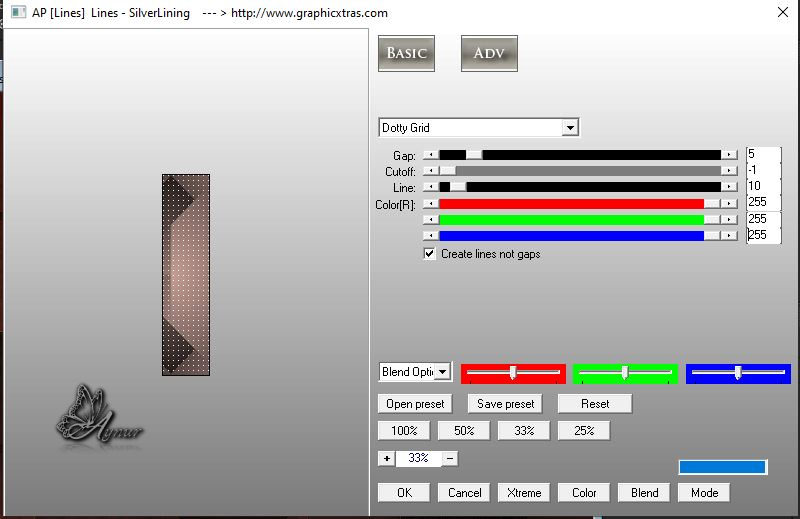
Effects -Plugins – AP[Lines]-Lines Silverlining- Dotty Grid
Selections – Select None
Layers-New Raster Layer
Flood Fill Tool -Fill with #ffffff
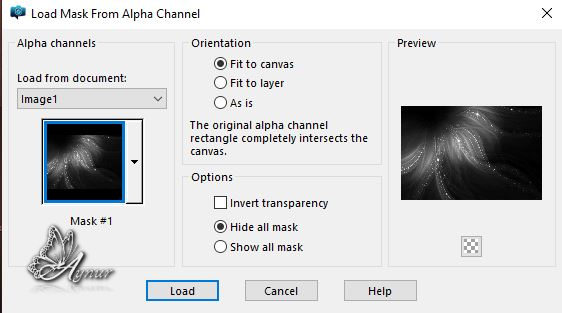
Layers- Load/Save Mask – Load Mask From Alpha Channel-Mask#1
Layers-Merge-Merge Group
Layer Palette – Double click on this Layer and set the Blend Mode to – Dodge
Layers-New Raster Layer
Flood Fill Tool -Fill with #ffffff
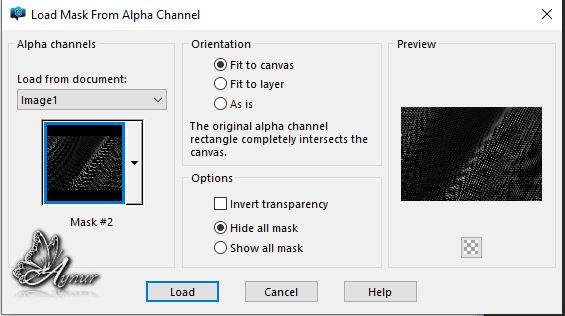
Layers- Load/Save Mask – Load Mask From Alpha Channel-Mask#2
Layers-Merge-Merge Group
Layer Palette – Double click on this Layer and set the Blend Mode to – Dodge
Layers-New Raster Layer
Flood Fill Tool -Fill with #ffffff
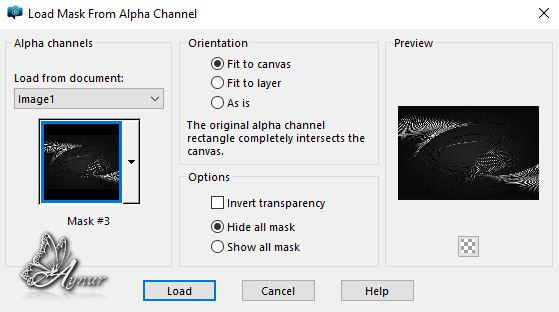
Layers- Load/Save Mask – Load Mask From Alpha Channel-Mask#3
Layers-Merge-Merge Group
Layer Palette – Double click on this Layer and set the Blend Mode to Luminance (Legacy)- Opacity 60
Layers-New Raster Layer
Flood fill – Fill with your Gradient (Linear)
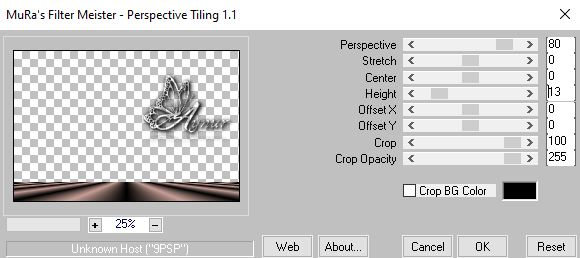
Effects -Plugins – Mura’s Meister-Perspective Tiling
Layer Palette – Double click on this Layer and set the Blend Mode to – Dodge
Layers-New Raster Layer
Selections – Select All
File-Open – Deco-HuzunluYıllar_41
Edit-copy – Edit-Paste Into Selection
Selections – Select None
Layer Palette – Double click on this Layer and set the Blend Mode to – Overlay
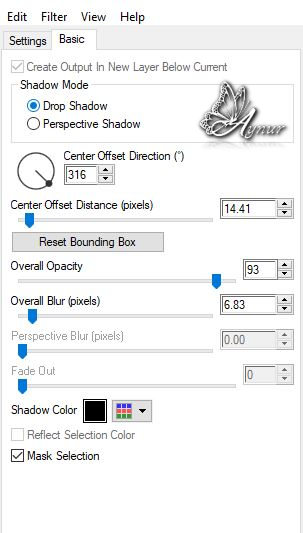
Effects-Plugins-Alien Skin Eye Candy 5 – İmpact-Perspective Shadow -Drop Shadow High
File-Open – Teks
Edit-copy – Edit-Paste As New Layer
Active Pick Tool -Position X: 213 Position Y: 6
File- Open – Tube-Luz-Cristina
Edit-copy – Edit-Paste As New Layer
Active Pick Tool -Position X: 525 Position Y: 50
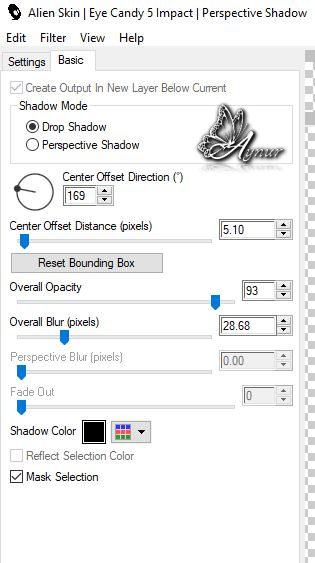
Effects-Plugins-Alien Skin Eye Candy 5 – İmpact-Perspective Shadow -Drop Shadow Blurry
Layer Merge- Merge All (Flatten)
Edit-copy
File-Open- Aynur frame
Edit-Paste Into Selection
Selections – Select None
Add your watermark
Image-Resize-By Pixels 900 ( Resize all layer cheked )
File-Save As Jpeg
I hope you enjoy..
Teşekkürler Vahide
Teşekkürler Melodi


Thank you Colybrix
Thank you Pinuccia


Thank You Inge Lore
Thank You Lisette
Thank you Vera Mendes
Thank you Sylviane
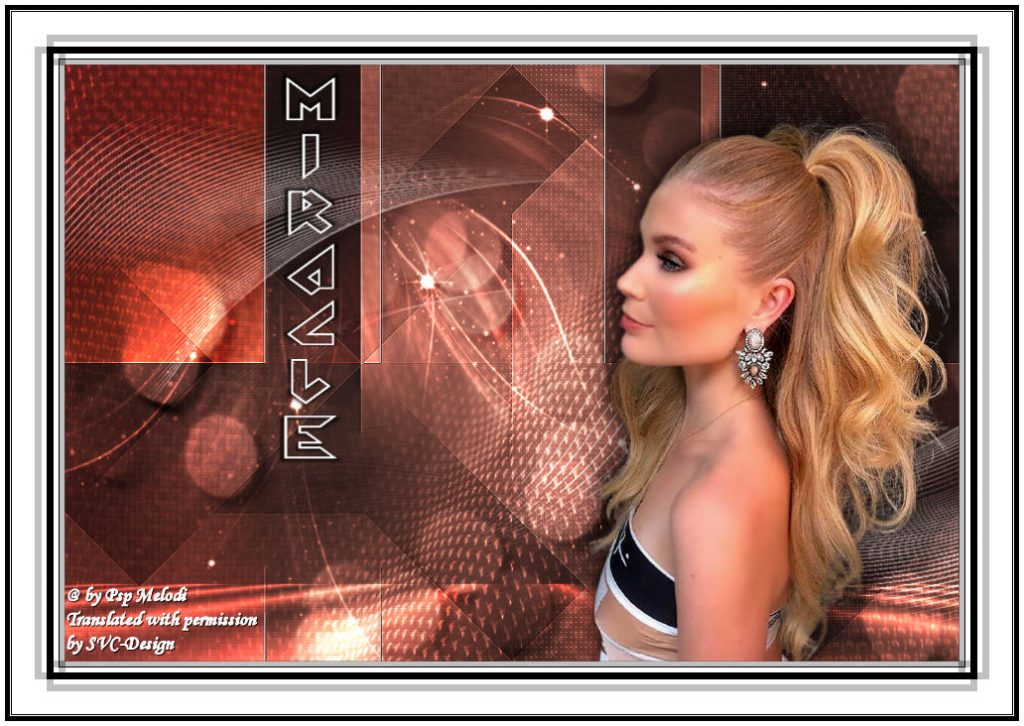
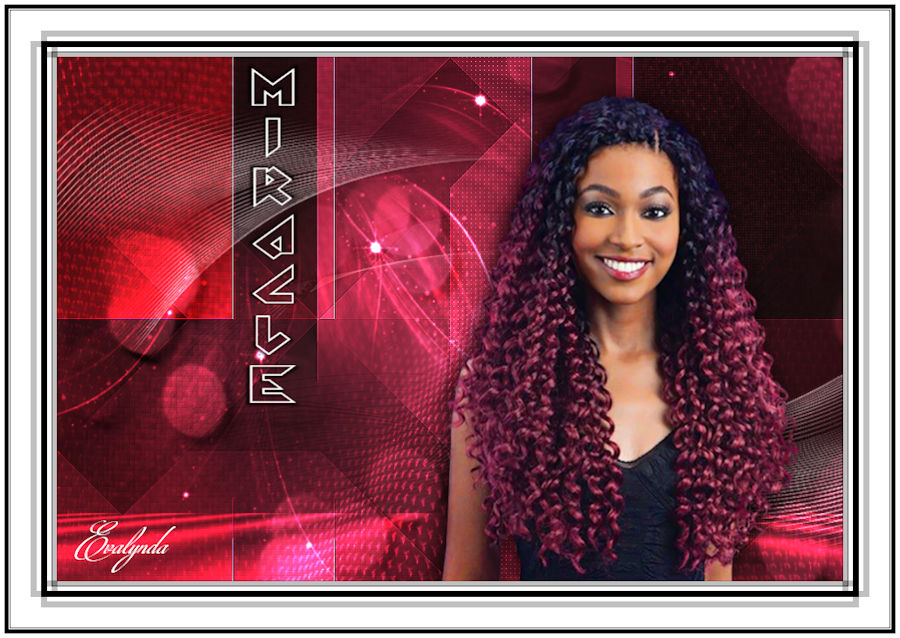
Thank you Evalynda
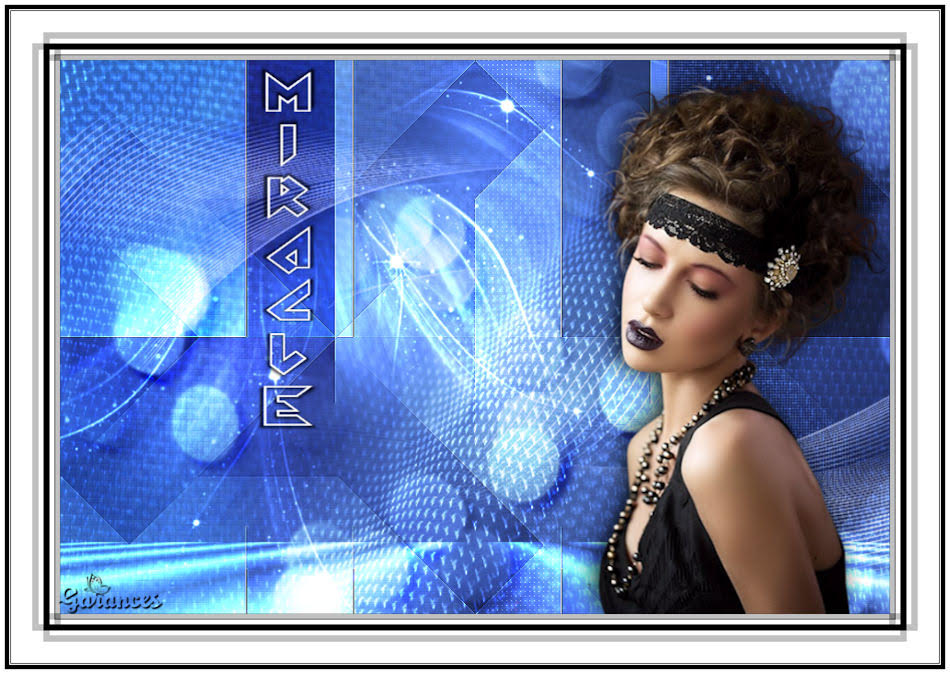
Thank you Garances
Thank you Cat’s Graffitis

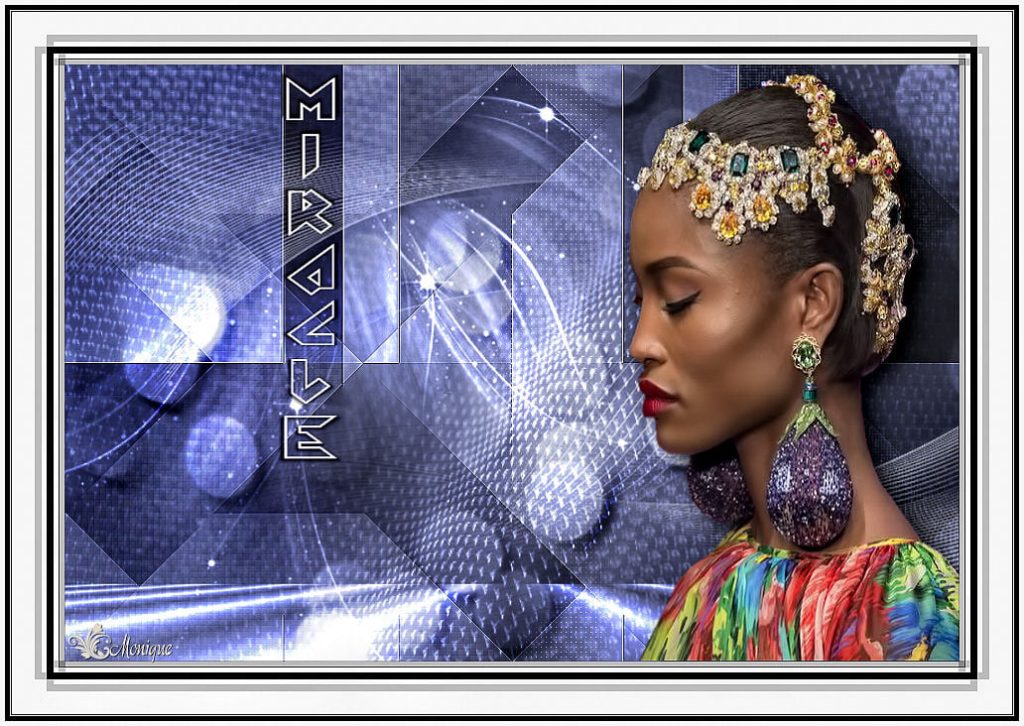
Thank You Monique
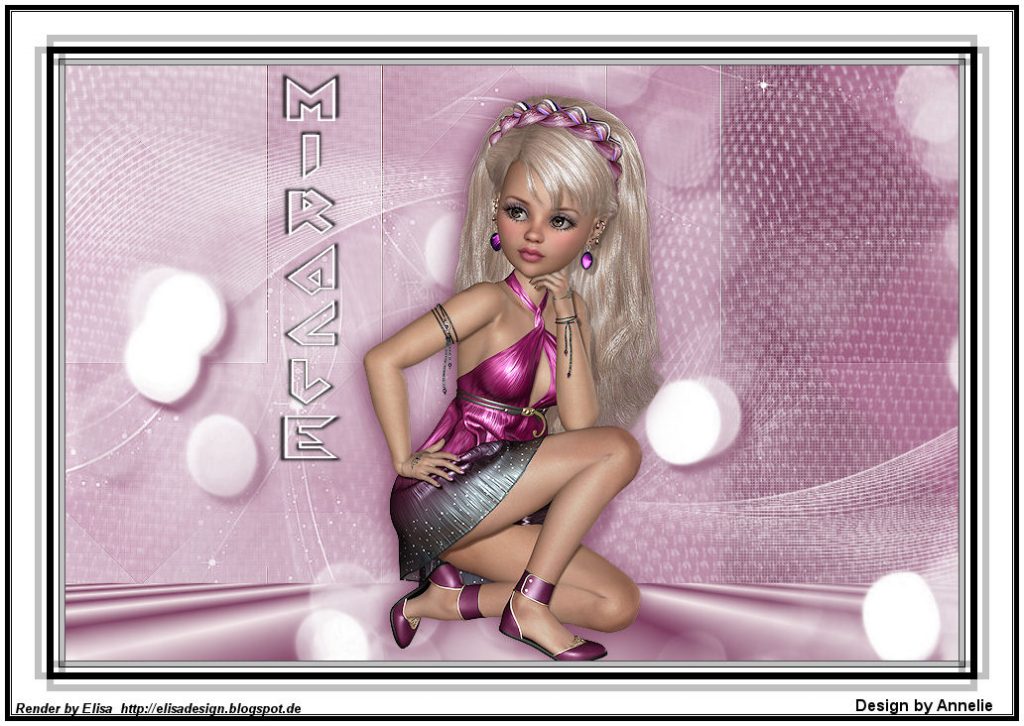
Thank You Annelie
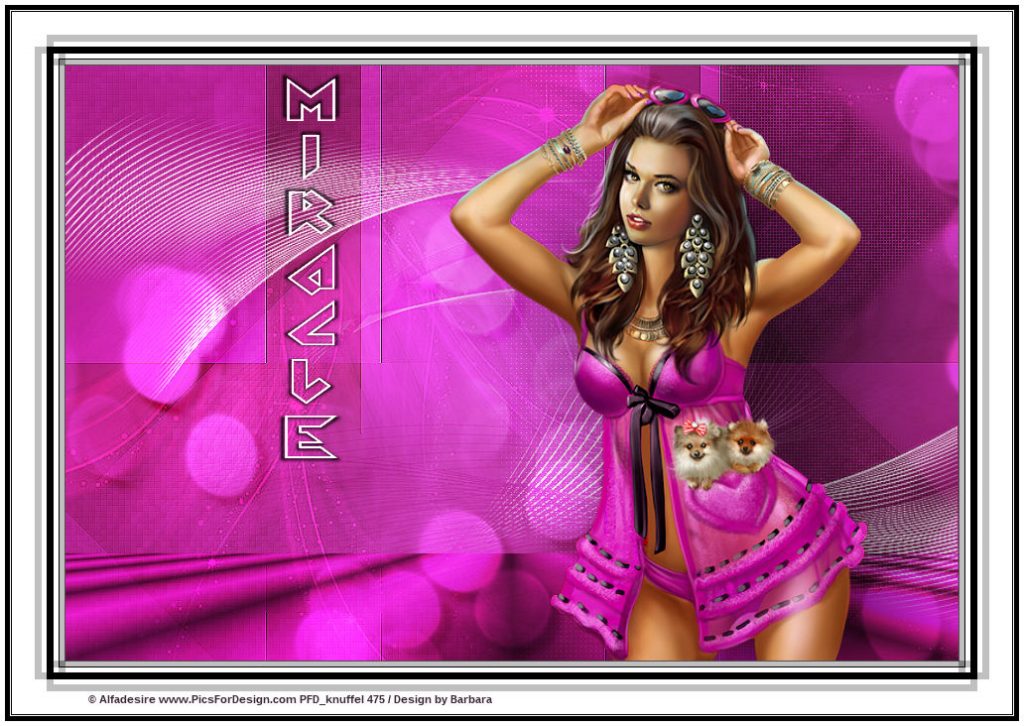
Thank you Barbara
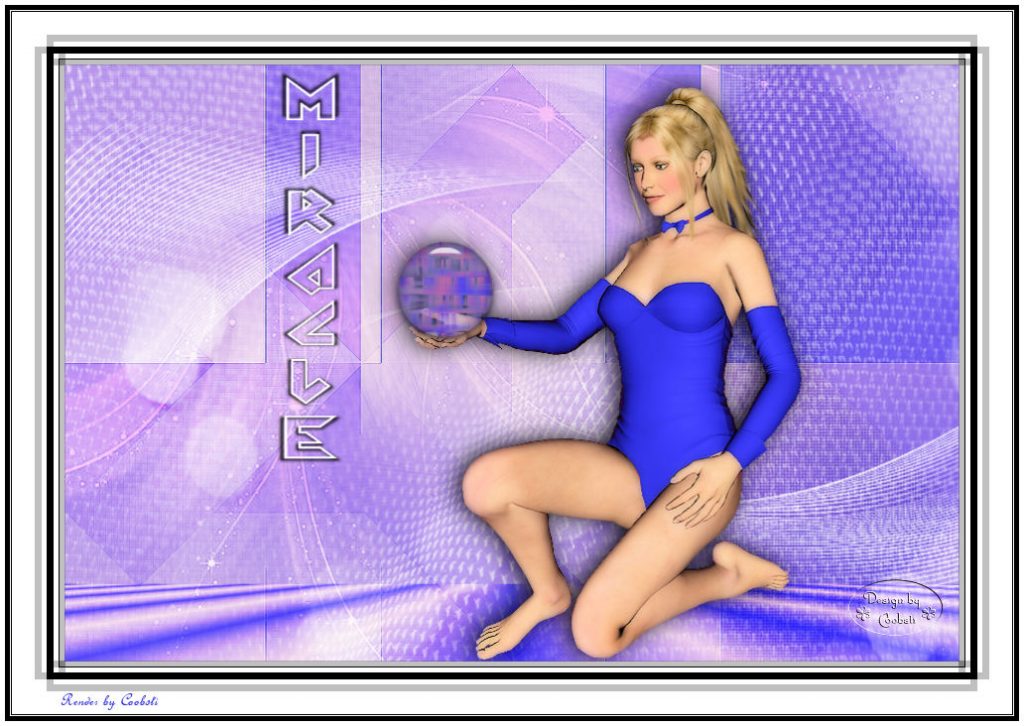
Thank you Coobali
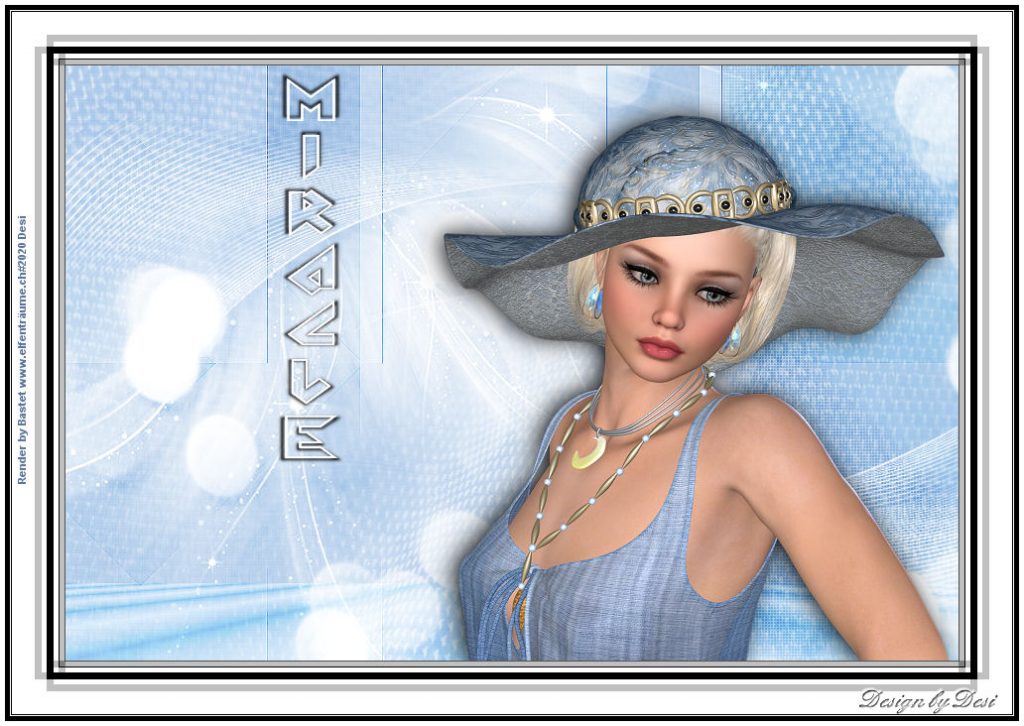
Thank you Desi
Thank you Fairylight
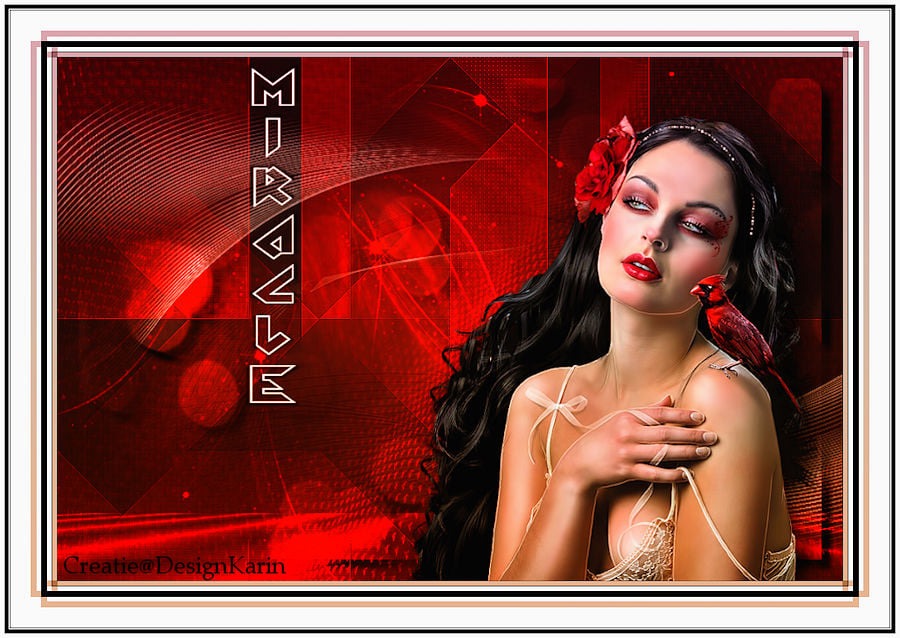
Thank you Karin
Thank you KarinM
Thank you Petral
Thank you Simone

Thank you Jewel
Thank you GUGU
Thank you Delf
Thank you Mary (LBDM)
Thank BrigitteAlice

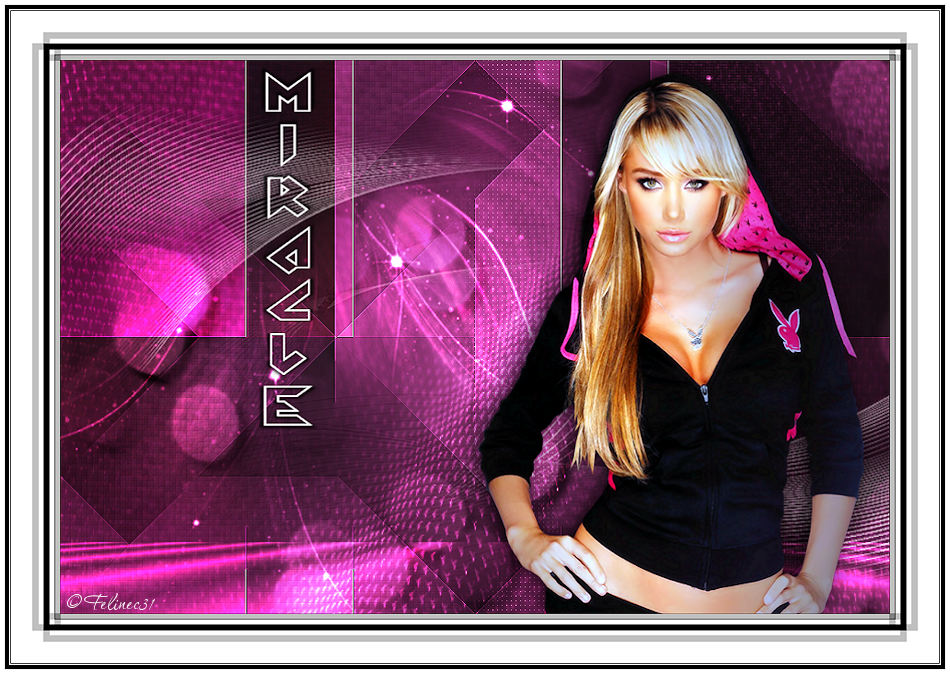
Thank Felinec31
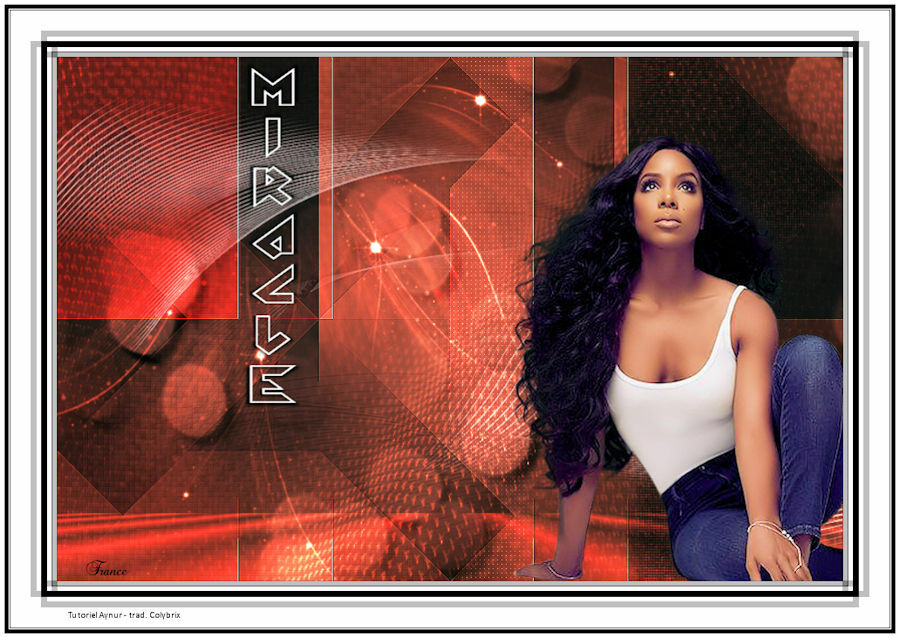
Thank you France
Thank you Nnpn
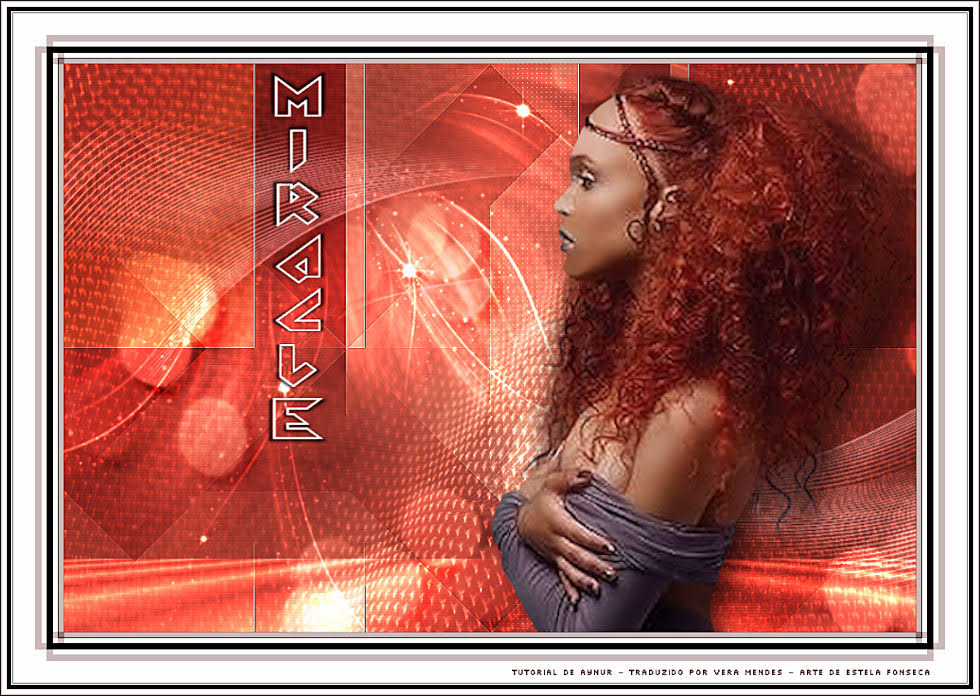
Thank you Estela
Thank you Karin
Thank you Elly

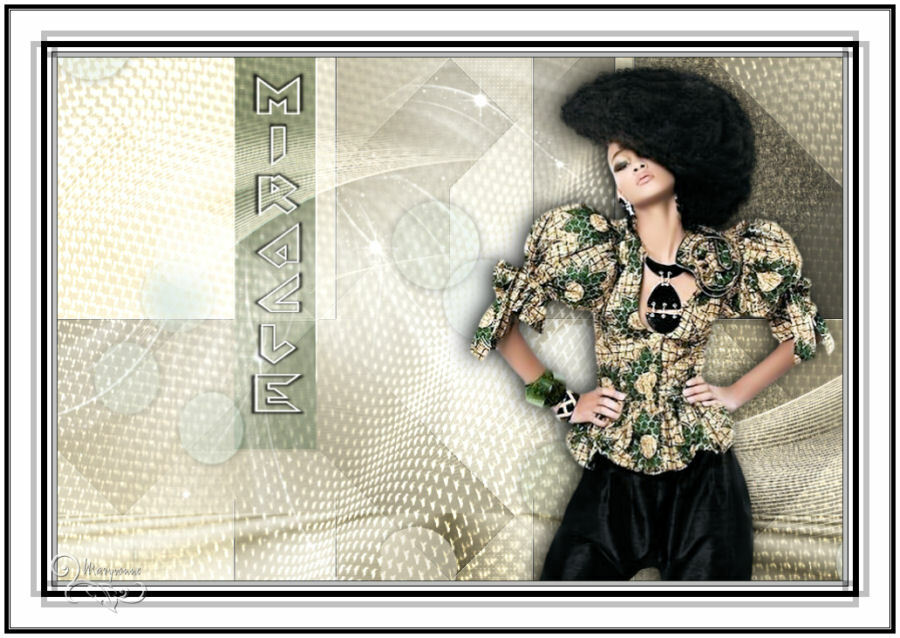
Thank you Maryvonne
Thank Marie8635

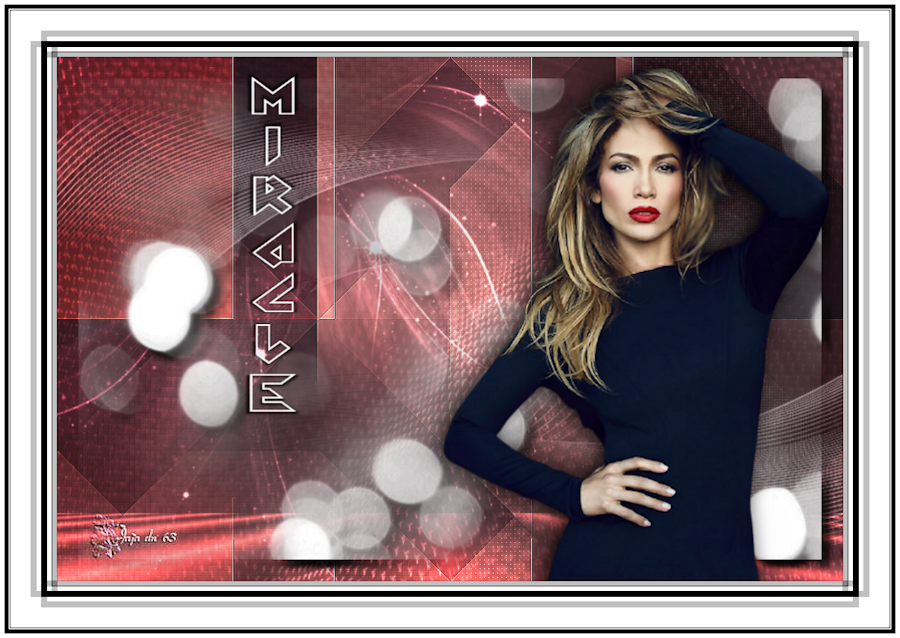
Thank you Jaja from 63
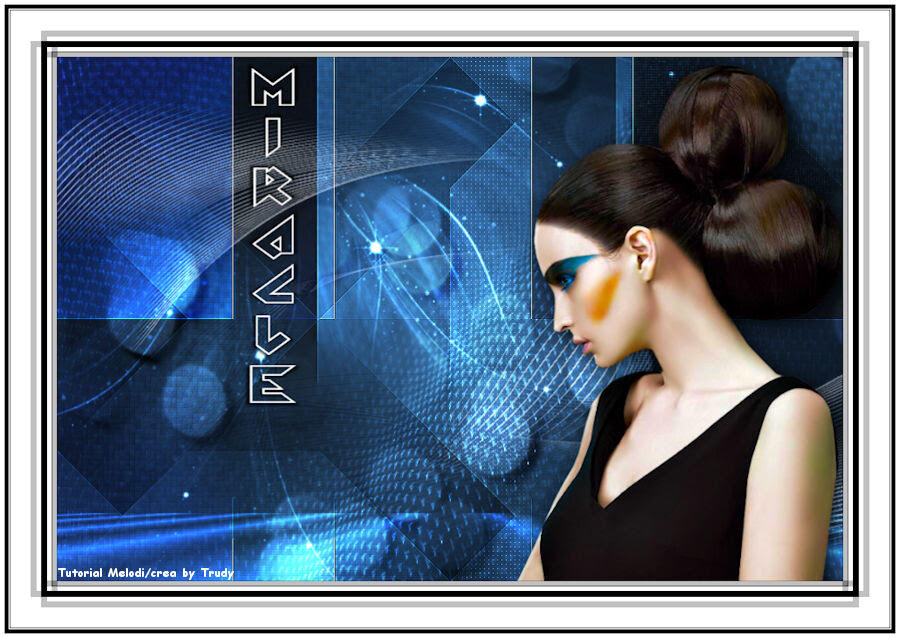
Thank you Trudy
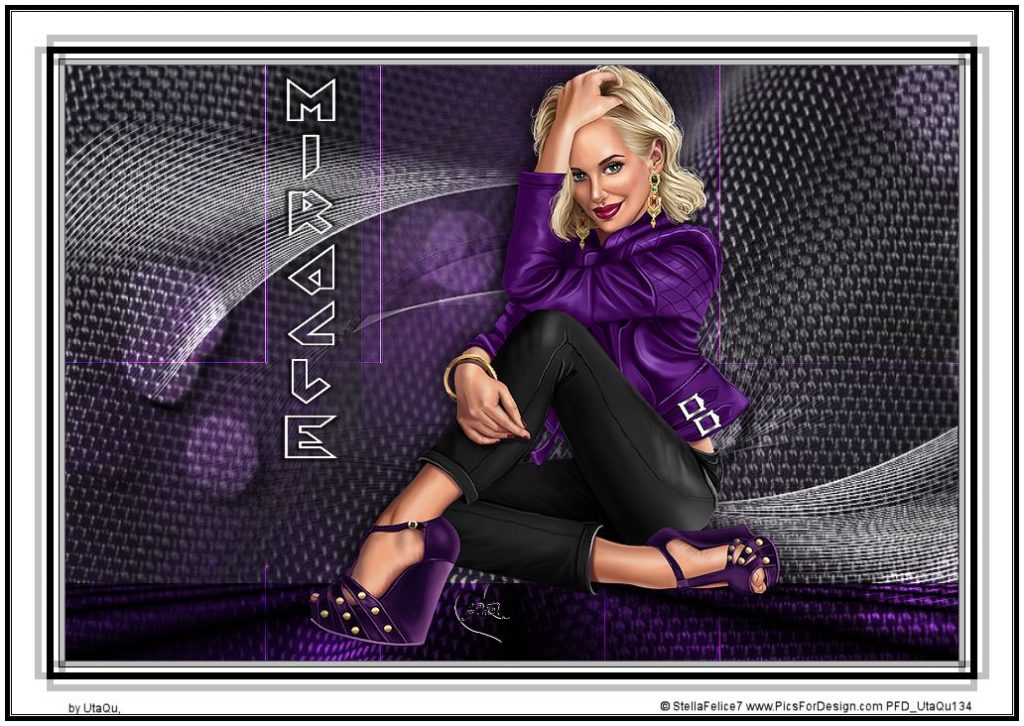
Thank you UtaQu
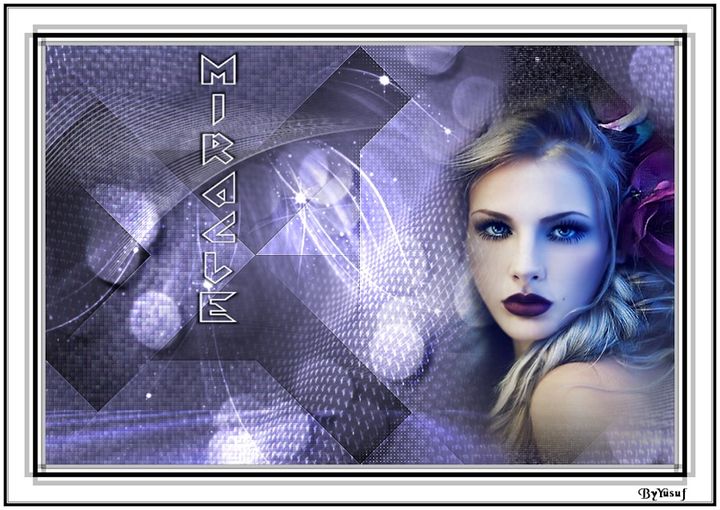
Thank you Yusuf
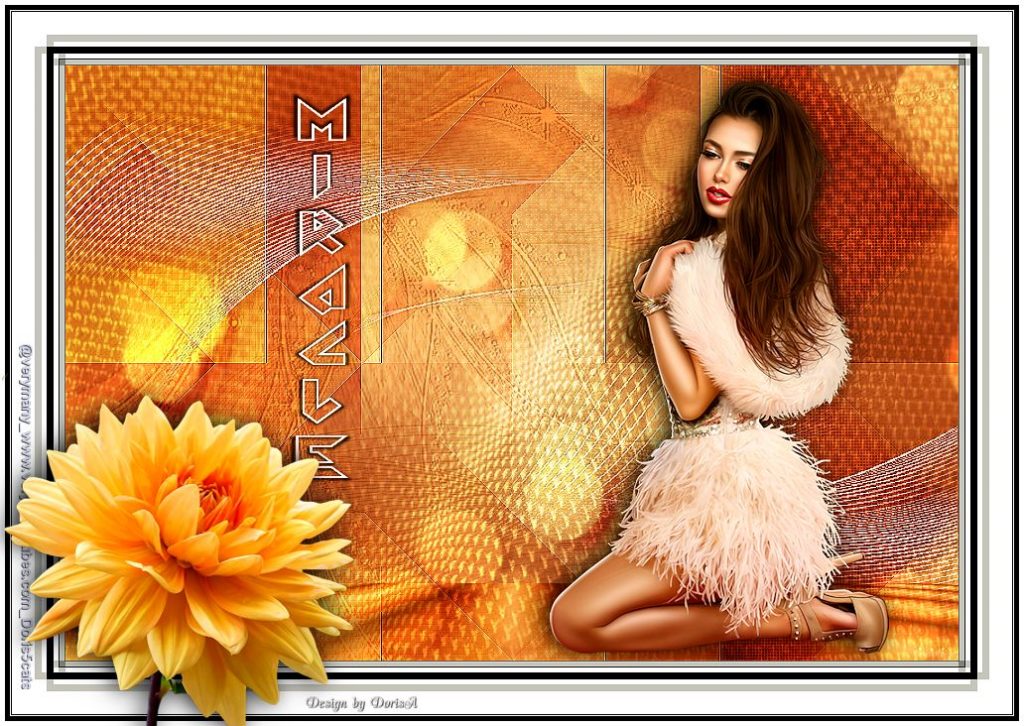
Thank you Doris
Thanks Gabrielle

Teşekkürler Müşerref
Thank you Pia
Thank you Talonaiguille

Thank you Maryse
Thank you Kaya

Thank you Michounette
Thank you Maisa