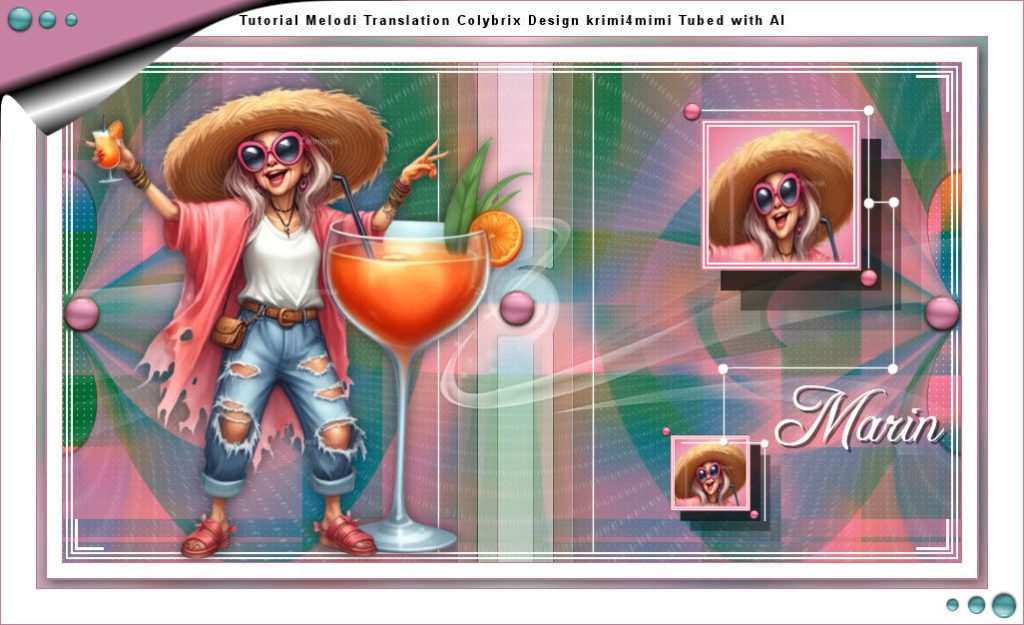
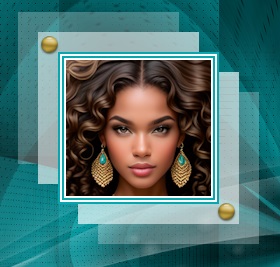
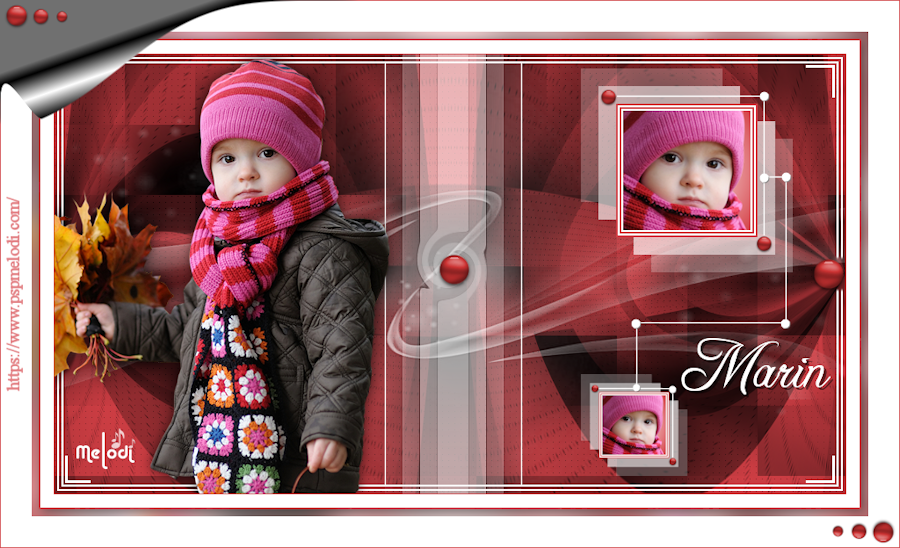
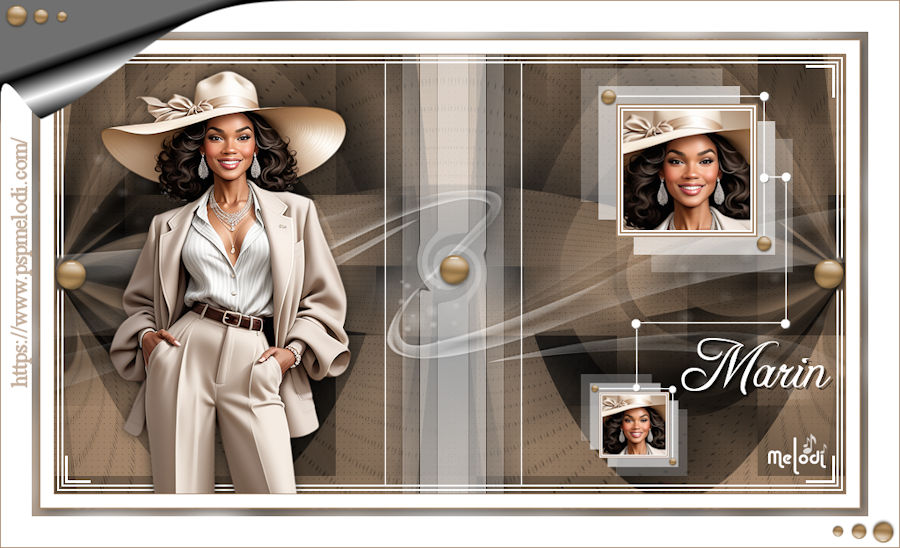
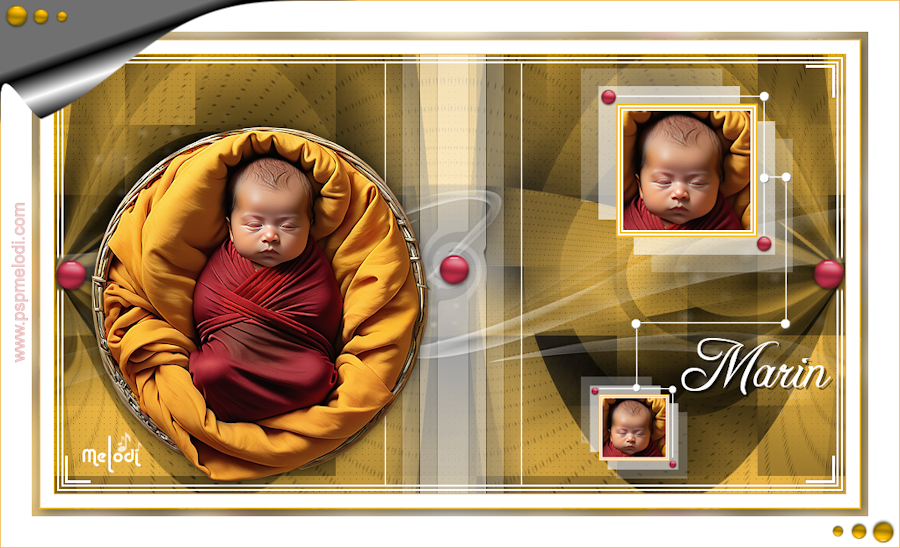
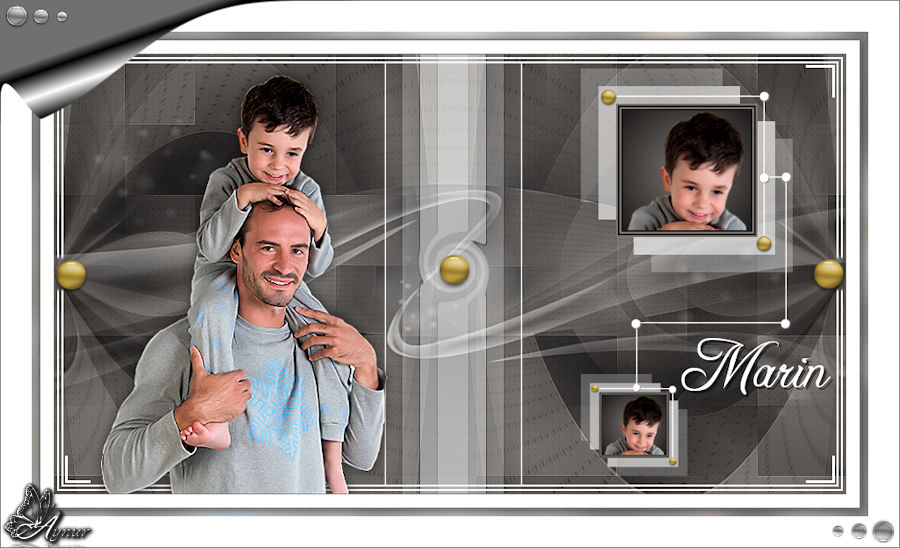
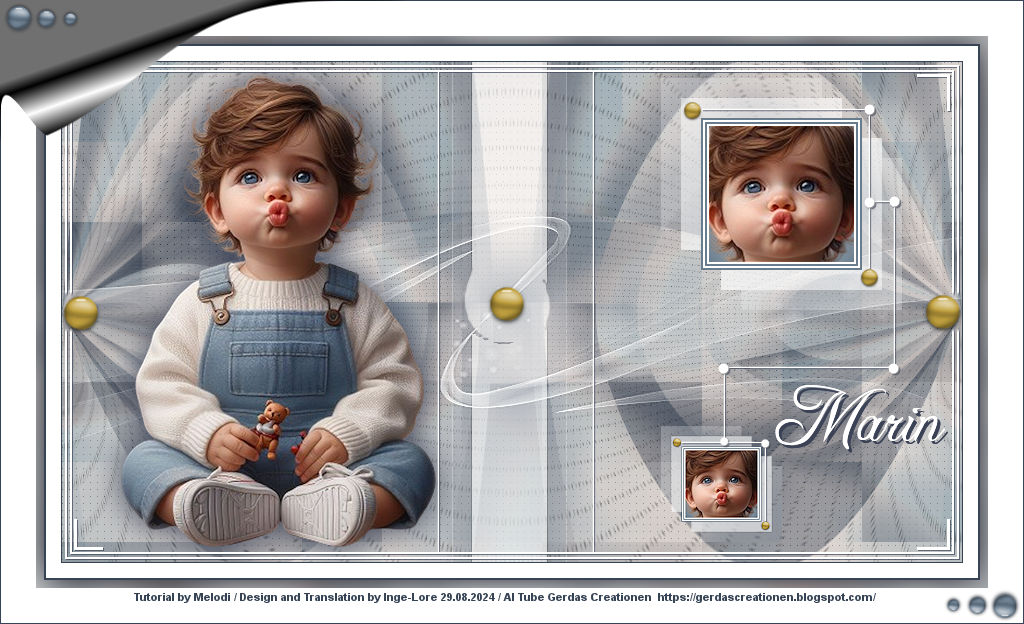
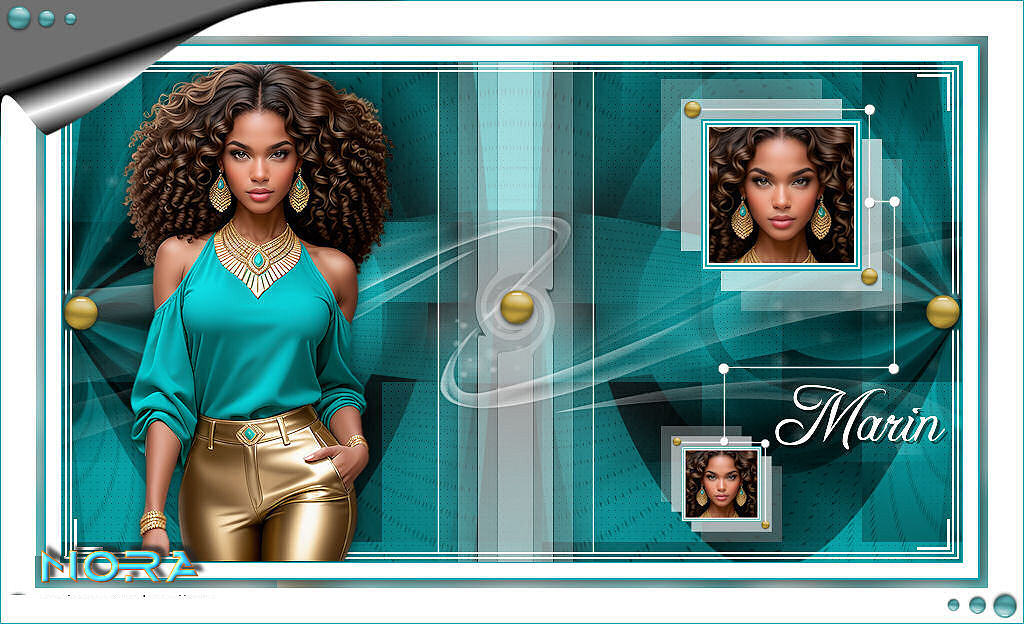
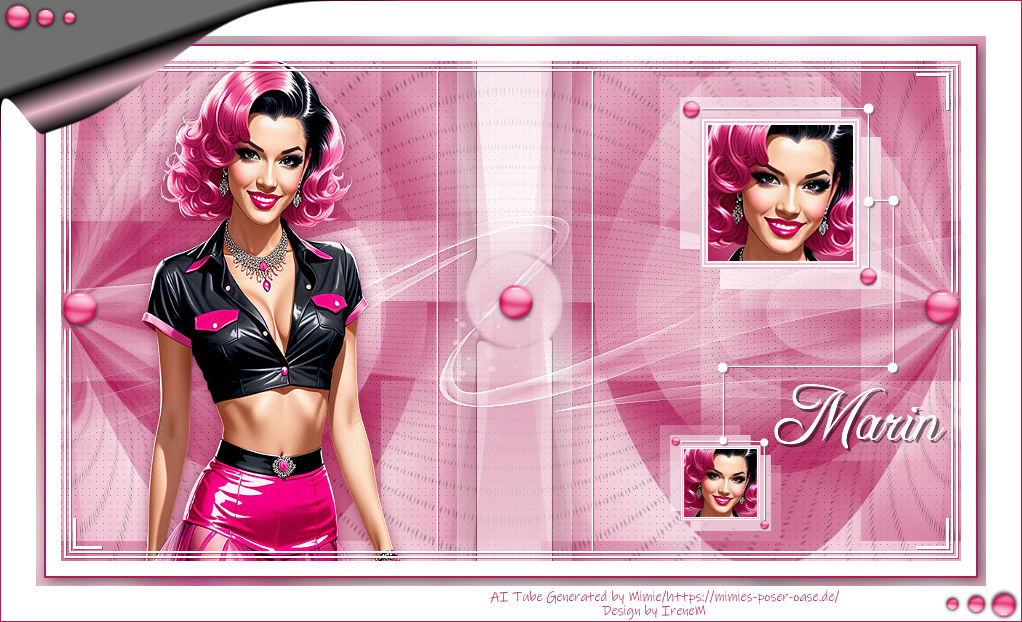
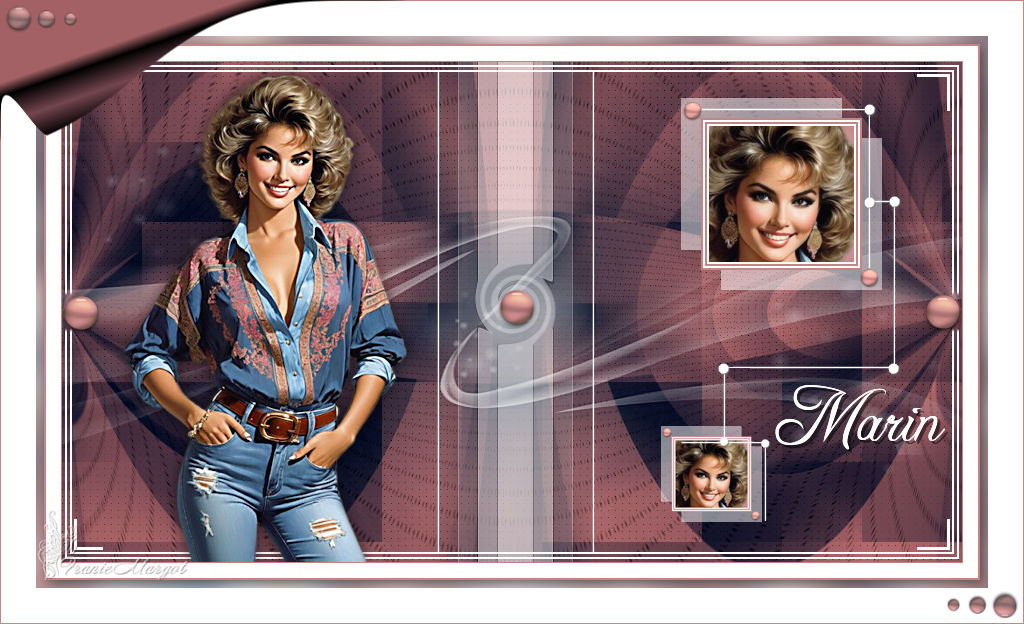
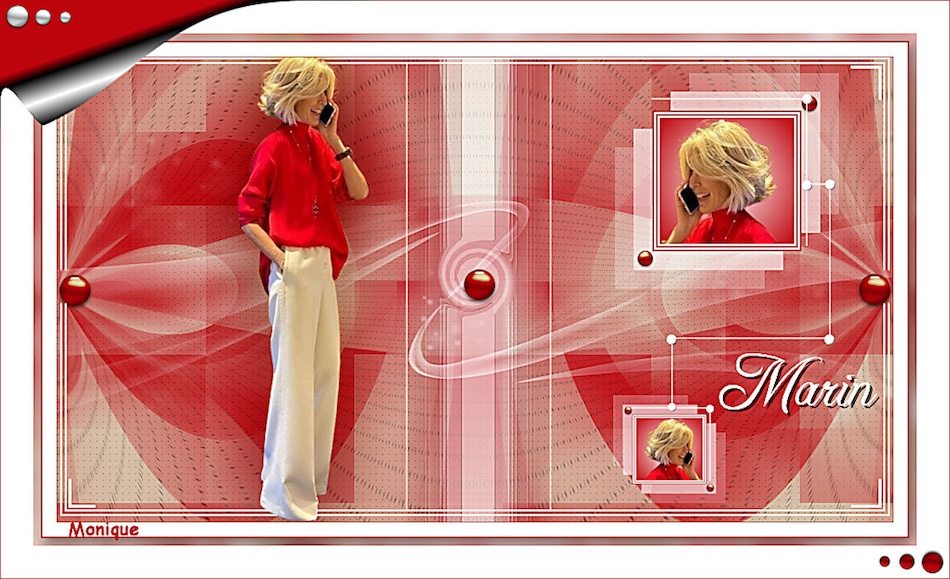
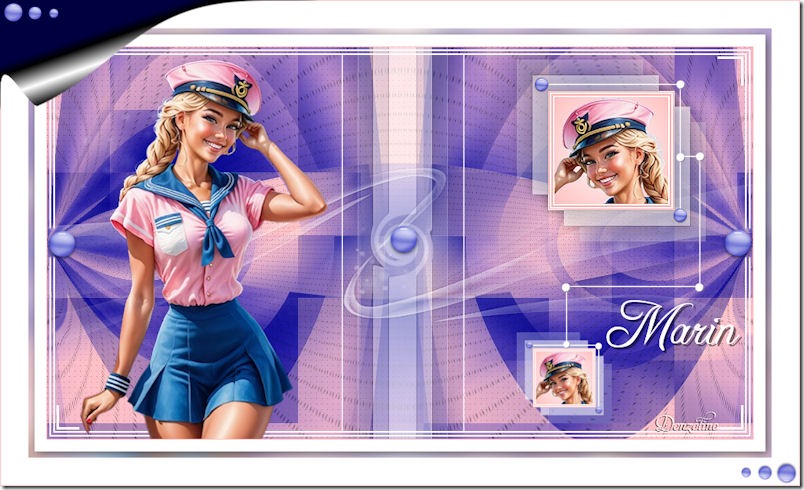
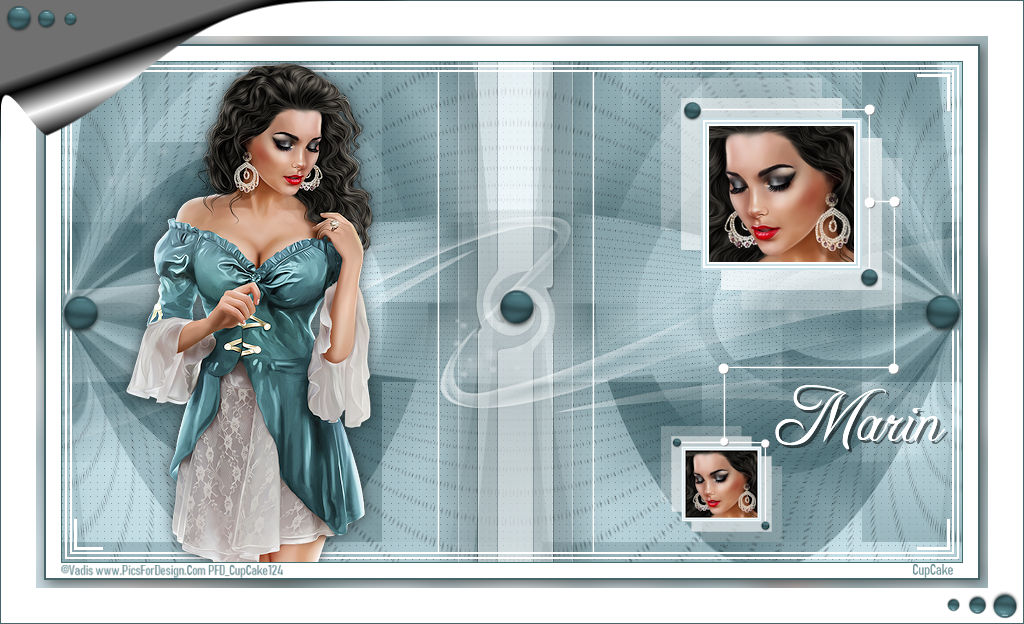
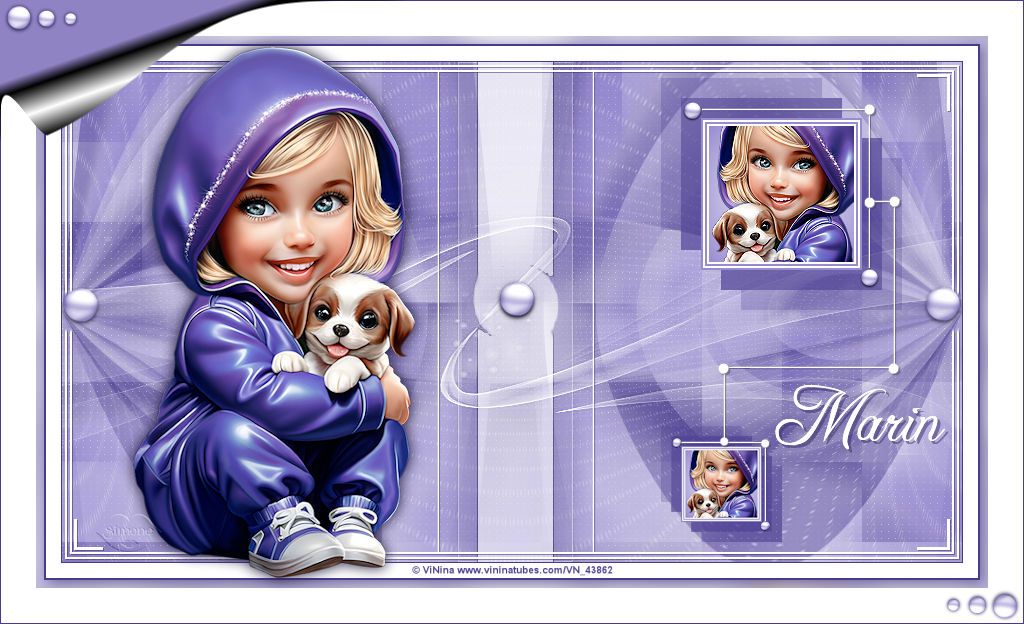
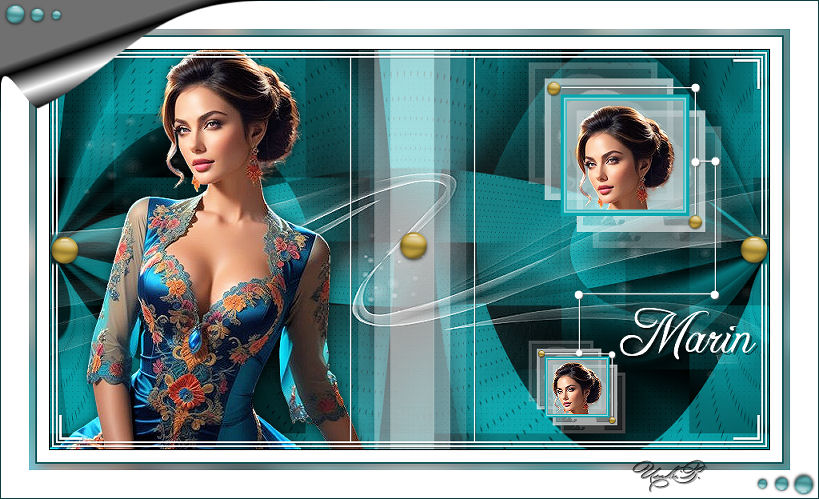
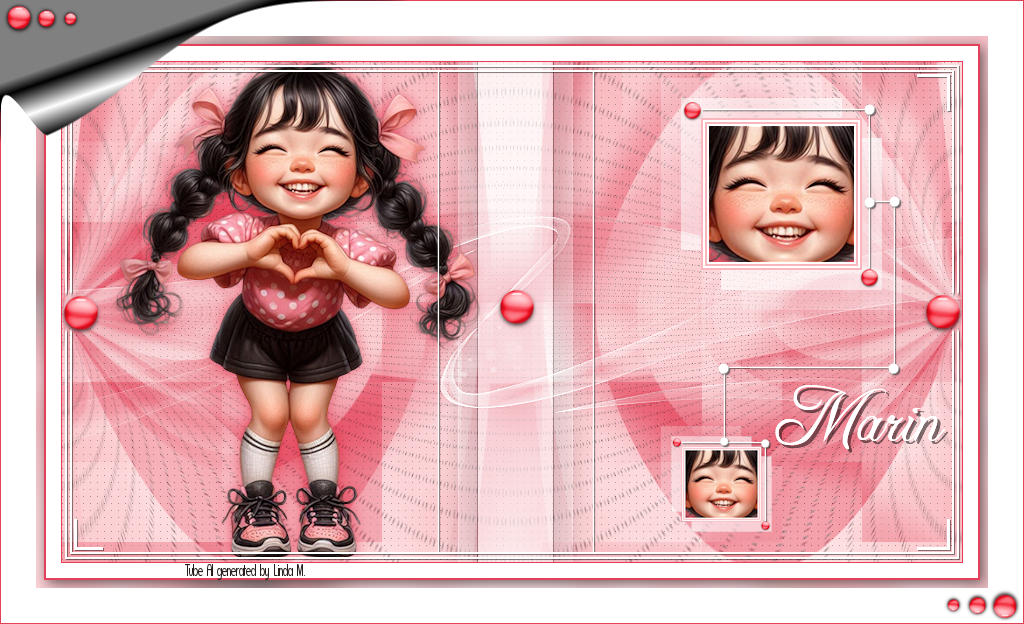
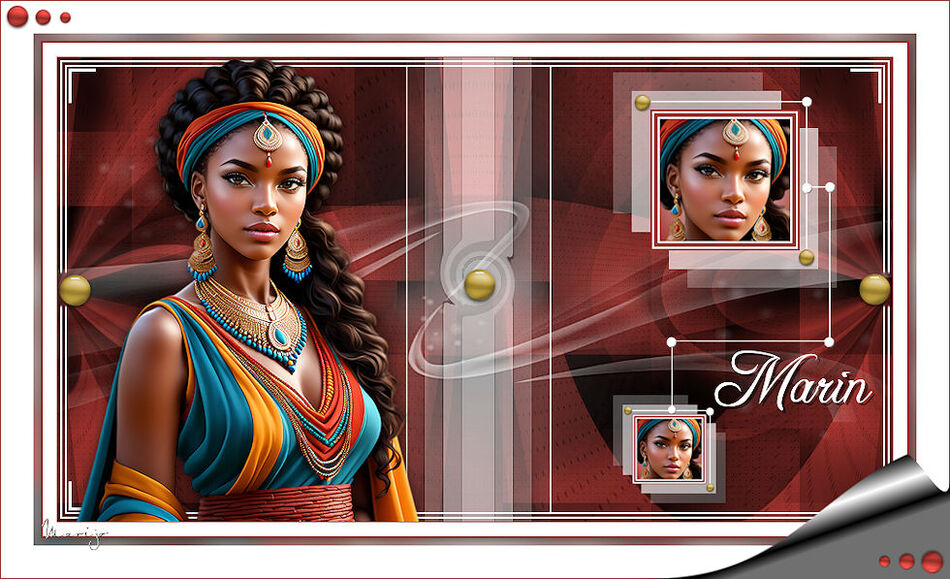
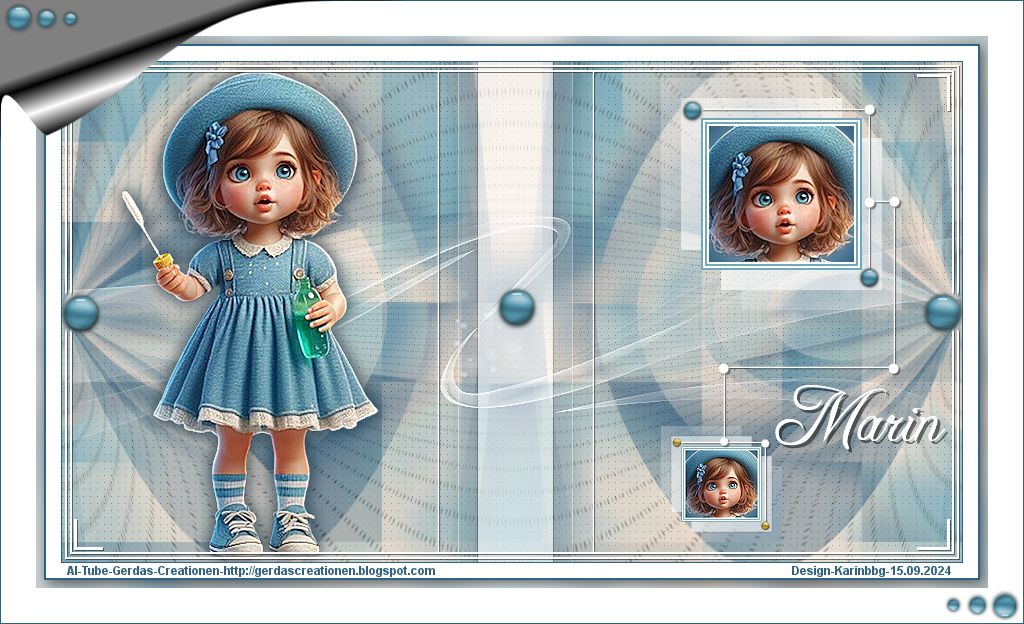
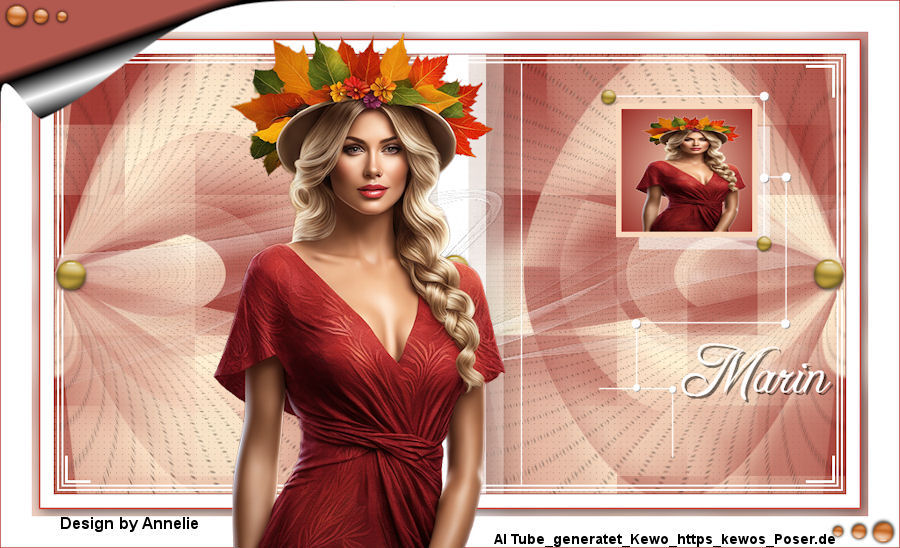
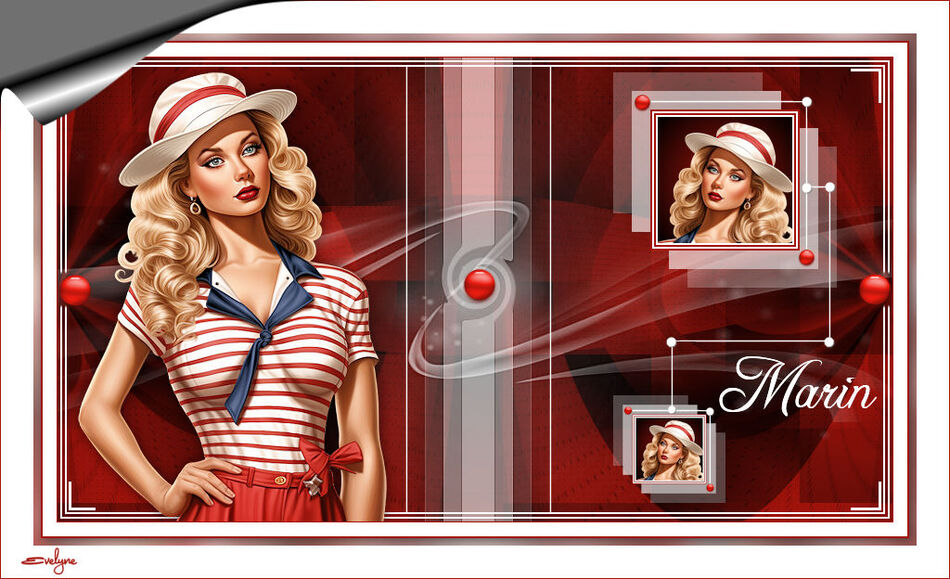
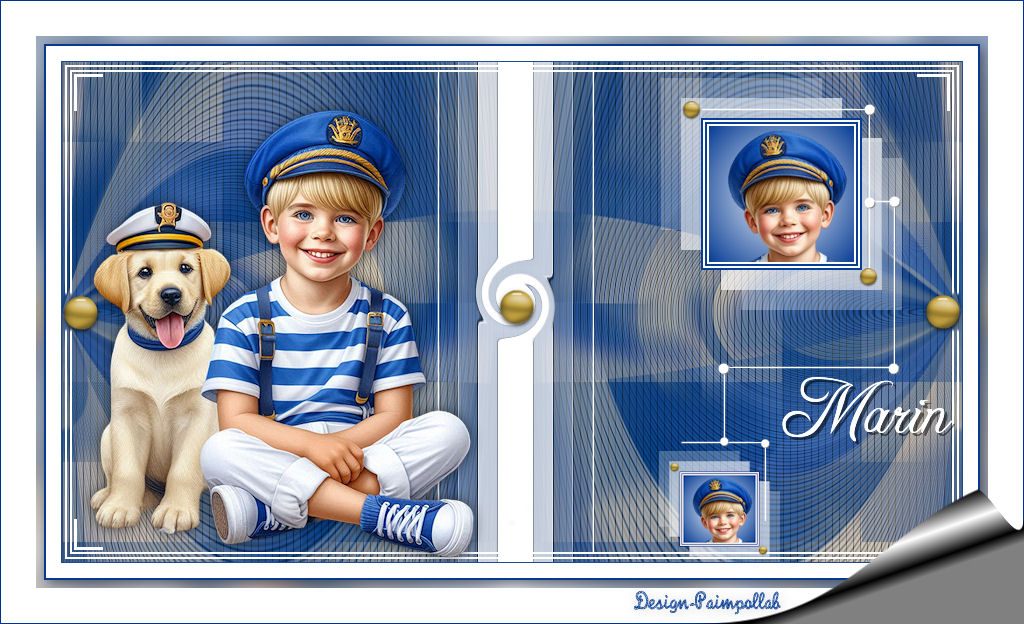
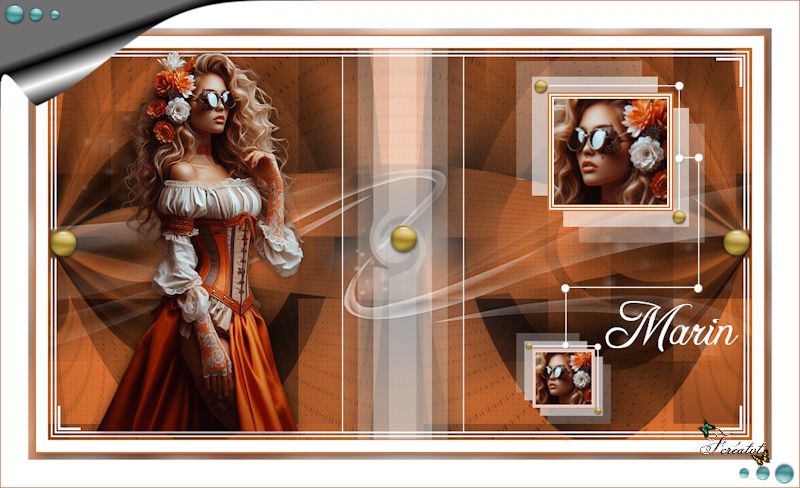
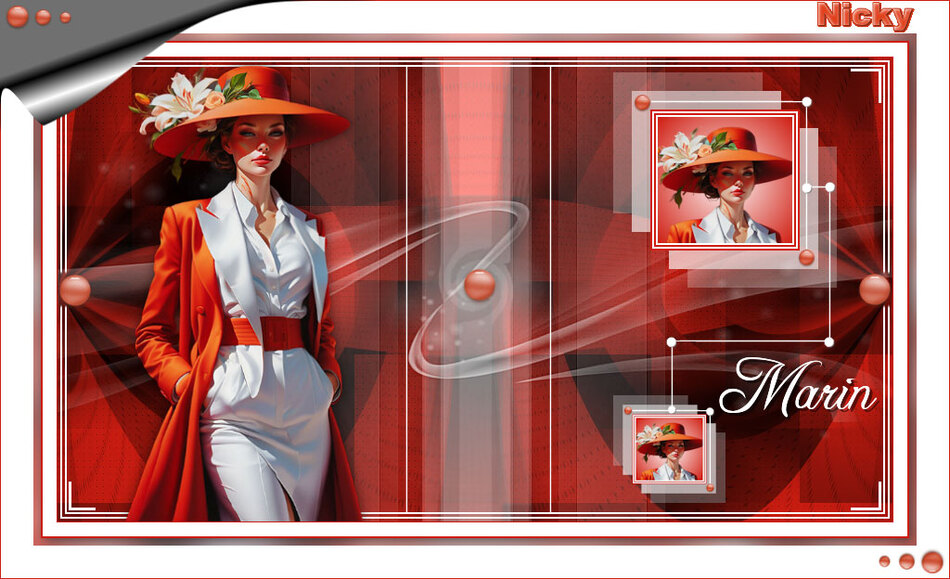
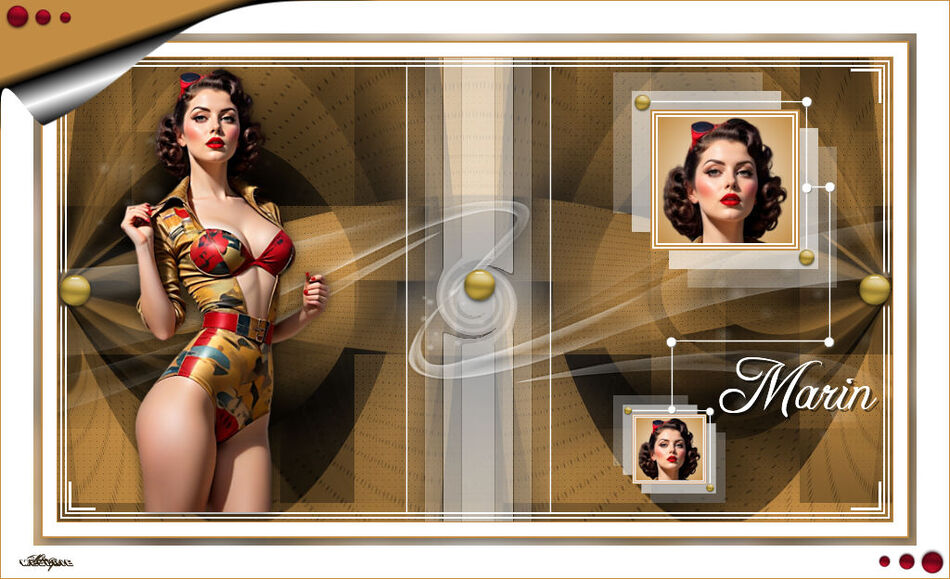
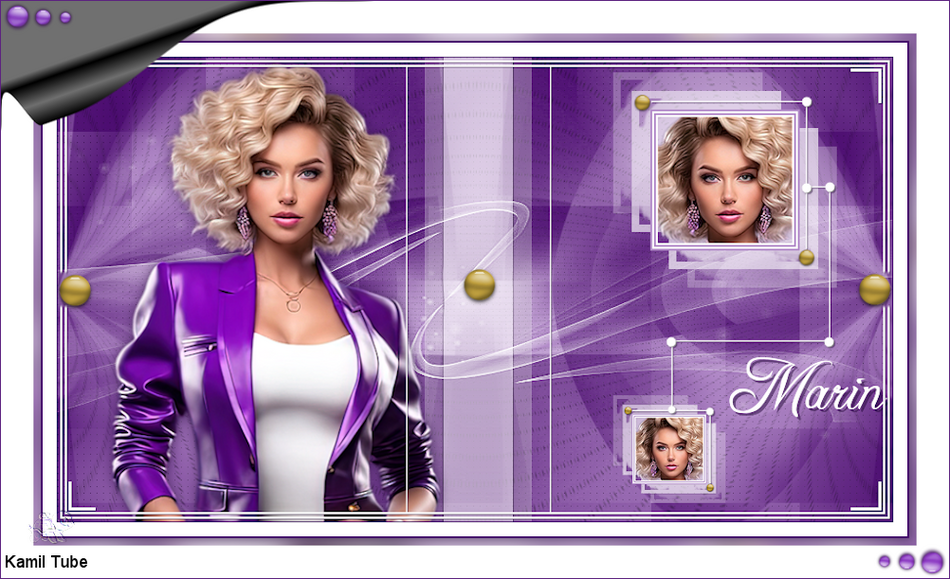
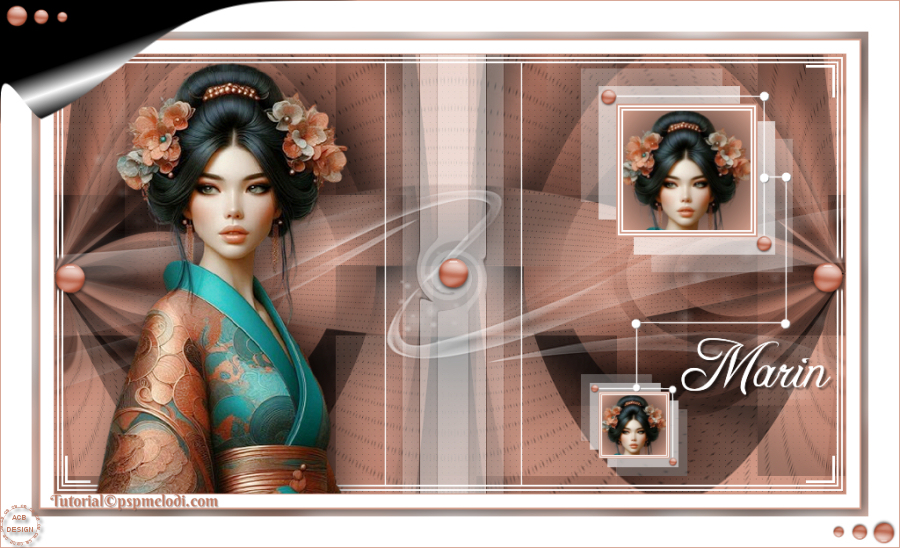
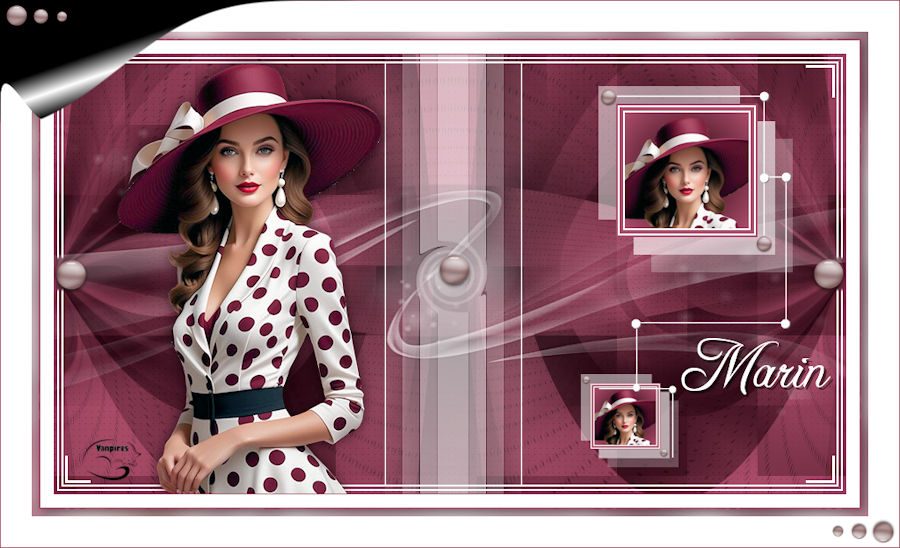
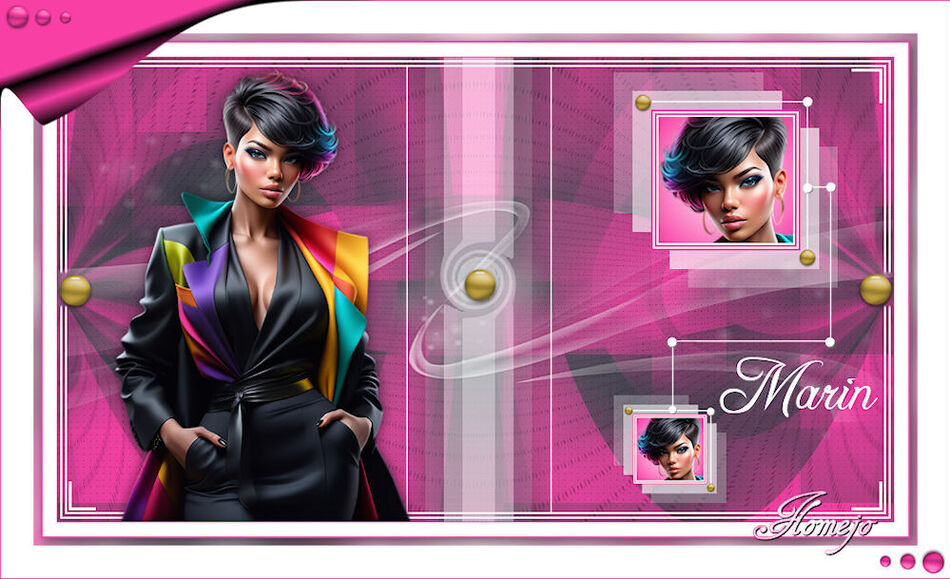
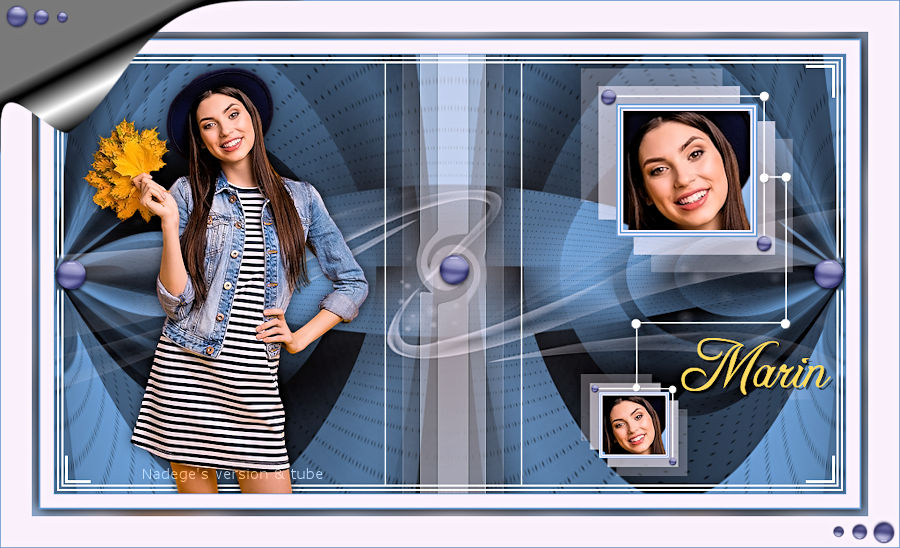
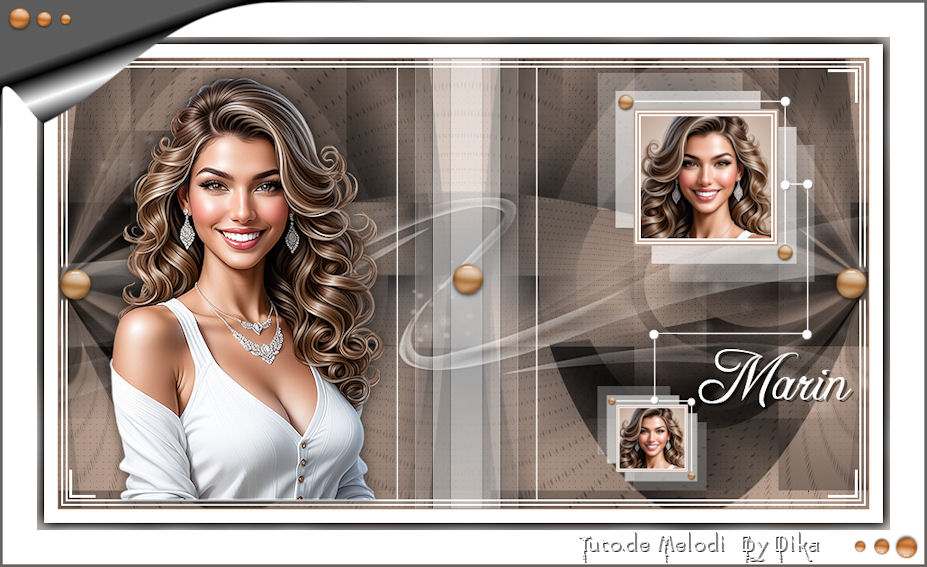
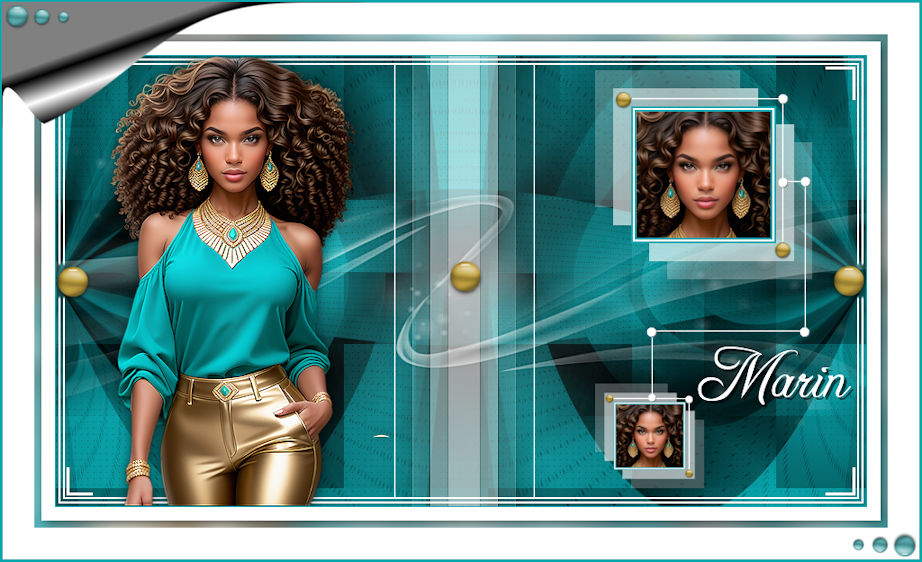
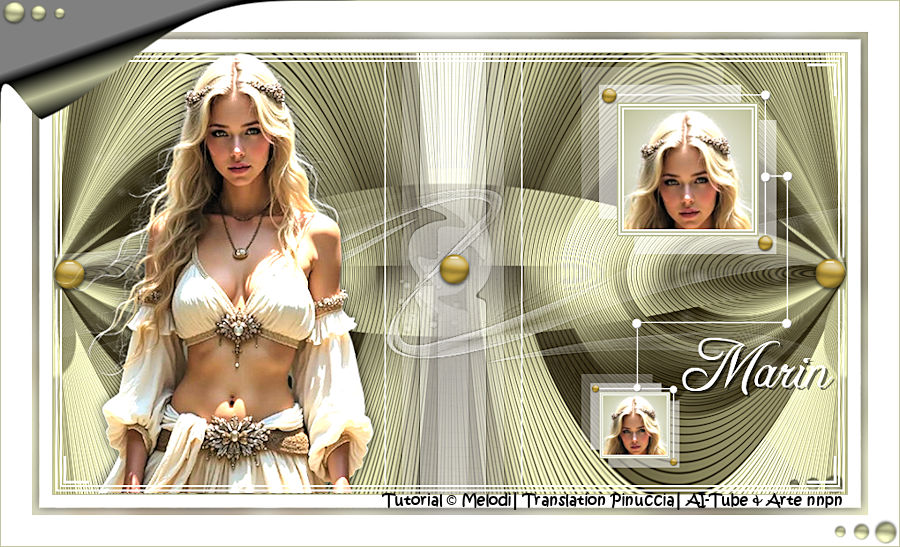
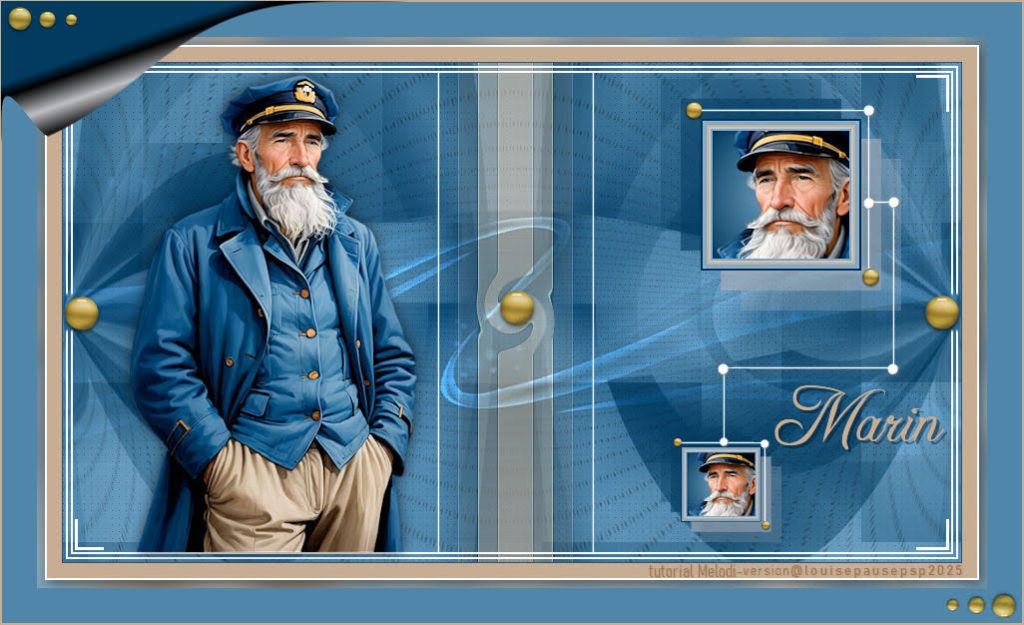
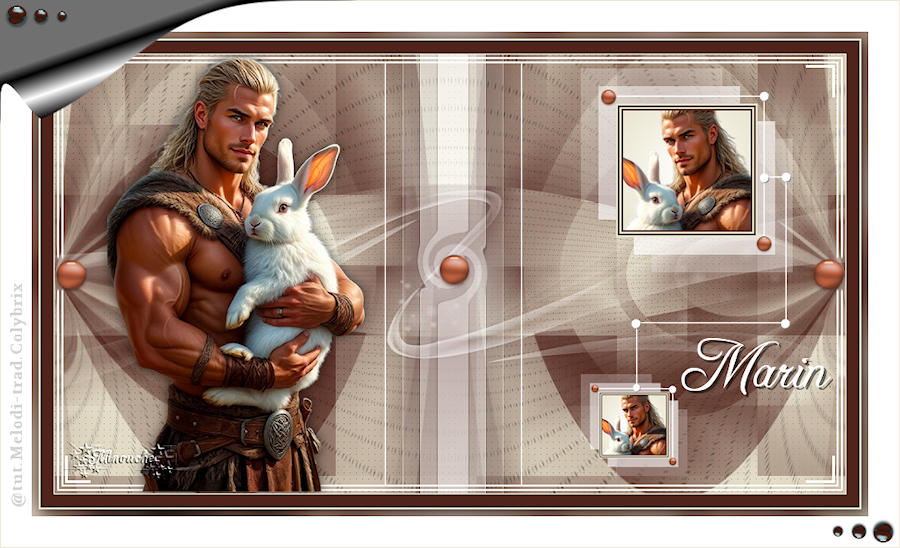
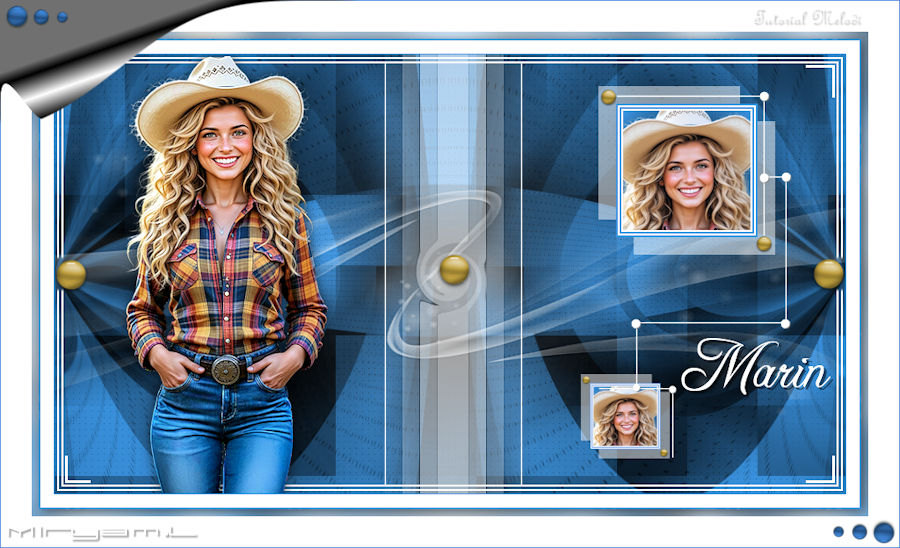
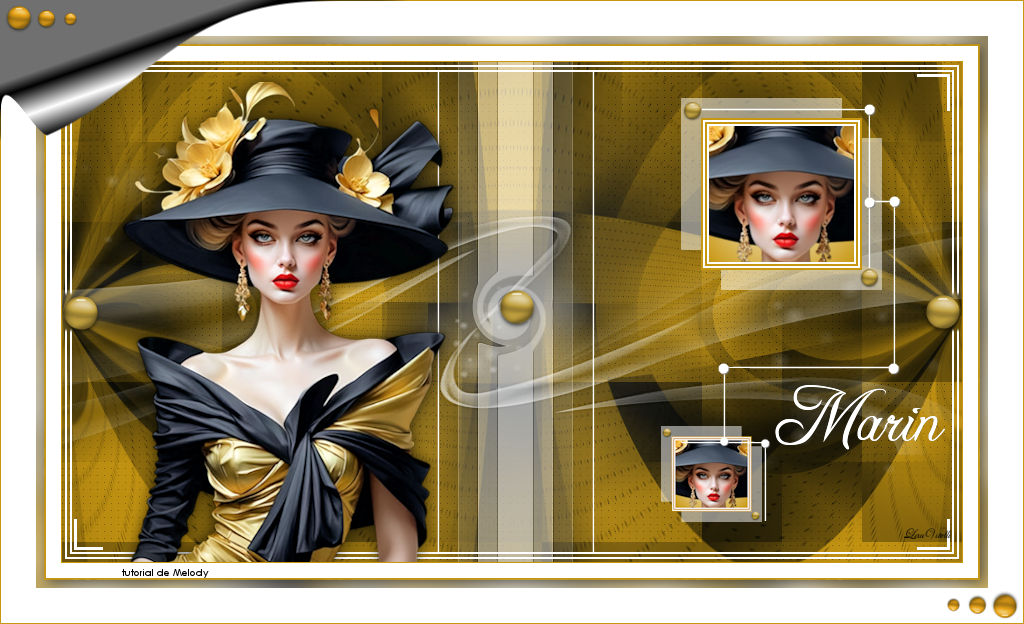
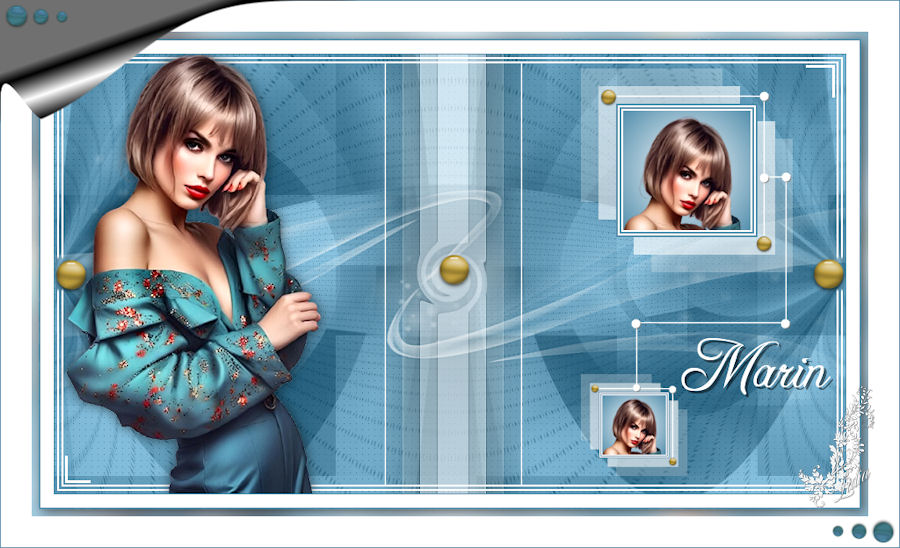
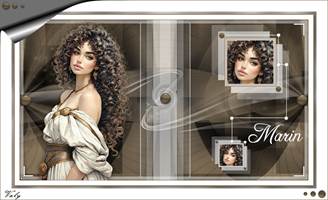
This training was prepared for my newborn grandson Marin.
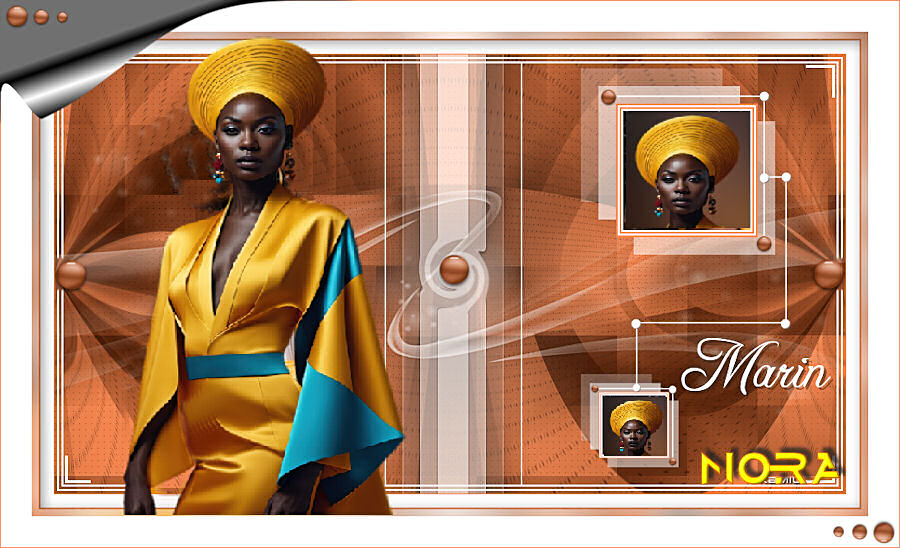
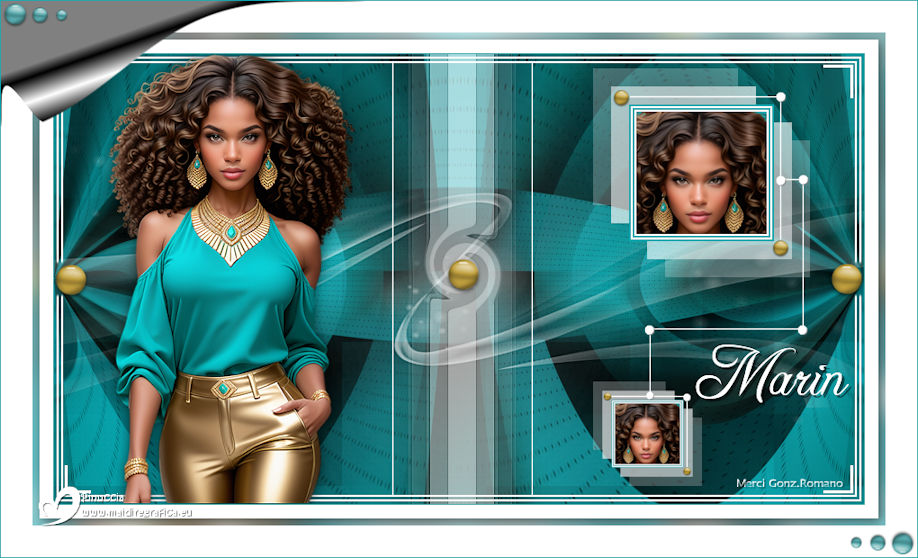
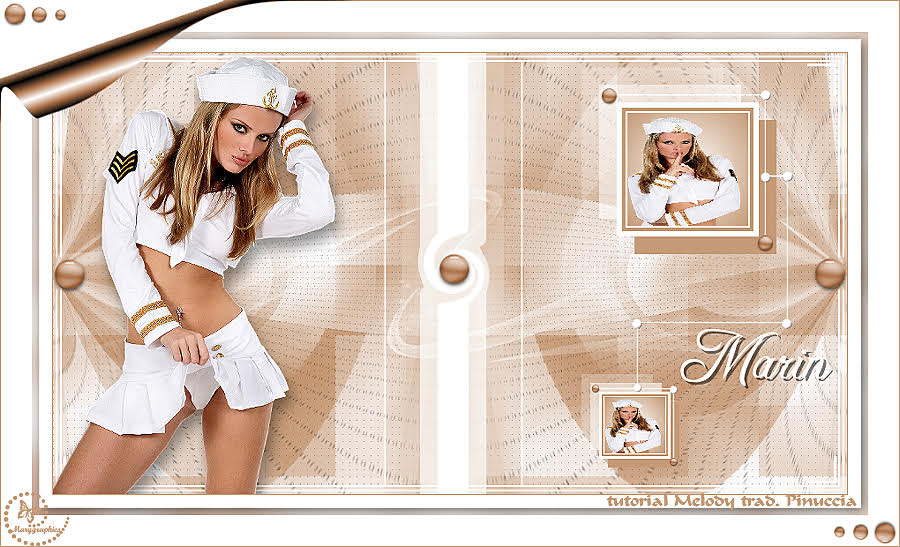
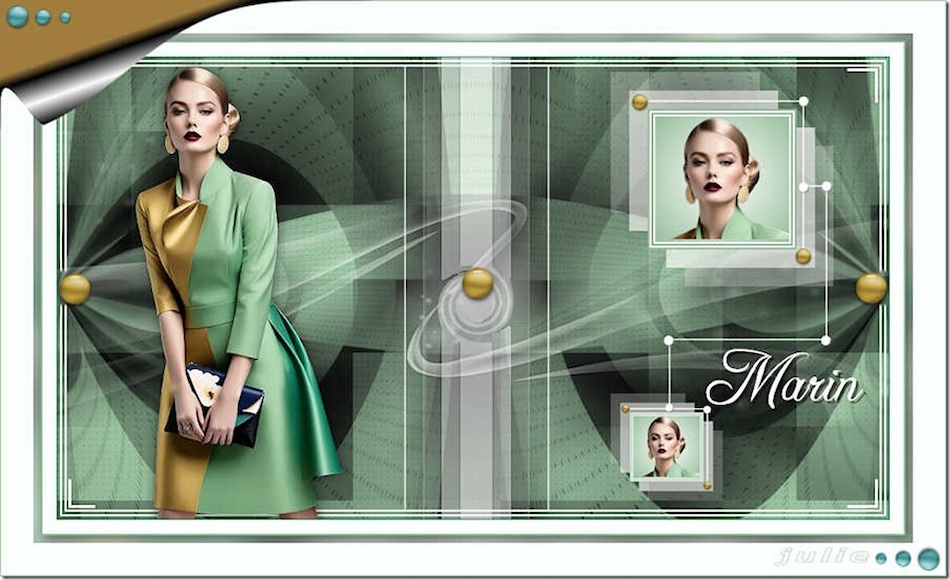
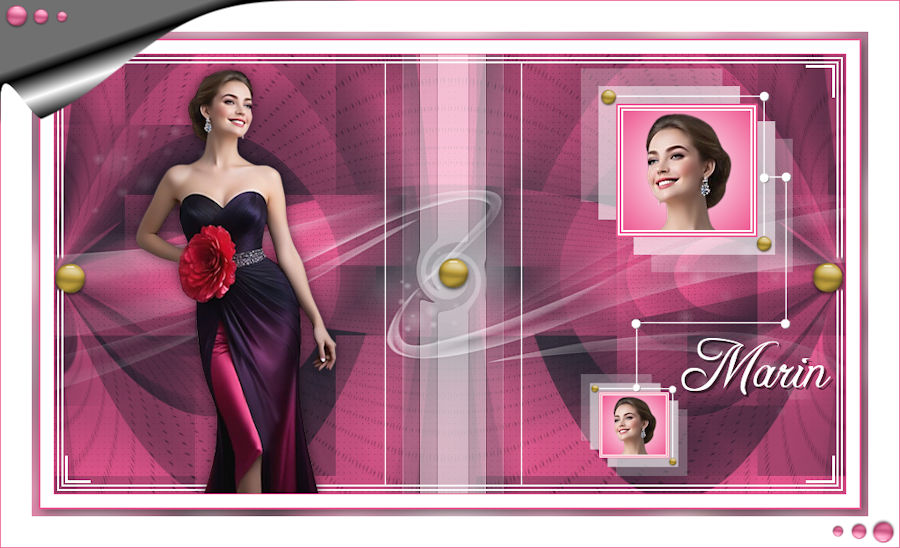
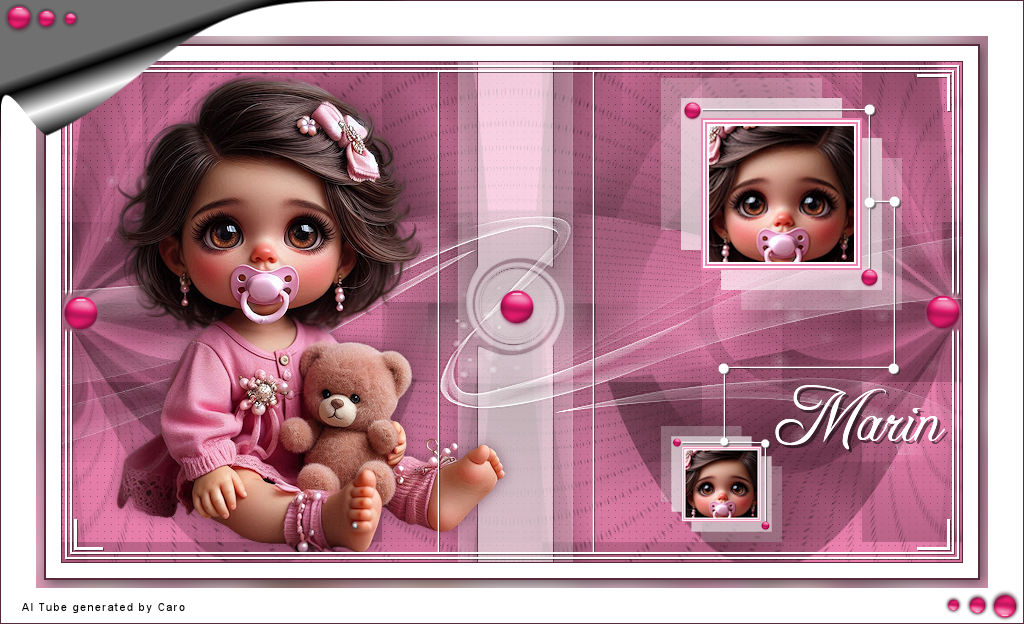
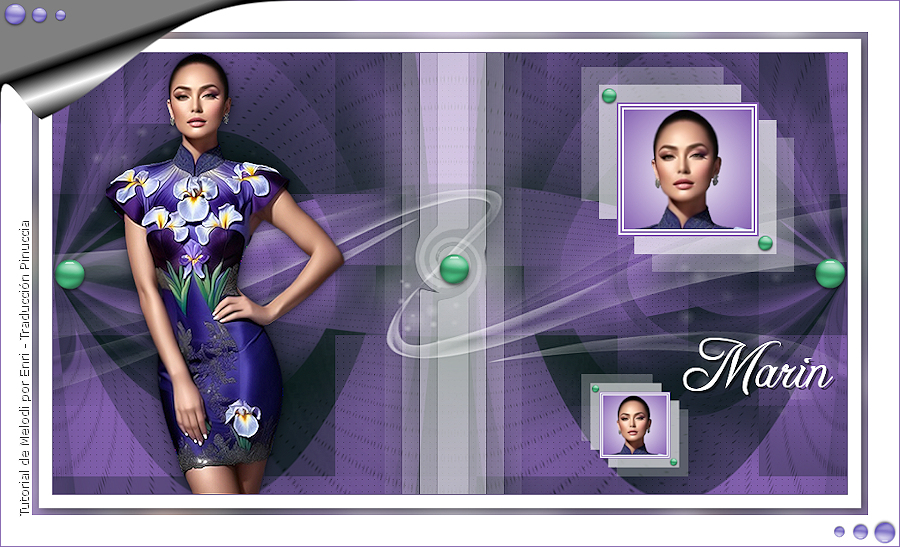
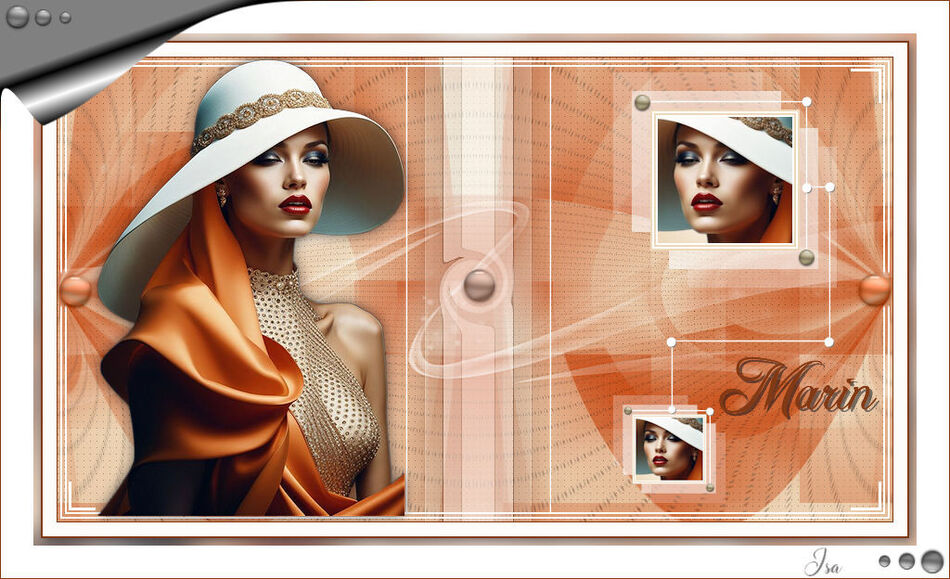
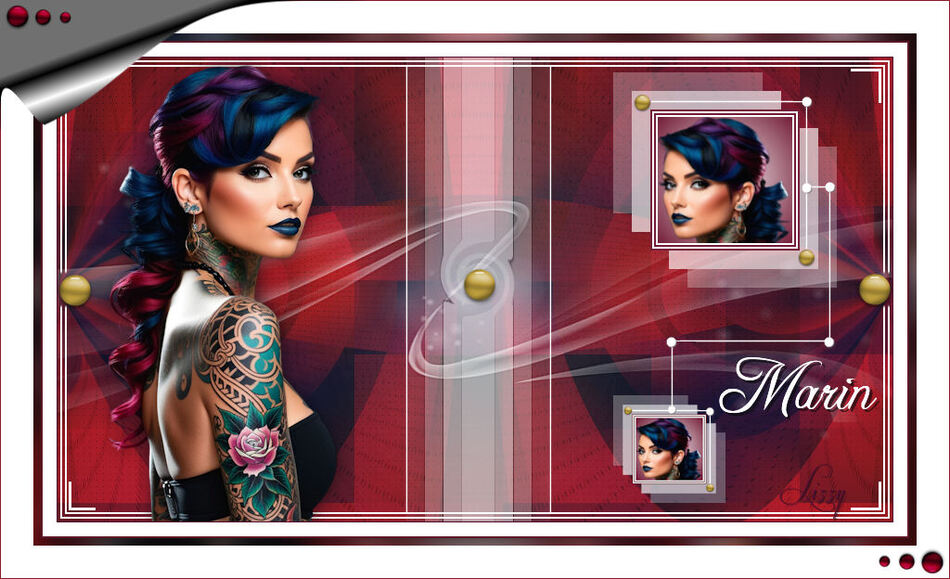
The colors, layer density and blending mode are for the materials of this lesson. If you use different material, just take a look at what is best for you…
Before Open psp Copy the Selection file in the Selections Folder of Psp
Download materials by clicking below

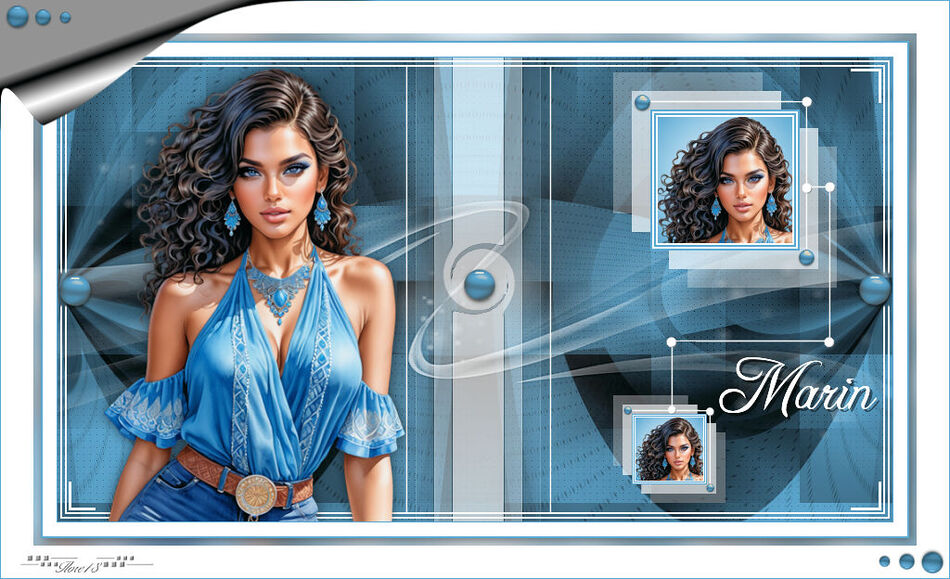
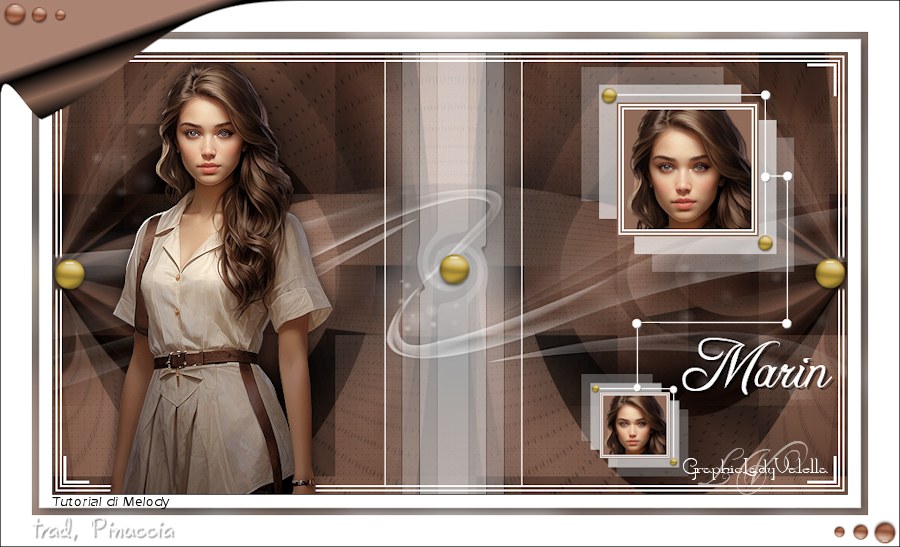
Grazie per la traduzione italiana Pinuccia


Obrigado pela tradução para português Vera Mendes


Merci Colybrix pour la traduction française


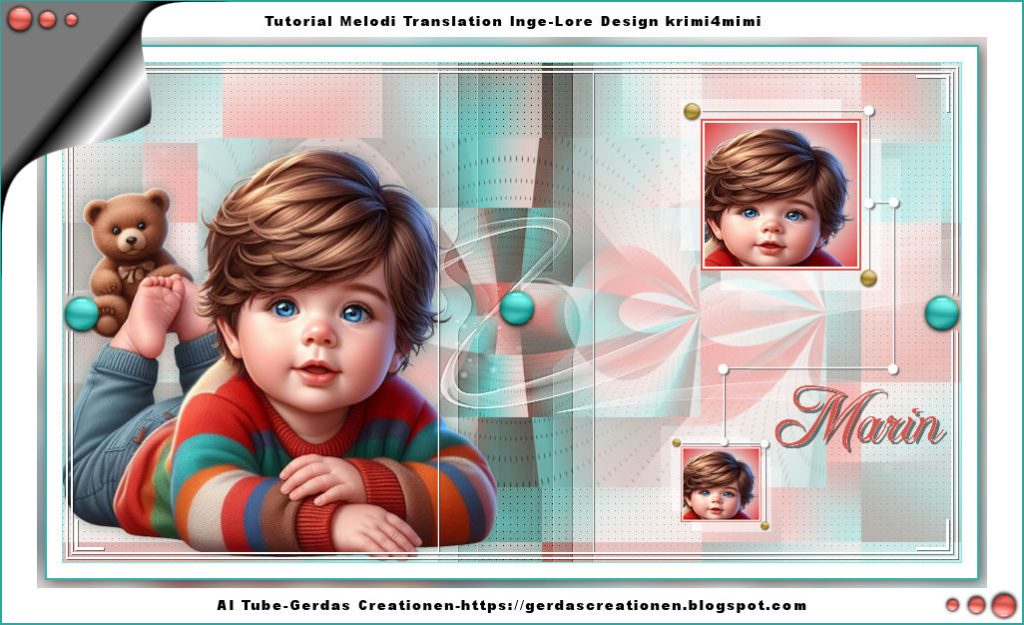
Danke Inge Lore für die deutsche Übersetzung


Gracias Sylviane por la traducción al español.


Bedankt voor de Nederlandse vertaling Lisette


If you’re ready, let’s start
PLUGİNS:
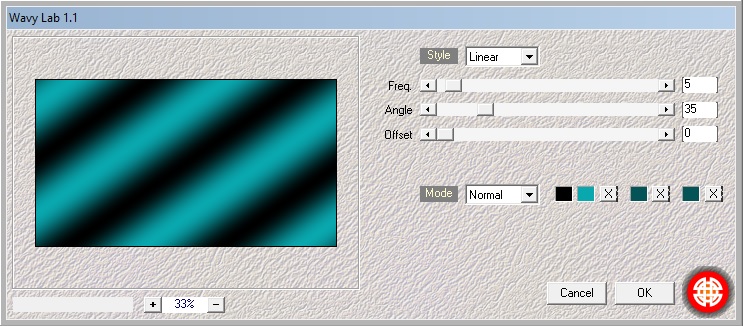
Plugins> Mehdi – Wavy Lab 1.1.
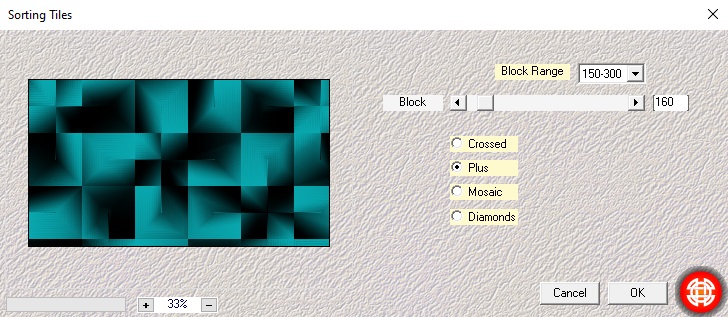
Mehdi –Sorting Tiles -Block Range
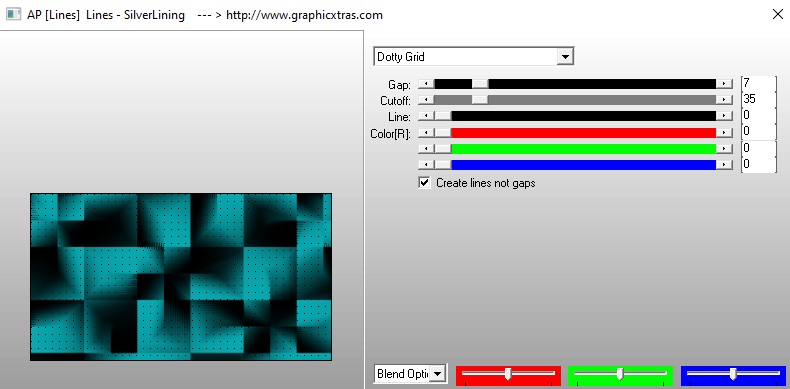
AP (Lines)-Lines-Silverlining
Plugins> Flaming Pear >Flexify 2
Plugins>It@lian Editors Effet>Effetto Fantasma
Plugins – VM Toolbox, Zoom Blur
MATERİALS:
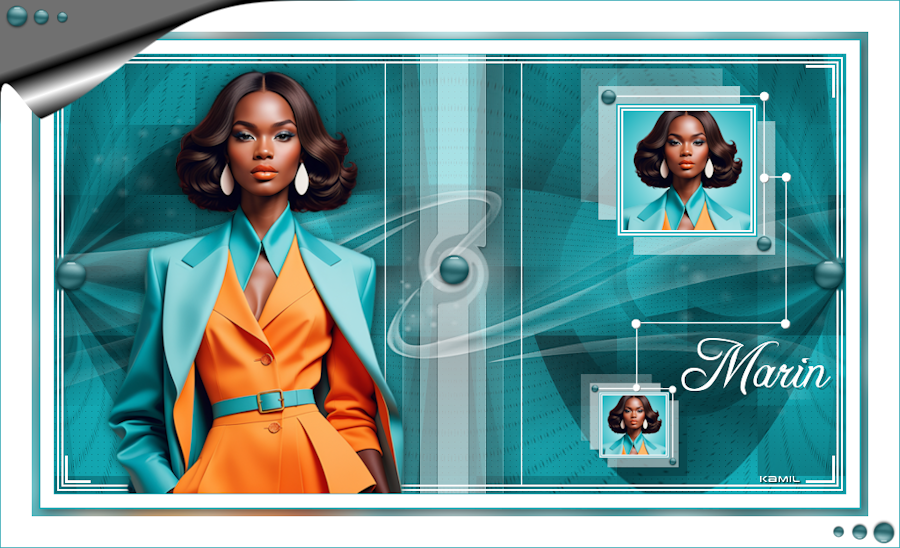
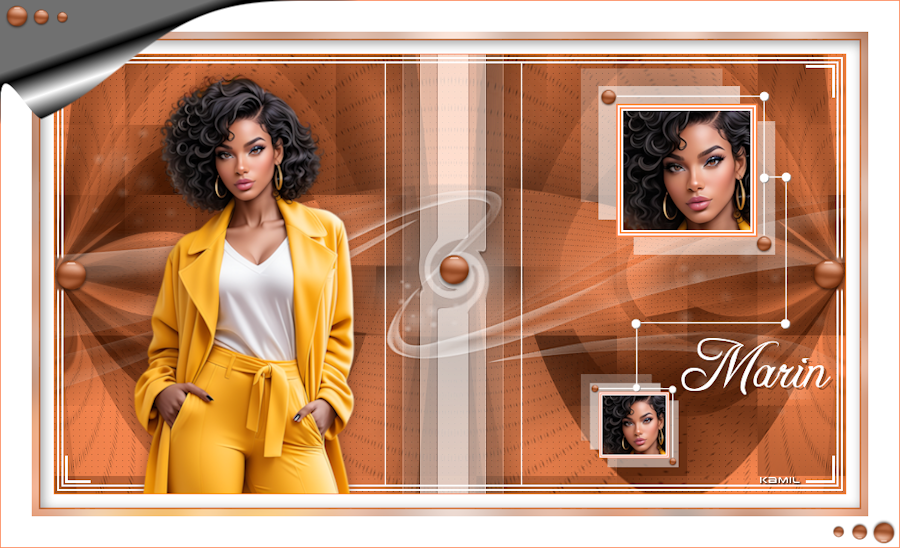
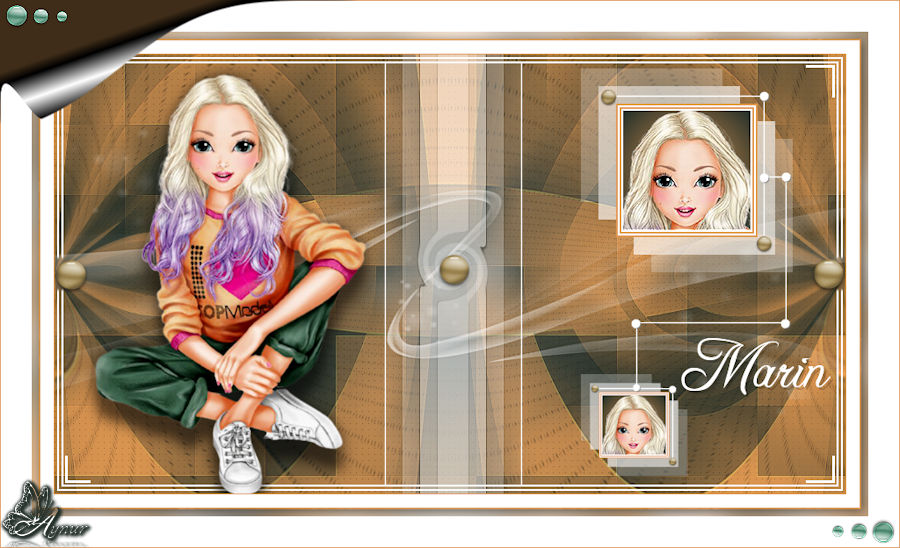
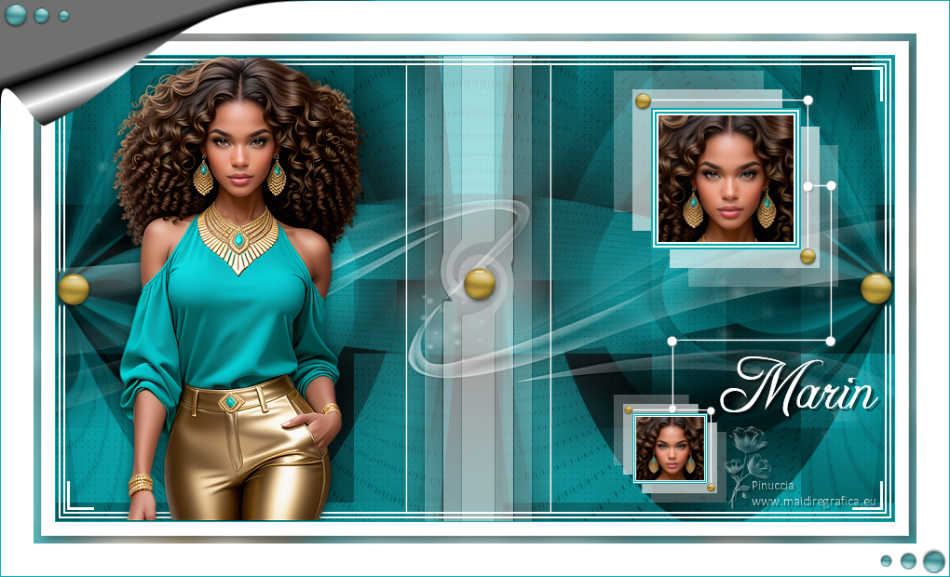
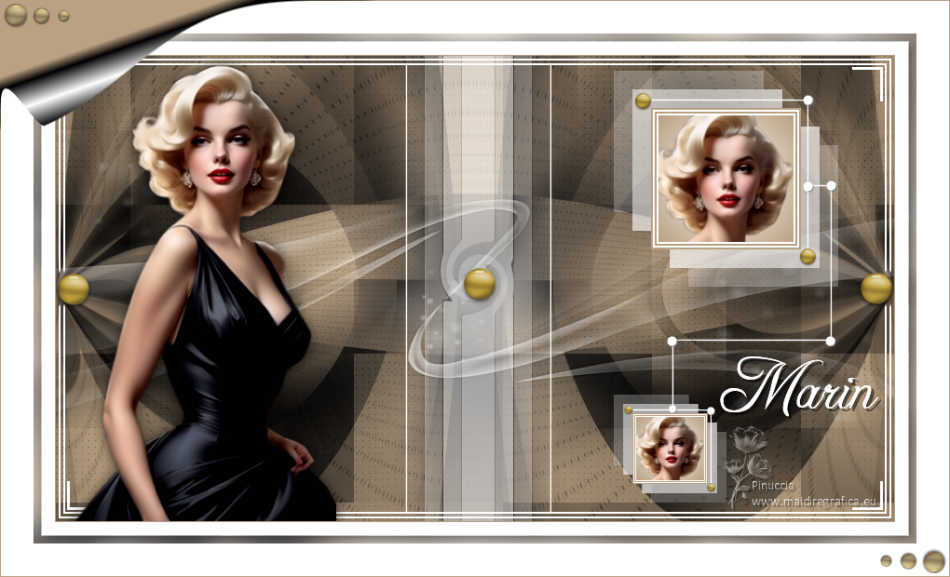
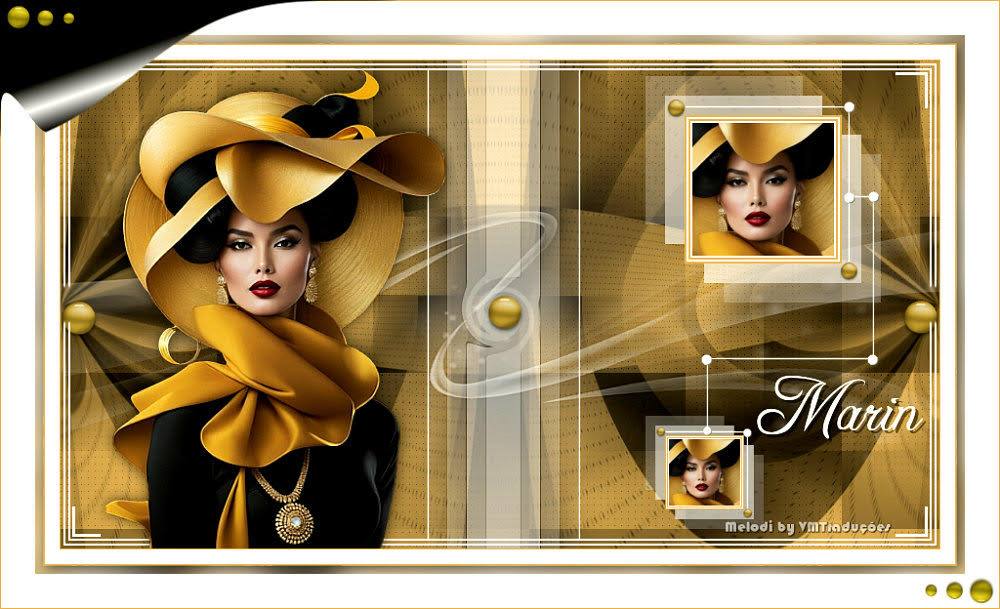
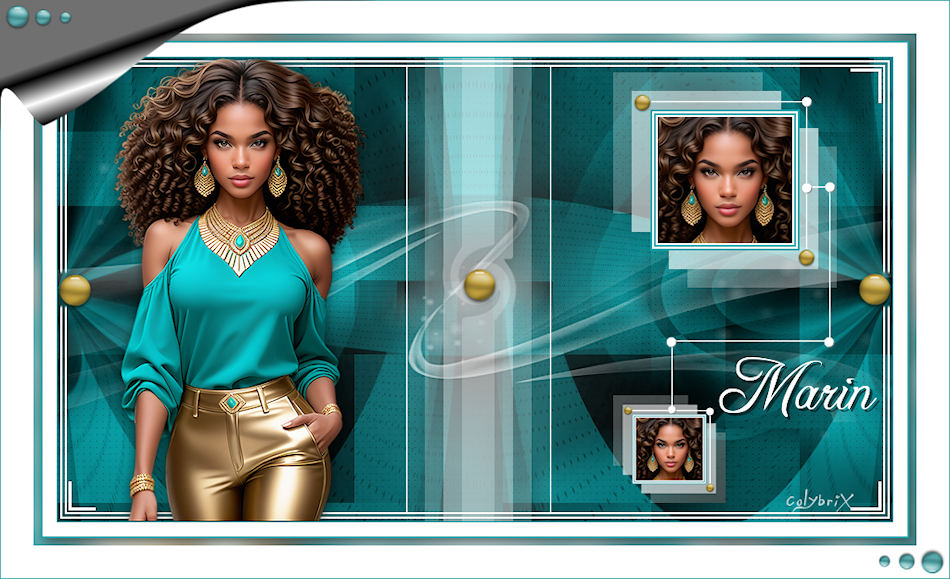
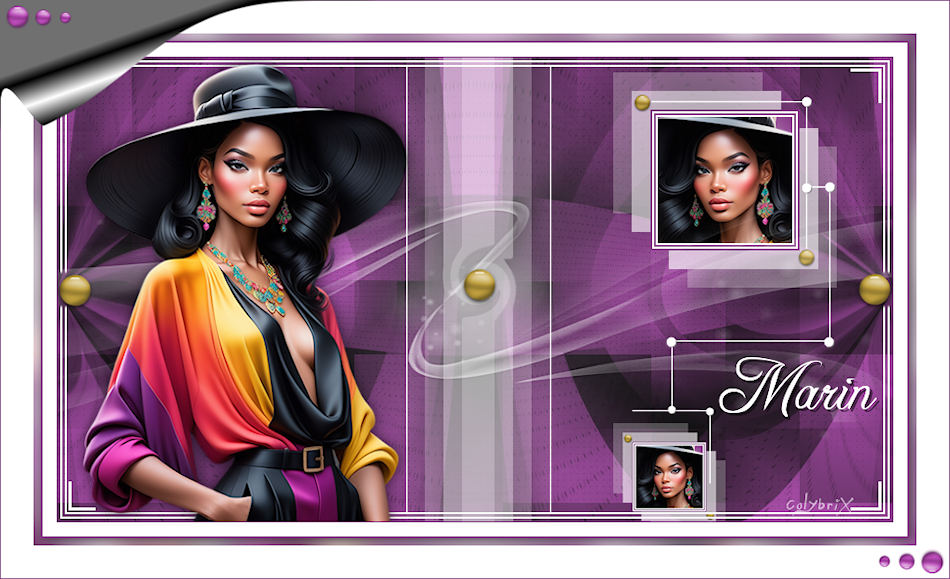
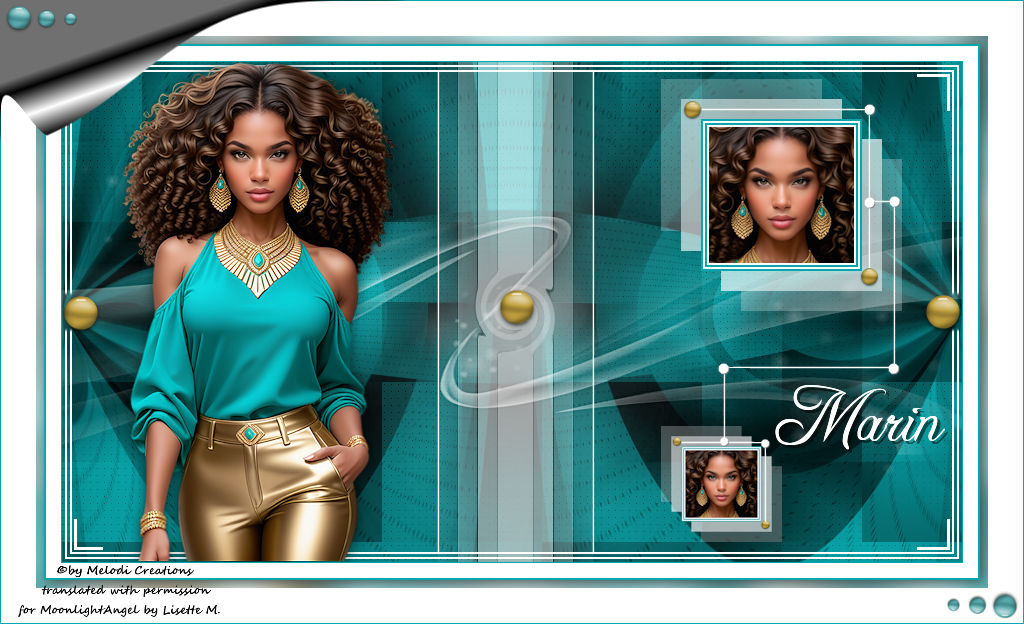
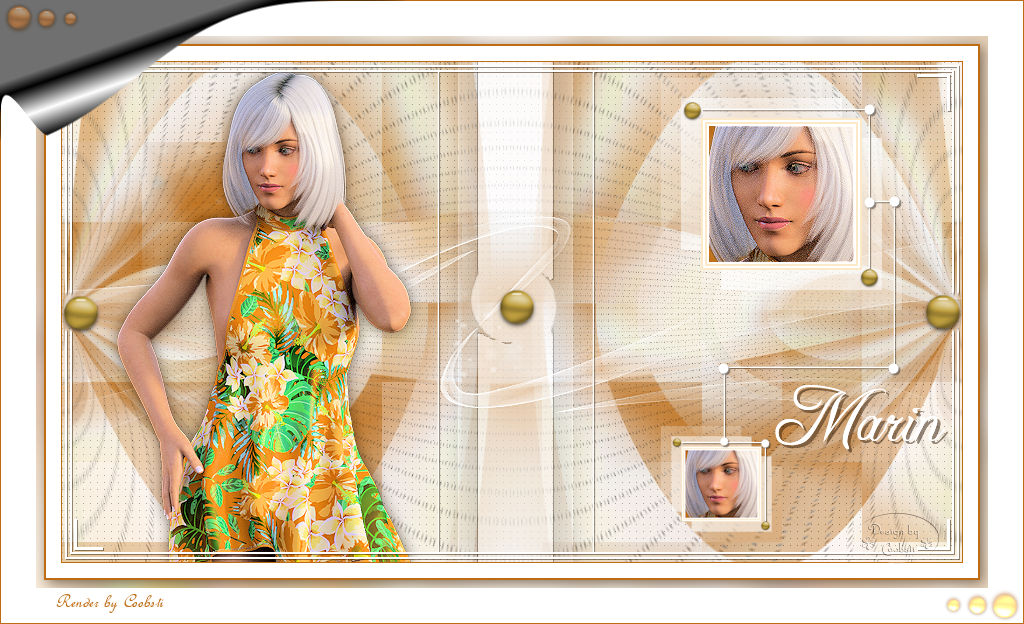
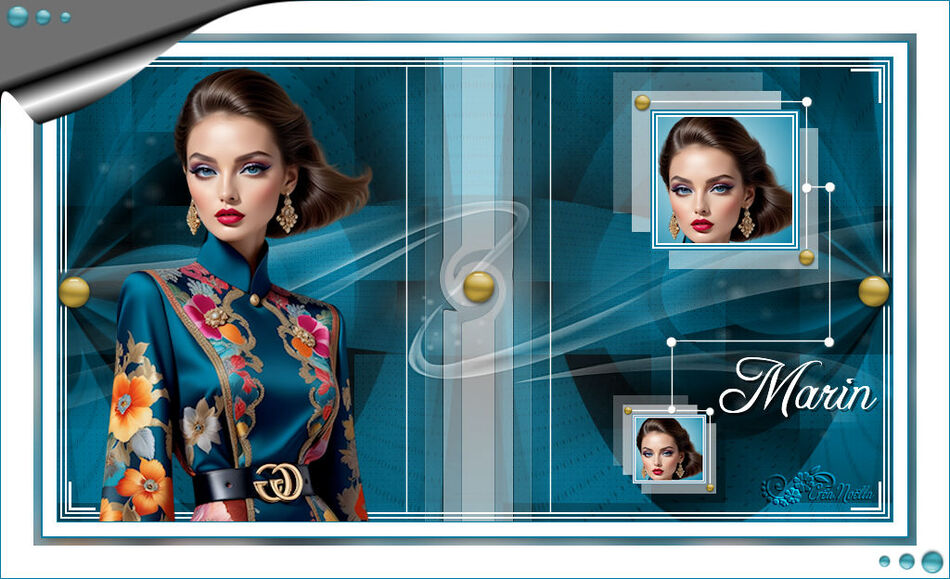
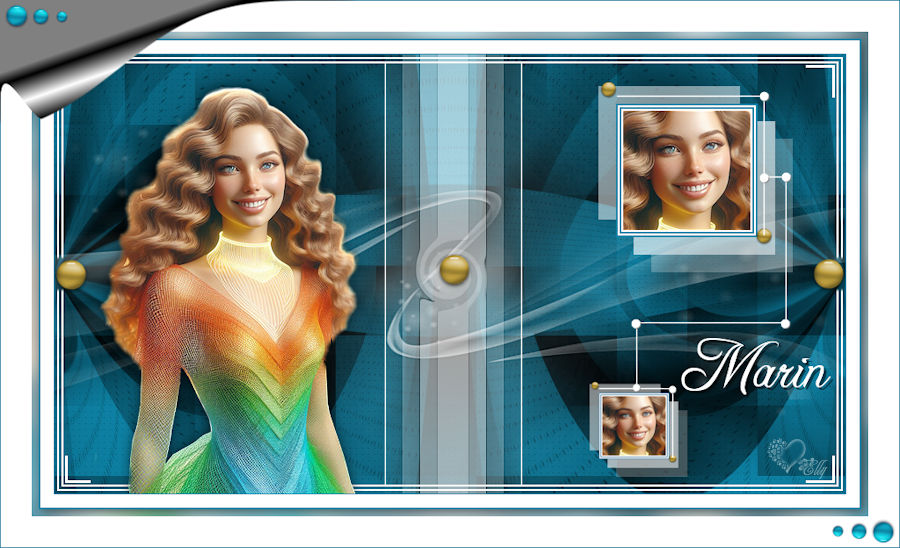
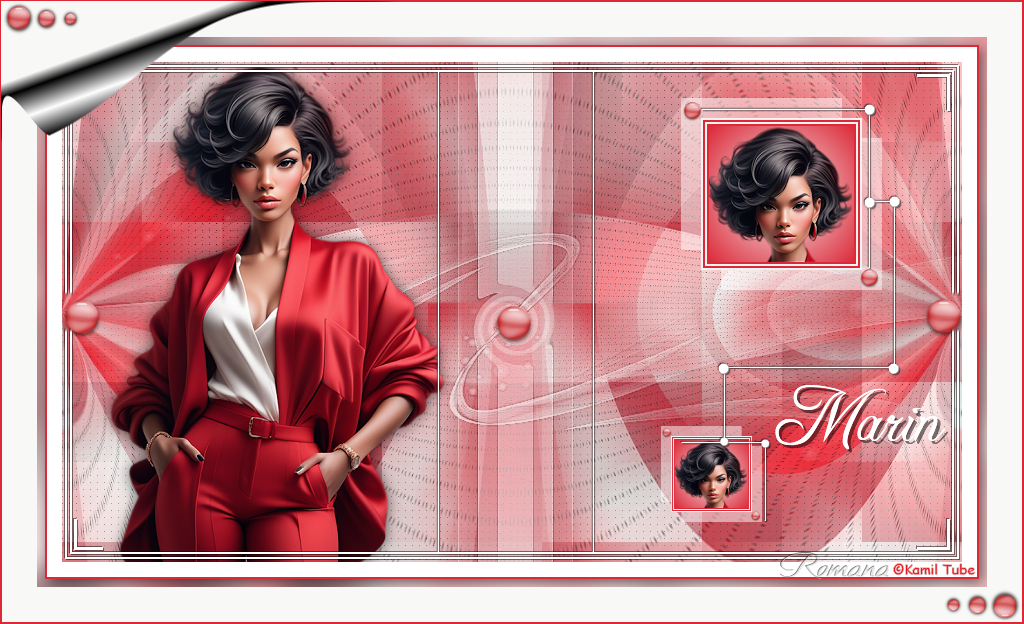
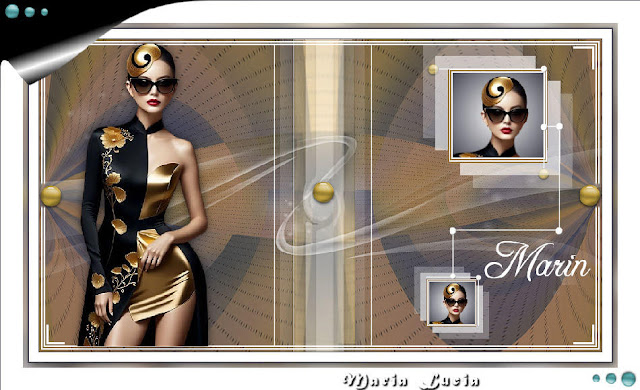
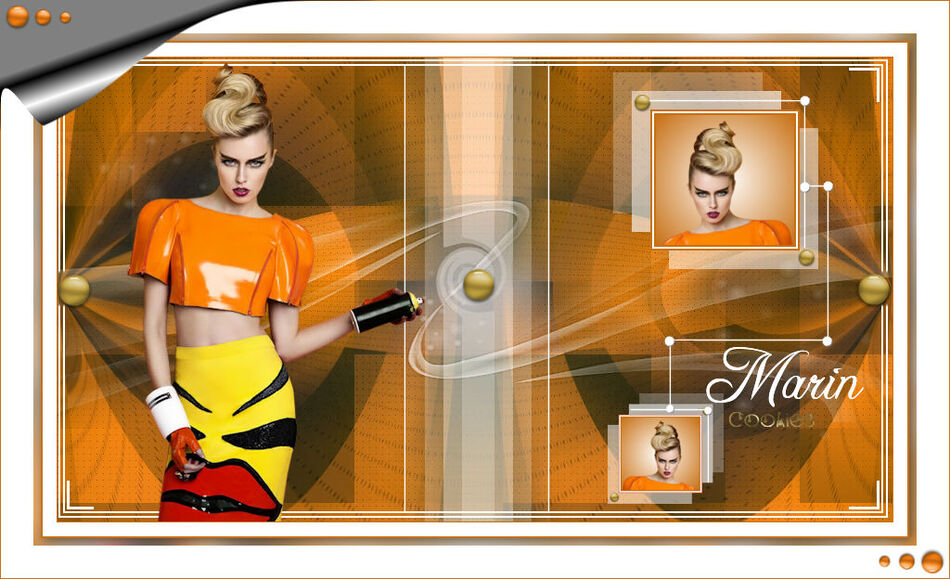
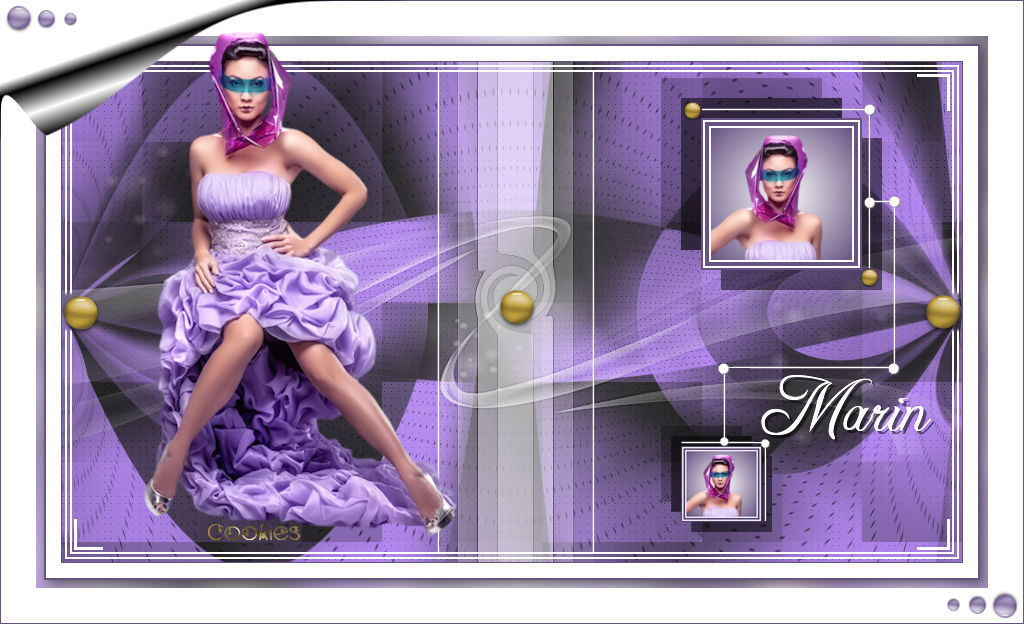
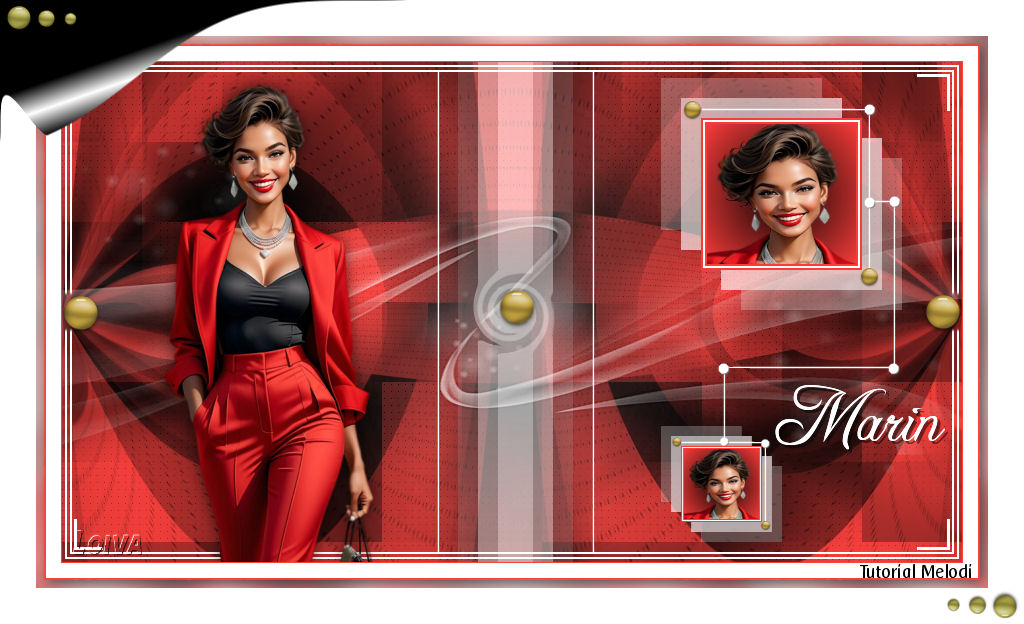
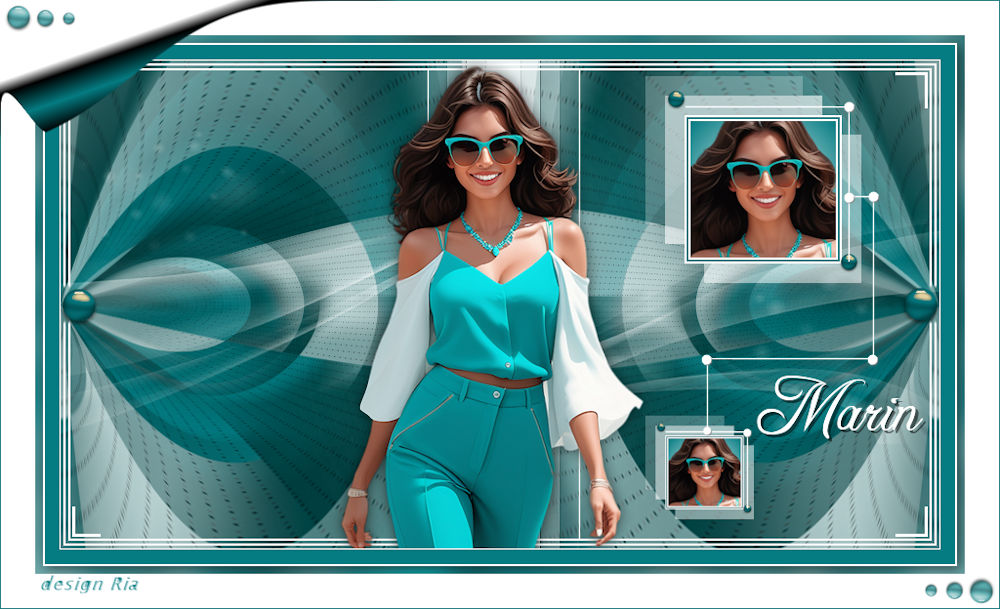
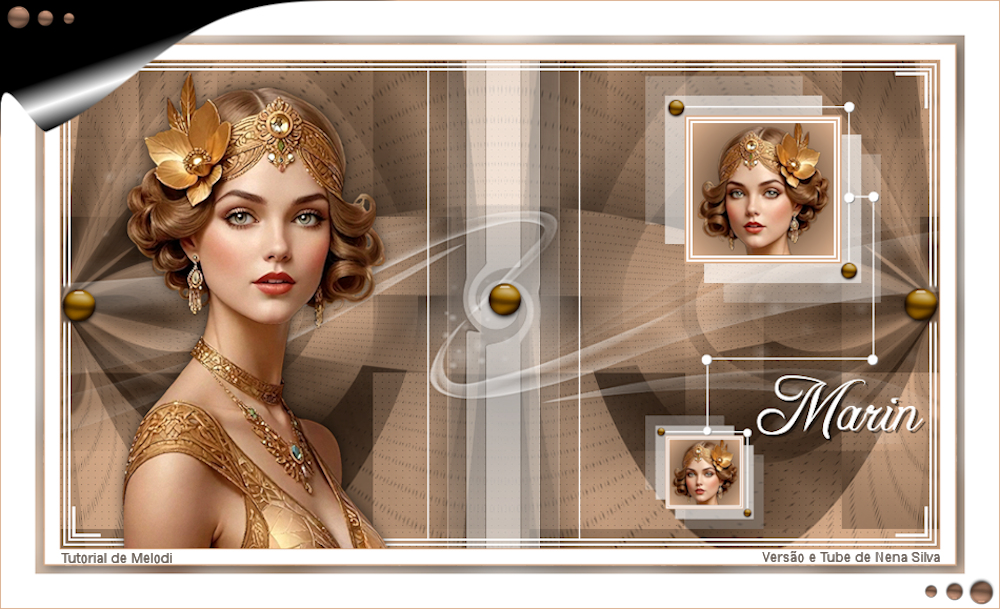
Woman Tube: Kamil
Mask Narah_Mask_1170
deco Melodi
Text Melodi
Preset Melodi
Needed Material

Set the foreground color to #09a7ae
and the background color to #000000, (if you use other images by necessity, choose your foreground color according to the tube).
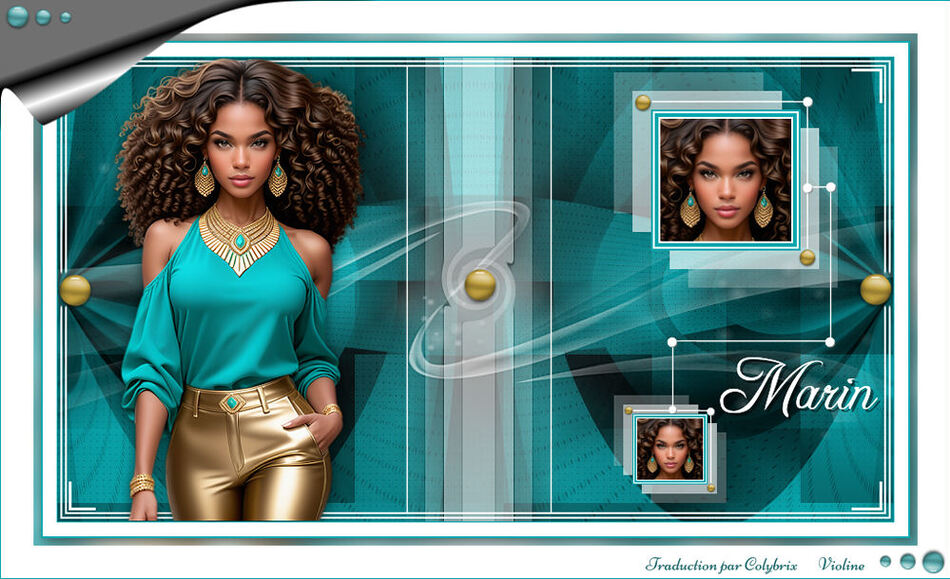
STEP 1
1 -File Open – New 900 x 500
2-Effects -Plugins – Mehdi – Wavy Lab 1.1 Style Linear 5/35/0
3-Mehdi –Sorting Tiles -Block Range 150-300 – Block 160- Plus
4-AP (Lines)-Lines-Silverlining – Dotty Grid 7 -35
5-Layers – Duplicate
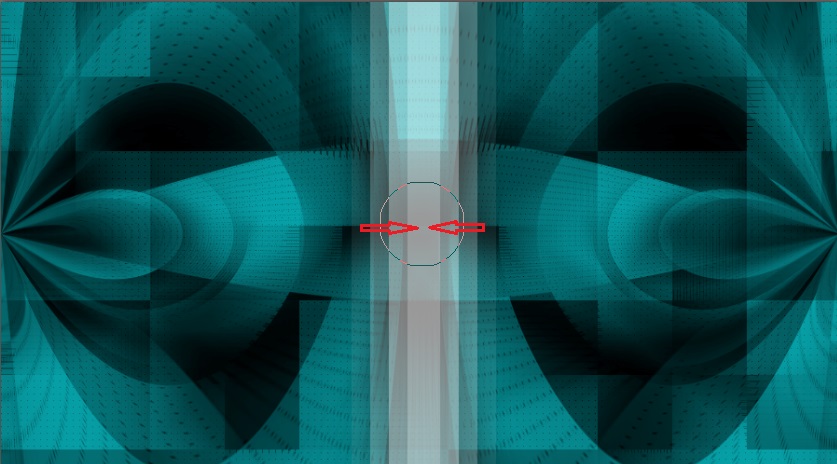
6-Flaming Pear -Flexify 2 – input mirror ball – Output cylintrical
Or open preset Flexify 2 settings.q2q


7-Layers – Duplicate
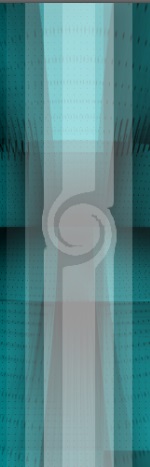
8-Image -Mirror – Mirror Horizontal
9-Opacity 60 -Merge Down
10-Opacity 70 – Merge Down
Result

STEP 2
11-Layers -New Raster Layer Raster 2
12-Selections>Load/Save Selection>Load from Disk – Melo1
13-Flood Fill Tool / Fill color white #ffffff
14-Selections – Select None
15-Effects> Plugins>It@lian Editors Effet>Effetto Fantasma (twice )x3

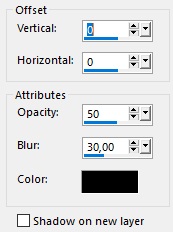
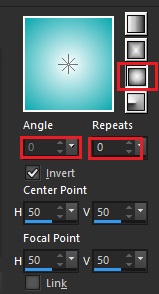
16-Effets – 3D Effects – Drop Shadow V: 0 H: 0 O: 50 B: 30
17-Effetcts- Edge Effecet – Enhance
18-Opacity % 60
19-Toolbar Options / Warp Brush

20-Warp modes: Left Twirl / Size: 90

21-Bring it to the middle and rotate it 2 times
STEP 3
22-Layers -New Raster Layer Raster 3
23-Flood Fill Tool / Fill color white #ffffff
24-File Open Narah_Mask_1170
25-Layers – New mask layer from image
26-Merge Group – Group – Raster 3
STEP 4
27-Layers -New Raster Layer Raster 3
28-Selections>Load/Save Selection>Load from Disk – Melo2
29- Fill selection with foreground color #09a7ae
30-Selections, Modify, Contract by 2 pixels
31- Fill selection with color #FFFFFF
32-Selections, Modify, Contract by 2 pixels
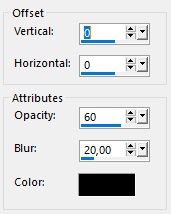
33-Fill selection with foreground color #09a7ae
34-Selections, Modify, Contract by 2 pixels
35-Fill selection with color #FFFFFF
36-Selections, Modify, Contract by 2 pixels
37-Edit, Delete, or DEL on the keyboard!
If the bottom of your tube is transparent , do steps 39, otherwise go directly to step
38-Prepare a Halo gradient, Foreground #09a7ae Background: #FFFFFF
39-Tool, Flood Fill selection with Gradient
40-Activate the tube femme-Kamil jpg , Edit Copy
41-Edit, Paste as new Raster layer
42-Image, Resize, Resize to 70% (Resize all layers unchecked)
43-Tool, Move (M), place in frame
44-Selection, Invert,
45-Edit, Delete or DEL on the keyboard!
46-Selections, Select none
47-Layers, Merge, Merge Down
STEP 5
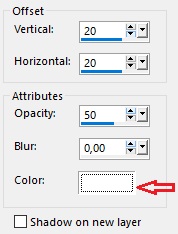
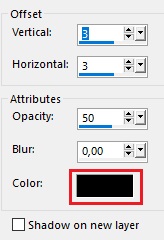
48-Effects, 3D Effects, Drop Shadow 20/20/50/0 , Color : #FFFFFF
49-Edit, Repeat Drop Shadow (same settings!)
50-Effects, 3D Effects, Drop Shadow -20/-20/50/0 , Color : #FFFFFF
51-Edit, Repeat Drop Shadow (same settings!)
52-File Open Mld Deko 1 Edit Copy, Edit Paste as new Raster layer
53-Tool, Select (K), Change the Position X (620) and Position Y ( 39)settings to the settings below

54-Layers, Merge, Merge Down
55-Layers, Duplicate
56-Image, Resize, Resize to 50% (Resize all layers unchecked)
57-Tool, Select (K), Change the Position X (599) and Position Y ( 364 ) settings to the settings below

STEP 6
58-File Open Mld Deko 2 Edit, Paste as new Raster layer
No need to carry
59-File Open Mld Deko 3 Edit, Paste as new Raster layer
60-Activate the tube femme-Kamil jpg , Edit Copy
61-Edit, Paste as new Raster layer
62-Image, Resize, Resize to 70% (Resize all layers unchecked)
(Move your tube to a suitable place on the left side.)
63-Tool, Select (K), Change the Position X (60) and Position Y ( 0) settings to the settings below

64-Adjust- Sharpness – Sharpen
65-Effets – 3D Effects – Drop Shadow V: 0 H: 0 O: 60 B: 20 Color Black
STEP 7
66-Activate the text Marin , Edit Copy
67-Edit, Paste as new Raster layer
68-Tool, Select (K), Change the Position X (713) and Position Y ( 323) settings to the settings below

69-Effets – 3D Effects – Drop Shadow V: 3 H: 3 O: 50 B: 0 color black
STEP 8
70-Image, Add Borders, Symmetrical 1 pixel color foreground color #09a7ae
71-Image, Add Borders, Symmetrical 15 pixels color #ffffff
72-Image, Add Borders, Symmetrical 2 pixel foreground color #09a7ae
73-Image, Add Borders, Symmetrical 8 pixels color #ffffff
74-Tool, Magic Wand
75-Select the white border outside
76-Effects, VM Toolbox, Zoom Blur 40 – 25

77-Adjust, Blur, Gaussian Blur at 15
78-Selections, Invert
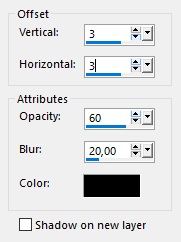
79-Effects, 3D Effects, Drop Shadow V 3/ H 3/ O 60/ B 20
color #000000
80-Selections, Select none
81-Image, Add Borders, Symmetrical 35 pixels color #ffffff
82-Image, Add Borders, Symmetrical 1 pixel foreground color #09a7ae
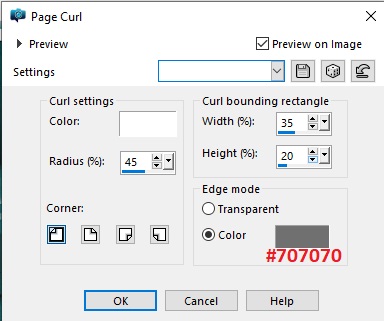
83-Effects, Image Effects, Page Curl the bottom left Color #707070
84-Radius 45 / Width 35 / Height 20
STEP 9
85-File Open Mld Deko 4 Edit, Paste as new Raster layer
86-Add your name or watermark
87-Merge down
88-Resize 900 px
89-File – Save As JPG
Thanks for the test Kamil
Thanks for the test Aynur
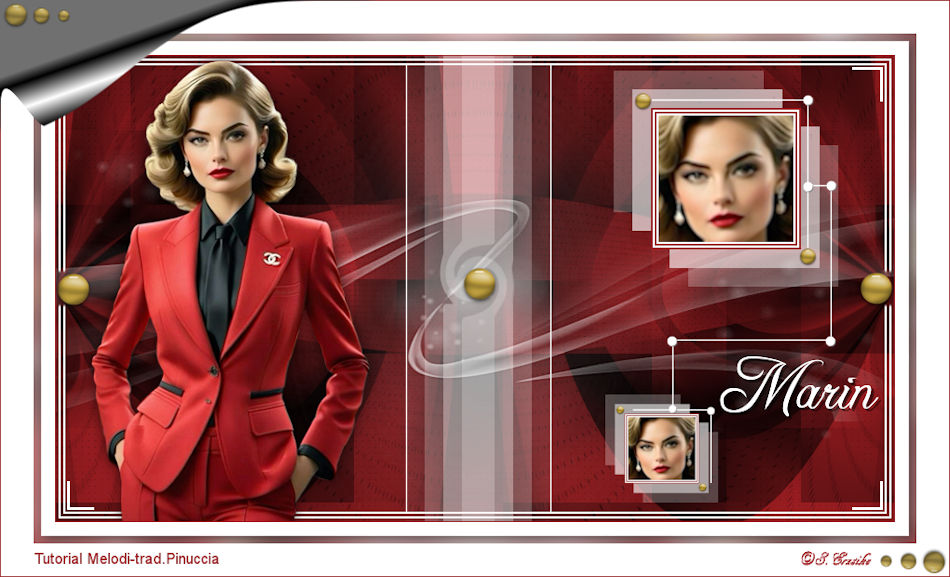
Thanks for the translation Pinuccia
Thanks for the translation Vera Mendes
Thanks for the translation Colybrix
Thanks for the translation Inge Lore

Thanks for the translation Sylviane

Thanks for the translation Lisette
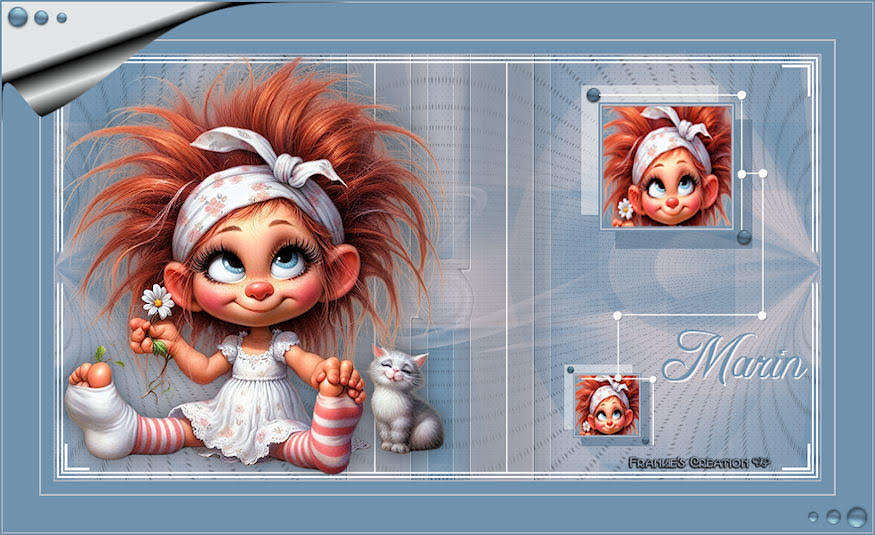
Thank you Frankie
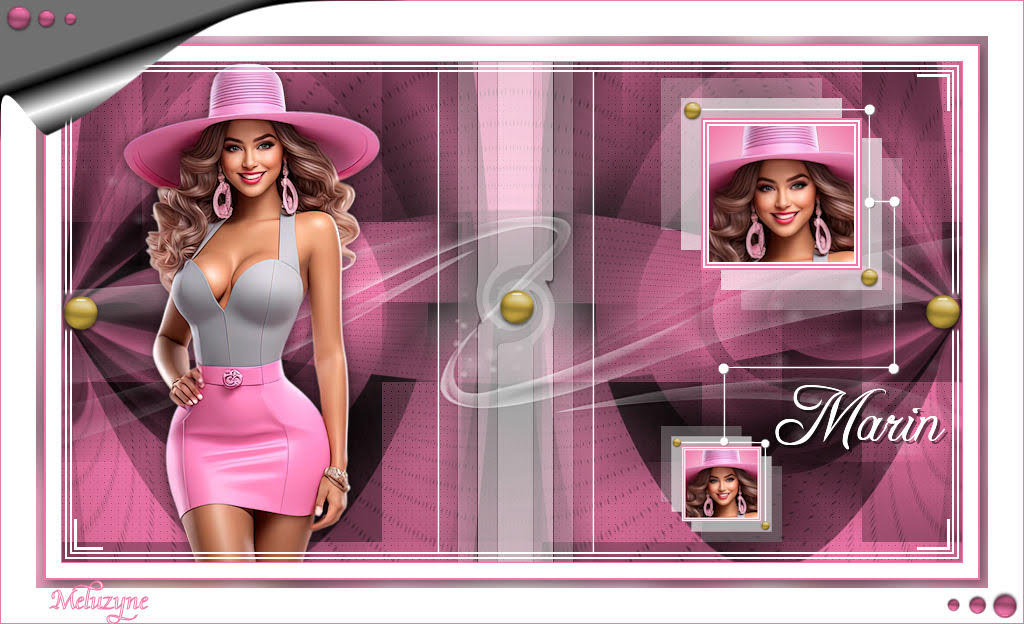
Thank you Meluzyne
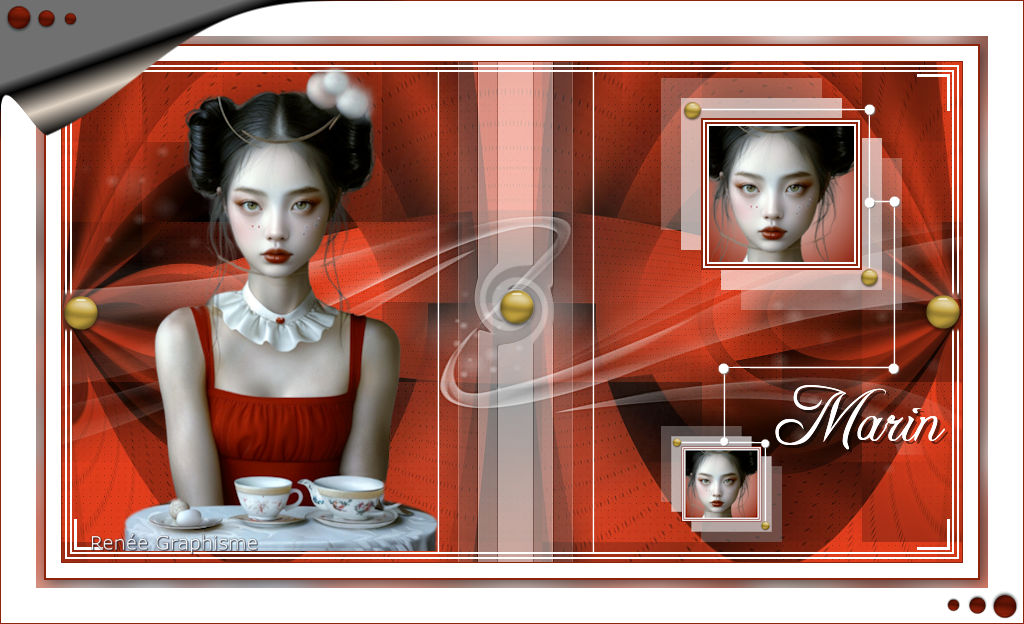
Thank you Renee Graphics
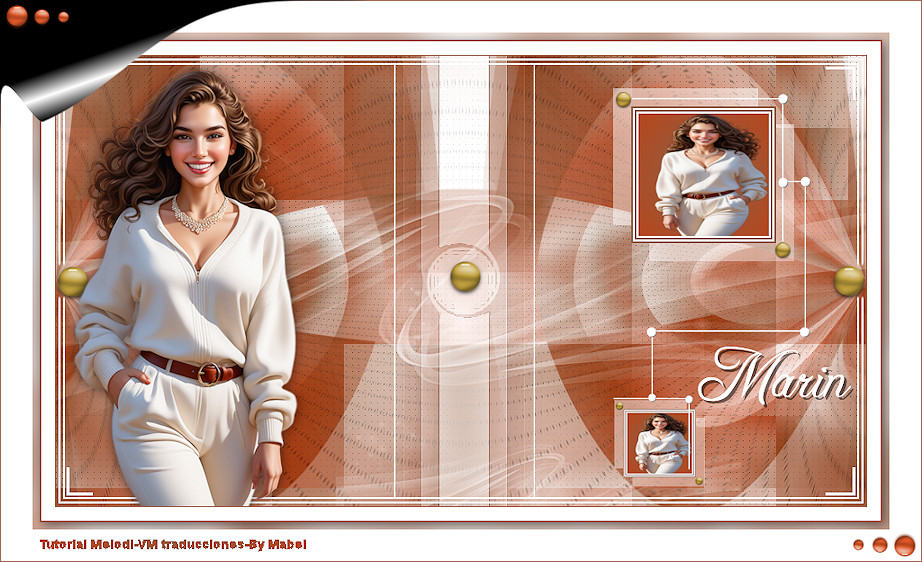
Thank you Mabel
Thank you Cat’s

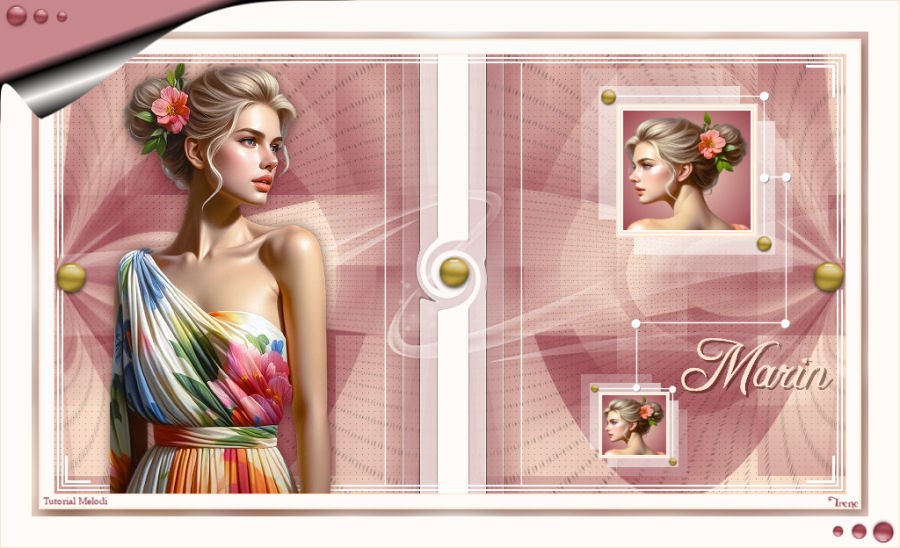
Thank you Irene
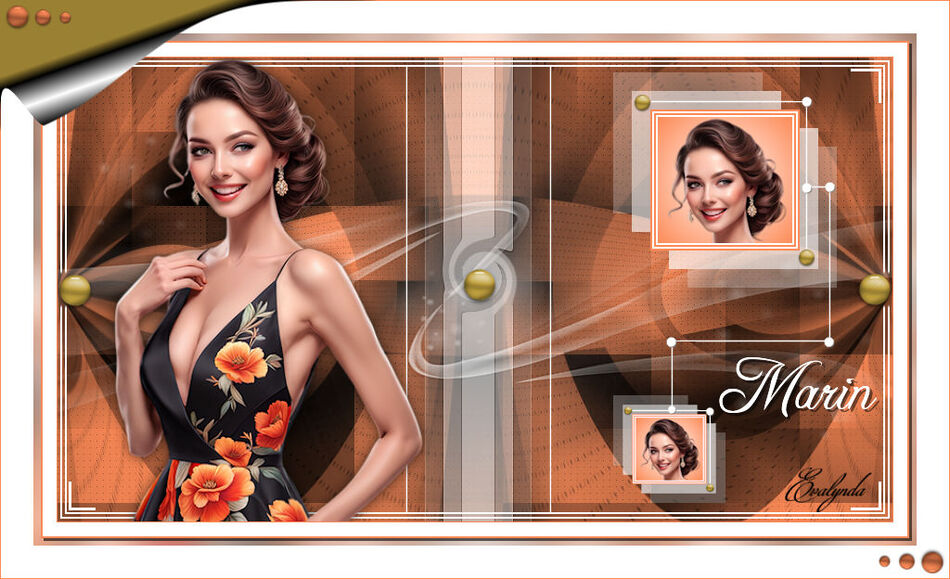
Thank you Evalynda
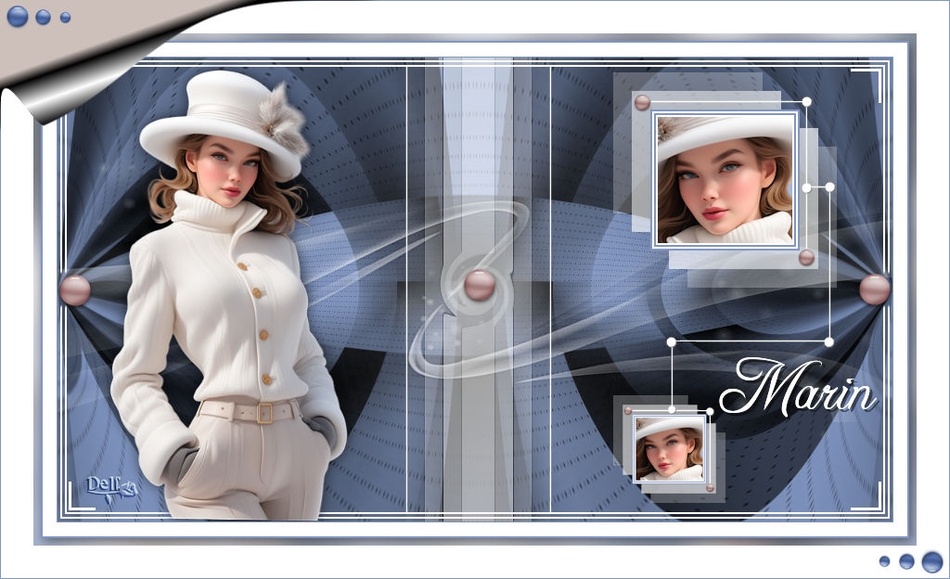
Thanks Delf
Thank you Violine
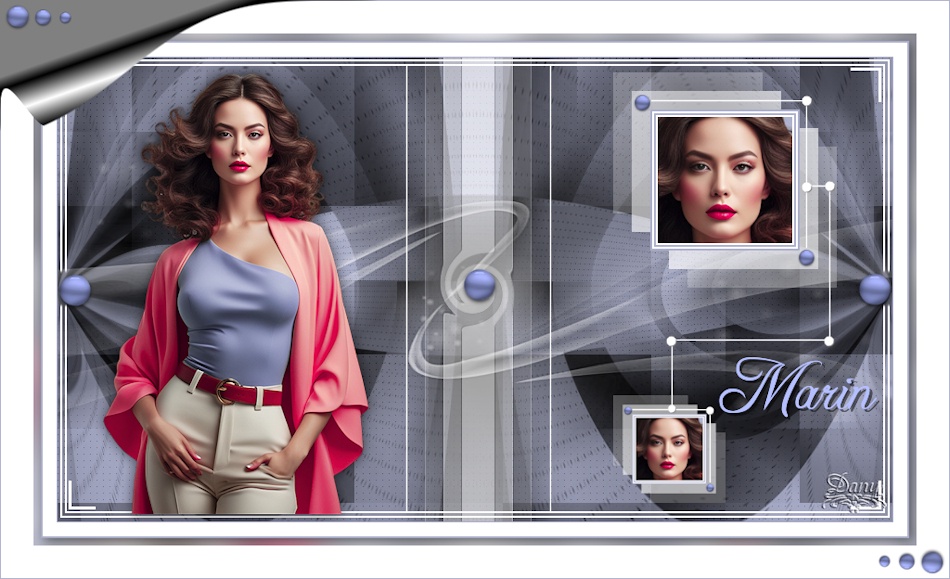
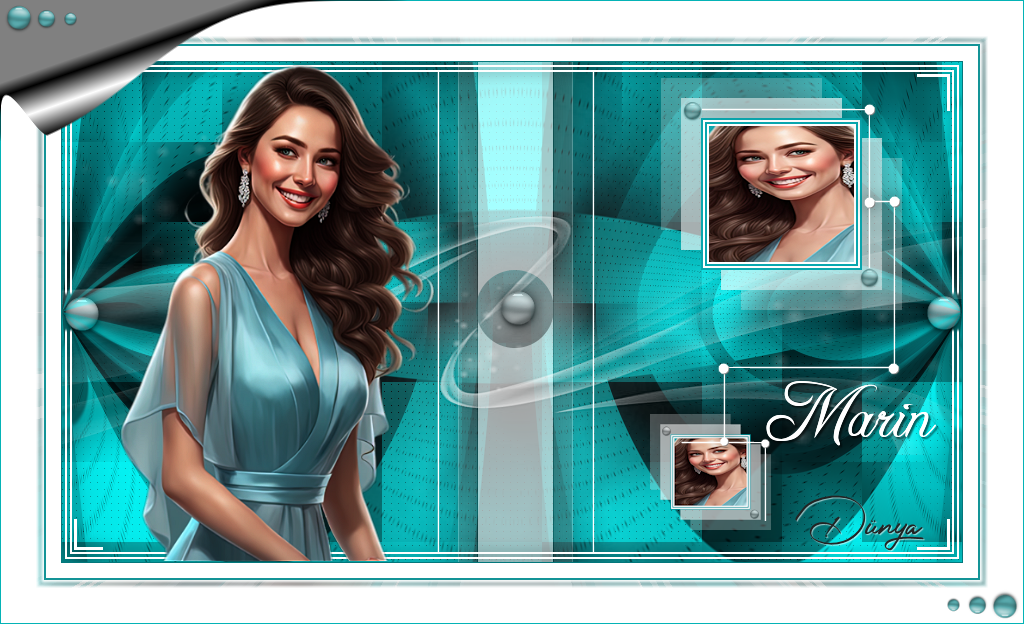
Thank you Dany
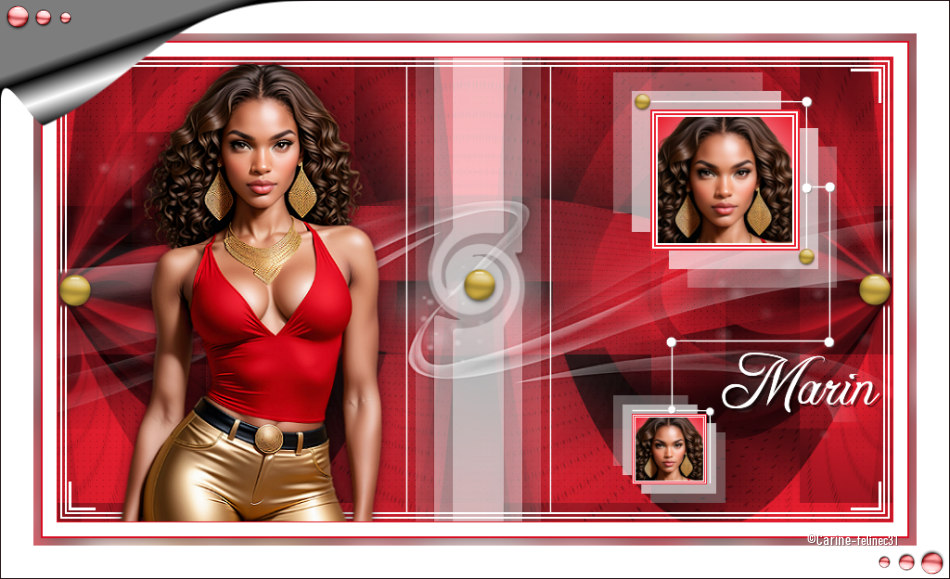
Thank you Carine/Felinec31
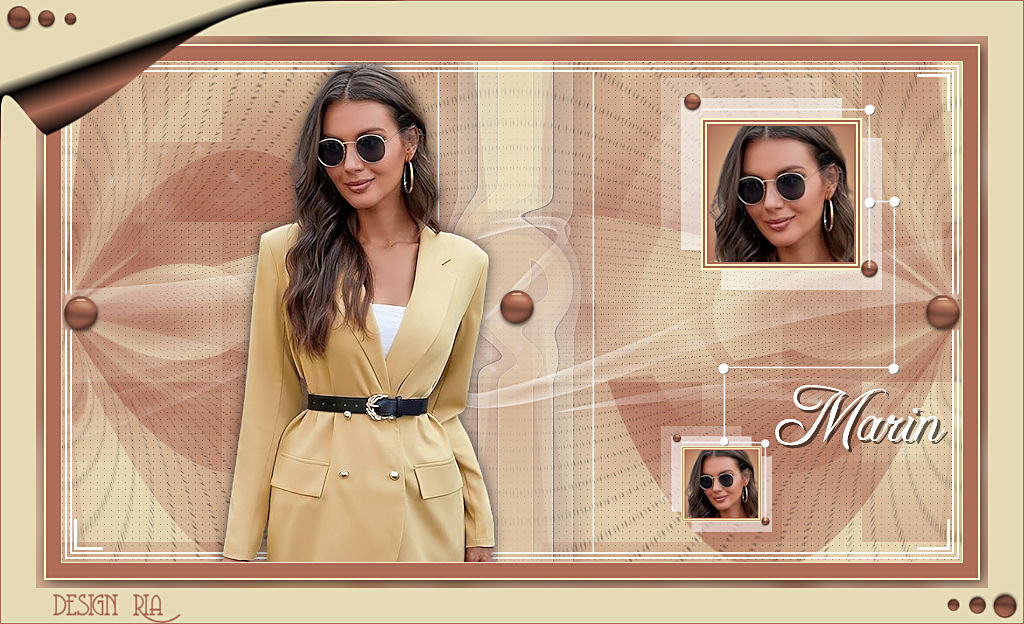
Thank you Ria
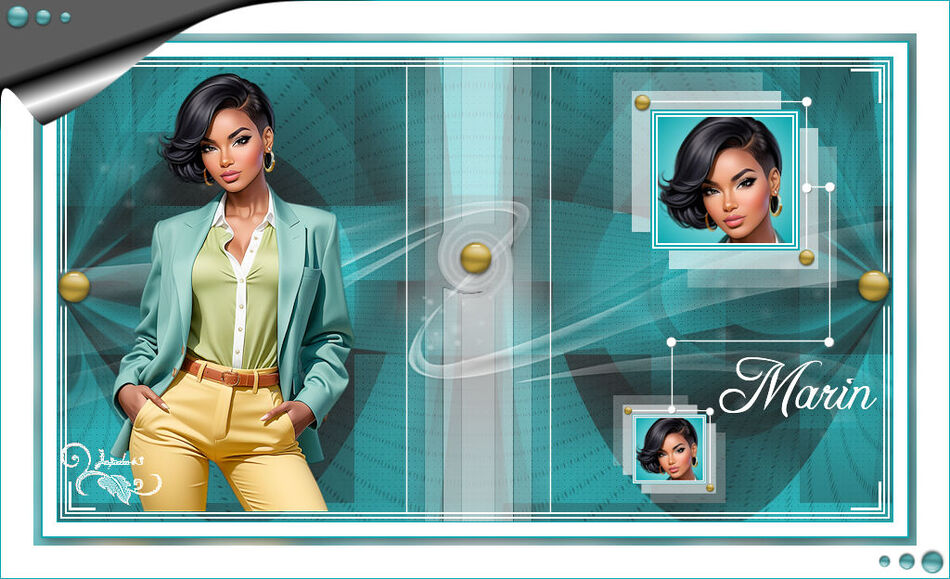
Thank you Jaja from 63
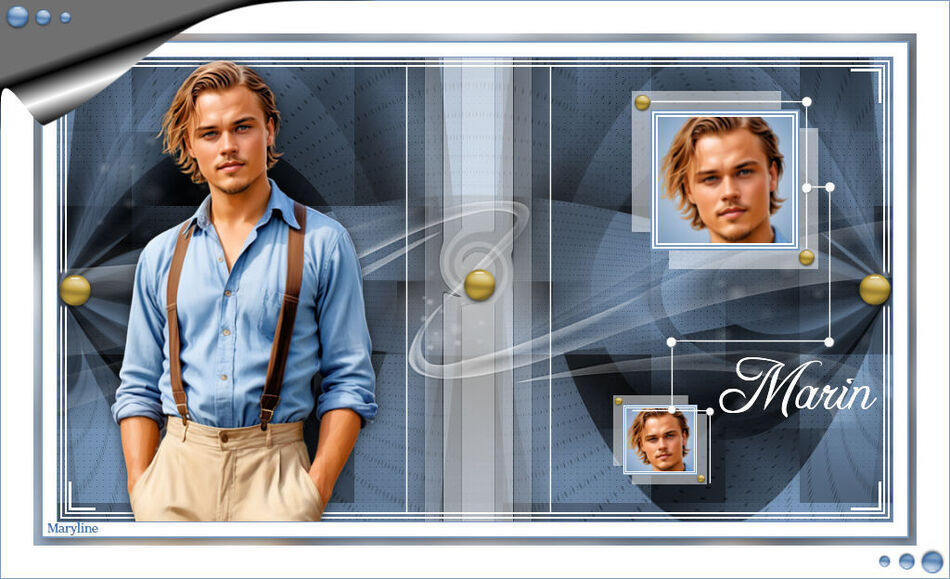
Thank you Maryline
Thank you Nora
Thank you Merci Gon Romano
Thank you Marygraphics
Thank you IreneM
Thank you Petral

Thank you Franie Margot
Thank you Monique
Thank you Denzoline
Thank you CupCake
Thank you Julie
Thank you Di@ne
Thank you Carola
Thank you Ingrid
Thank you Simone
Thank you Uschi Brendel
Thank you LindaM
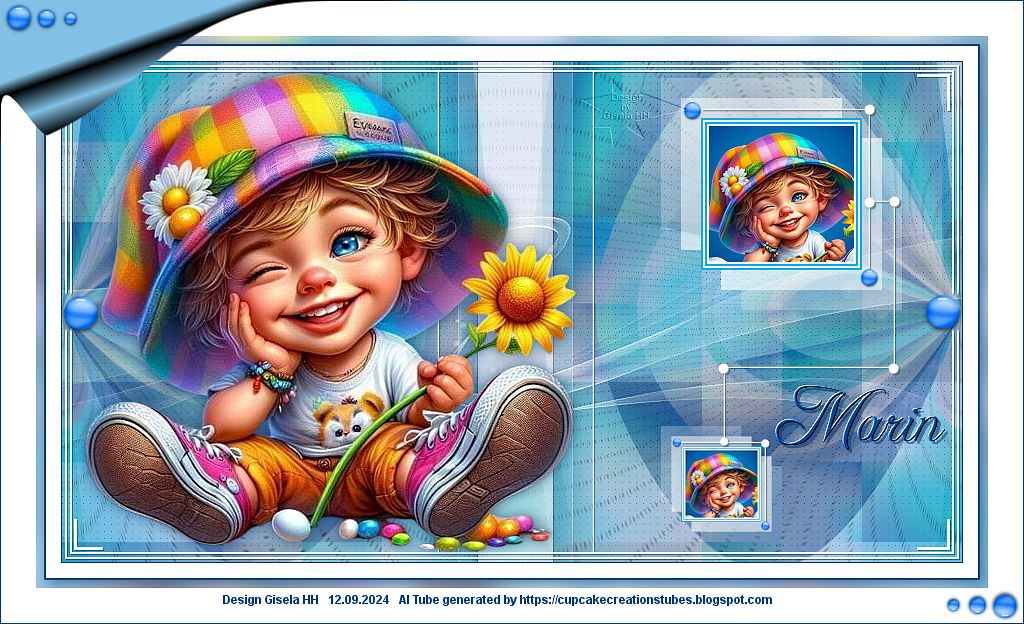
Thank you Gisela
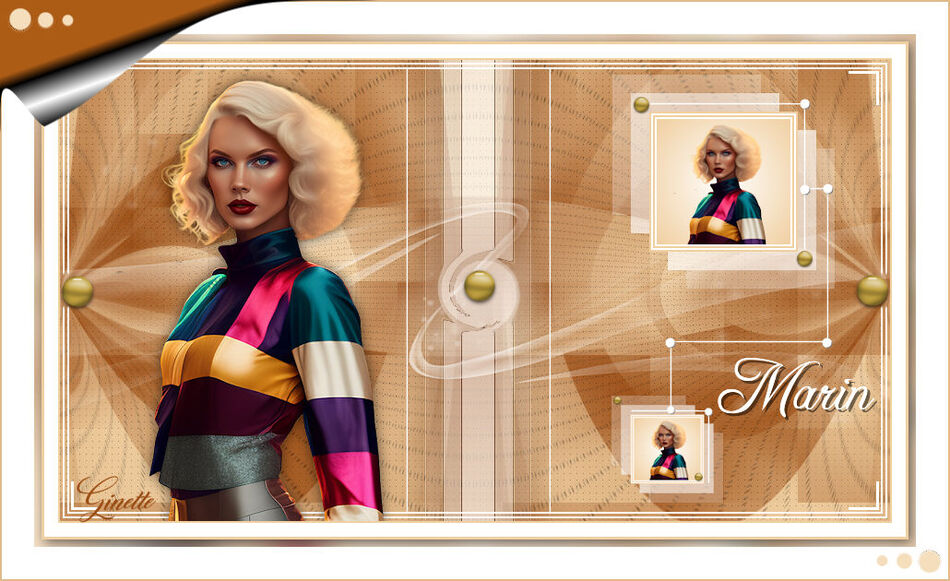
Thank you Ginette
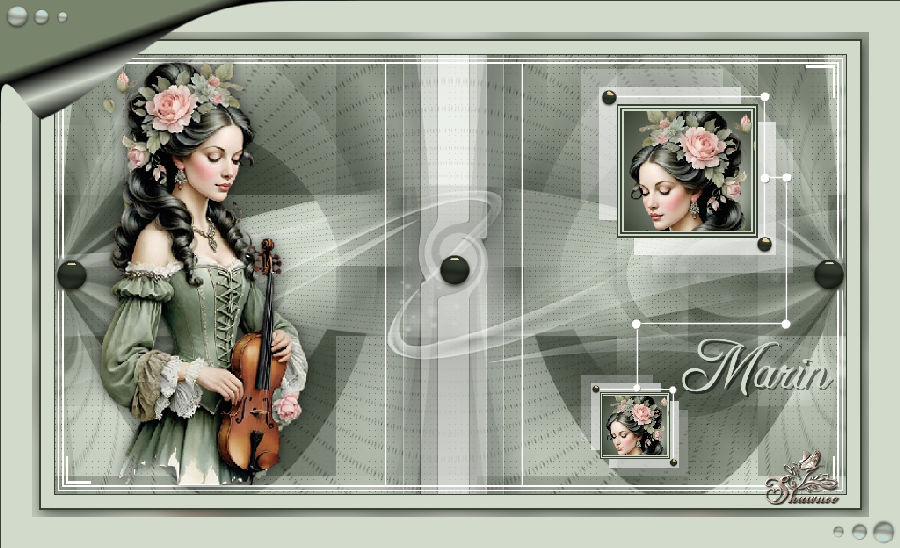
Thank you Shawnee
Thank you Maryse

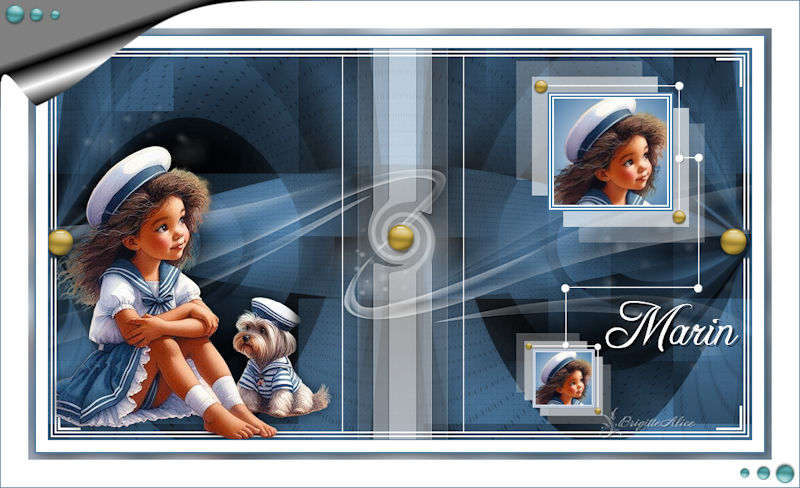
Thank you Brigitte Alice
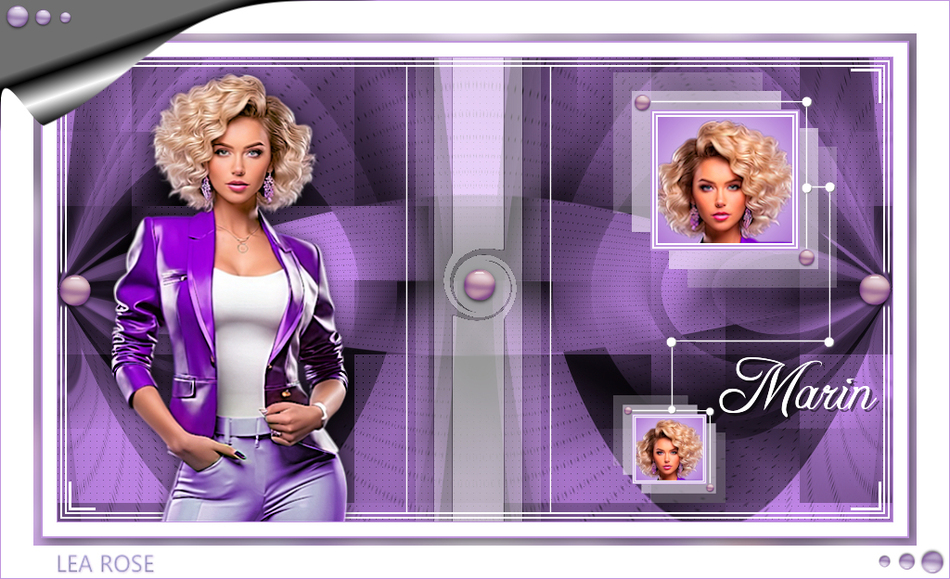
Thank you Léa Rose
Thank you Dany
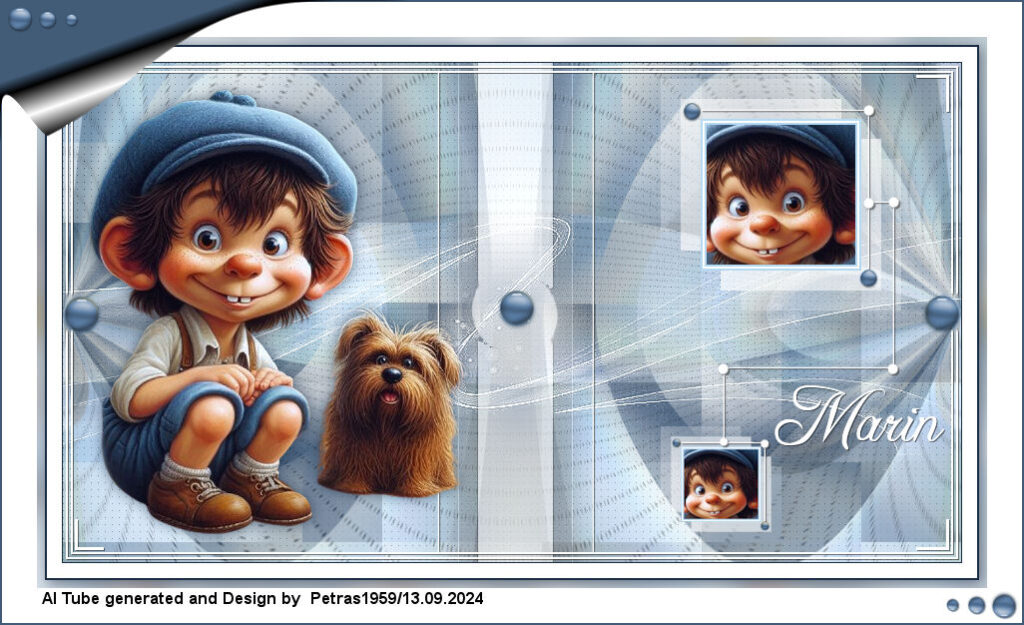
Thank you Petras
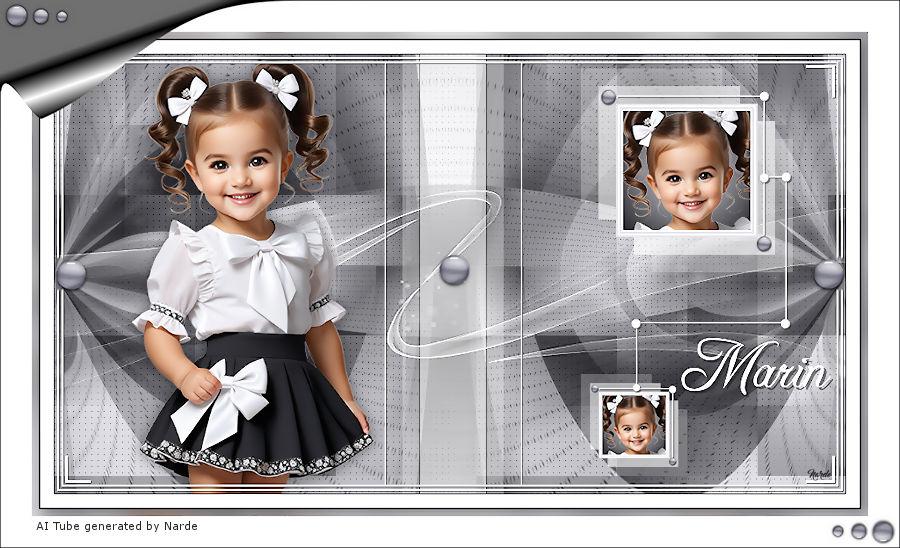
Thank you Narde
Thank you Marijo
Thank you Lien
Thank you Anni
Thank you Babbel
Thank you Karinbbg
Thank you Naomi2008
Thank you UtaQu1
Thank you Noëlla
Thank you Annelie
Thank you Evelyne
Thank you Paimpollab
Thank you Fcreatvt
Thank you Nicky
Thank you Melody
Thank you Pia
Thank you ACB design (Chris)
Thank you Celia
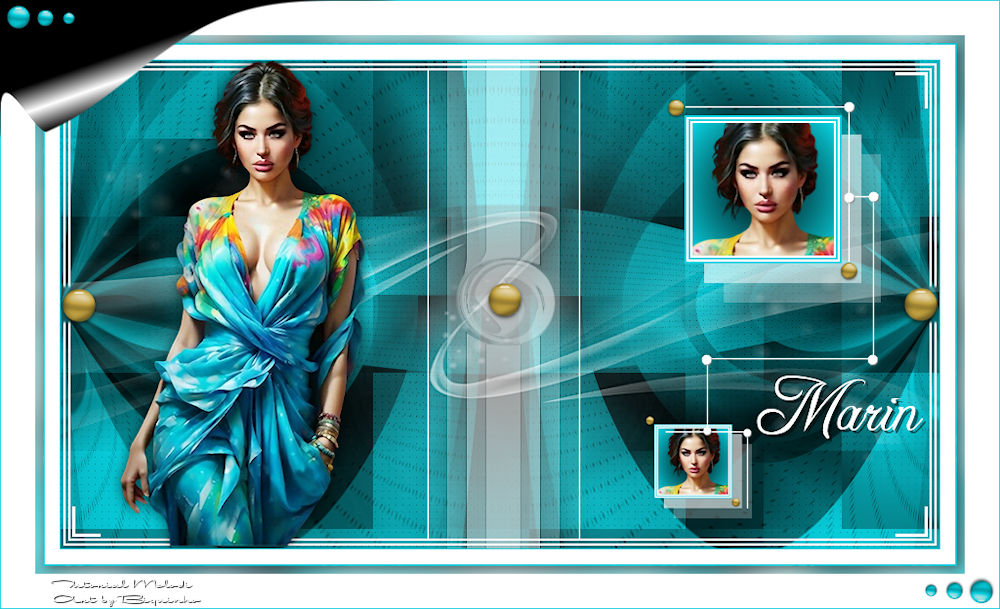
Thank you Elly
Thank you Romana
Thank you Maria Lucia
Thank you Vampires
Thank you Flomejo
Thank you Nadège
Thank you Dika
Thank you Enri
Thank you Isa
Thank you Müşerref

Thank you Lizzy
Thank you Flora 18
Thank you Nonno Pino
Thank you Ceylan
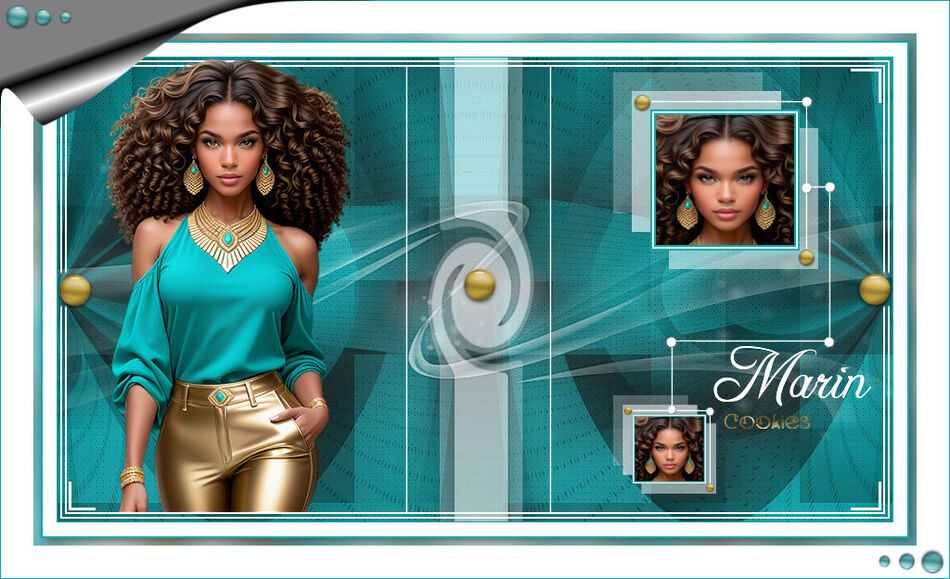
Thank you Cookies
Thank you Loiva

Thank you Ria
Thank you Krimi4mimi
Thank you Celia

Thank you Liliana
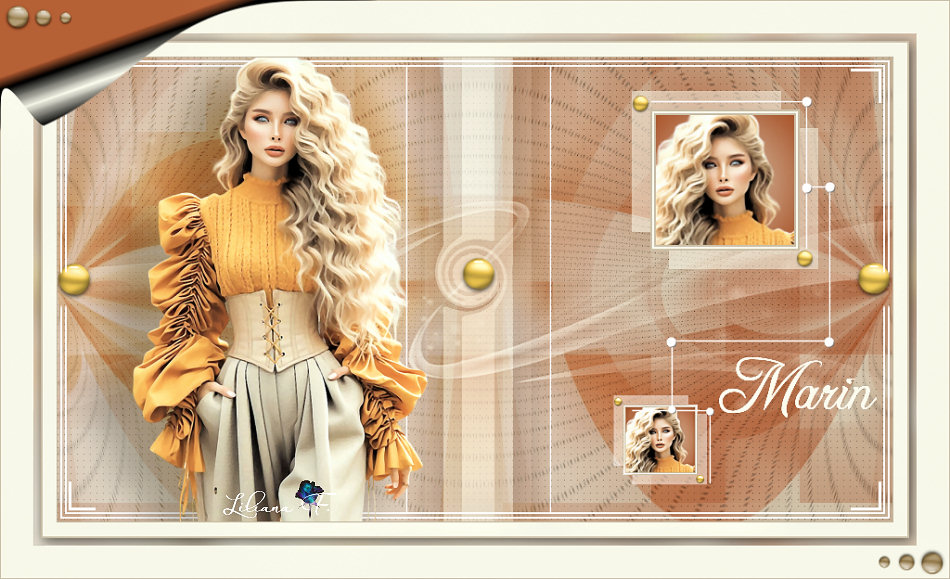
Thank you Lady Valella
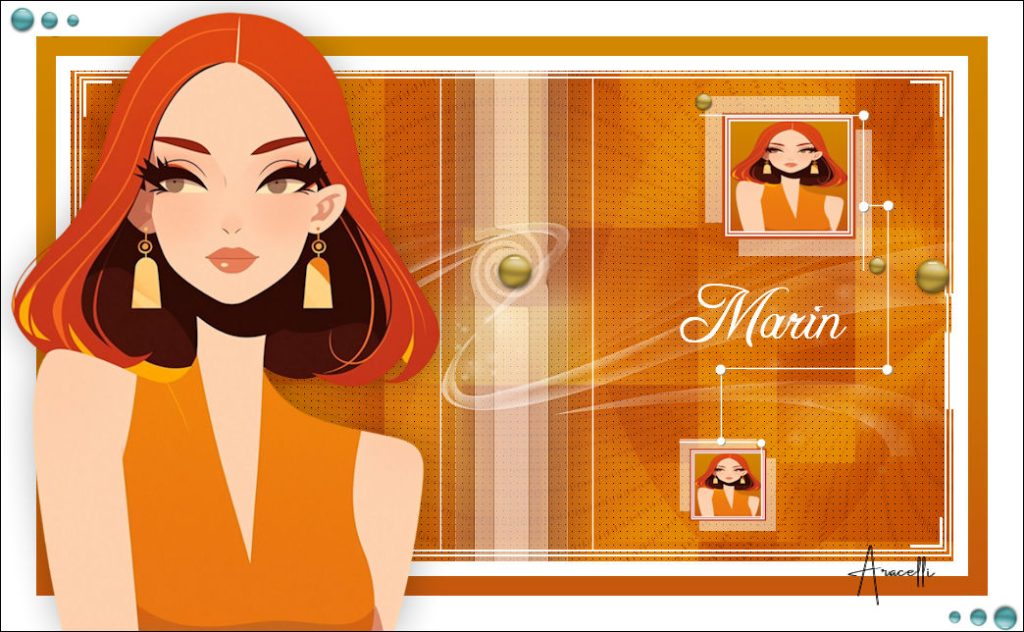
Thank you Aracelli
Thank you Nena Silva
Thank you Loise
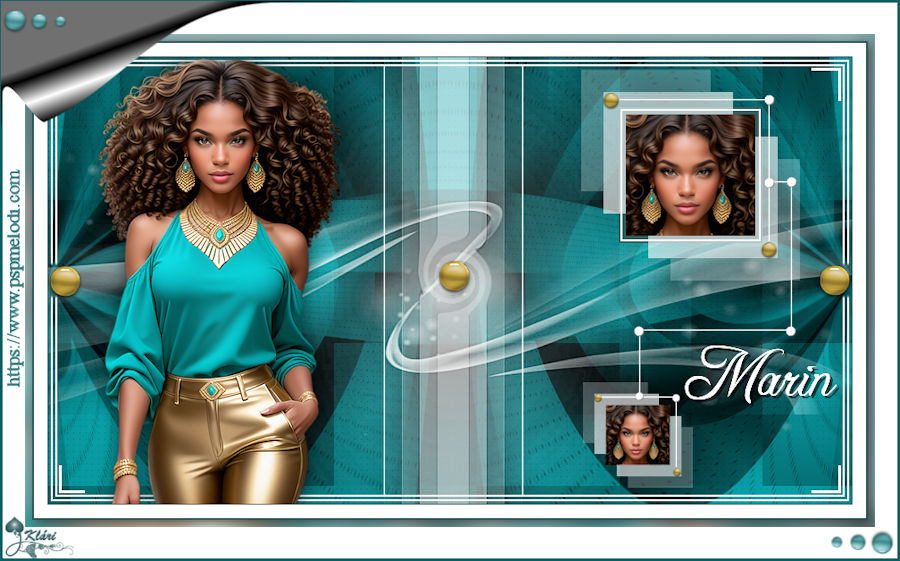
Thank you Klara
Thank you Erzeike
Thank you Minouche
Thank you Miryam
Thank you Lau Vitelli
Thank you Lidia
Thank you Valerie
Thank you Krimi4mimi