This Tutorial is written with Corel PSP X8
The colors, layer density and blending mode are for the materials of this lesson.
If you use different material, just take a look at what is best for you

Danke Inge Lore für die deutsche Übersetzung


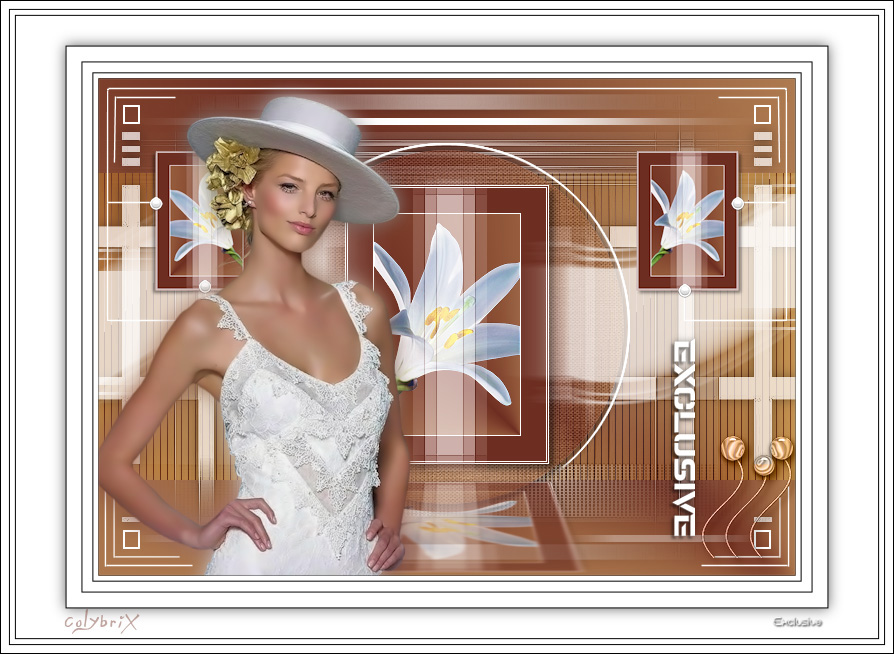
Merci Colybrix pour la traduction française


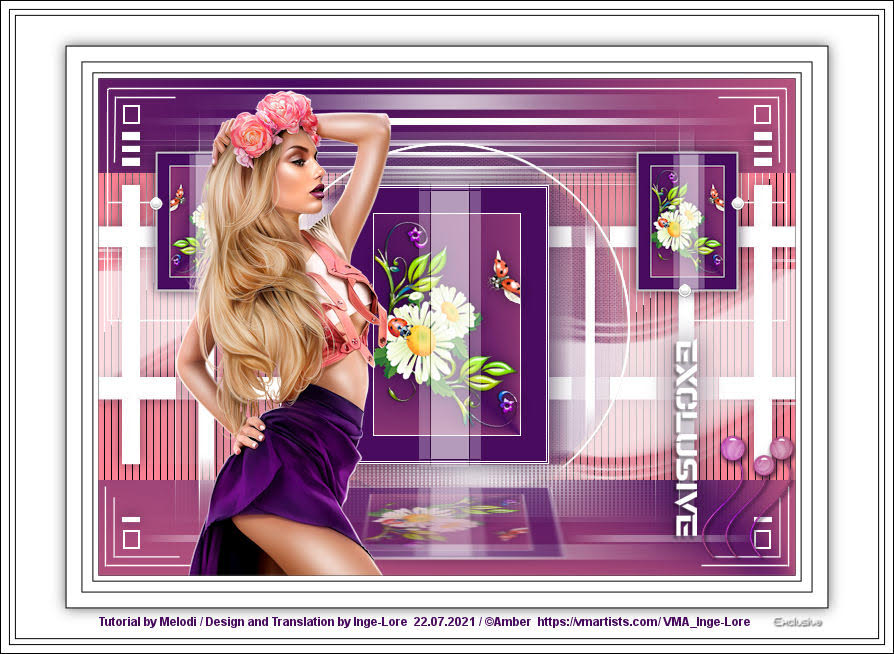
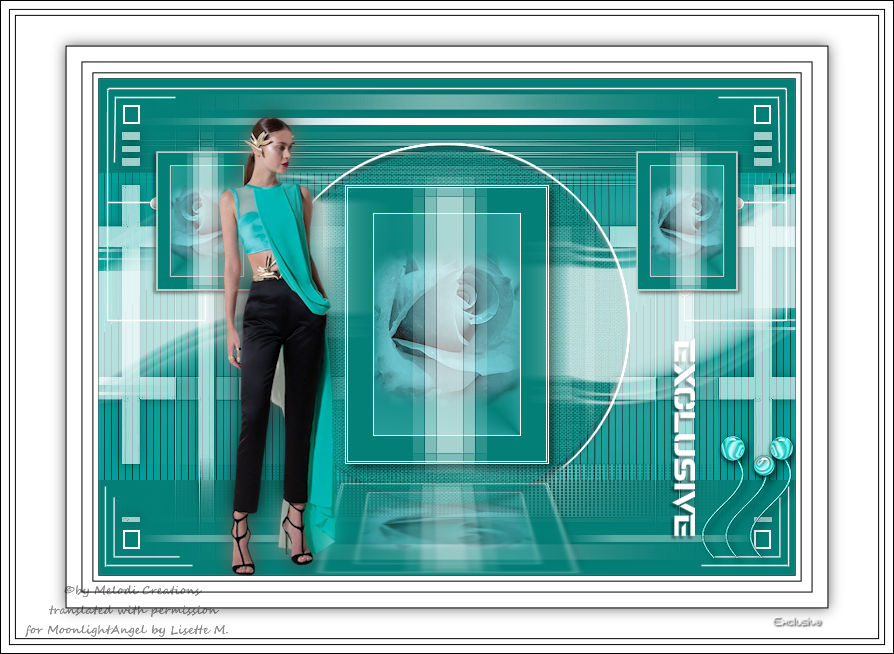
Bedankt voor de Nederlandse vertaling Lisette


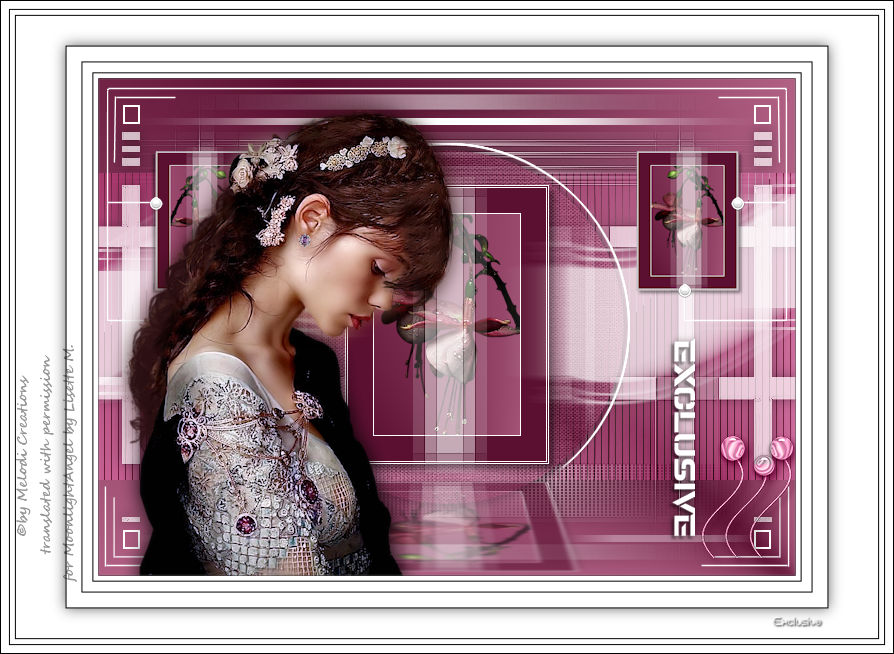
Bedankt voor de Nederlandse vertaling Angela
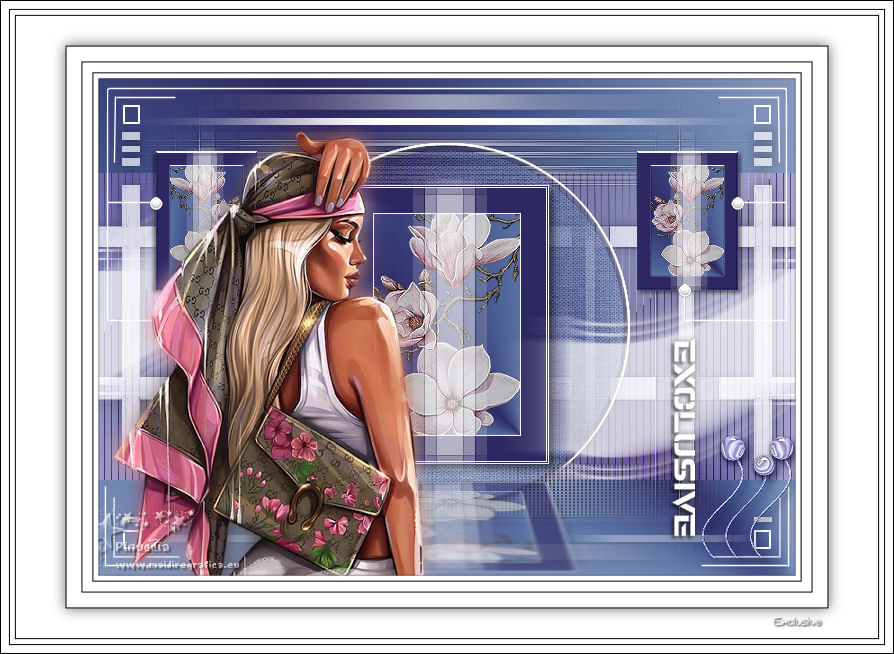
Grazie per la traduzione Pinuccia


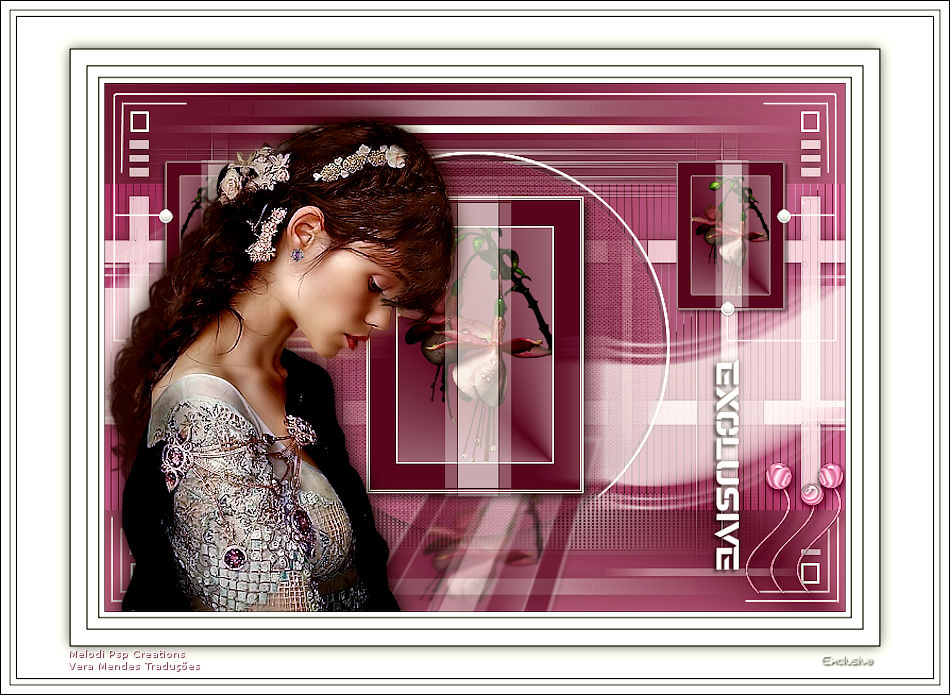
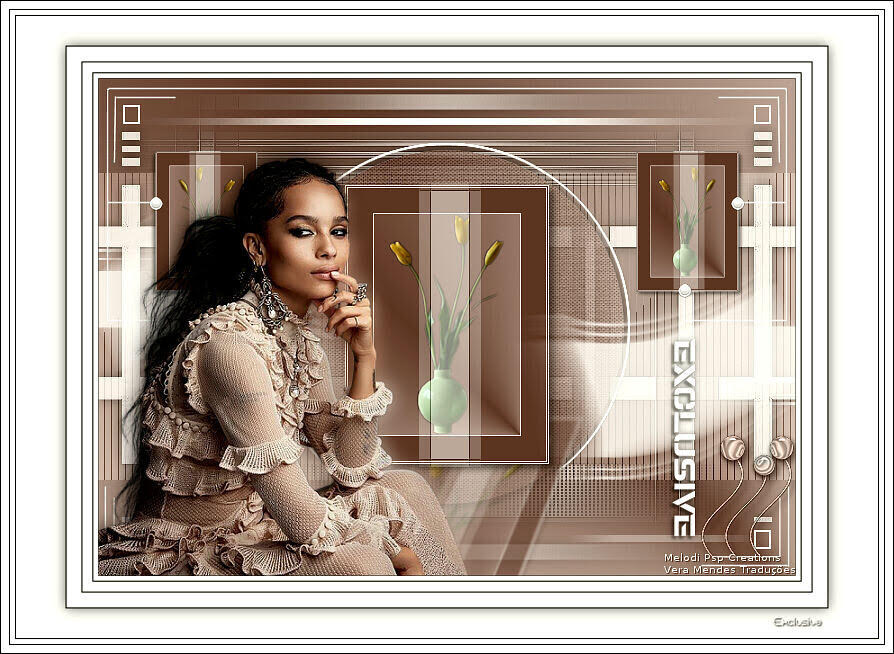
Thanks Vera Mendes for the Portuguese translation


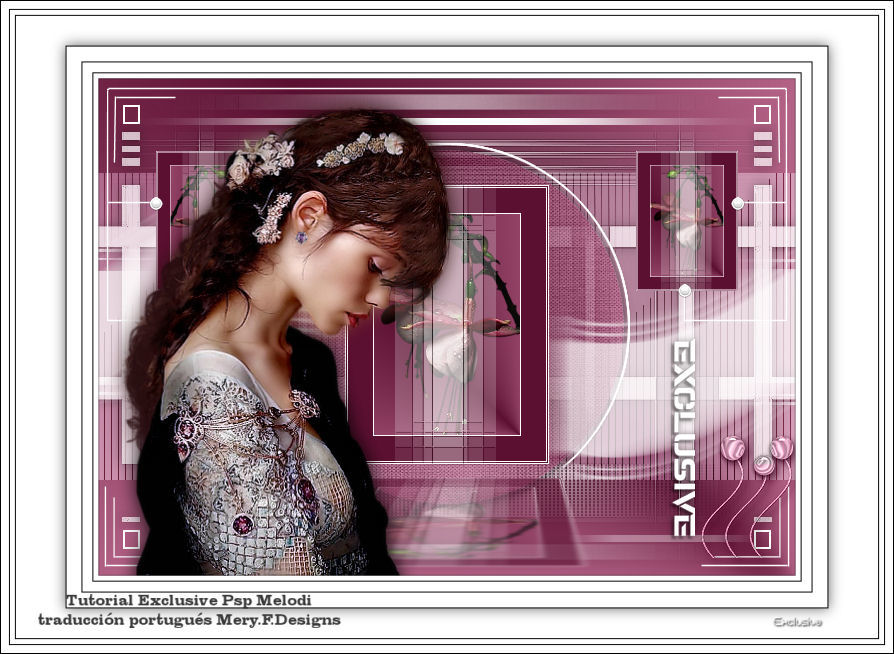
Thanks Mery for the Portuguese translation

Gracias Sylviane por la traducción al español.


PLUGİNS:
Plugins> Tramages >Tow The Line
Plugins> Flaming Pear >Flexify 2
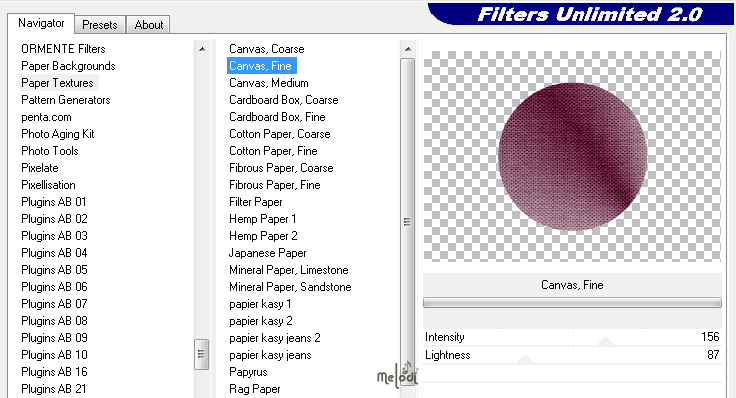
Filters Unlimited 2.0> Paper Textures> Canvas,Fine
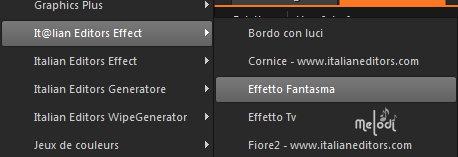
Plugins>It@lian Editors Effet>Effetto Fantasma
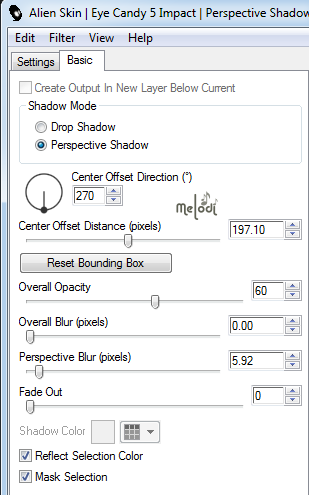
Effects >Alien Skin \ Eye Candy 5 Impact Perspective Shadow – Melodi- Exclusive
MATERİALS:
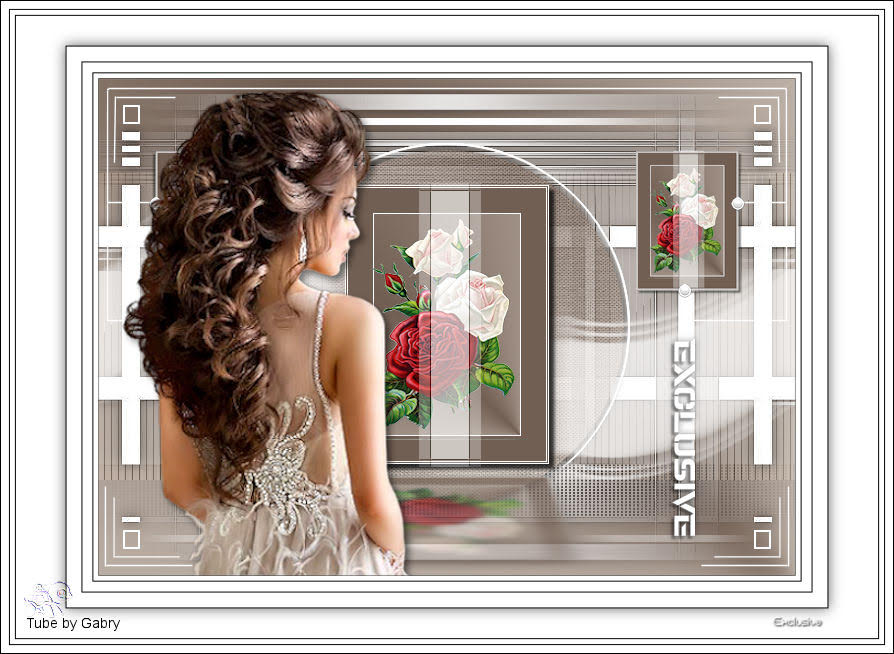
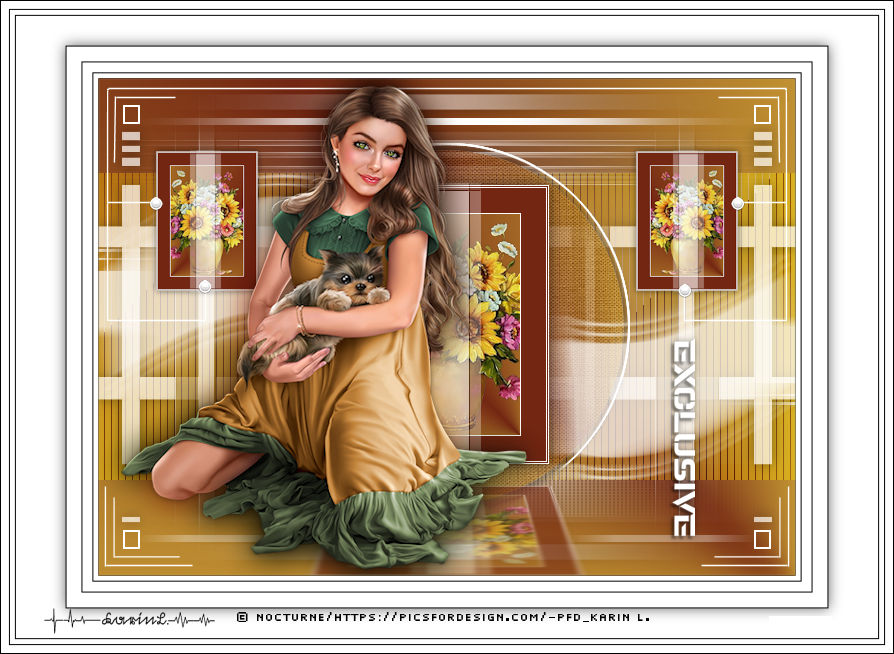
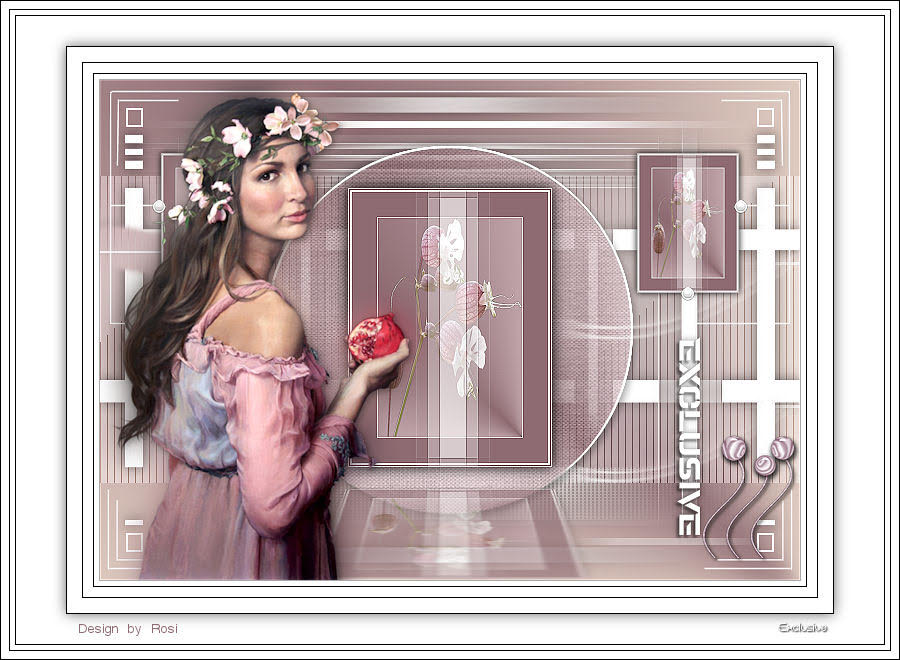
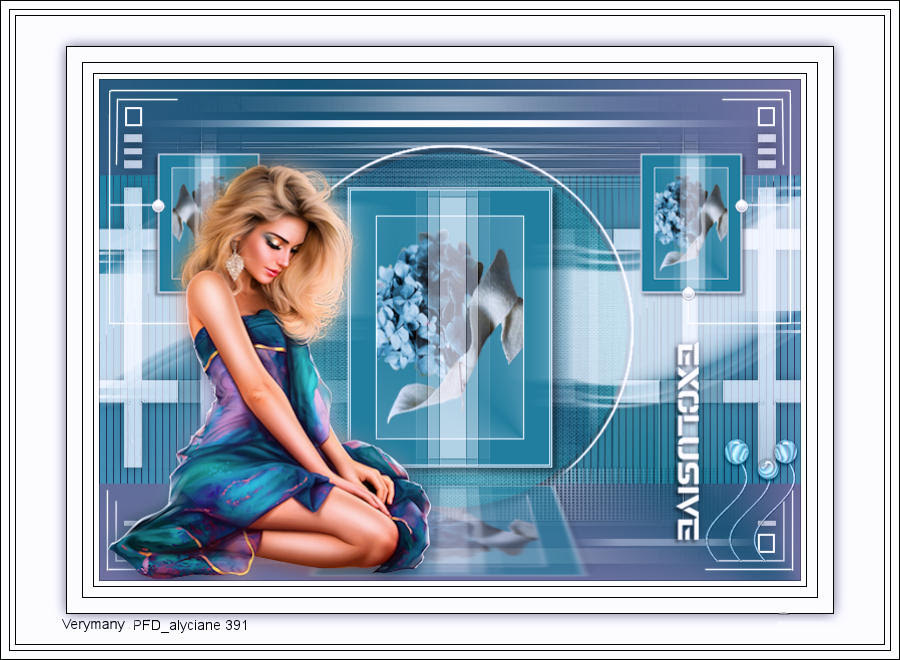
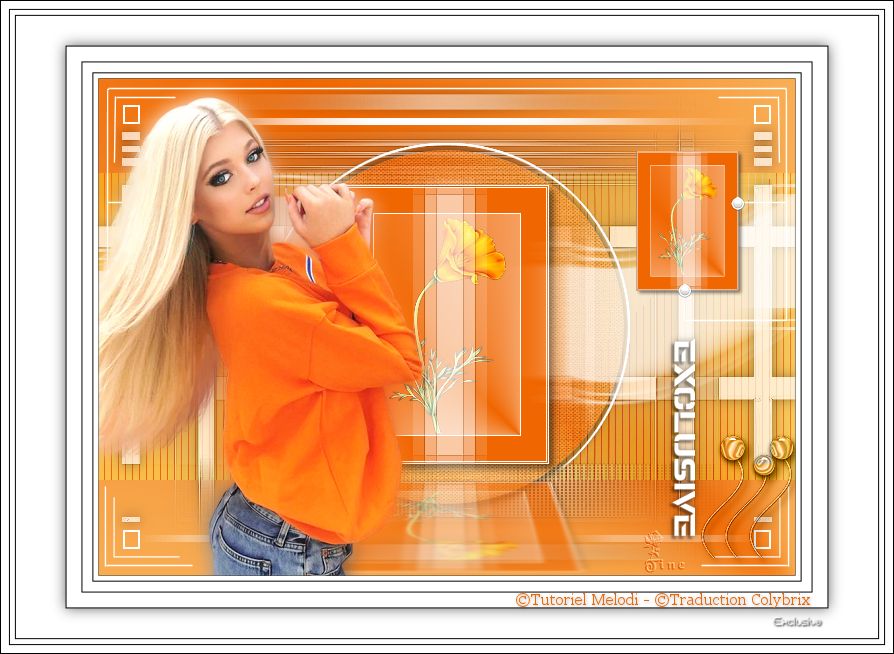
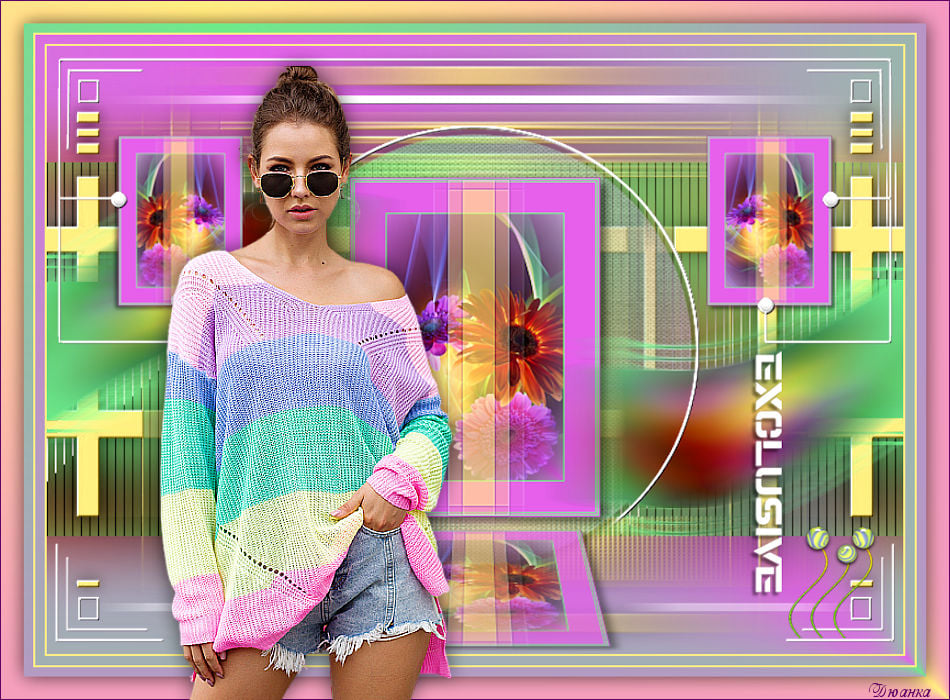
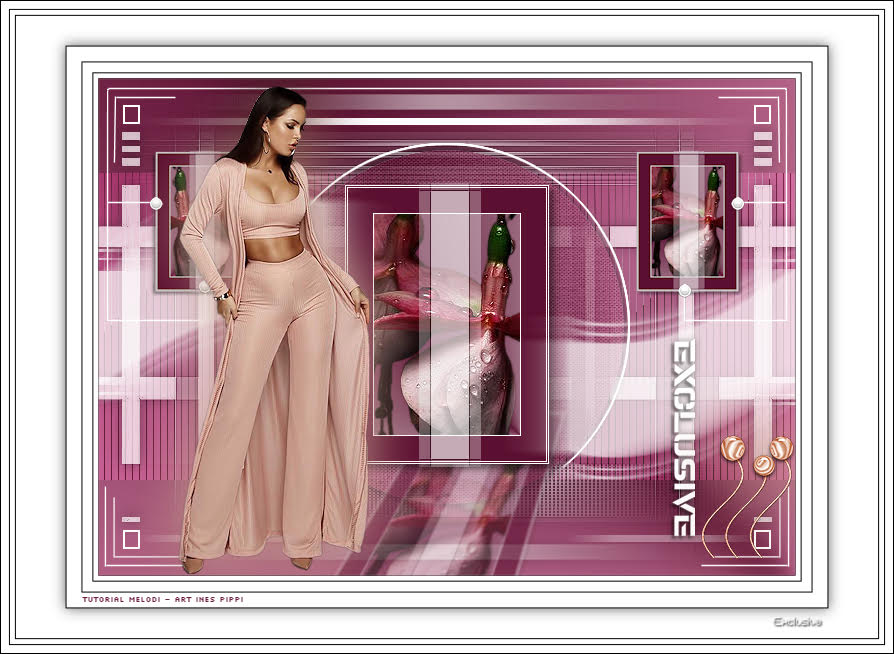
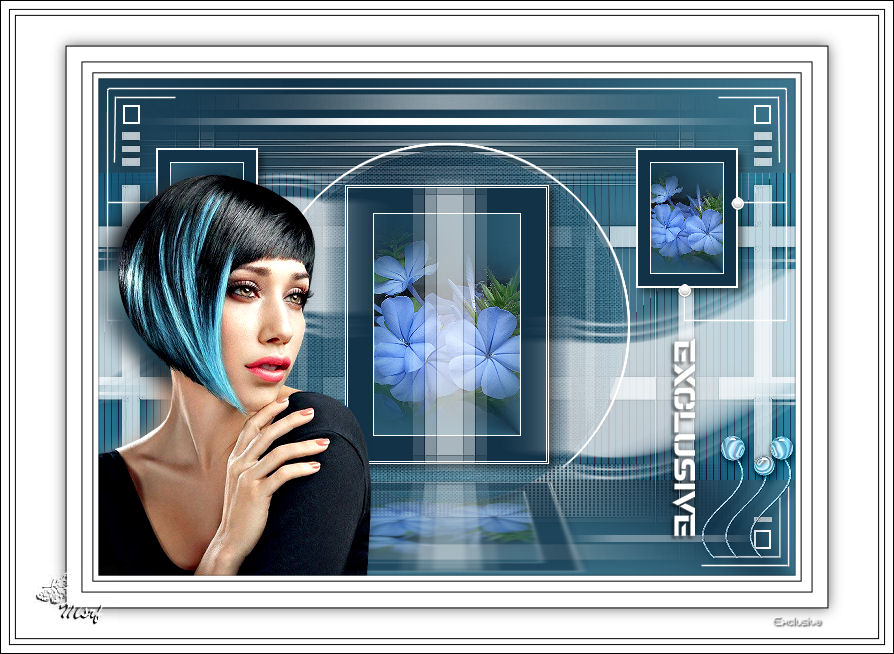
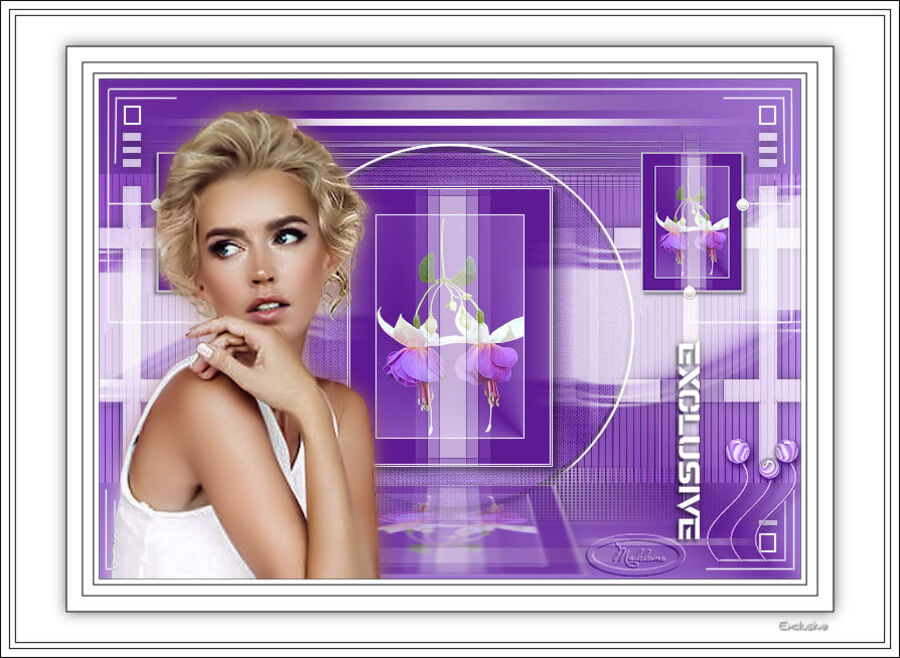
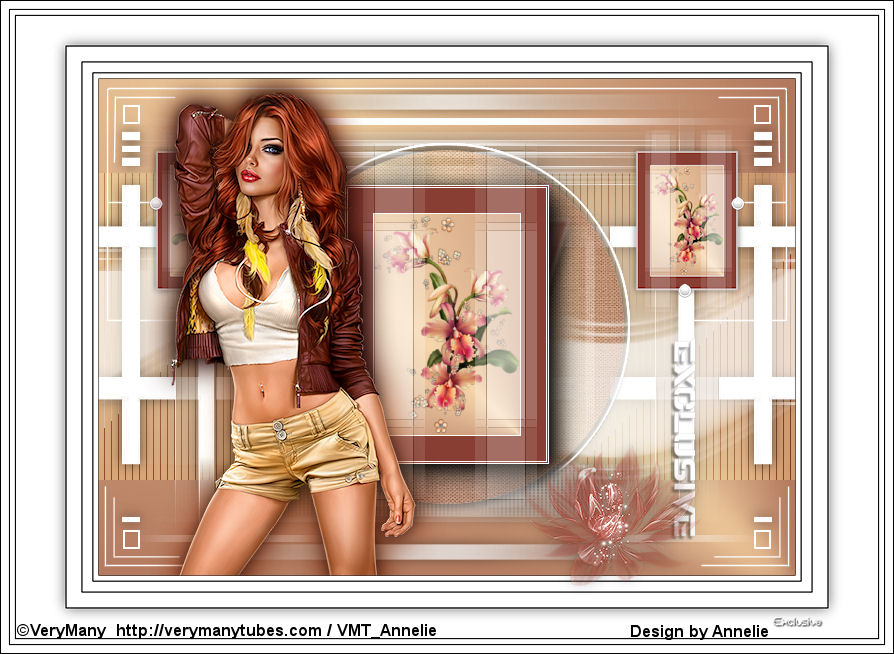
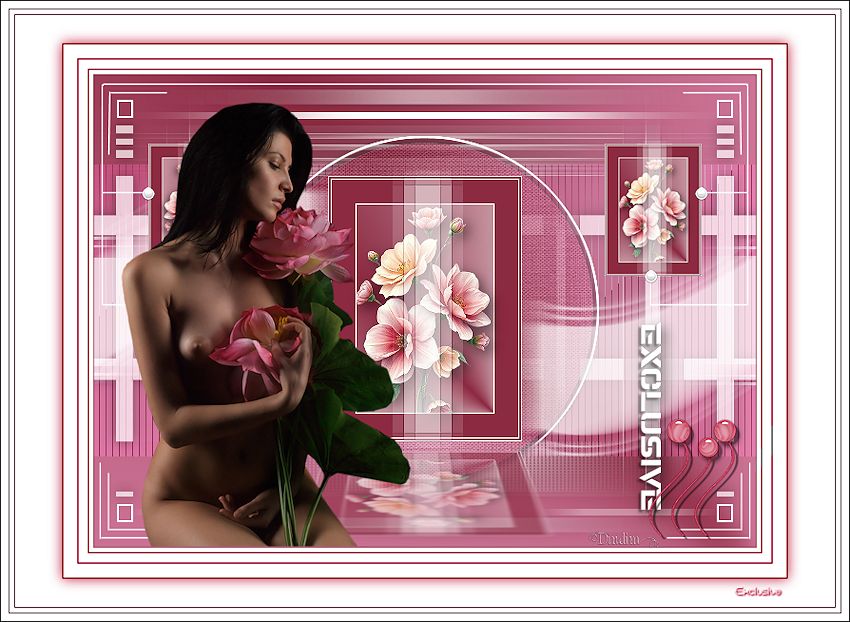
Woman Tube: Gabry -woman 691
Flower Tube: Melodi
Kamil Exclusive.PspFrame (to put in Picture Frames folder )
Kamil mask
Kamil Text
Kamil deco
florestutorialsienna_camerontags.pspimagedeco
Preset Melodi-Exclusive
Melodi-Exclusive Alpha Layer
Needed Material

Put picture frame in picture frames folder in psp program files
With your psp program open, double-click on Preset in the material file and it will automatically import into the correct file.
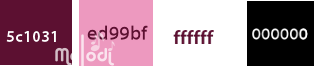
Set the foreground color to #5c1031,
and the background color to #ed99bf (obligatorily, if you use other images, the background color must be white or close to white).
#000000
#ffffff
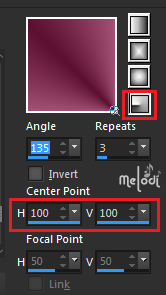
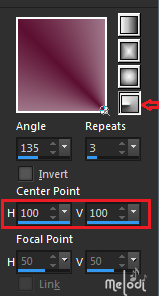
Set the foreground color to Foreground / Background Gradient with the following settings:
TUTORIAL
STEP 1
Open Alpha Channels.psp or Alpha Channels.pspimage. (Alpha selections are registered.)
Windows-Duplicate (or Shift +D)
Close the original Alpha Layer, work with its copy.
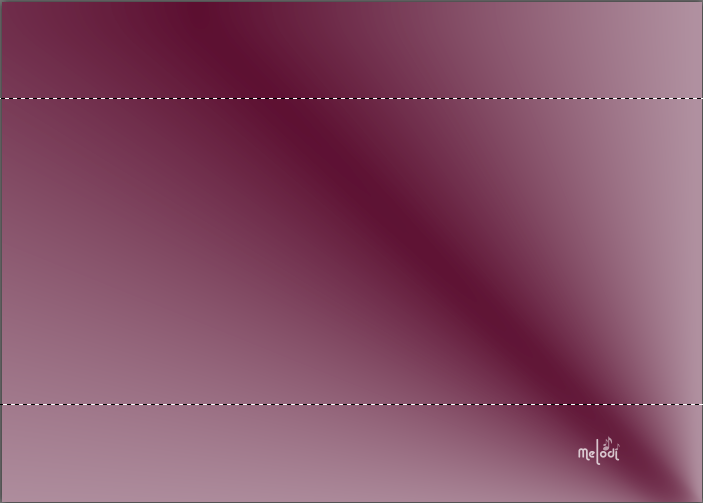
Fill the transparent image with the gradient.
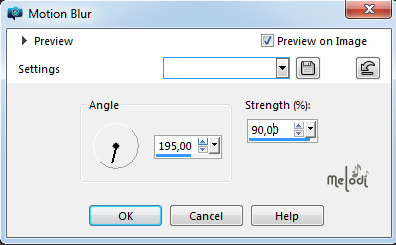
Adjust> Blur> Motion Blur: Angle – 195 / Strength: 90
STEP 2
Layers> New Raster Layer. Raster 2
Selections > Load/Save – Load Selection From Alpha Channel – “Selection#1”
Fill the selection with the background color.
Selection> Select None
STEP 3
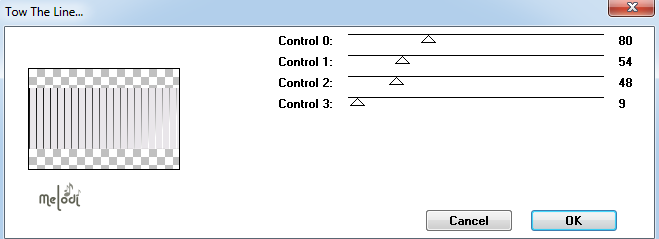
Effects> Plugins> Tramages >Tow The Line
In the layer palette change the blending mode to Soft Light, opacity 100
Layers> Merge> Merge Down

STEP 4
Layers> New Raster Layer. Raster 2
Fill with the gradient.
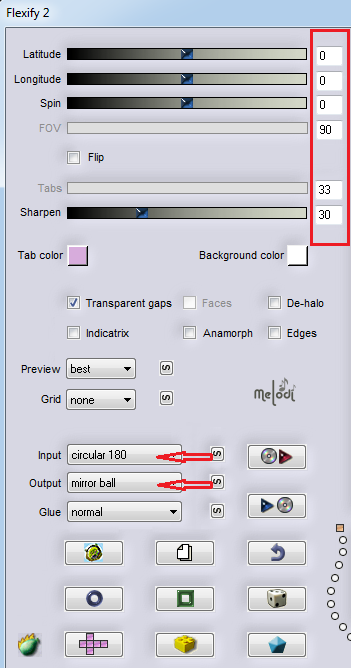
Effects> Plugins> Flaming Pear >Flexify 2
Effects> Plugins> Filters Unlimited 2.0> Paper Textures> Canvas,Fine
In the layer palette lower the opacity to 70% Normal mode:
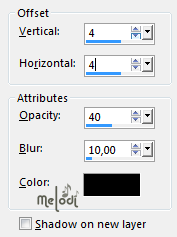
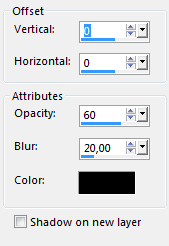
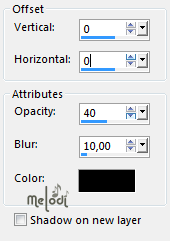
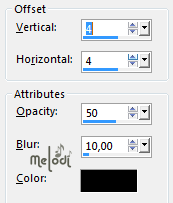
Effects>3D Effects>Drop Shadow, color black. V4 – H4 / Opacity: 40 – Blur: 10
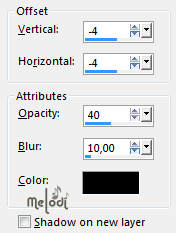
Effects>3D Effects>Drop Shadow, color black. V-4 – H-4 / Opacity: 40 – Blur: 10
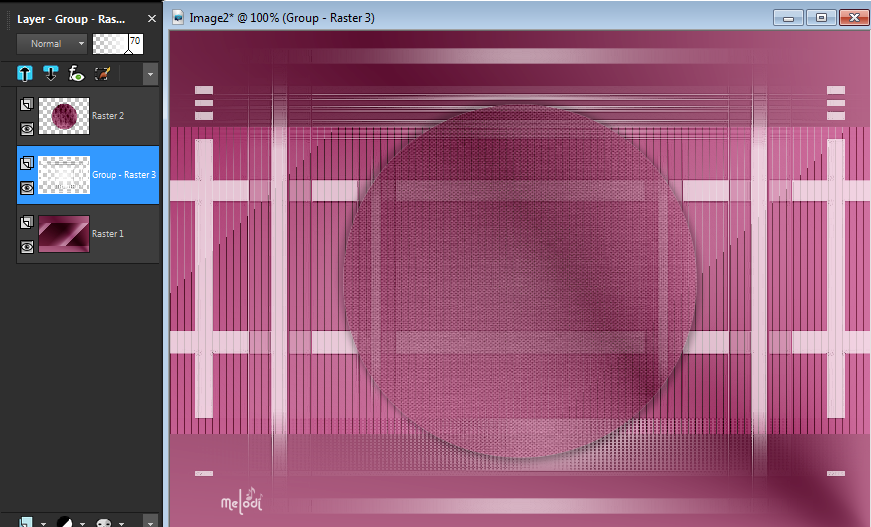
STEP 5
Layers> New raster layer. Raster 3
Fill with #ffffff White color
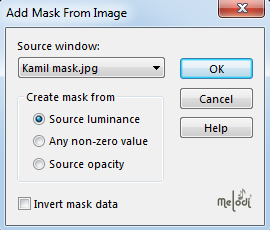
Layers >New Mask Layer >From Image>Kamil mask
Layers> Duplicate.
Layers – Merge – Merge Group (Group – Raster 3)
Effects> Edge Effects> Enhance.
Effects >3D Effects >Drop Shadow >0,0,60,20 Black
Change the opacity of this layer to 70%, or according to your mist.
Layers> Arrange> Move Down.
STEP 6
Activate the top layer (raster 2).
Layers> New raster layer. Raster 3
Selections > Load/Save – Load Selection From Alpha Channel – “Selection#2”
Fill tool in None mode , and fill the selection with the color # ffffff
Selection> Select None
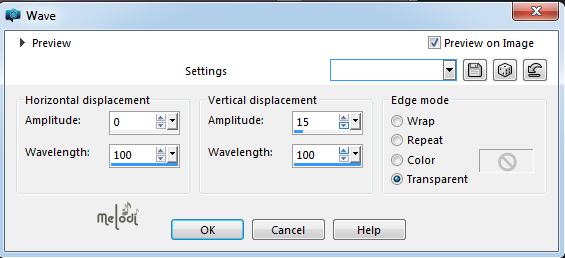
Effects> Distortion Effects> Wave:
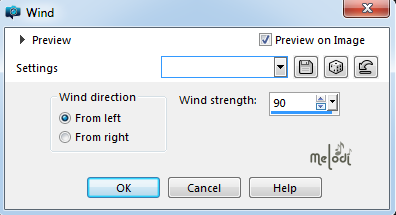
Effects> Distortion Effects> Wind:
Layers> Duplicate.
Image>Mirror >Mirror Horizontal
Image>Flip>Flip Vertical
Layers> Merge> Merge Down
In the layer palette, lower the opacity to 70%, normal mode
STEP 7
Activate raster 2 layer (raster 2).
Layers> New raster layer. Raster 4
Selections > Load/Save – Load Selection From Alpha Channel – “Selection#3”
Fill tool in None mode , and fill the selection with color the #ffffff,
Selections>Modify>Contract – 1 pixels.
Flood Fill with your foreground color #5c1031
Selections>Modify>Contract – 1 pixels.
Fill tool in None mode , and fill the selection with color the #ffffff,
Selections>Modify>Contract – 1 pixels.
Flood Fill with your foreground color #5c1031
Selections>Modify>Contract – 25 pixels.
Fill tool in None mode , and fill the selection with color the #ffffff,
Selections>Modify>Contract – 1 pixels.
Flood Fill with your the gradient.
STEP 8
Open the Melodi- Exclusive -flower.png > Edit> Copy
Go back to your work and go to Edit> Paste as New Layer
Reduce and move it to fit inside the selection (I reduced their size by 45%)
Selection>invert
Press the delete key>Selection> Select None
Adjust Sharpness Sharpen
Layers> Merge> Merge Down.
Effects >3D Effects >Drop Shadow >5,5,50,10 Black
STEP 9
Layers> New raster layer Raster 5
Selections > Load/Save – Load Selection From Alpha Channel – “Selection#4”
Fill the selection with the white color # ffffff
Selection> Select None
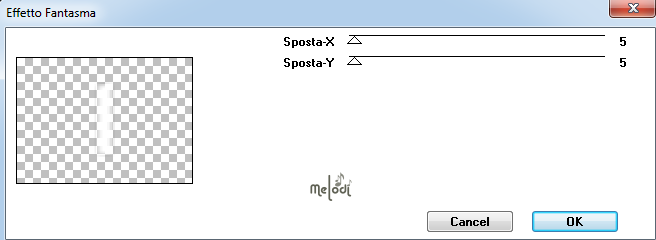
Effects> Plugins>It@lian Editors Effet>Effetto Fantasma (twice )x2
In the layer palette, lower the opacity to 65%, Normal mode.
Effects> Edge Effects> Enhance.
Layer Merge Merge Down
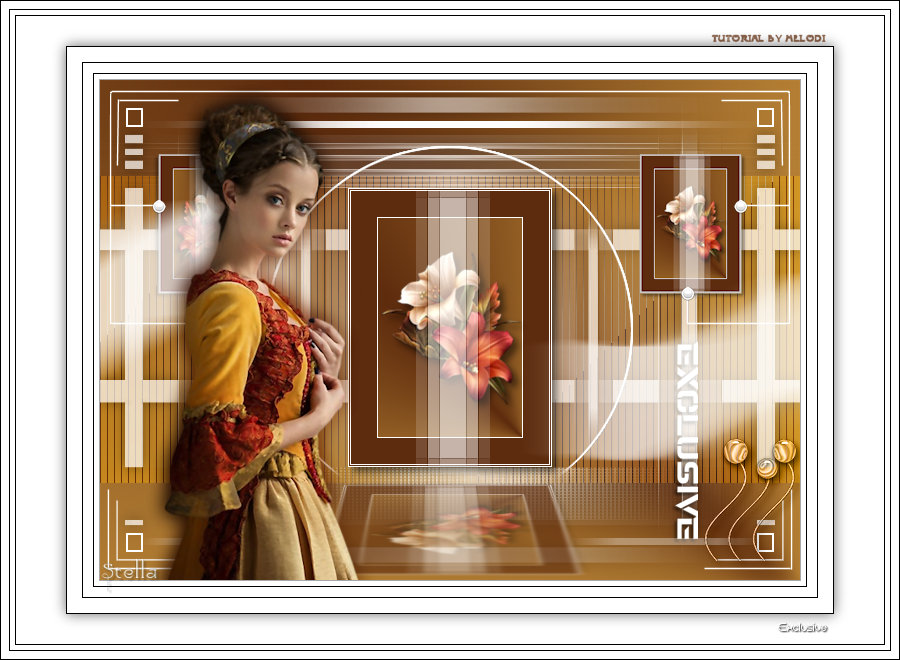
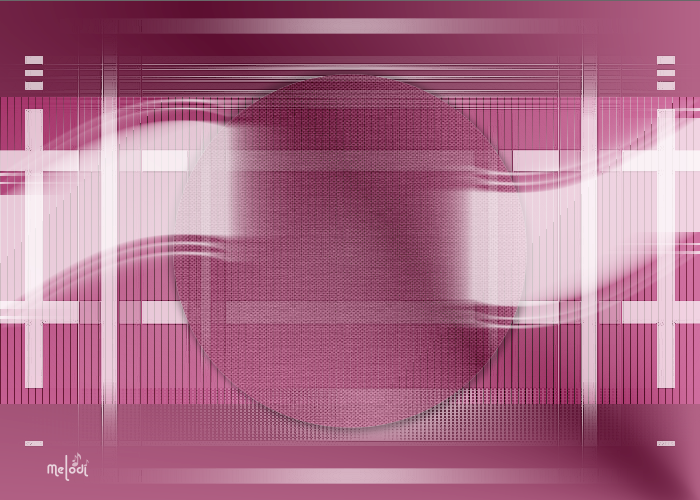
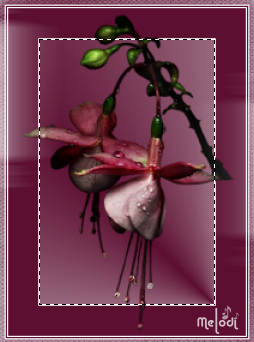
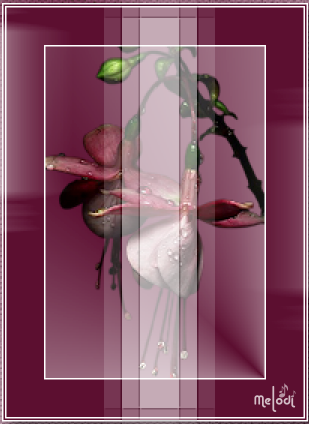
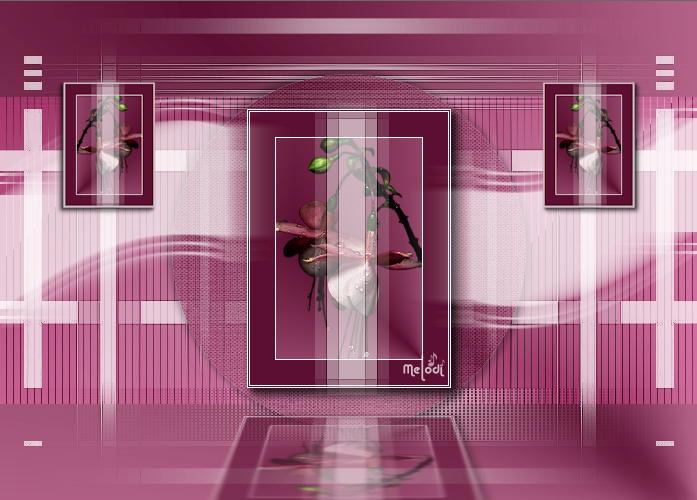
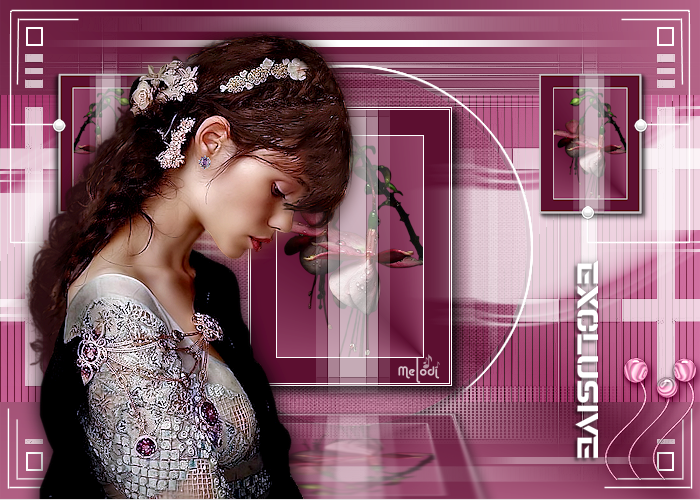
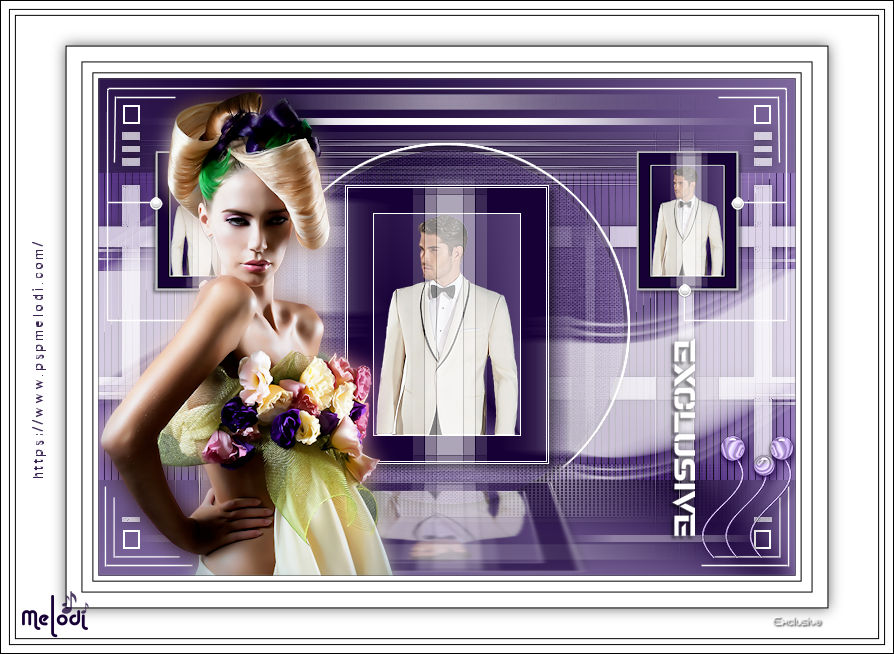
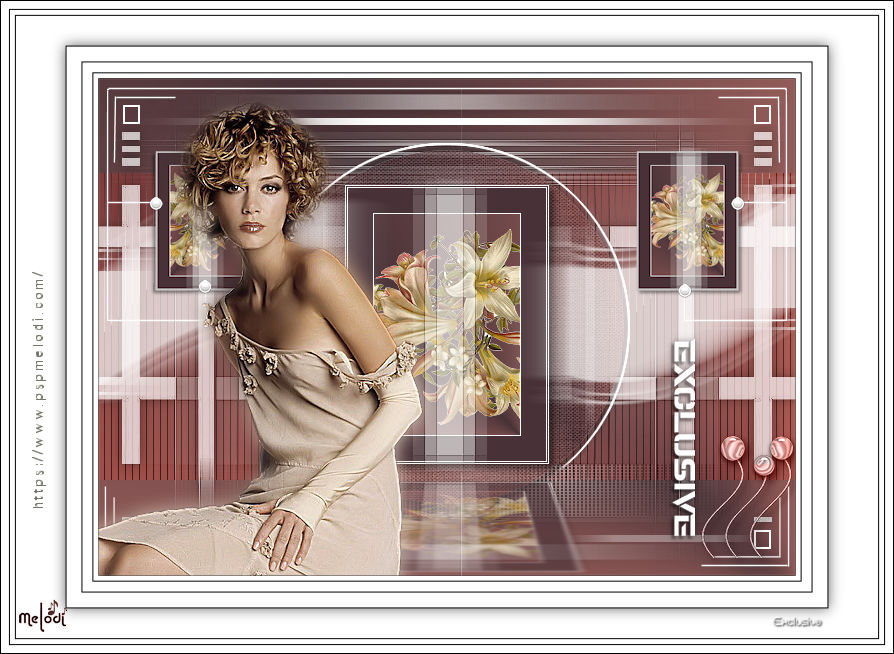
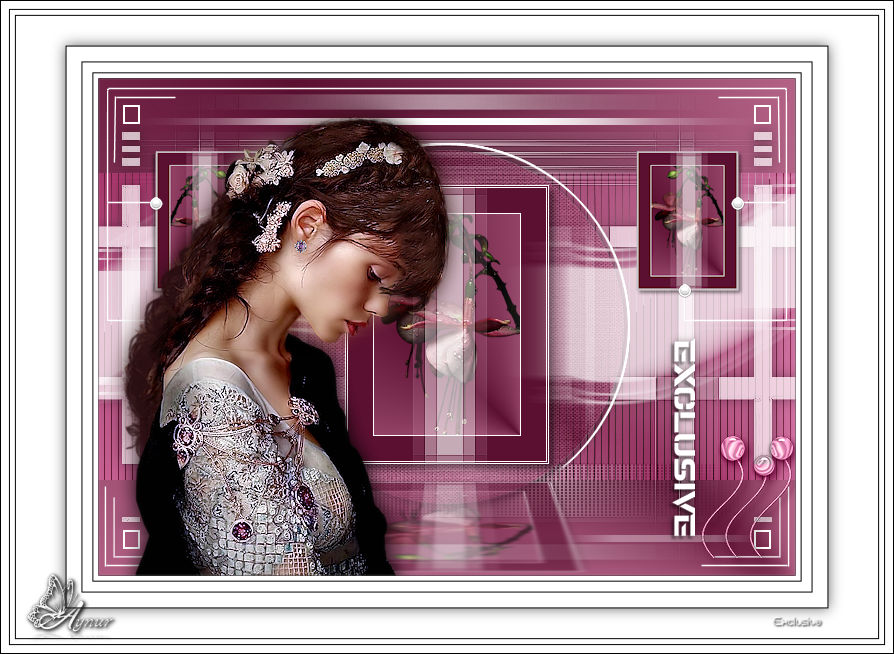
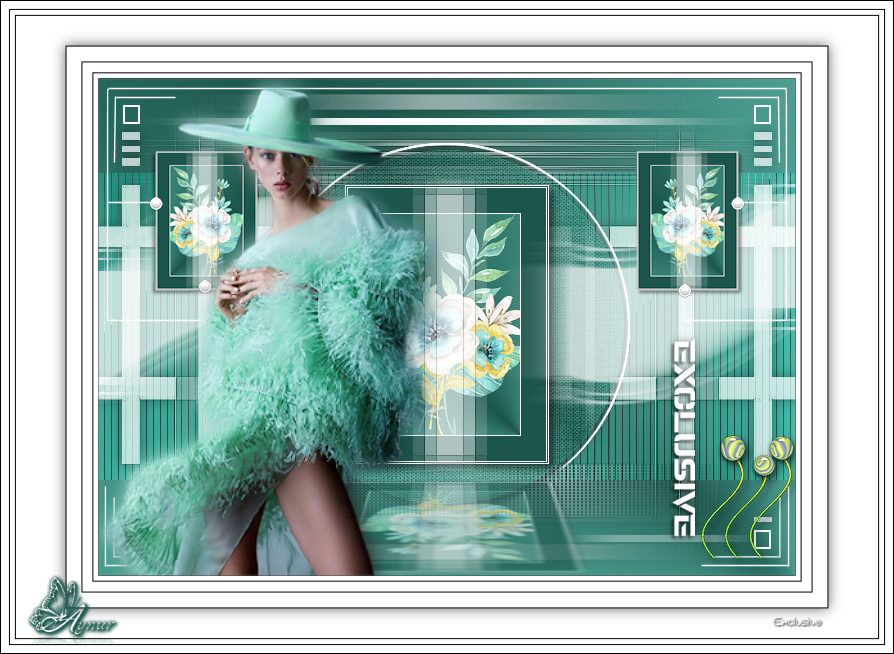
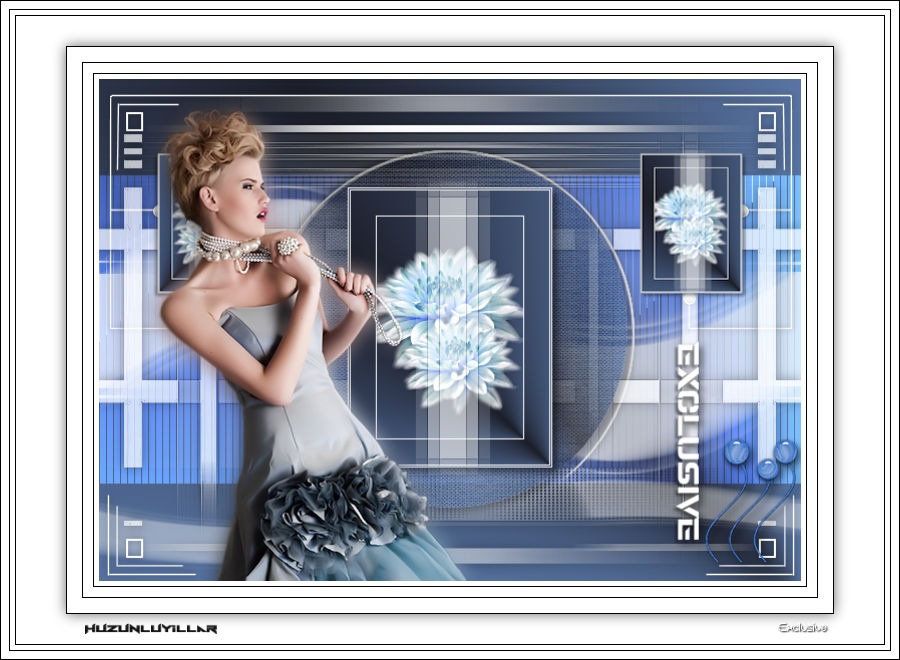
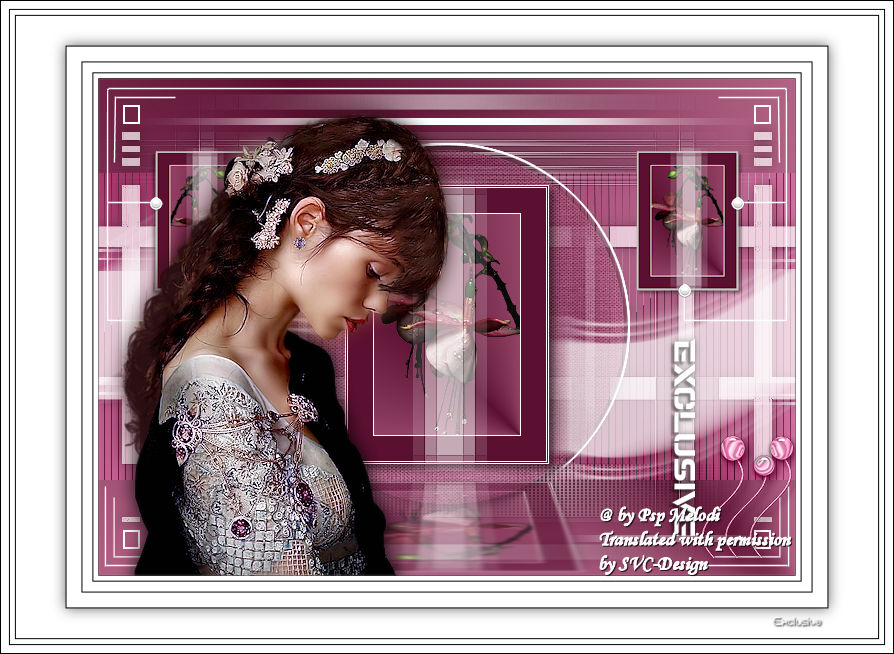
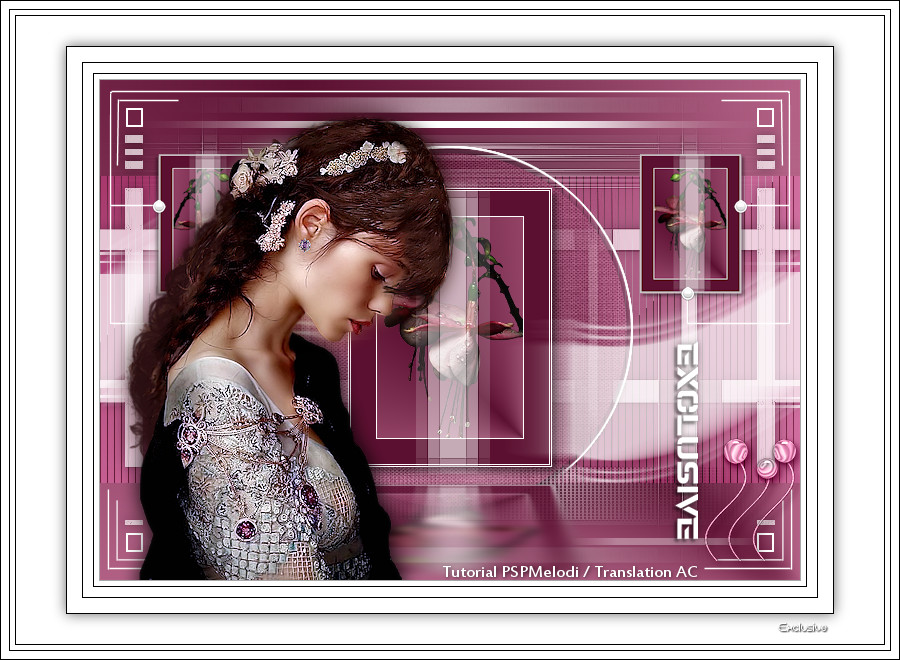
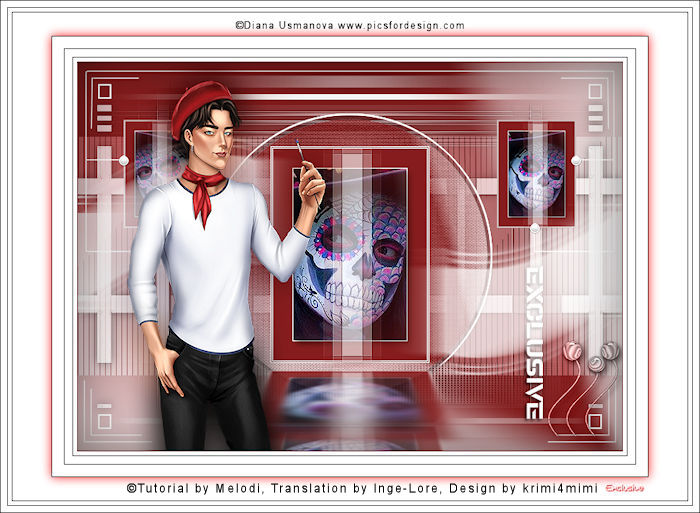
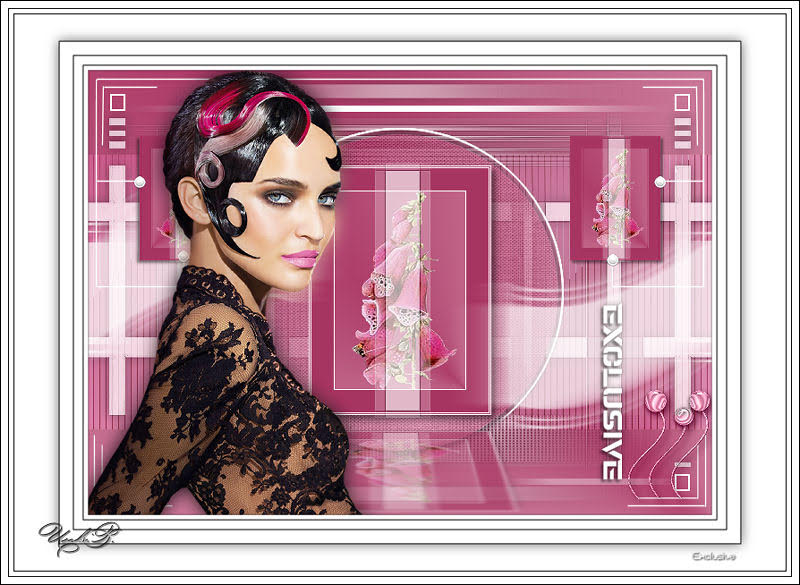
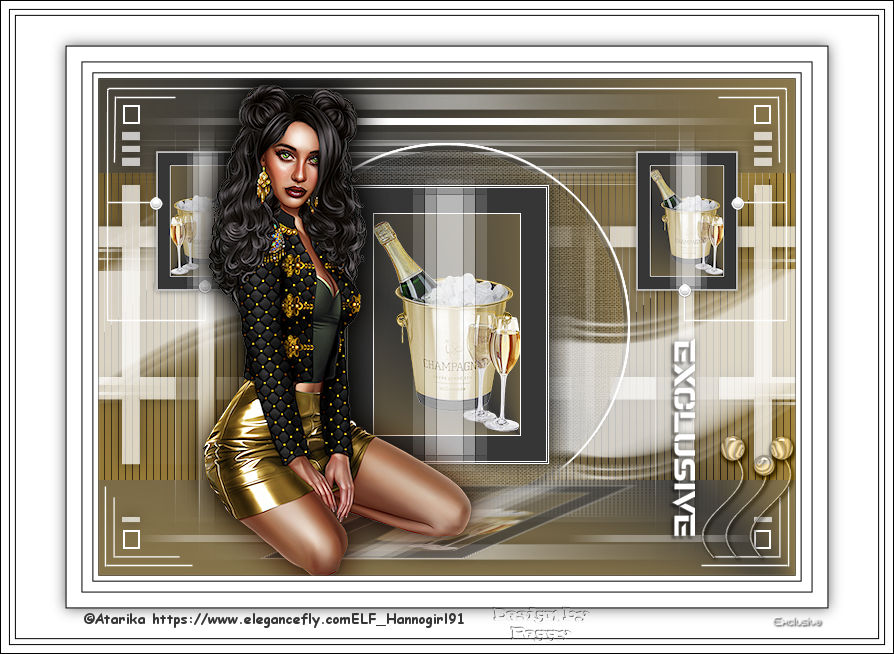
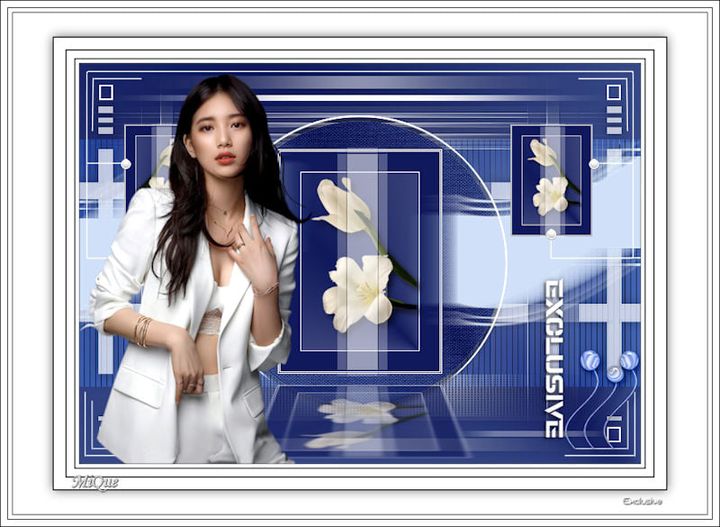
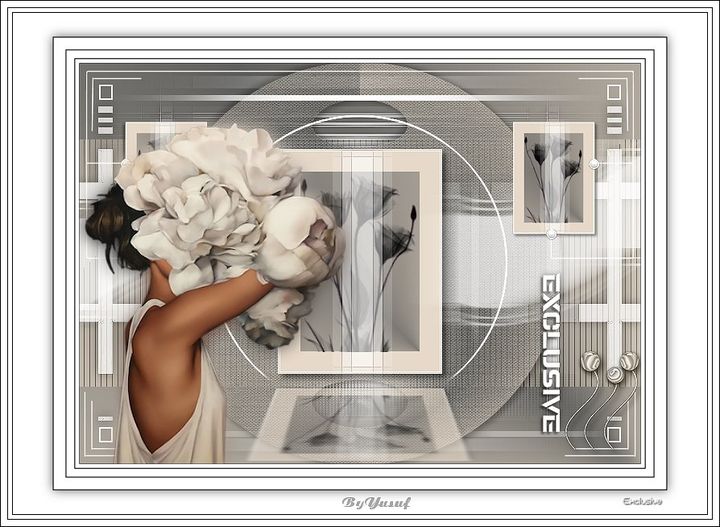
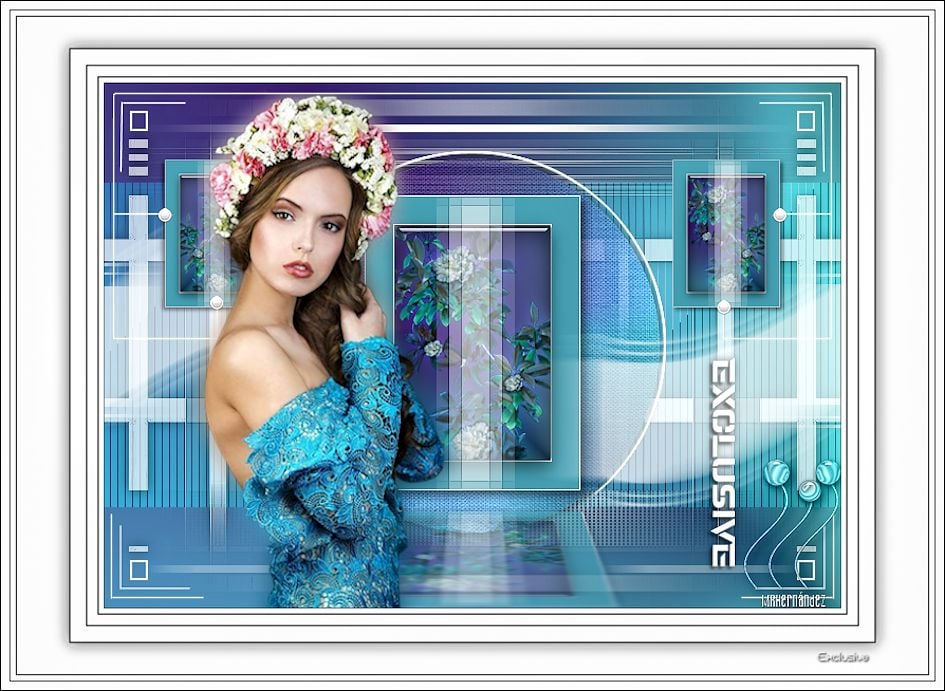
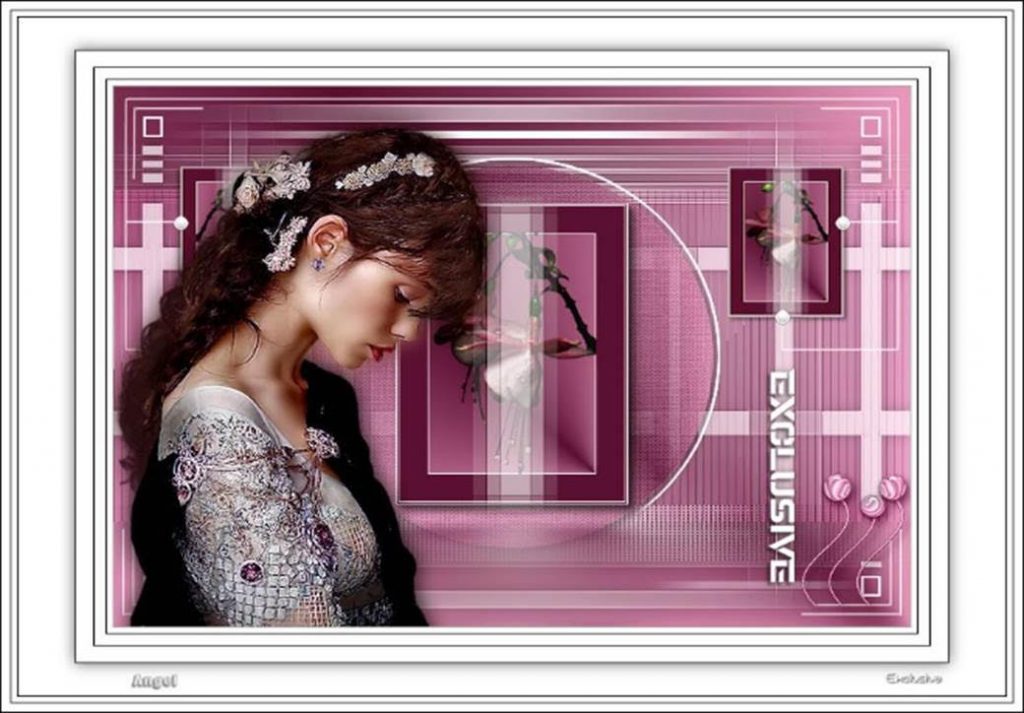
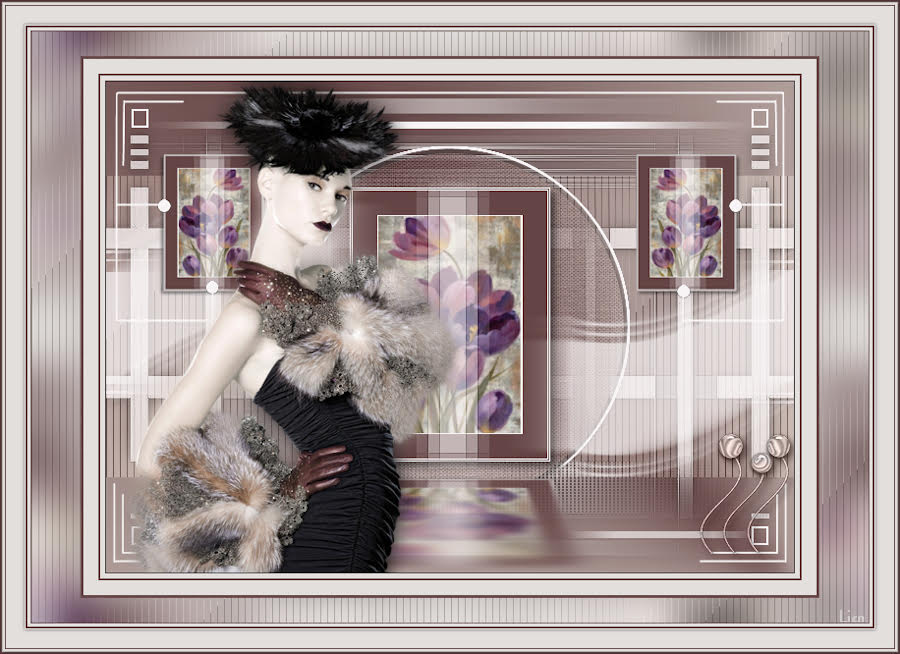
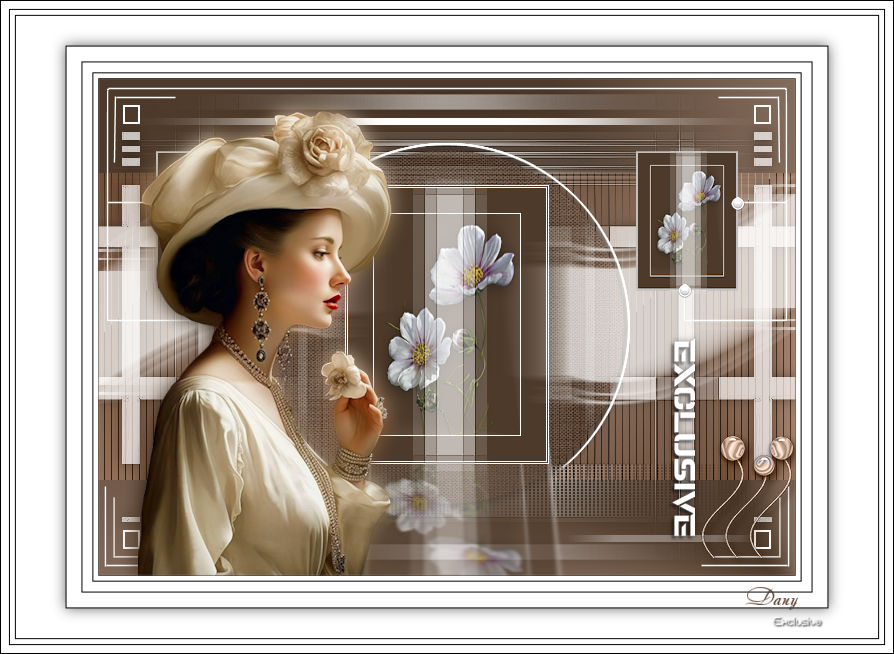
You will have this:
STEP 10
Layers> Duplicate.
Layers Arrange> Mowe Up
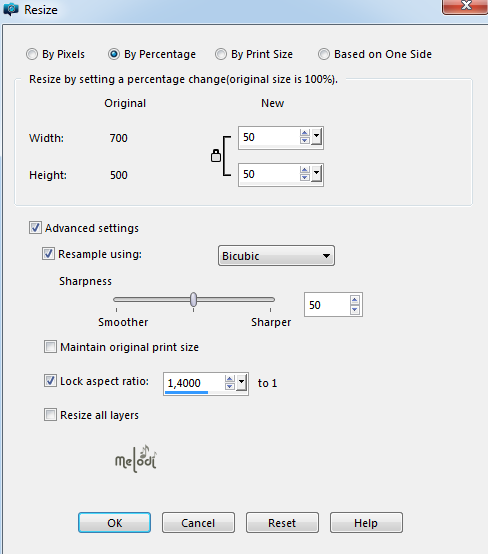
Image Resize %50
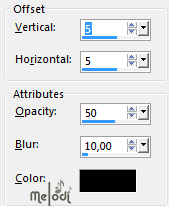
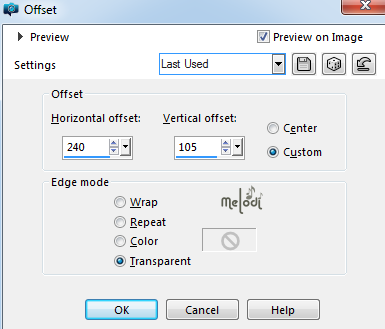
Effects>Image Effects> Offset : H240 – V 105
Layers> Duplicate.
Image> Mirror> Mirror Horizontal
Layer Merge Merge Down (Copy of Raster 4)
Activate Raster 4 layers
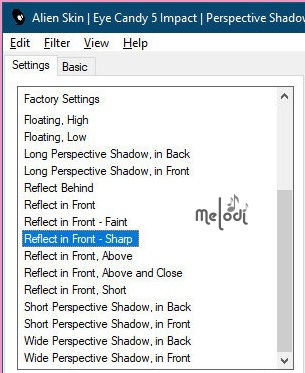
Effects >Alien Skin \ Eye Candy 5 Impact Perspective Shadow – Melodi- Exclusive –

STEP 11
Activate the top layer ( Copy of Raster 4)
Open your Kamil Deco-1.png- Edit>Copy
Go back to your work and go to Edit> Paste as New Layer. No Need Move
Open your Kamil Text.png- Edit>Copy
Go back to your work and go to Edit> Paste as New Layer
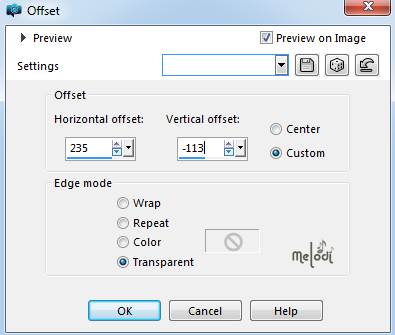
Effects>Image Effects> Offset : H235 – V -113
Effects >3D Effects >Drop Shadow >0,0,40,10 Black
STEP 12
Open the tube Gabry -woman 691.png and go to Edit> Copy.
Go back to your work and go to Edit> Paste as New Layer.
Adapt The Required Measurement (I sized 63%)
Adjust> Sharpness > Sharpen
Move the tube to the lower left corner:
Layers> Duplicate.
Adjust> Blur> Gaussian Blur, radius 10.
Layers> Arrange> Move Down.

STEP 13
Open camerontags.pspimage-deco / Remove signature and go to Edit> Copy.
Go back to your work and go to Edit> Paste as New Layer, Raster 8.
Image Resize %50
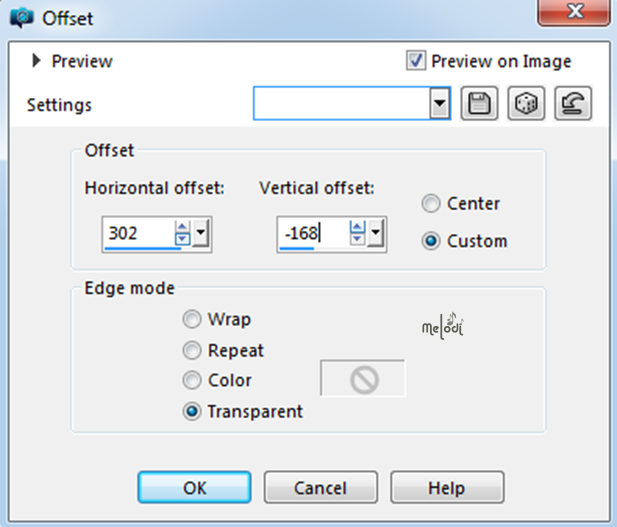
Effects>Image Effects> Offset : H 302 – V -168
Blend Mode – Luminance (Legacy) Opacity 100
Adjust> Sharpness > Sharpen
Effects – 3D Effects – Drop Shadow 4,4,50,10 Black
Layer >Merge >Merge Visible
STEP 14
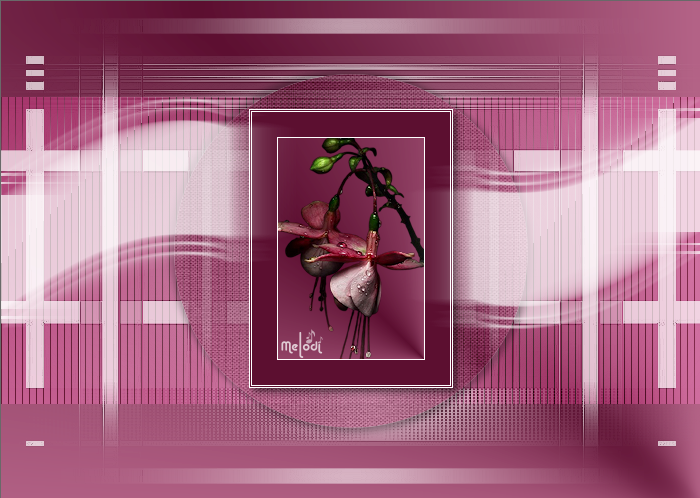
İmage>Picture Frame -Kamil-Exclusive-Frame
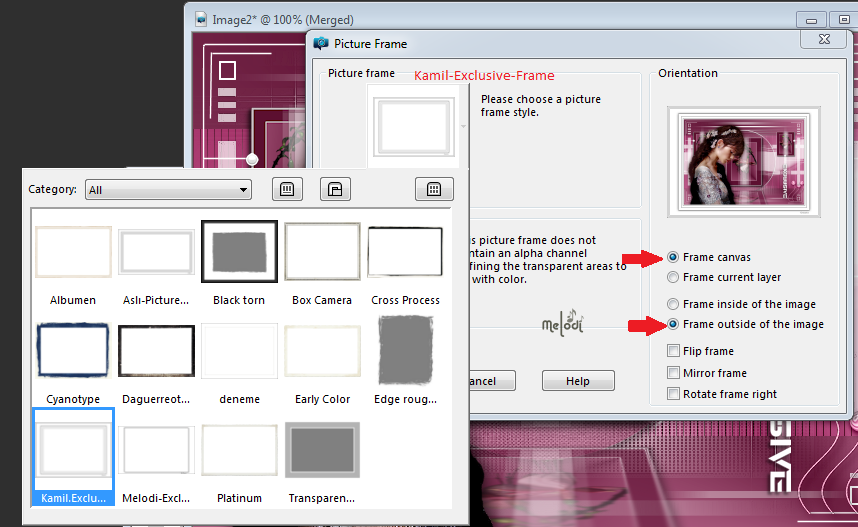
( Or Edit Copy your work. Open your Kamil Exclusive.PspFrame. Edit> Paste as New Layer)
Sign your work – Layer Merge Merge Visible
Save in jpg format.

Test için teşekkürler Aynur
Test için teşekkürler Vahide
Test için teşekkürler Kamil

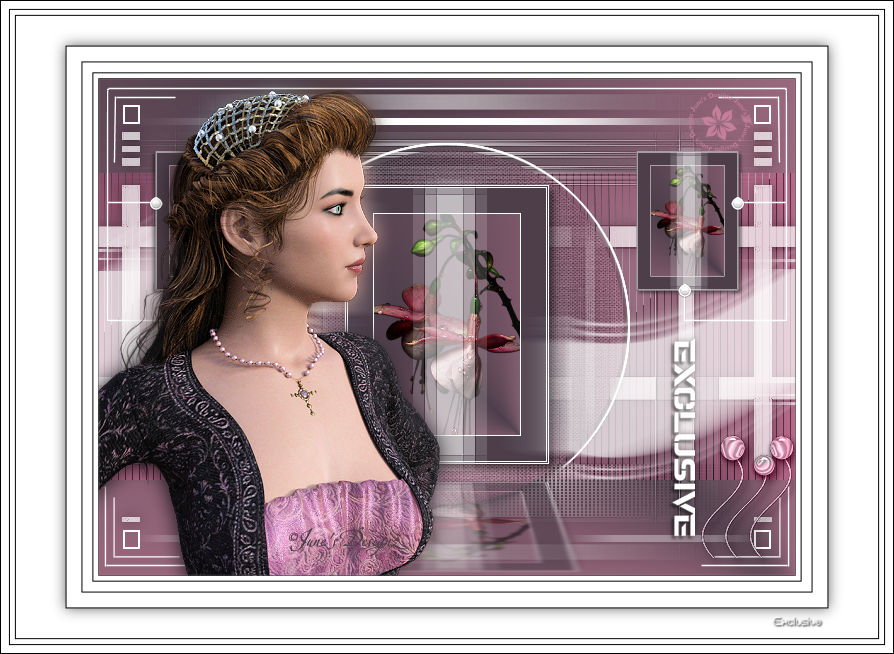
Thanks for the translation Pinuccia
Thanks for the translation Inge Lore
Thanks for the translation Colybrix

Thanks for the translation Lisette
Thanks for the translation Vera
Thanks for the translation Mary
Thanks for the translation Sylviane
Thanks for the translation Angela
Thank you Evalynda
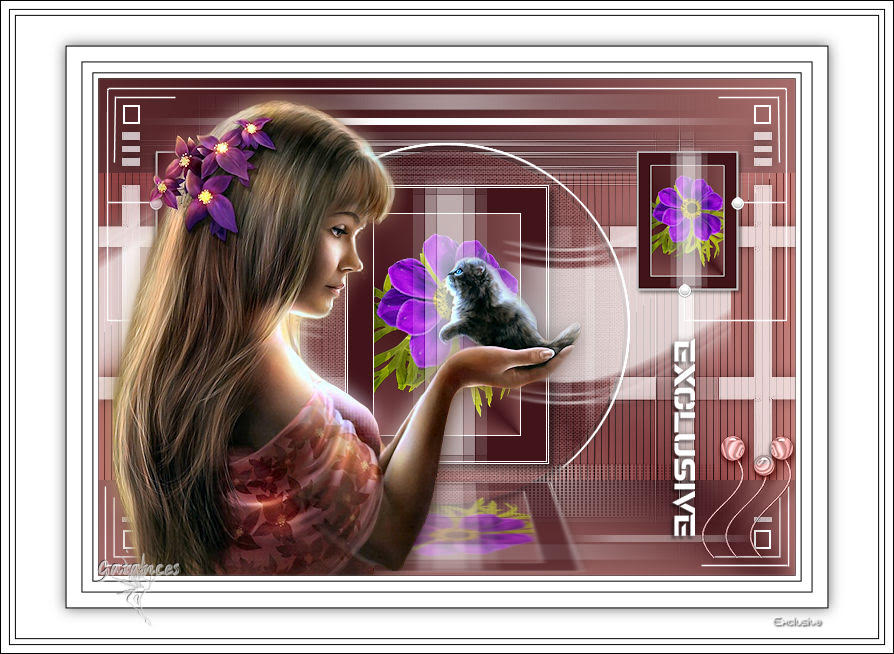
Thank you Garances
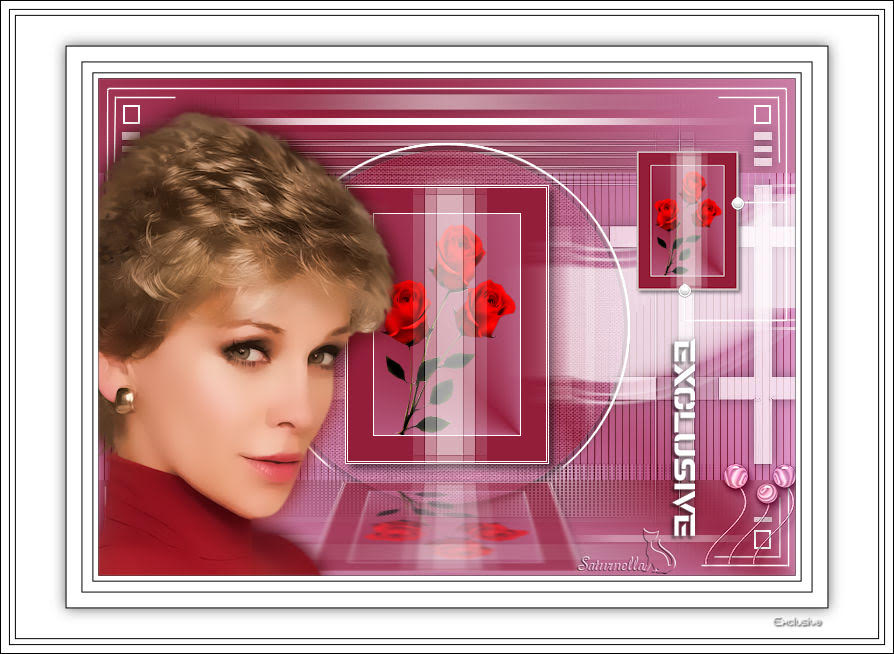
Thank you Saturnella
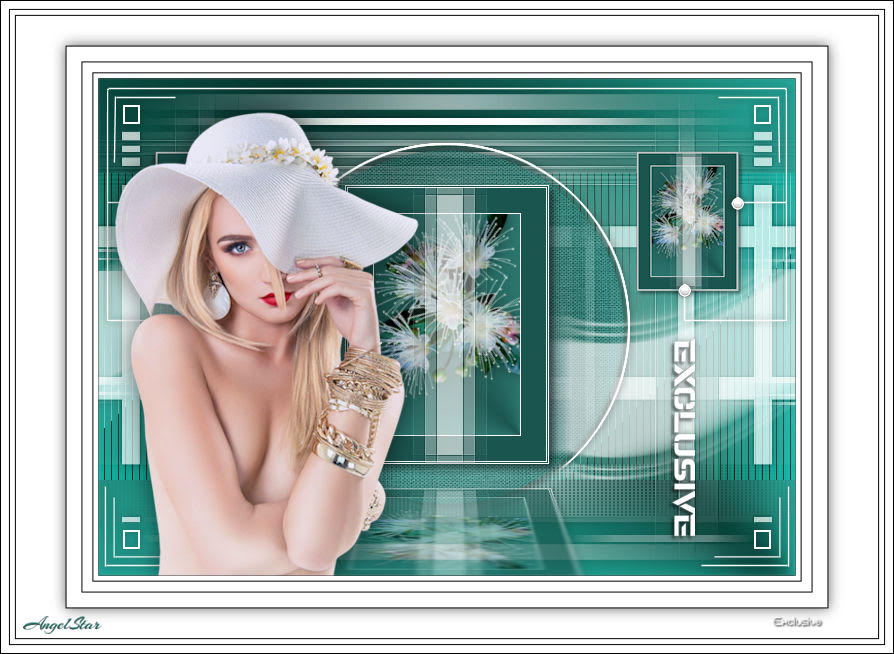
Thank you Angel Star
Thank You Piahitz
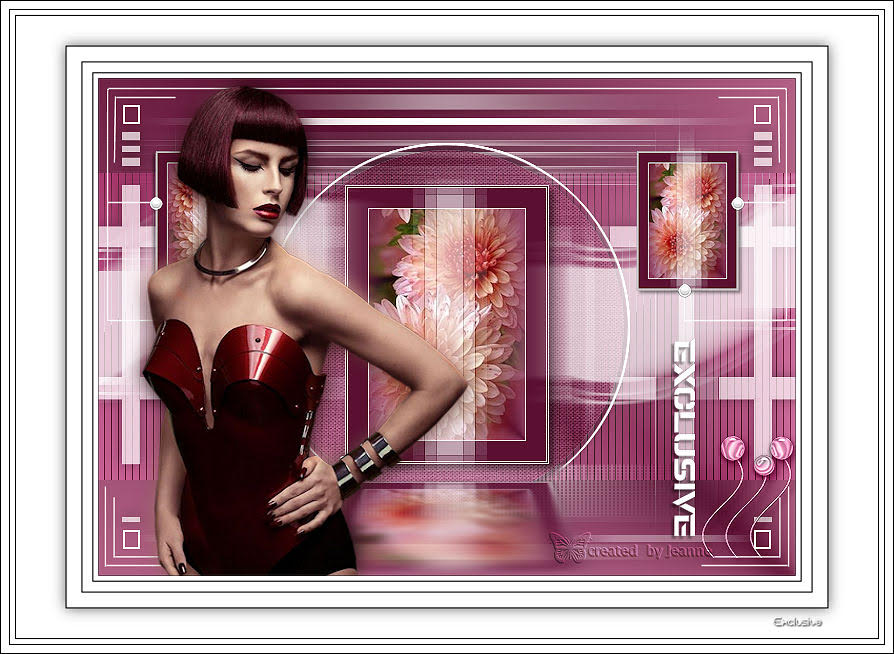
Thank you Jeanne
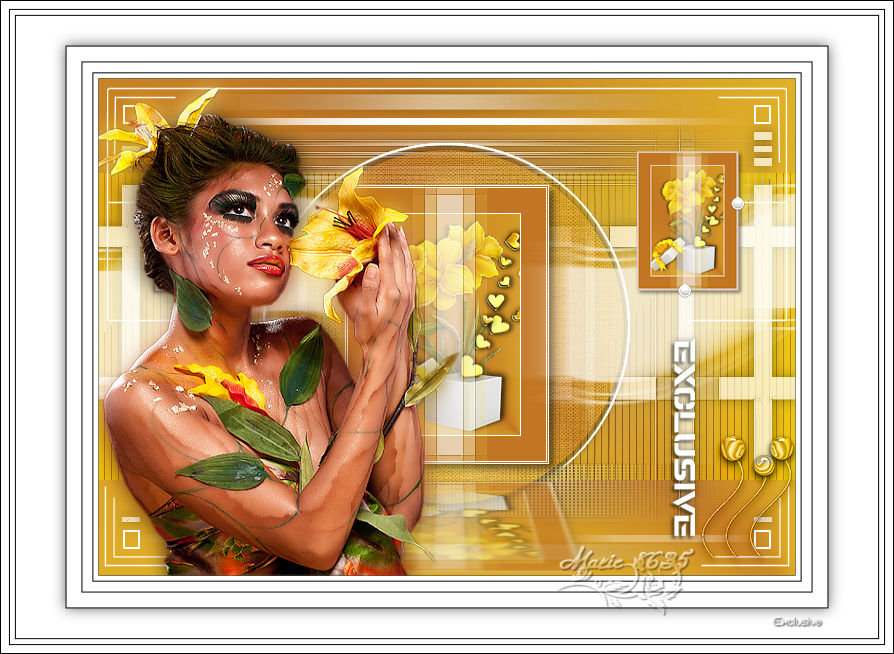
Thank Marie8635
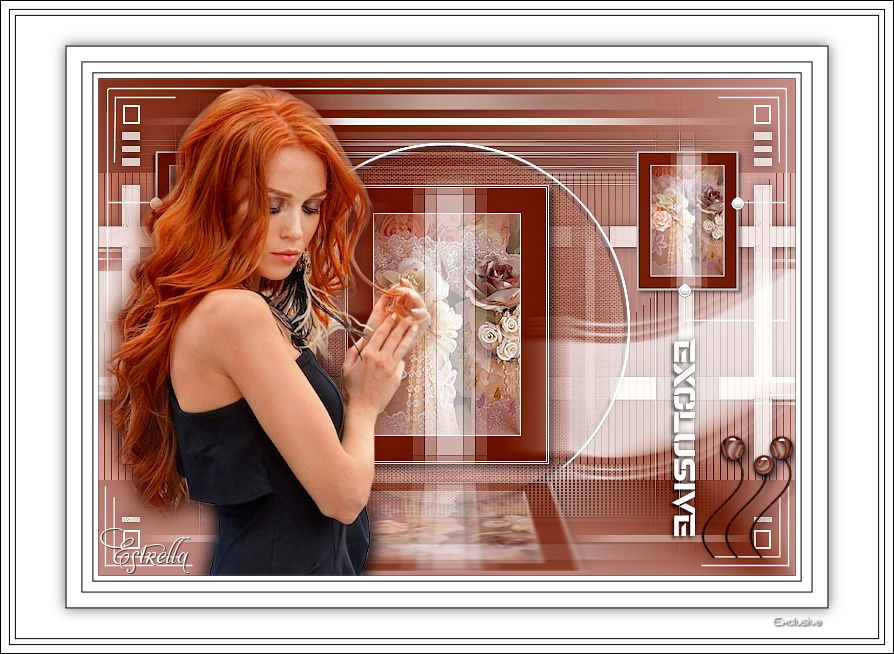
Thanks Estrella
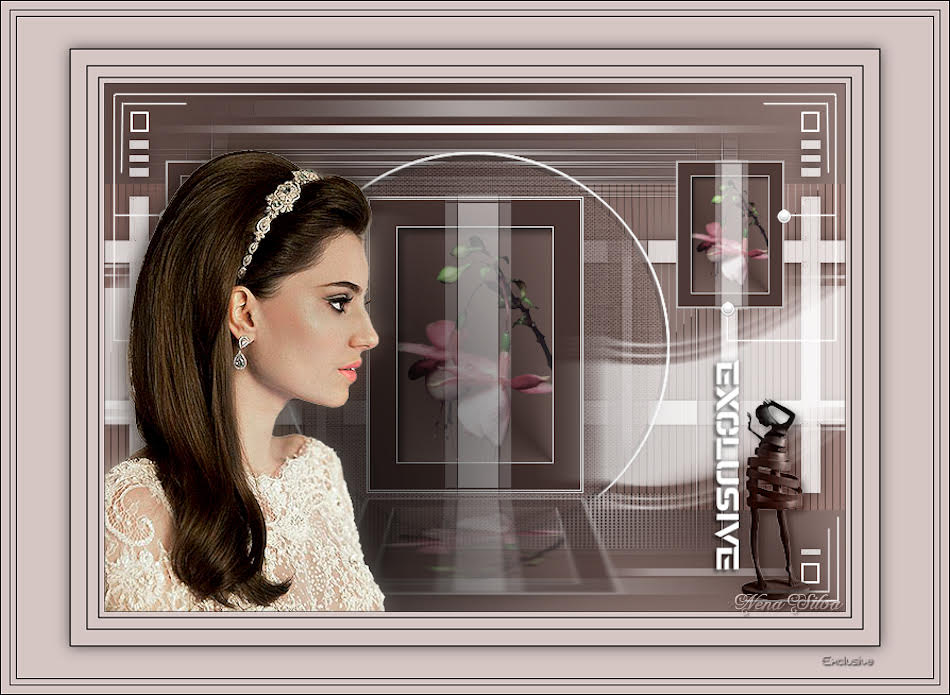
Thank you Nena
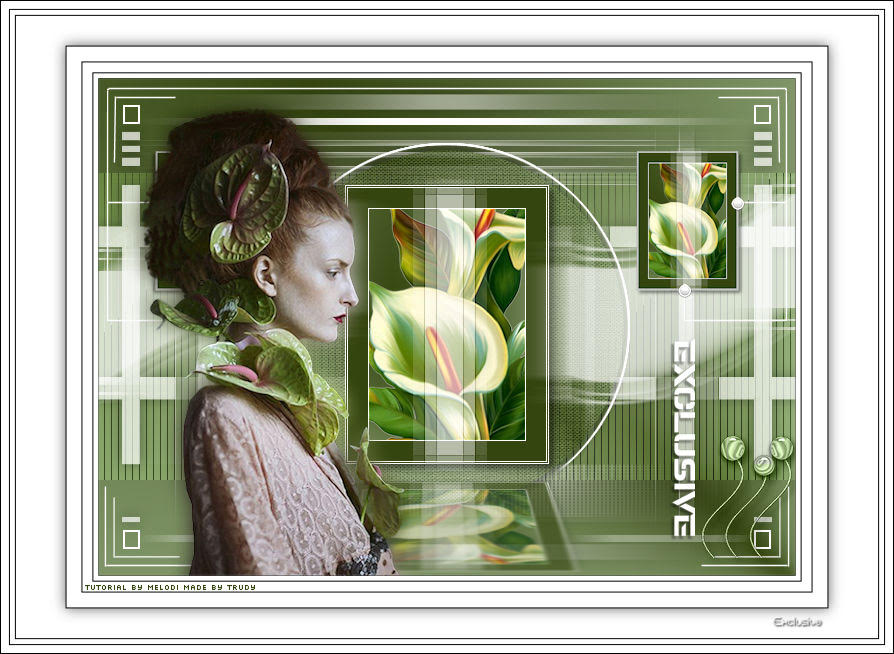
Thank you Trudy
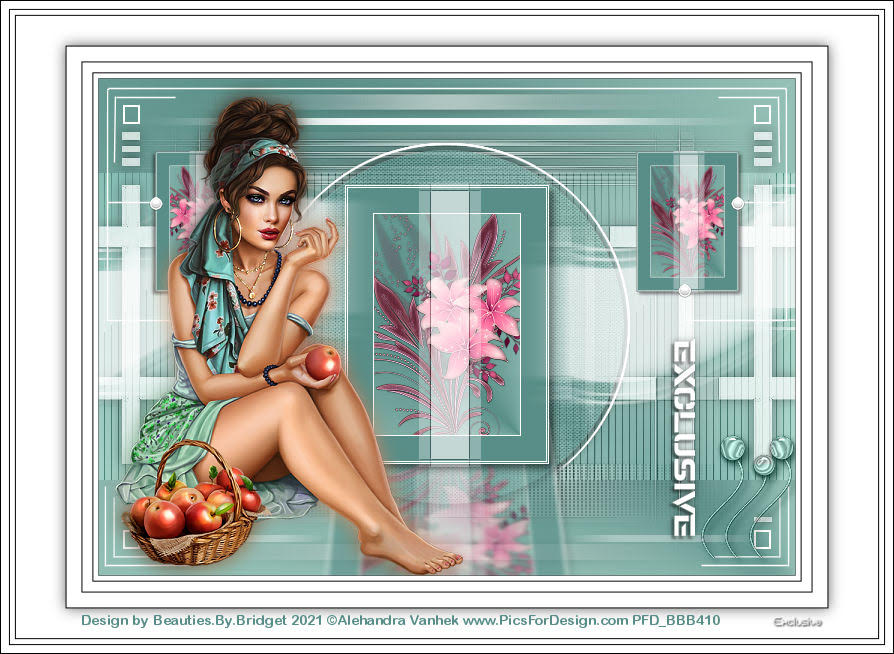
Thank you Bridget
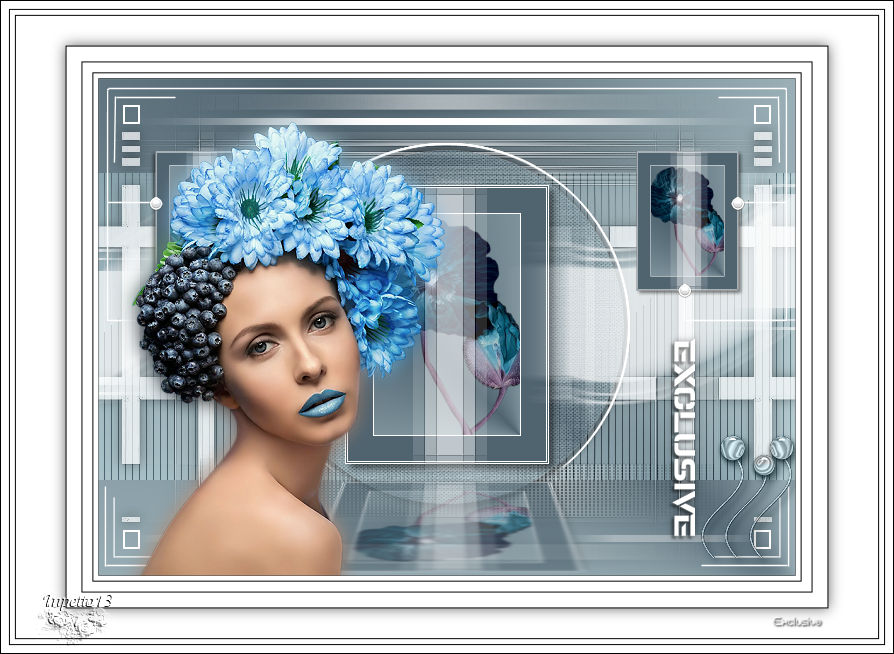
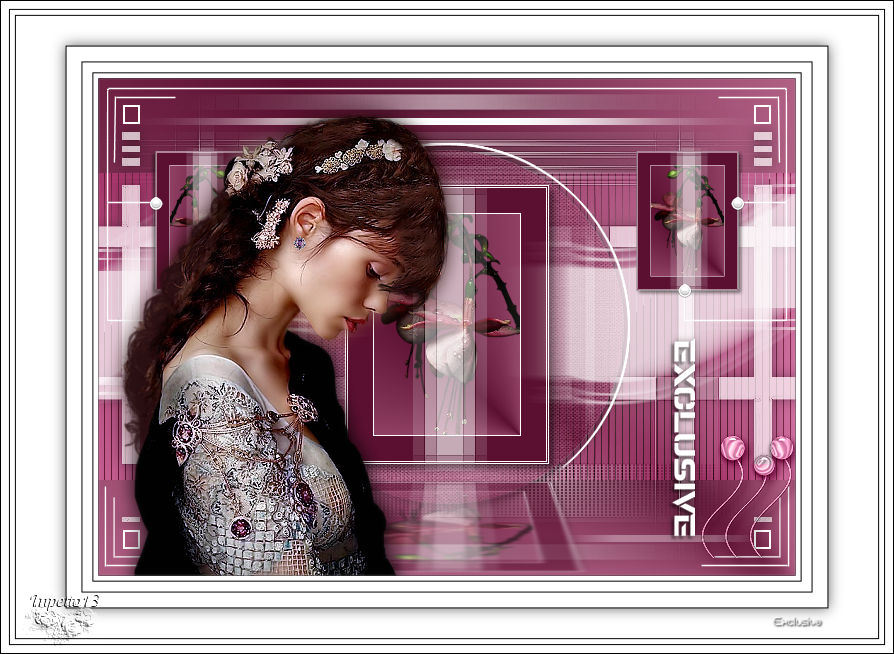
Thank You Inpetto
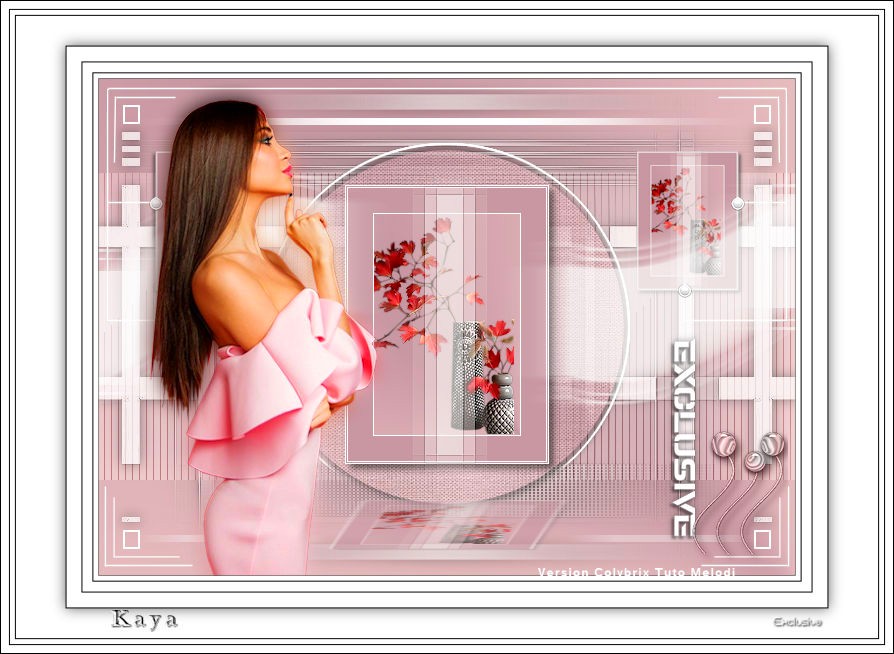
Thanks Kaya
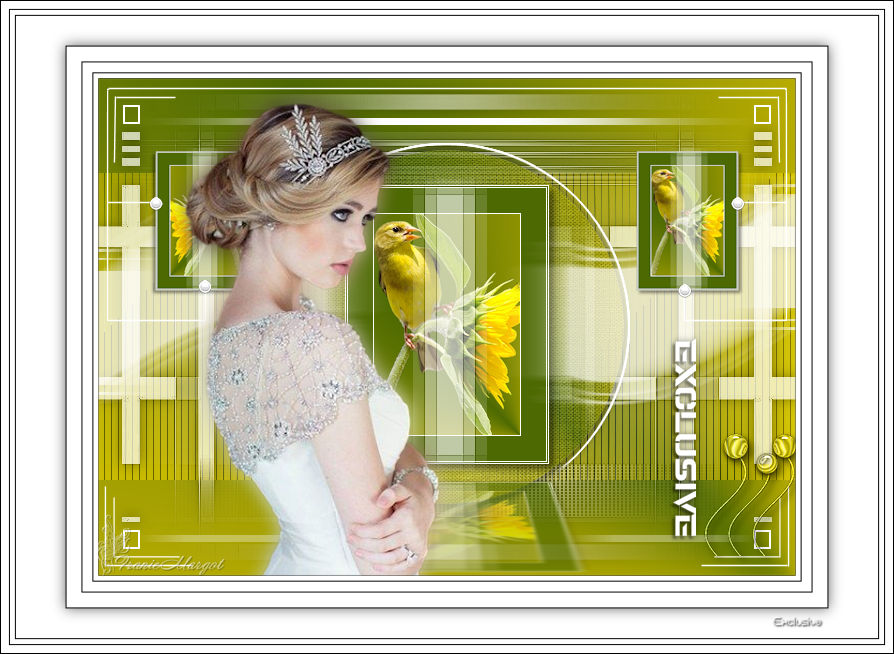
Thank you Franie Margot
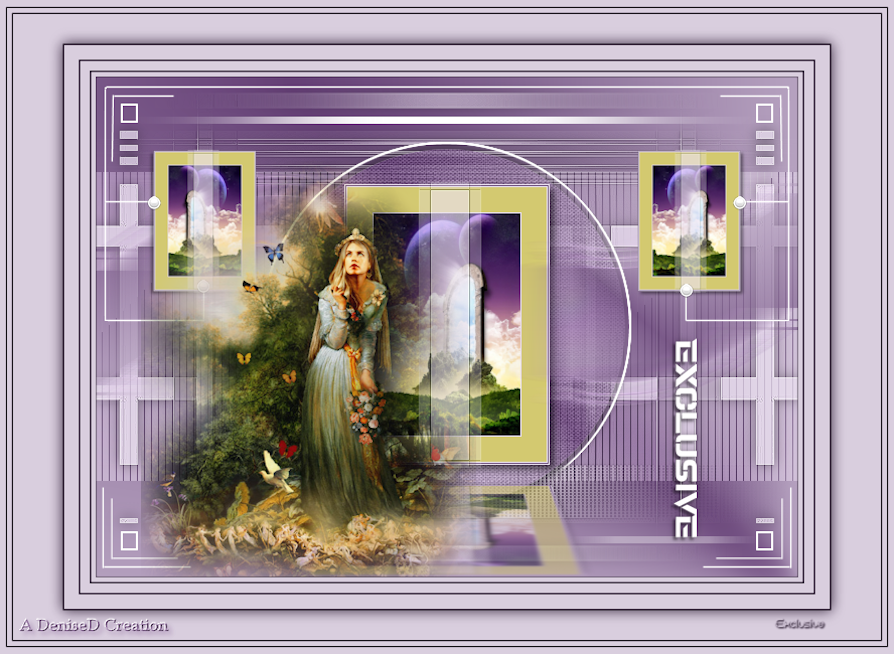
Thank you Denise
Thank you Margit
Thank you Uschi
Thank you Jewel
Thank you Maryline
Thank you Gisella
Thank you Peggy
Thank you Simone
Thank you Mia
Thank you Mabel
Thank you Olga

Thank you Karin
Thank You Pertal

Thank you Monique
Thank you Mymi
Thank You Marie Nickol
Thank you Yusuf
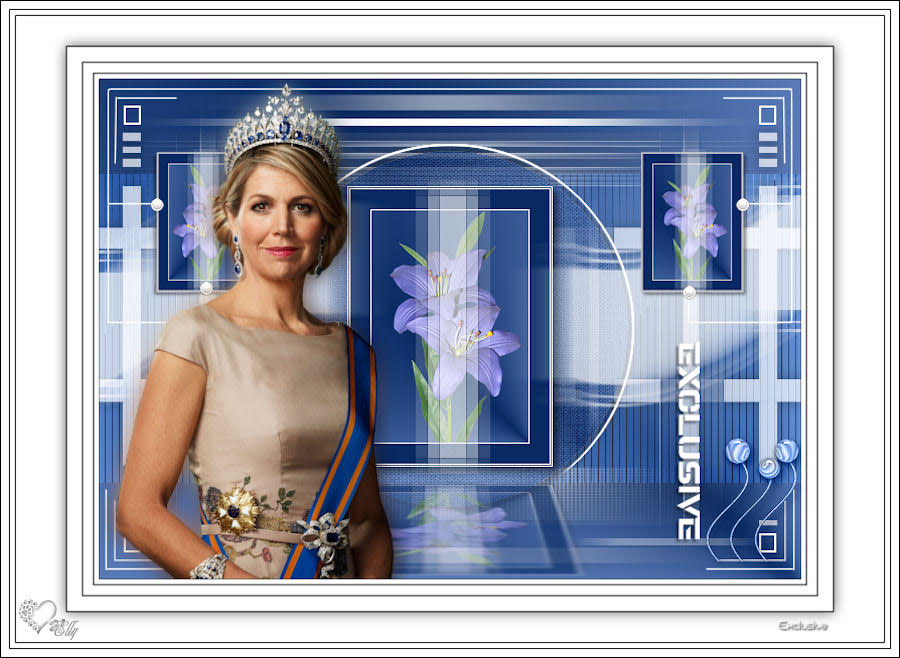
Thank you Elly
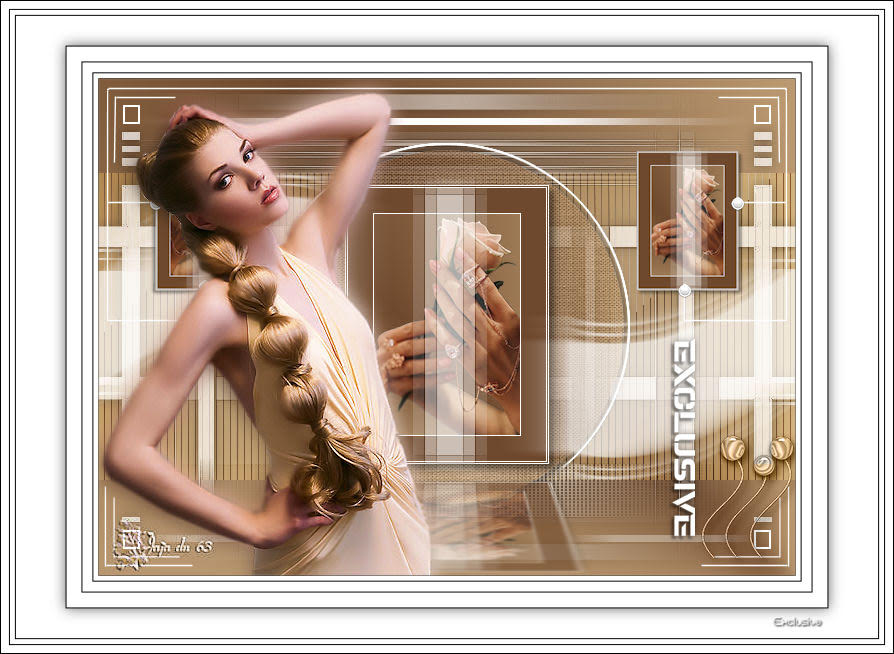
Thank you Jaja
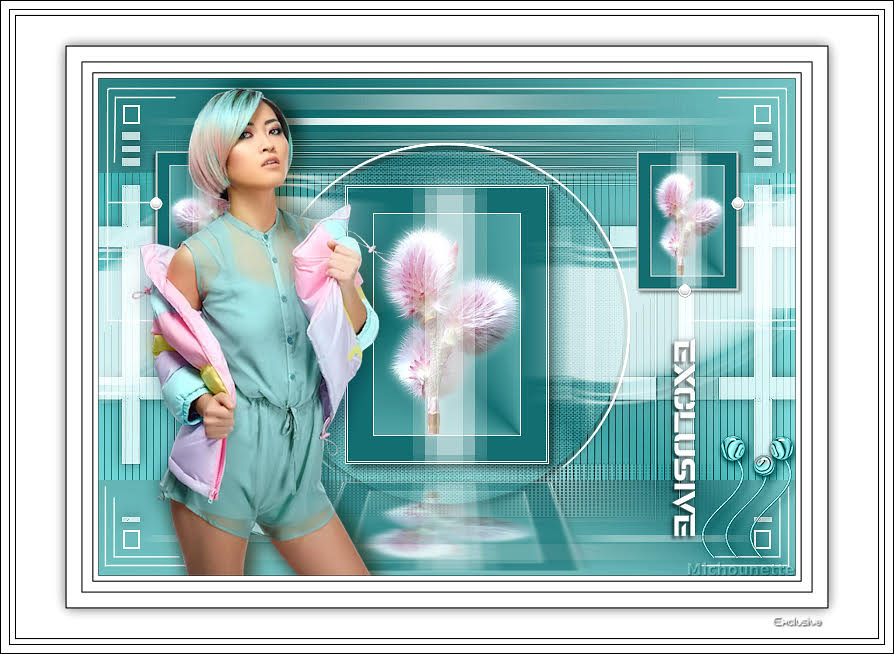
Thank you Michounette31
Thank you Rosi
Thank you Alyciane
Thank you Tine
Thank you Лариса Красняк
Thank you Myriam Rubira Hernández
Thank you Cleide

Thank you Marion

Thank you Roberta Maver
Thank you Marina
Thank you Nicole66
Thank you MoiBernie
Thank you Ines
Thank you Nadège
Thank you Angel
Thank you Elise
Thank you Evelyne
Thank you Stella
Thank you Müşerref
Thank you Ildiko

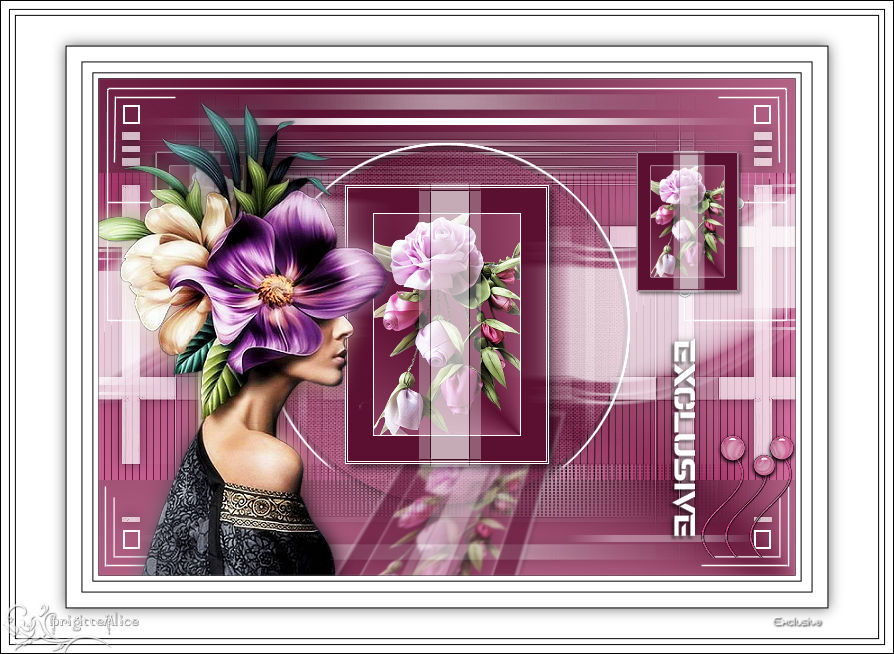
Thank you BrigitteAlice
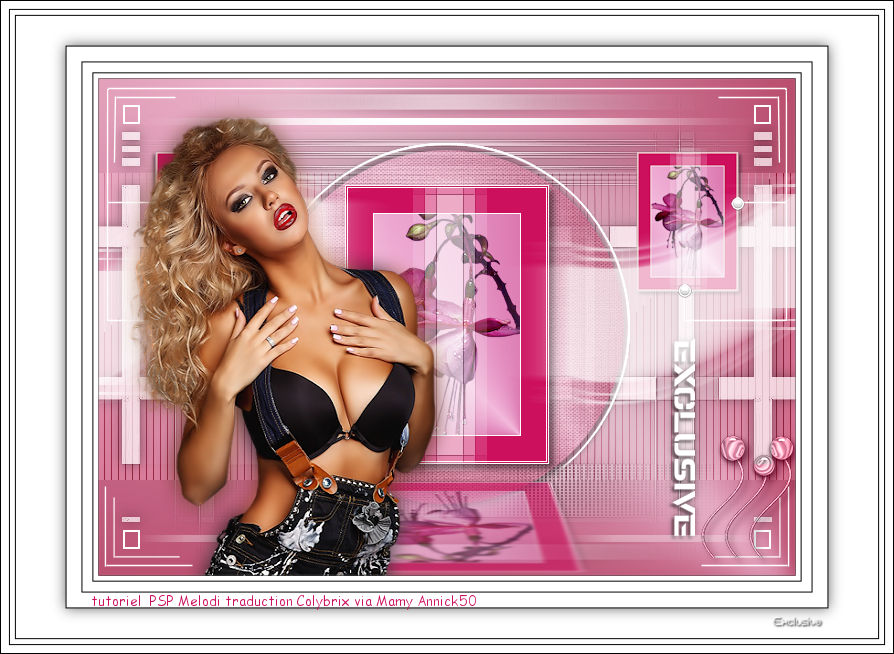
Thank you Mamy Annick
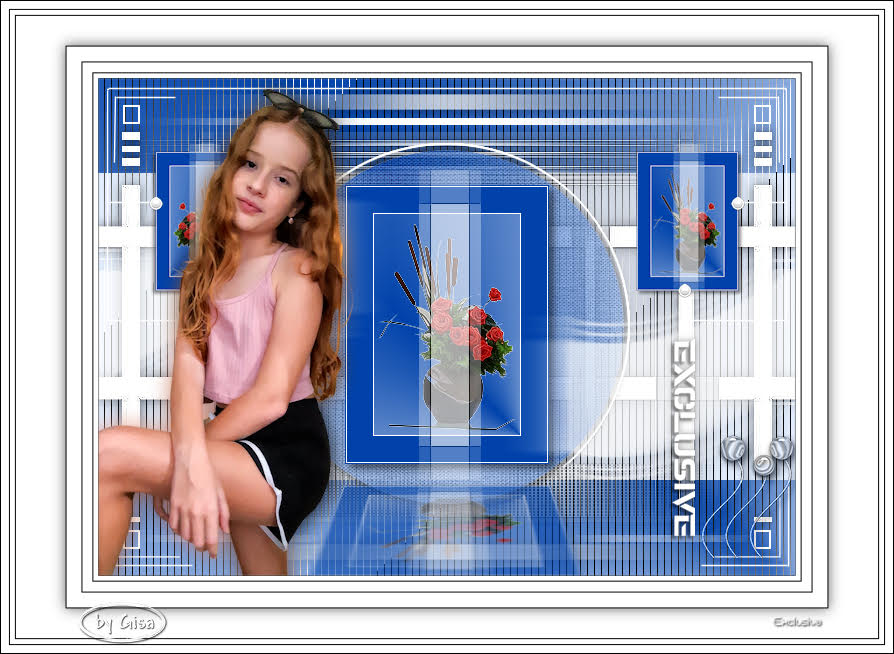
Thank you Gisa
Thank you Marie Nickol

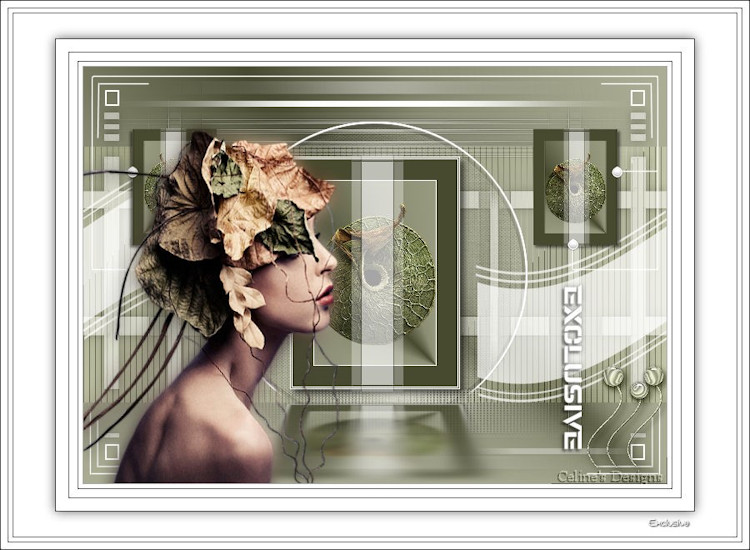
Thank you Celine
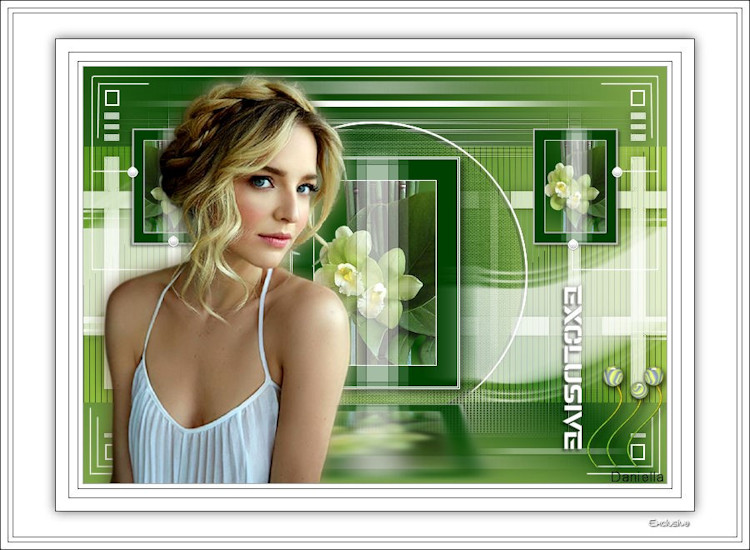
Thank you Daniella
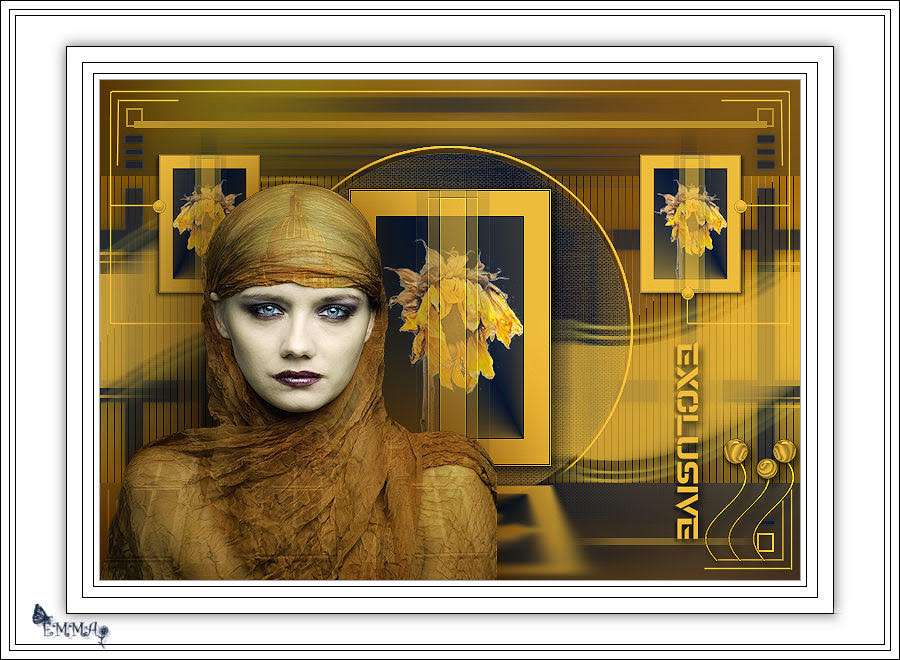
Thank you Emma
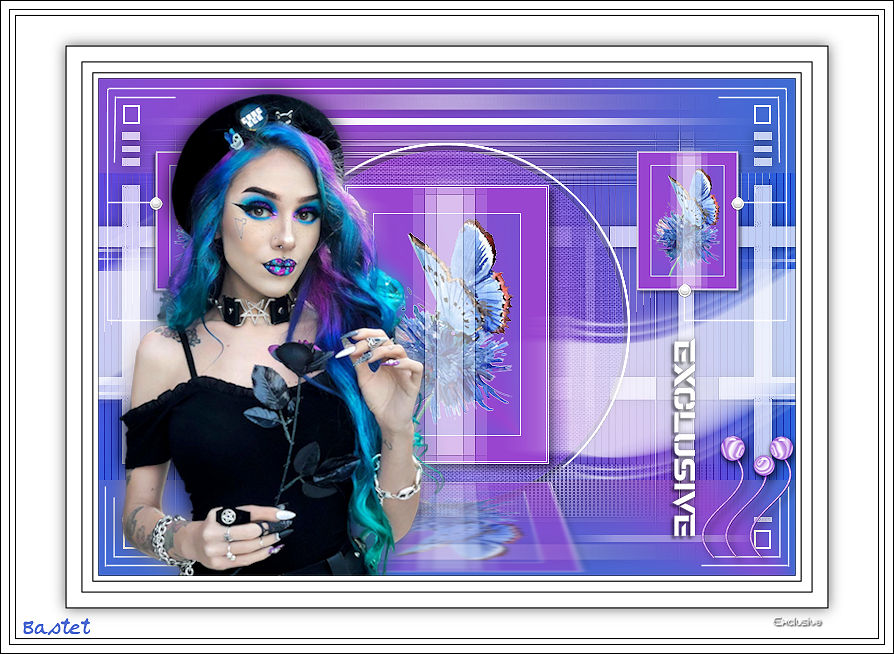
Thank you Bastet
Thank you Lien
Thank you Tonie
Thank you Talonaiguille

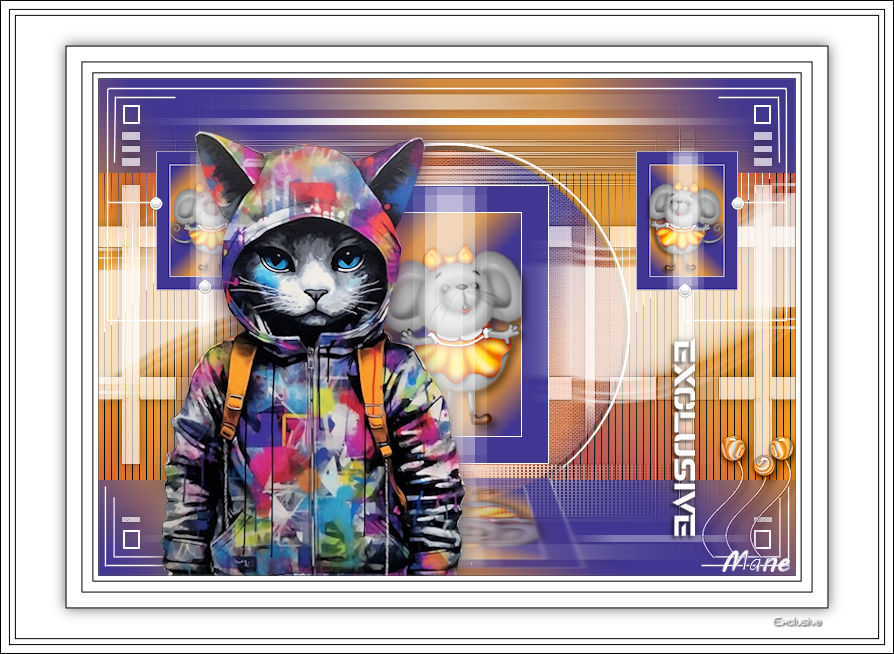
Thank you Mane
Thank you Lucie
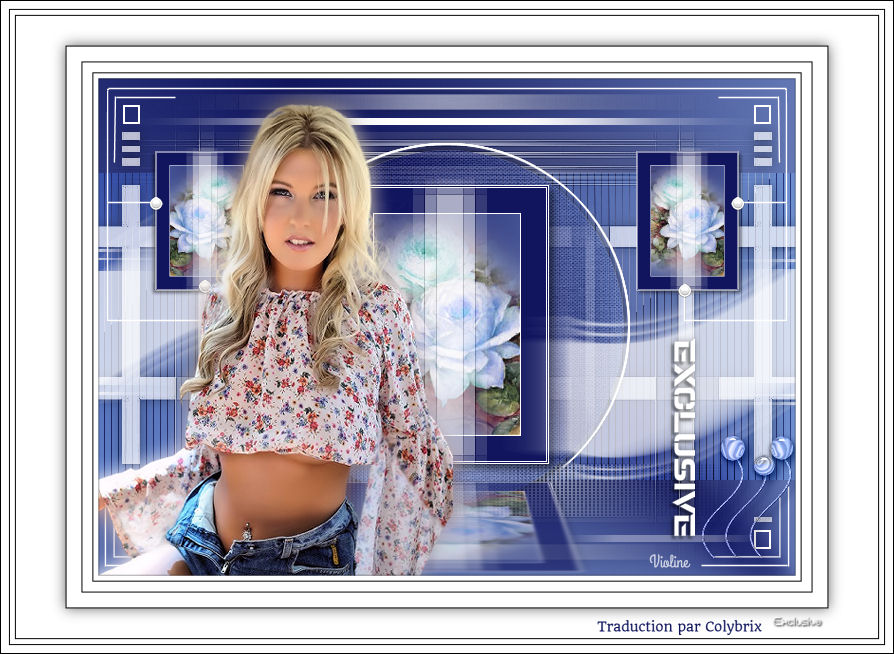
Thank you Violine
Thank you Madeleine
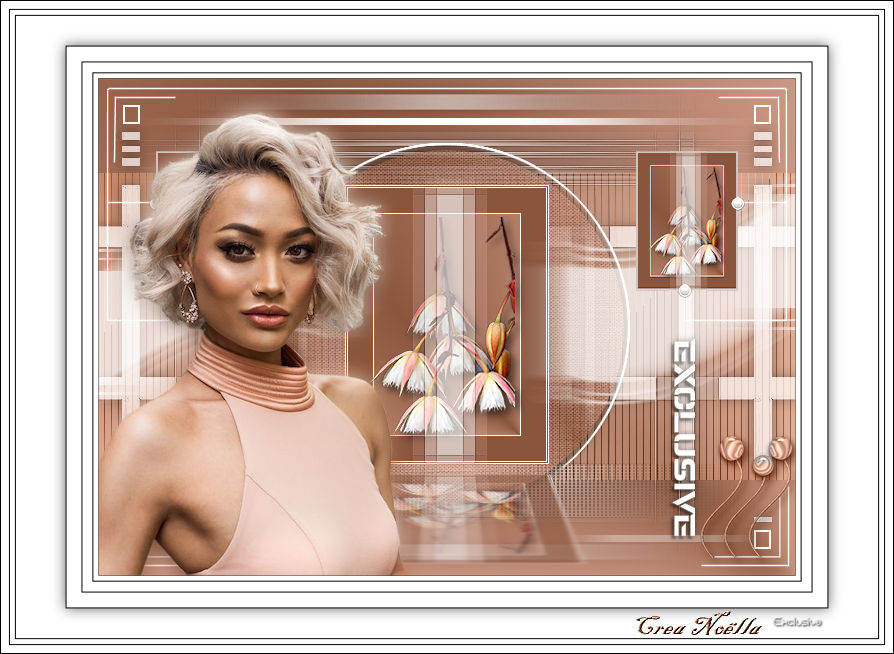
Thank you Noëlla
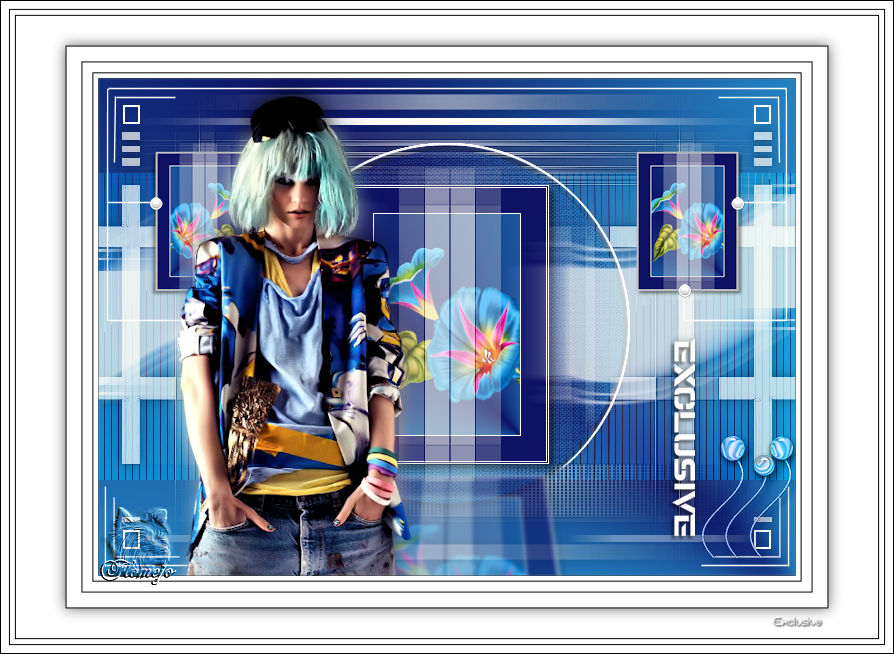
Thank you Flomejo
Thank you Anelie
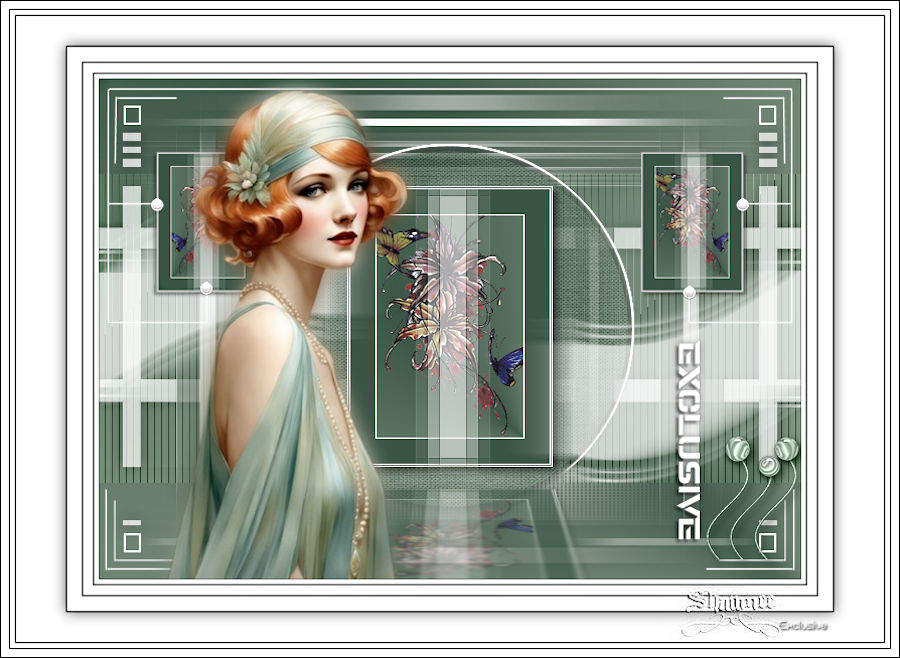
Thank you Shawnee

Thank you Walker
Thank you
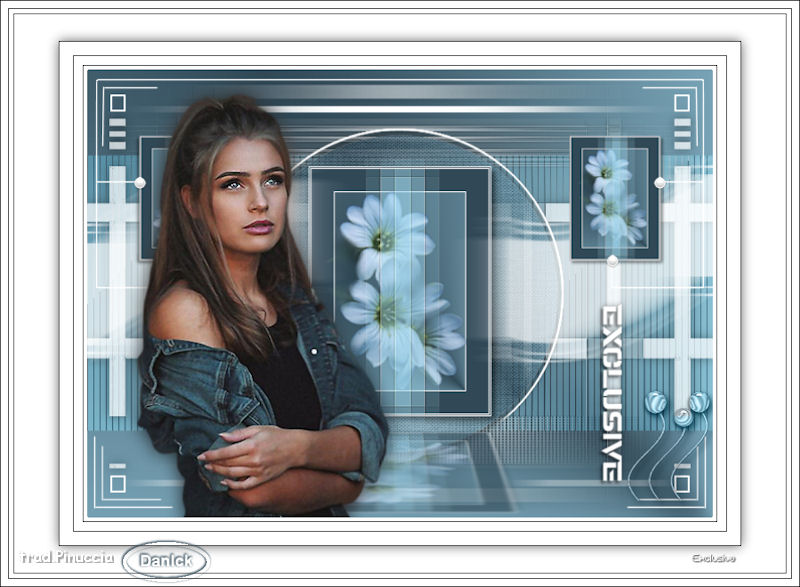
Thank you Danick
Thank you Dany
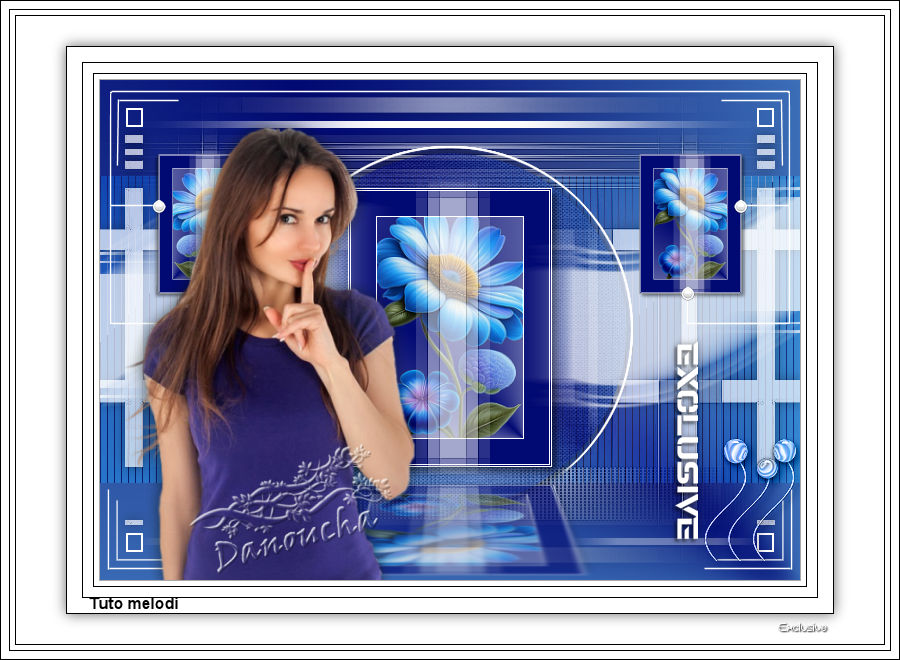
Thank you Danoucha
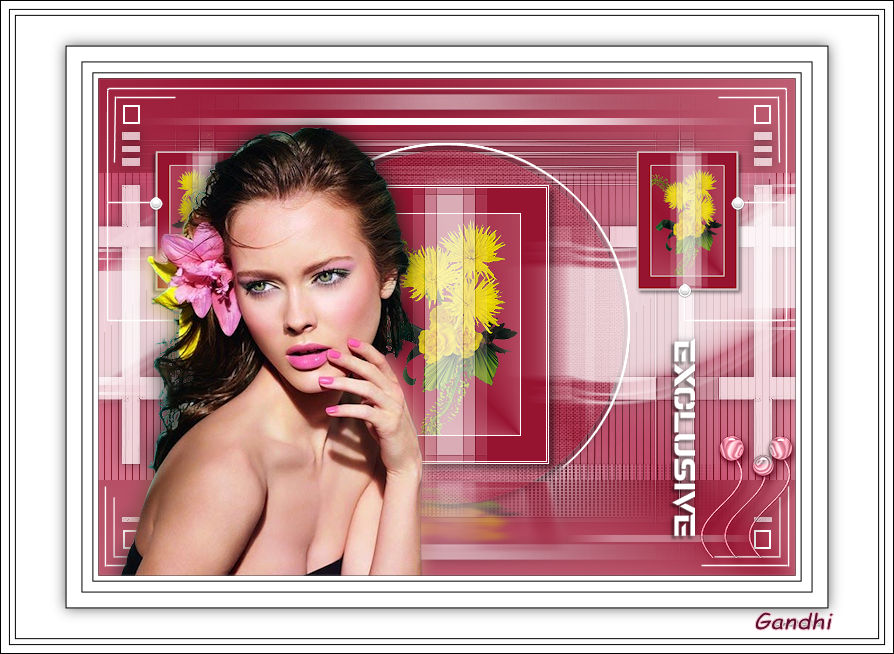
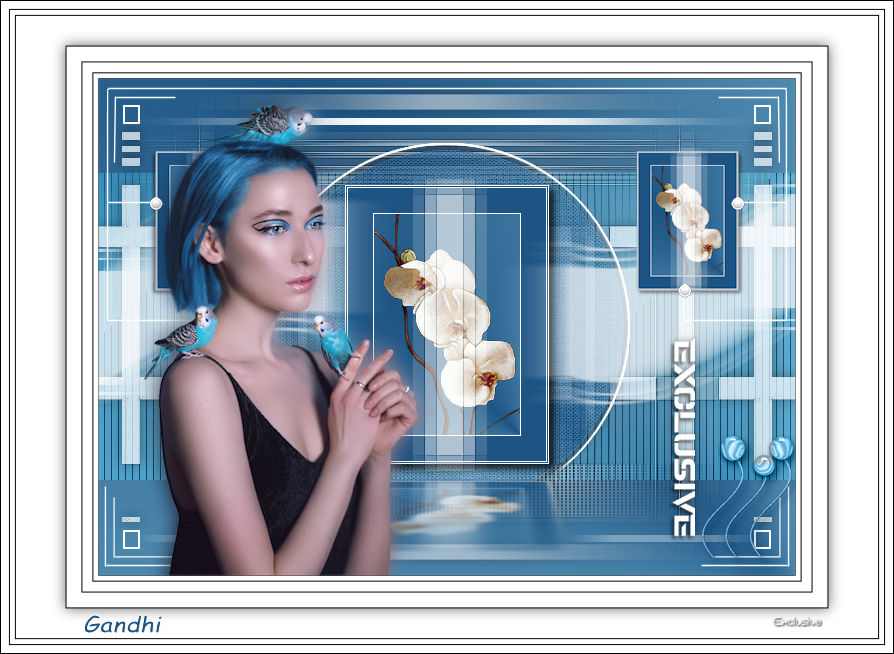
Thank you Gandhi
Thank you Léa Rose

Thank you Mane
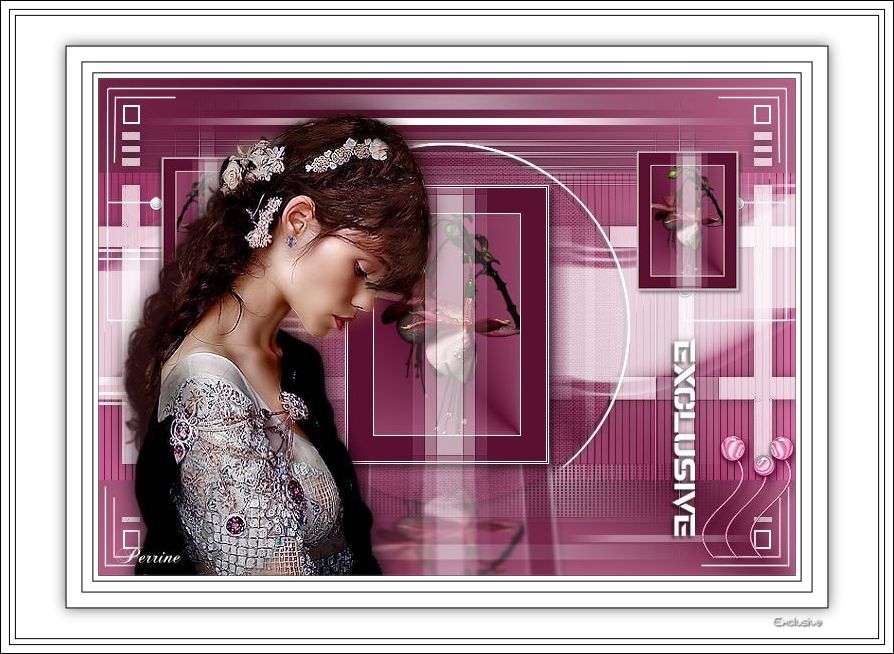
Thank you Perrine
Thank you Sonia
Thank you Coby

Thank you Stella