The colors, layer density and blending mode are for the materials of this lesson. If you use different material, just take a look at what is best for you…
Before Open psp Copy the Selection file in the Selections Folder of Psp
Download materials by clicking below
Danke Inge Lore für die deutsche Übersetzung


Merci Colybrix pour la traduction française


Thanks Pinuccia for the Italian and English translation.


Thanks Sylviane for the Spanish and Dutch translations.


Ifyou’reready, let’s start
PLUGİNS:
Mehdi – WavyLab 1.1
Mehdi –Sorting Tiles
AP (Lines)-Lines-Silverlining
Effecs – Plugins –Caroline And Sensibility
Effects – Alien Skin -Eye Candy 5 Impact
MATERİALS:
Tube and Frame: Kamil
Deco: Net
Text Valentine Day
Selections
Needed Material

Select a light color for the foreground color and a dark color forthe background color from your tube.
My Colors
Foreground color #423122
Background color #cab29c

STEP 1
1 -File Open – New 900 x 550
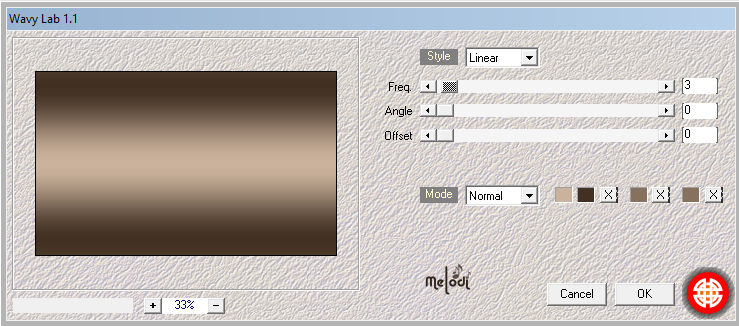
2-Effects -Plugins – Mehdi – WavyLab 1.1 Style Linear 3-0-0
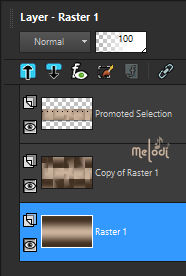
3-Layers – Duplicate ( Copy of Raster 1)
4-Effects – Plugins – Mehdi – Sorting Tiles / Block Range / 150-300 / Plus

5-Selections – Load/Save Selection>Load from Disk – Elfida 1
6-Selections – Promate Selection to Layer (Promoted Selection)
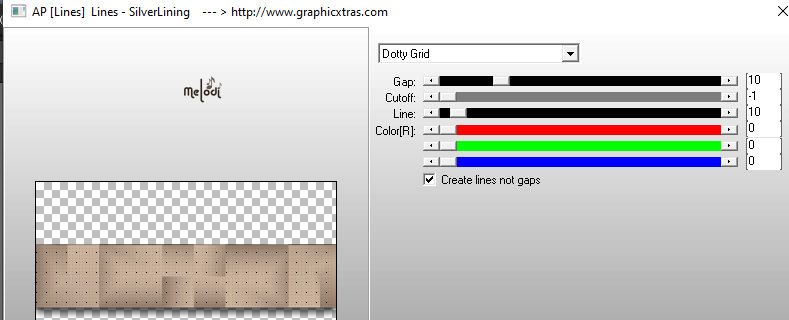
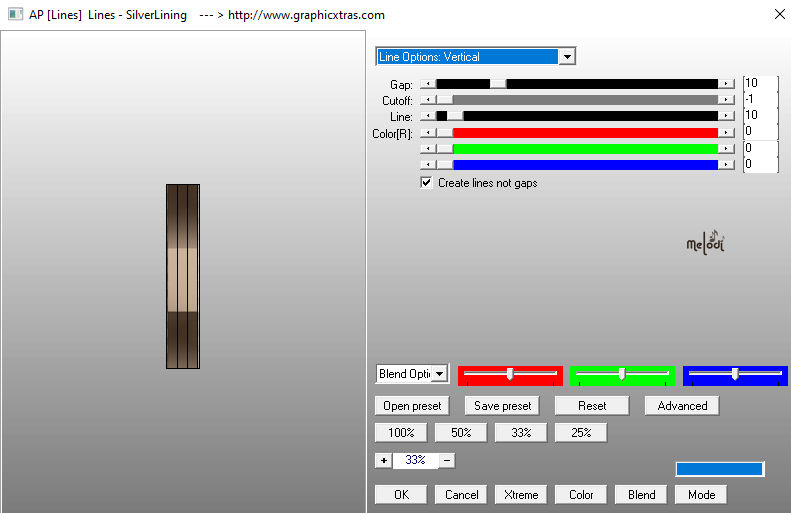
7-Effects-Plugins-AP (Lines)-Lines-Silverlining – Dotty Grid 10/ -1 /10
8-Layer Palette – Double click on this Layer and set the Blend Mode to Multiply
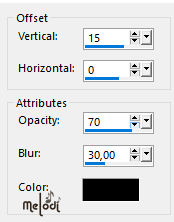
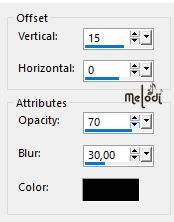
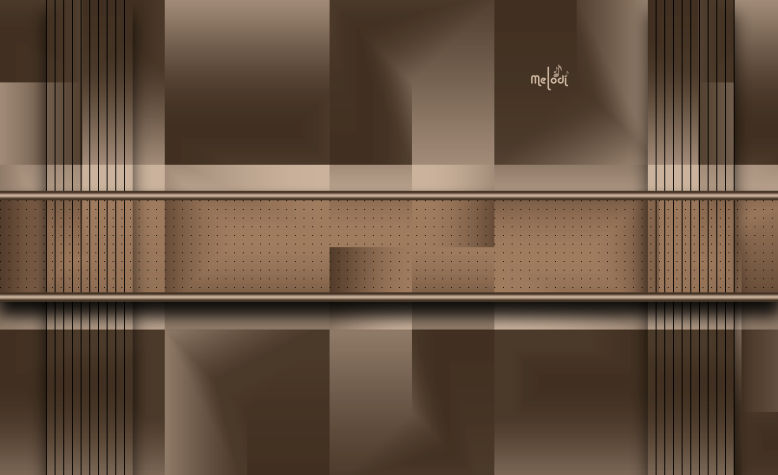
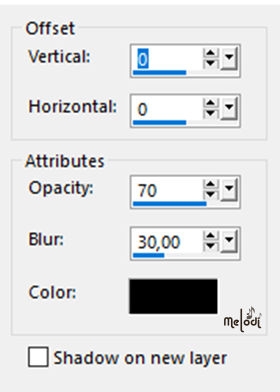
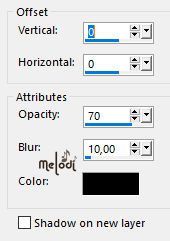
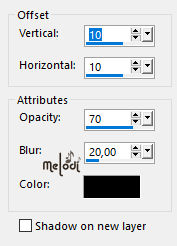
9-Effets – 3D Effects –Drop Shadow V: 15 H: 0 O: 70 B: 30
10-Selections – Select None
STEP 2
1-Activate the bottom layer (Raster 1)
2-Layers Arrange – Bring to top Layer
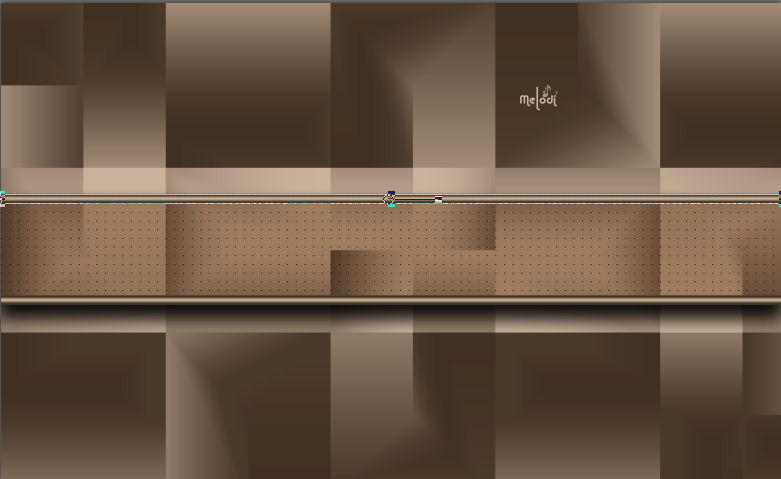
3-Activate the Pick tool and thin out the layer as shown in the picture.
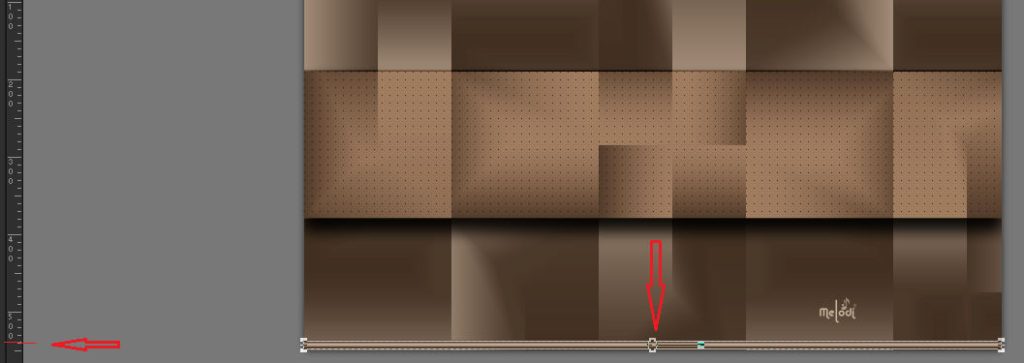
4-Pick Tool, Select (K), Change the Position X (0) and Position Y ( 337) settings to the settings below
5-Layers – Duplicate
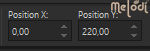
6-Pick Tool, Select (K), Change the Position X (0) and Position Y ( 220) settings to the settings below
Merge Down ( Raster 1)
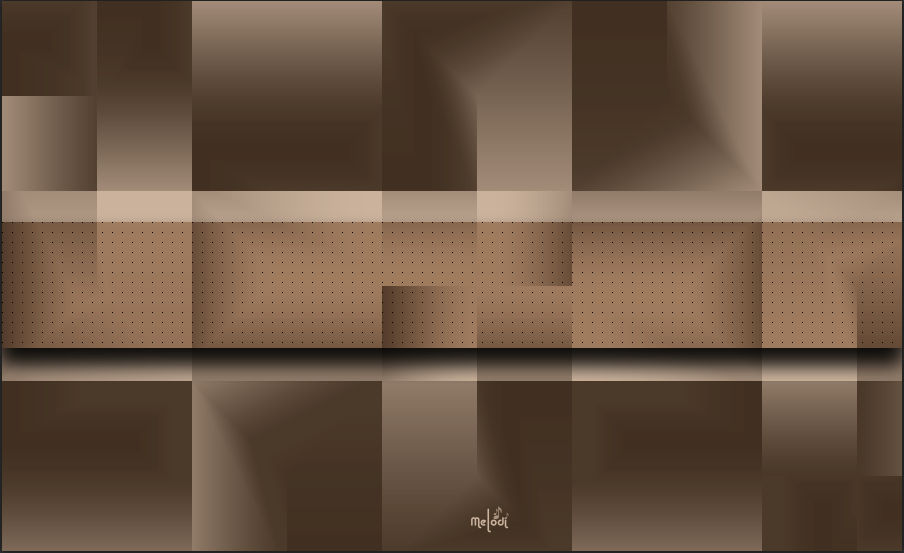
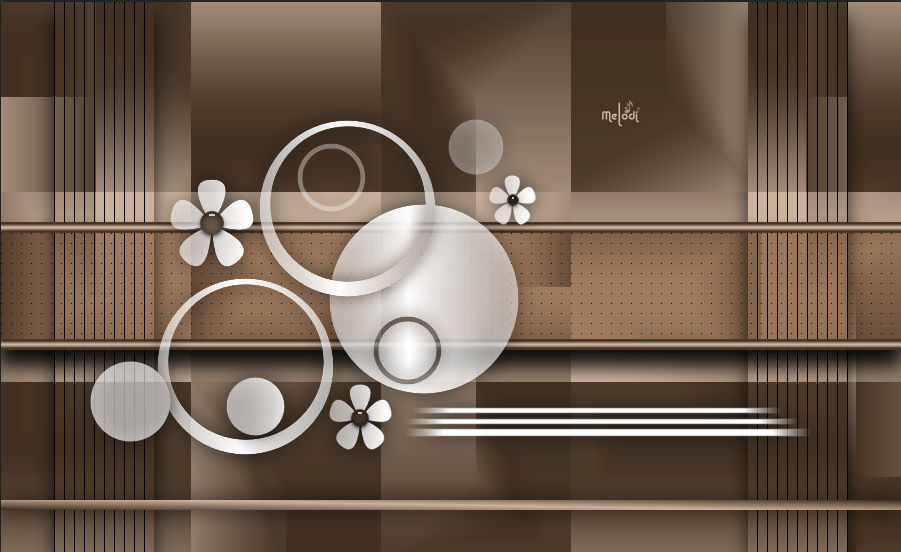
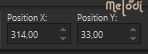
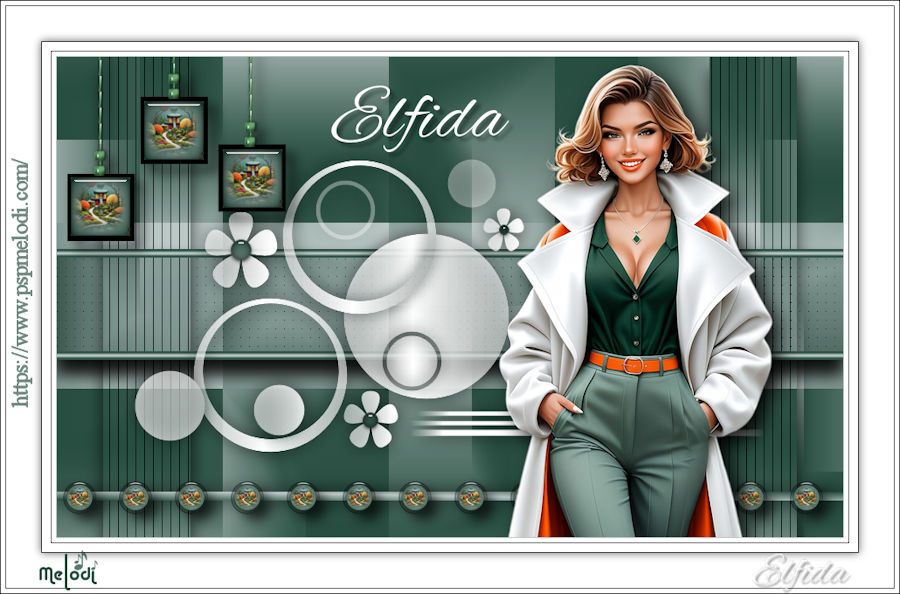
RESULD
STEP 3
1-Activate the bottom layer ( Copy of Raster 1)
2-Selections-Load/Save Selection-Load from Disk – Elfida 2
3-Selections – Promate Selection to Layer
4-Selections – Select None
5-AP (Lines)-Lines-Silverlining – Line Options : Vertical 10/ -1 /10
6-Effets – 3D Effects –Drop Shadow V: 15 H: 0 O: 70 B: 30
7-Layers – Duplicate
8-Image -Mirror – Mirror Horizontal
9-Merge Down (Promoted Selection 1)
RESULD
STEP 4
1-Activate the top layer
2-Layers>New Raster Layer.( Raster 2)
3-Change your foreground color to white. (color #ffffff )
4-Flood Fill the layer with your foreground color #ffffff
5-Open Kamil Elfida Mask
6-Layers >New Mask Layer >From Image> Kamil Elfida Mask
7-Layers – Merge – Merge Group (Group – Raster 2)
8-Effets – 3D Effects –Drop Shadow V: 0 H: 0 O: 70 B: 30
9-Layers>New Raster Layer.( Raster 2)
10-Selections>Load/Save Selection>Load from Disk Elfida 3
11-Change your foreground color to #423122
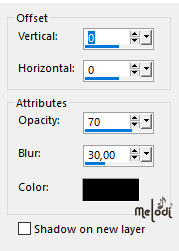
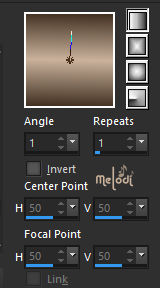
12-Prepare the gradient as follows. Linear / Angle 1 – Repeats 1
13-Flood Fill Tool / Gradient
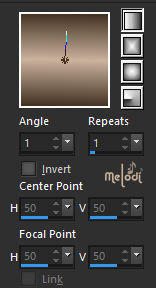
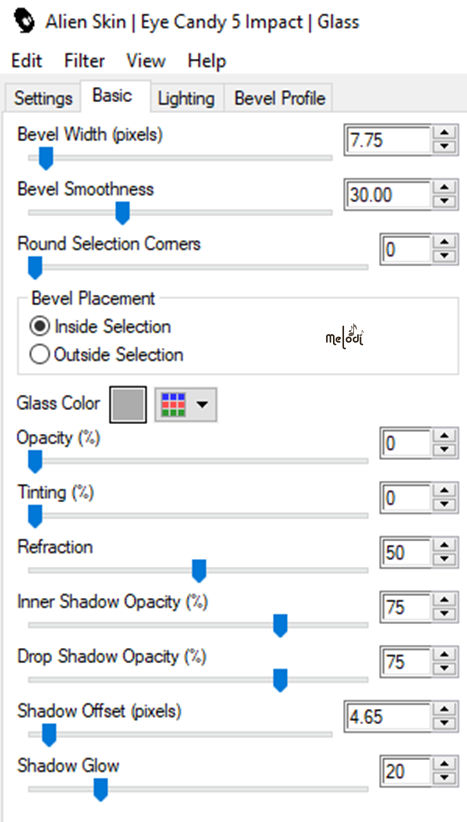
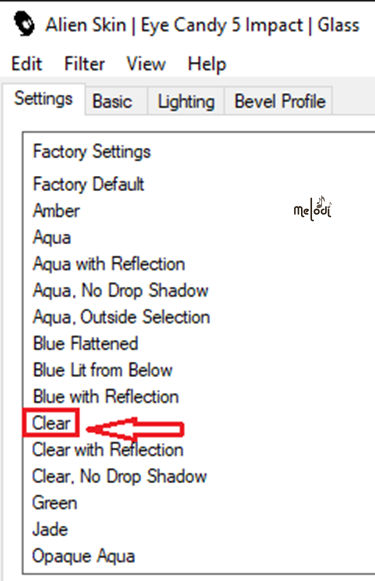
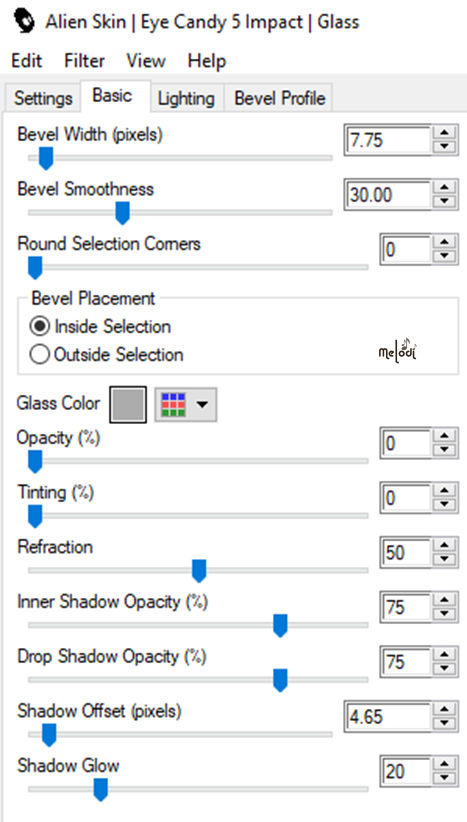
14-Effects – Alien Skin -Eye Candy 5 Impact – Glass / Clear
15-Selections – Select Non
RESULD

STEP 5
1-Layers>New Raster Layer. (Raster 3)
2-Prepare the gradient as follows. /Linear/ Angle 1 / Repeats 1 /
3-Selections>Load/Save Selection>Load from Disk Elfida 4
4-Flood Fill Tool / Gradient
5-Effets – 3D Effects –Drop Shadow V: 0 H: 0 O: 70 B: 30
6-Selections – Select None
RESULD
STEP 6
1-Layers>New Raster Layer. (Raster 4)
2-Selections>Load/Save Selection>Load from Disk Elfida 5
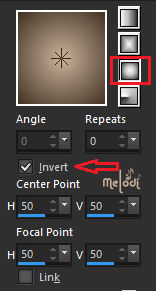
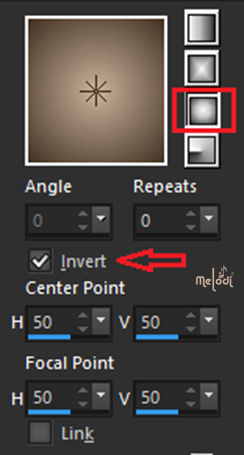
3-Prepare the gradient as follows. /Sunburst / Angle 0 / Repeats 0 /(Invert sign)
4-Flood Fill Tool / Gradient
5-Activate the landscape tube- Kamil landscape, Edit Copy
6- Edit, Paste into selection
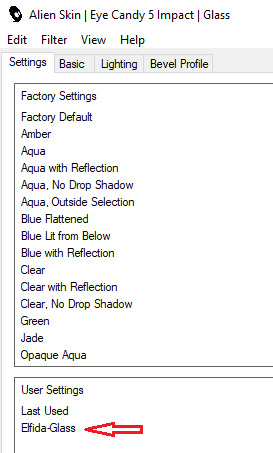
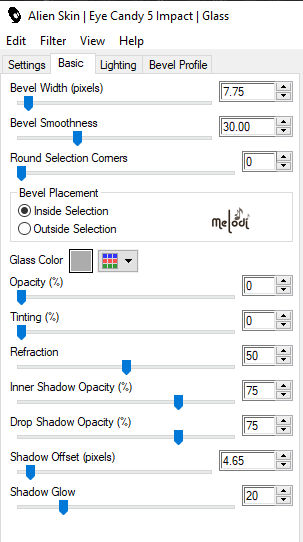
7-Effects – Alien Skin -Eye Candy 5 Impact – Glass /Elfida glas
8- Effets – 3D Effects –Drop Shadow V: 0 H: 0 O: 70 B: 10
9-Sellection None
10-Layers – Duplicate / Merge Down (Raster 4)
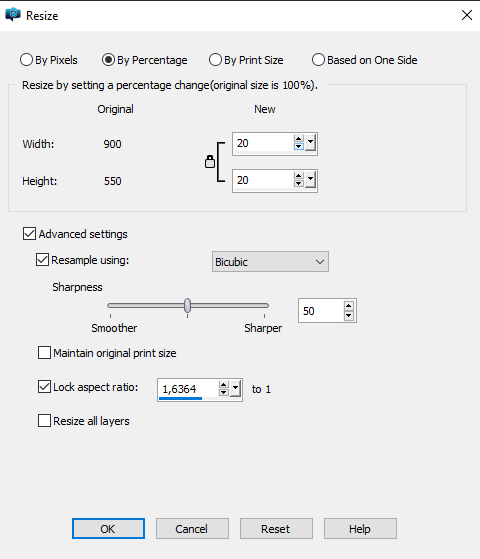
11-Image, Resize, Resize to 20% (Resize all layers un checked)
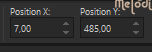
12-Pick Tool, Select (K), Change the Position X (7) and Position Y ( 485) settings to the settings below
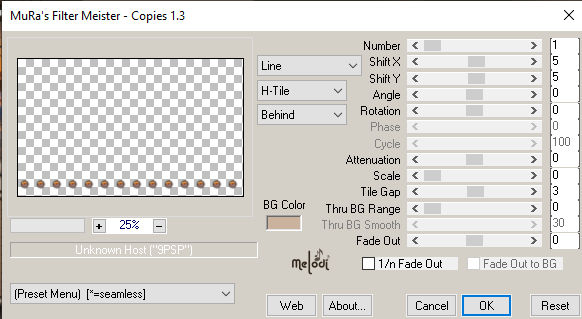
13-Effects – plugin – MuRa’s Filter Meister / Copies ( Line –H Tile -Behind) Number 1/ Shift X 5/ Shift XY 5 / Tile Gap 3
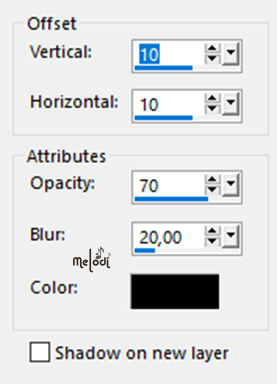
14-Effets – 3D Effects –Drop Shadow V: 10 H: 10 O: 70 B: 20
RESULD

STEP 7
1-File-Open-Deco @nn
2-Edit-Copy /Edit- Paste As New Layer (You can change the color according to your work.)
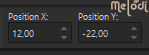
3-Active Pick Tool -Position X: 12 Position Y: -22
4-Effets – 3D Effects –Drop Shadow V: 10 H: 10 O: 70 B: 20
4-Layers>New Raster Layer. (Raster 6)
5-Selections>Load/Save Selection>Load from Disk Elfida 6
6-Prepare the gradient as follows. /Sunburst / Angle 0 / Repeats 0 /(Invert sign)
7-Flood Fill Tool / Gradient
8-Activate the landscape tube- Elfida landscape, Edit Copy
9- Edit, Paste into selection
10-Effects – Alien Skin -Eye Candy 5 Impact – Glass / Clear
11-Sellection None
12Layers – Duplicate
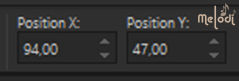
13Active Pick Tool -Position X: 94 Position Y: 47
14-Layers – Duplicate
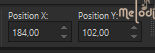
15-Active Pick Tool -Position X: 184 Position Y: 102
16-Merge / Merge Down X 3 (Repeat 3 times)
RESULD
STEP 8
1-File-Open-Tube- Femme Kamil ( Delete Watermark )
2-Edit-Copy / Edit- Paste As New Layer
3-Image-Resize-By Percentage 73-Resize all layer not cheked
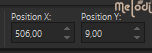
4-Active Pick Tool -Position X: 506 Position Y: 9
(Adjust the size to your tube and place it to the right of your work.)
5-Adjust-Sharpness-Sharpen
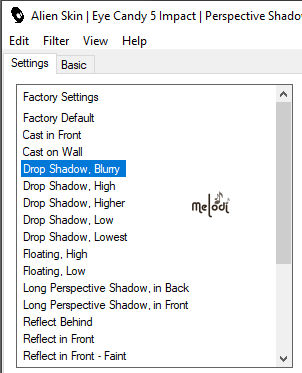
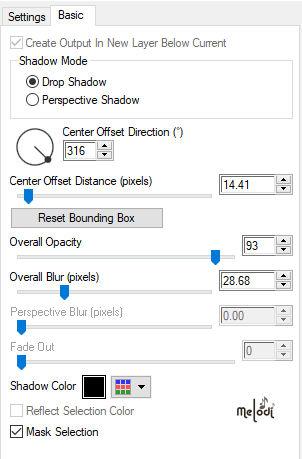
6-Effects-Plugins-Alien Skin Eye Candy 5:Impact-Perspective Shadow-Drop Shadow , Blurry
Basic
RESULD
STEP 9
1-Activate the text Elfida , Edit Copy
2-Edit, Paste as new Raster layer
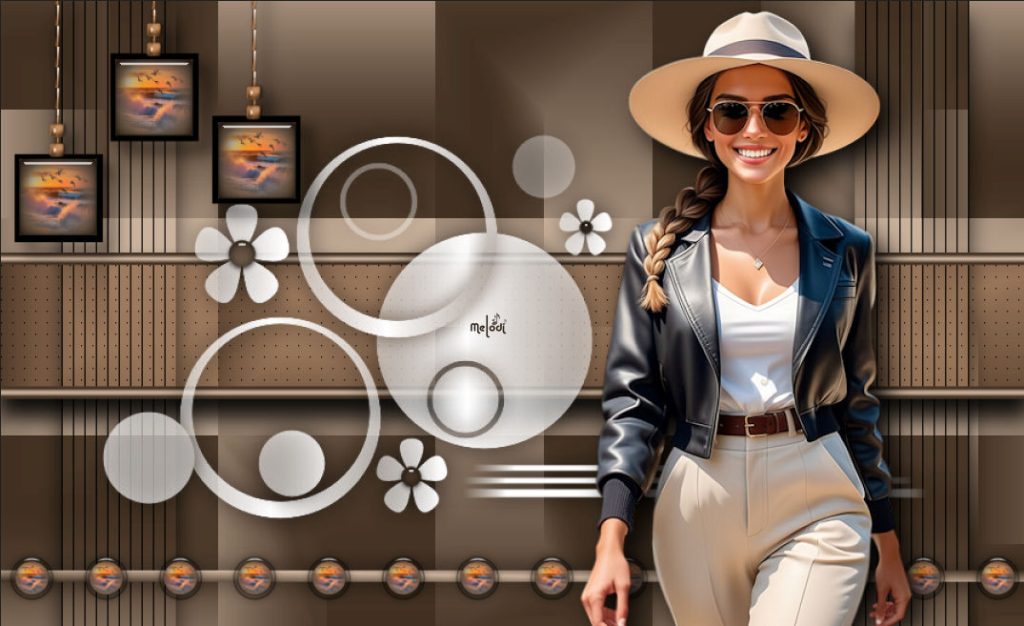
3-Tool, Select (K), Change the Position X (314) and Position Y ( 33) settings to the settings below
4-Image, Add Borders, Symmetrical 1 pixel Background color #cab29c
5-Edit-copy /
6-File Open- Kamil Frame
7-Edit-paste as new layer
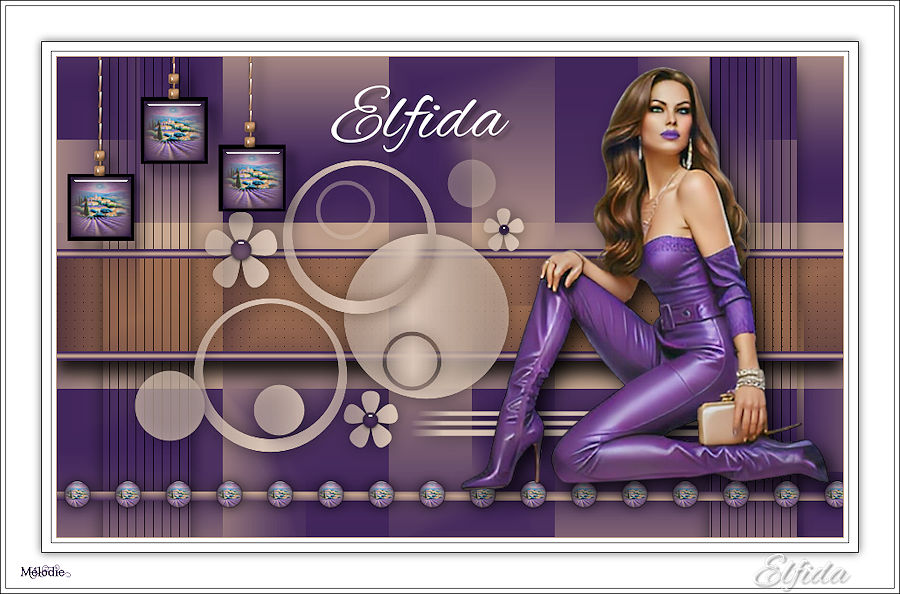
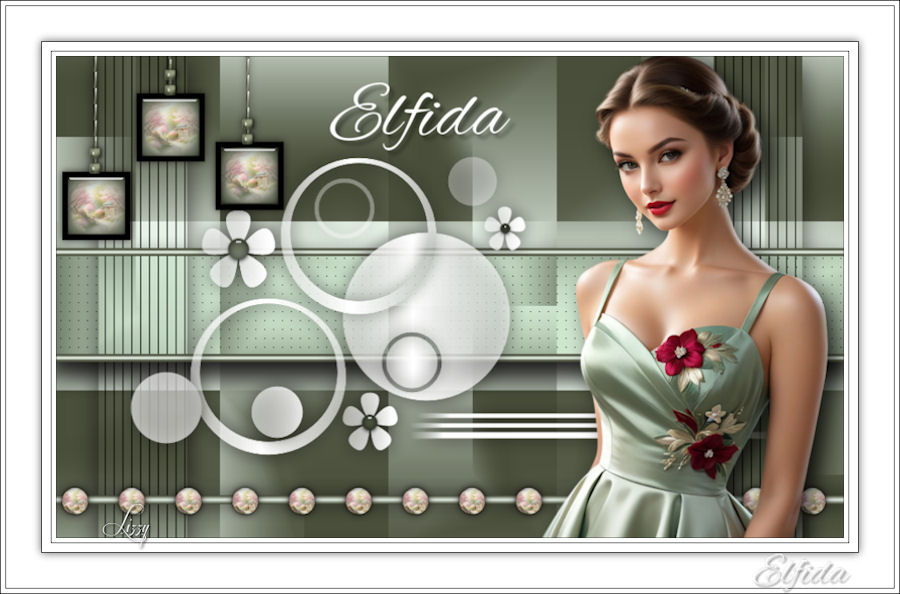
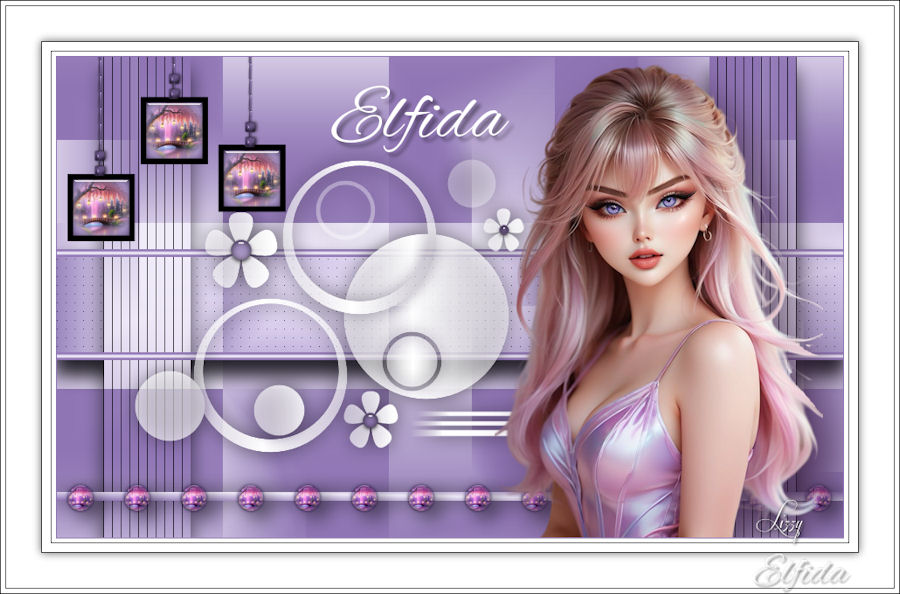
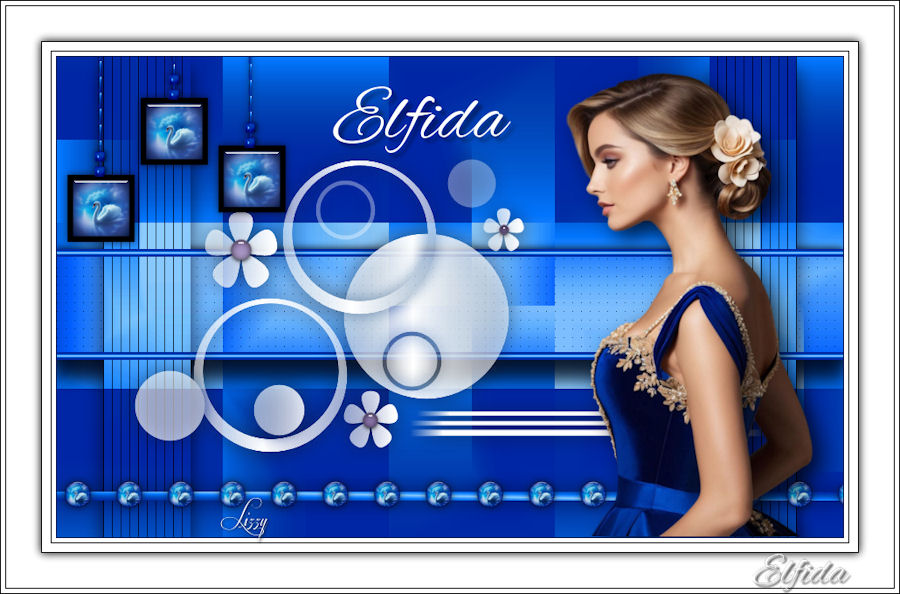
8-Sign your name. Merge- Merge All
9-Resize to 900 pixels
10-Save as JPG
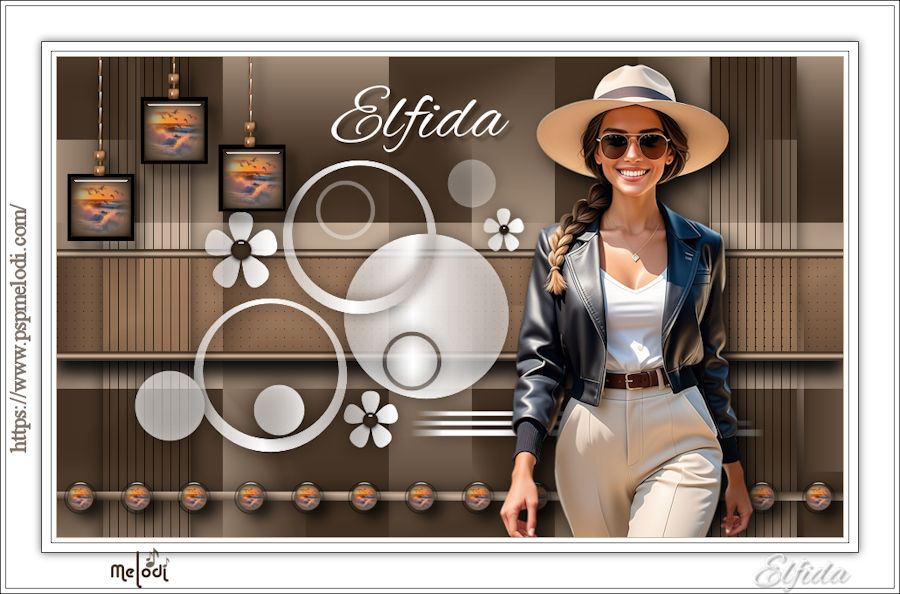
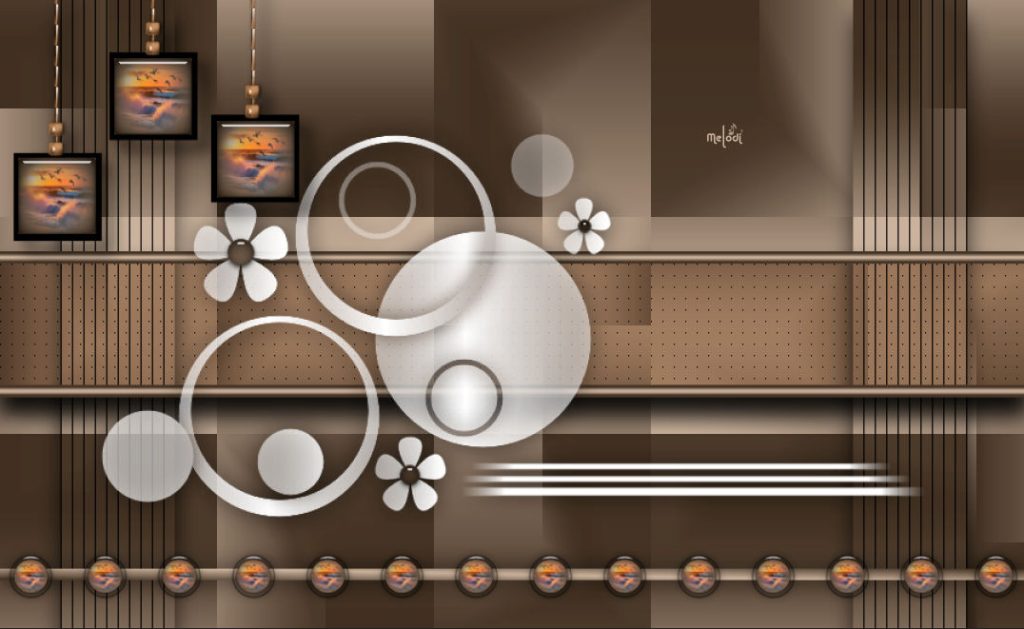
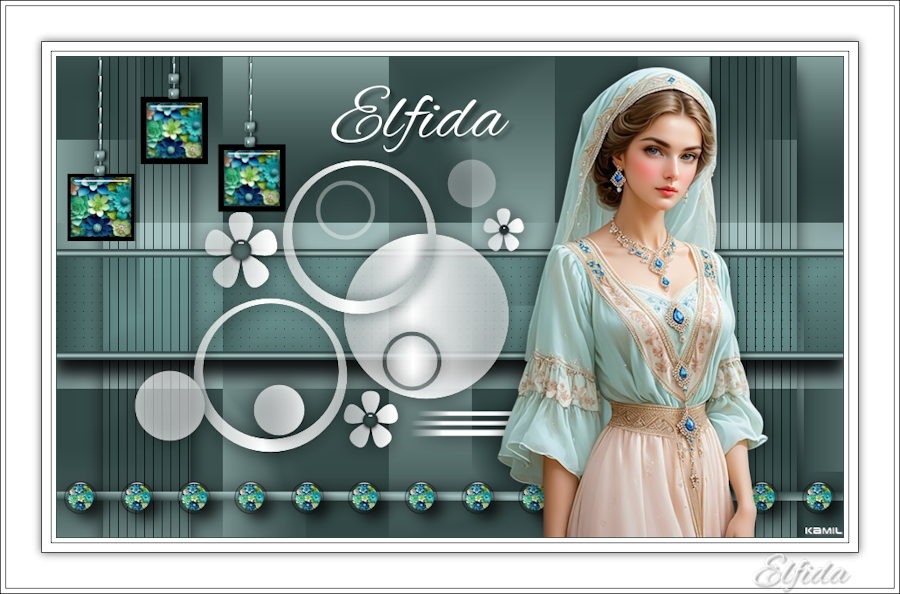
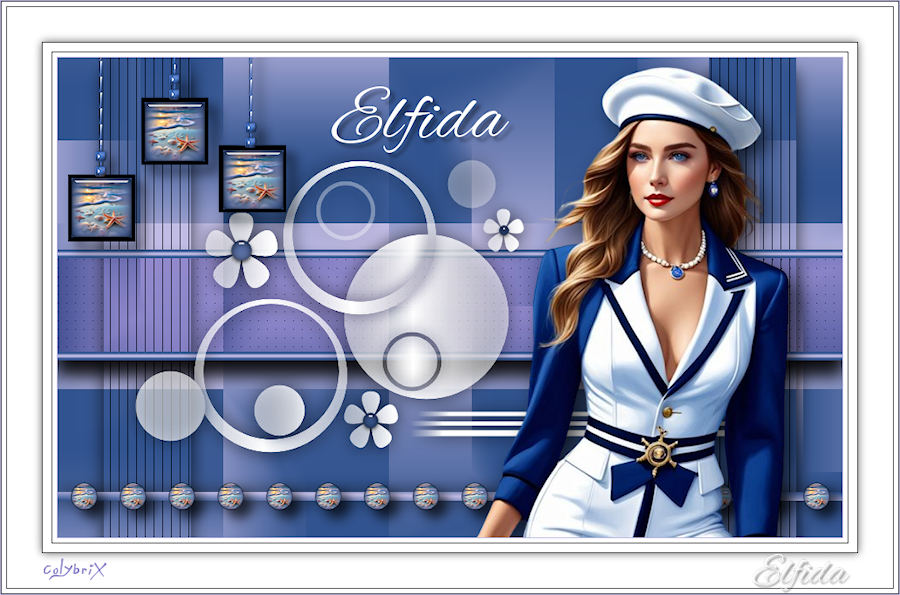
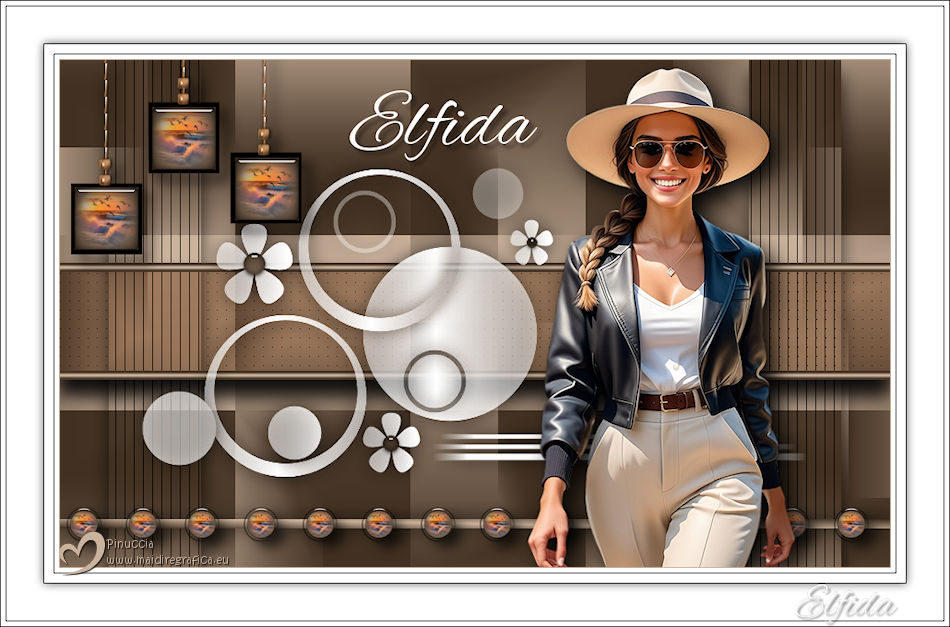
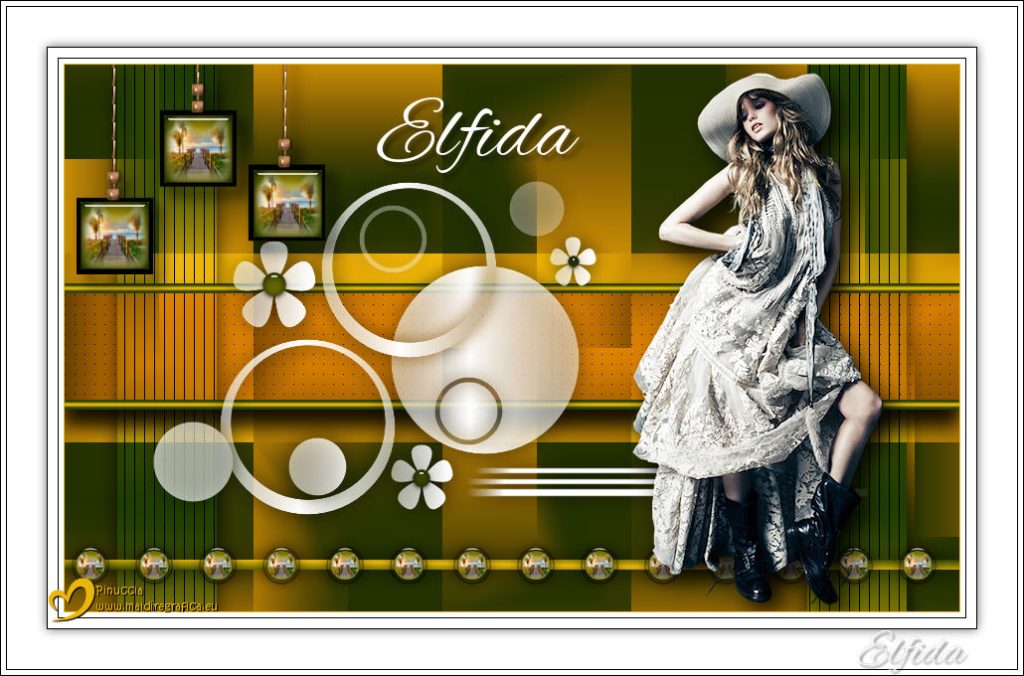
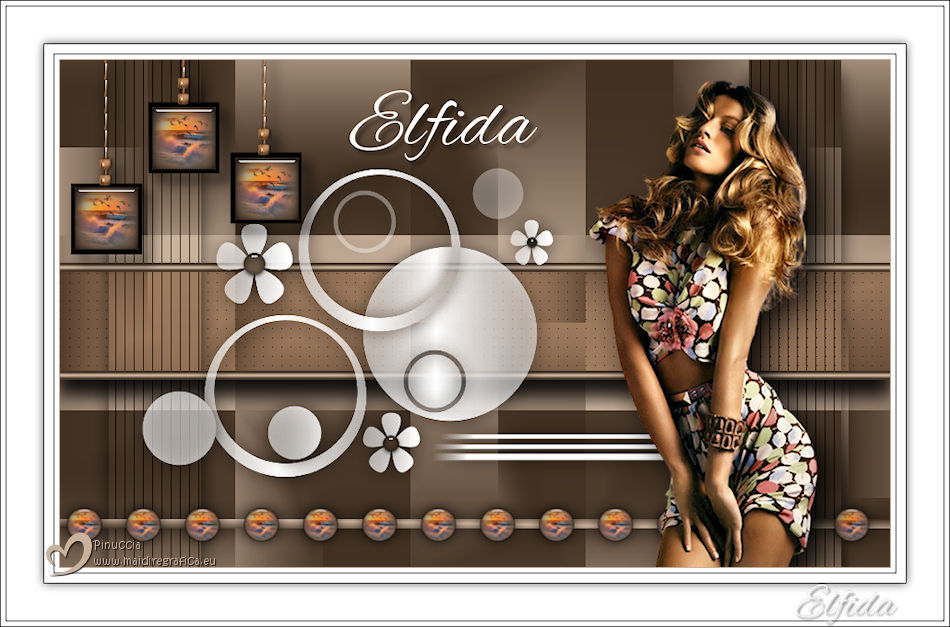
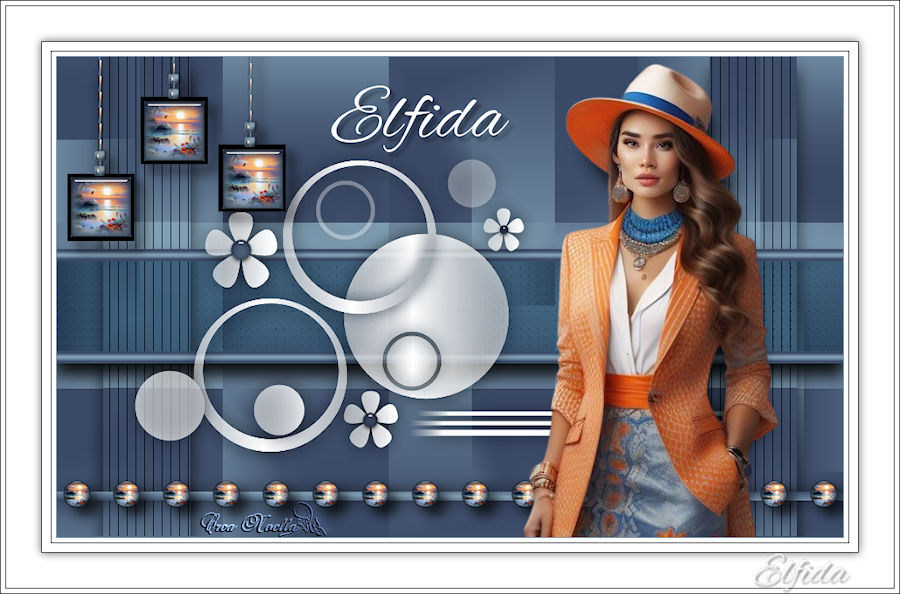
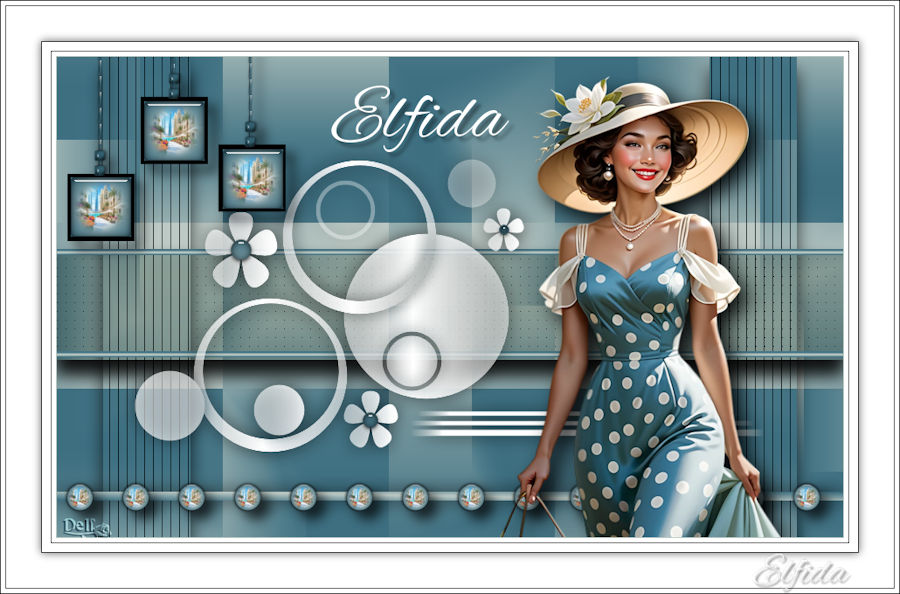
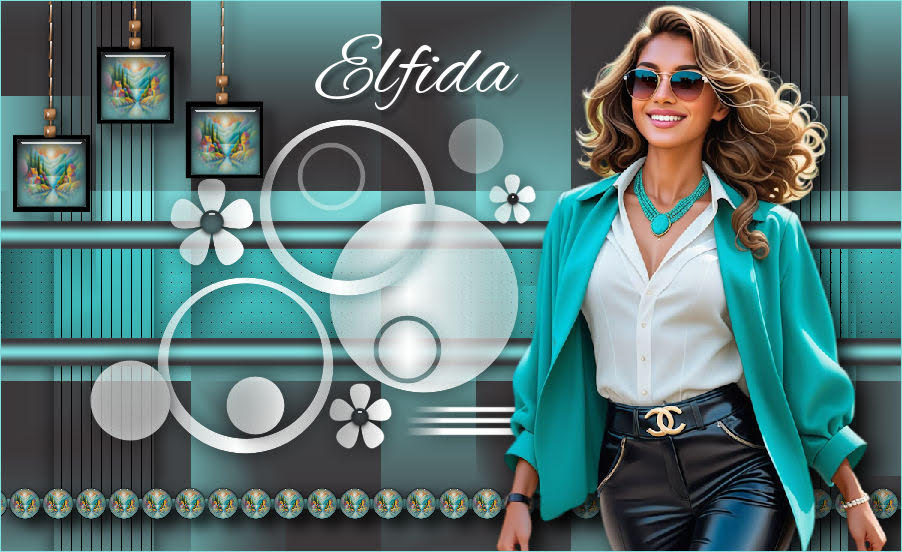
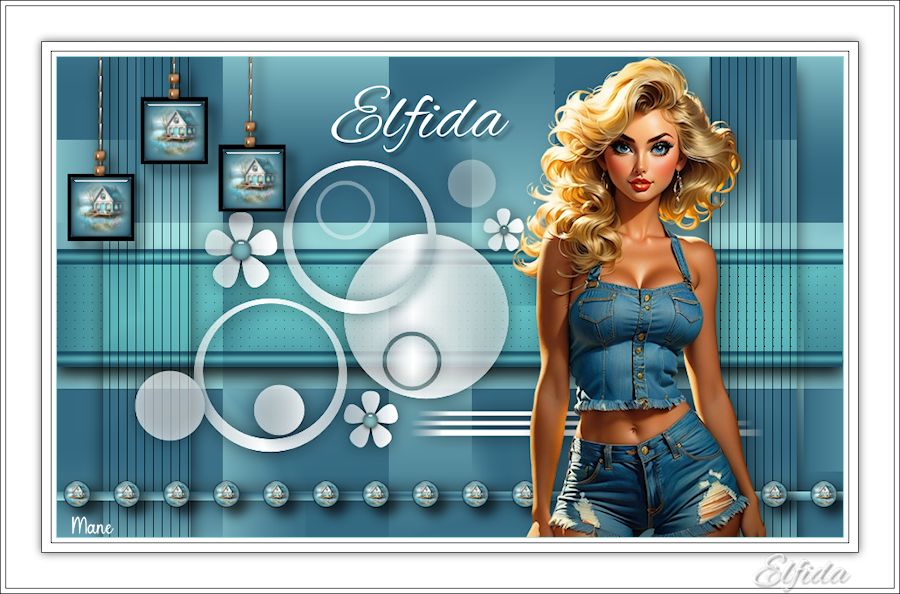
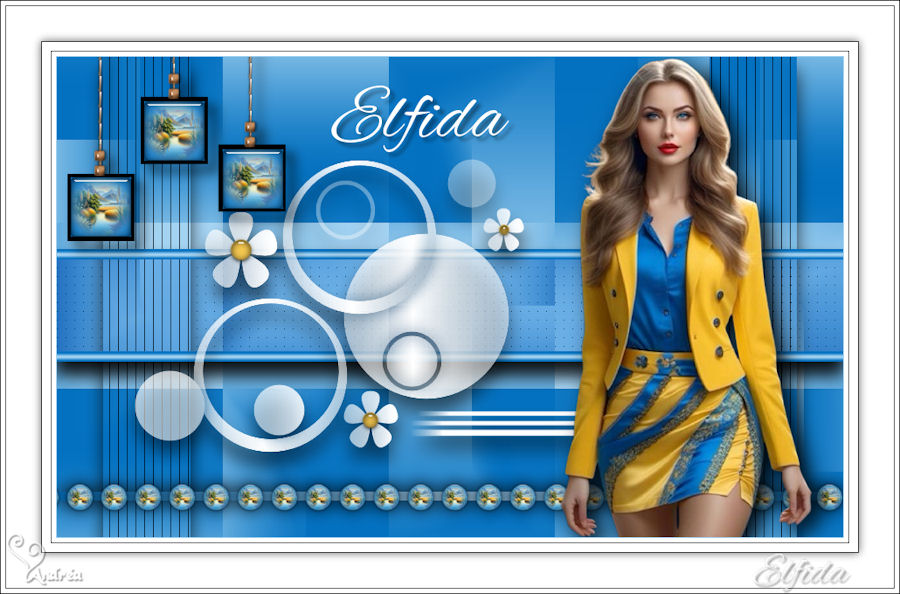
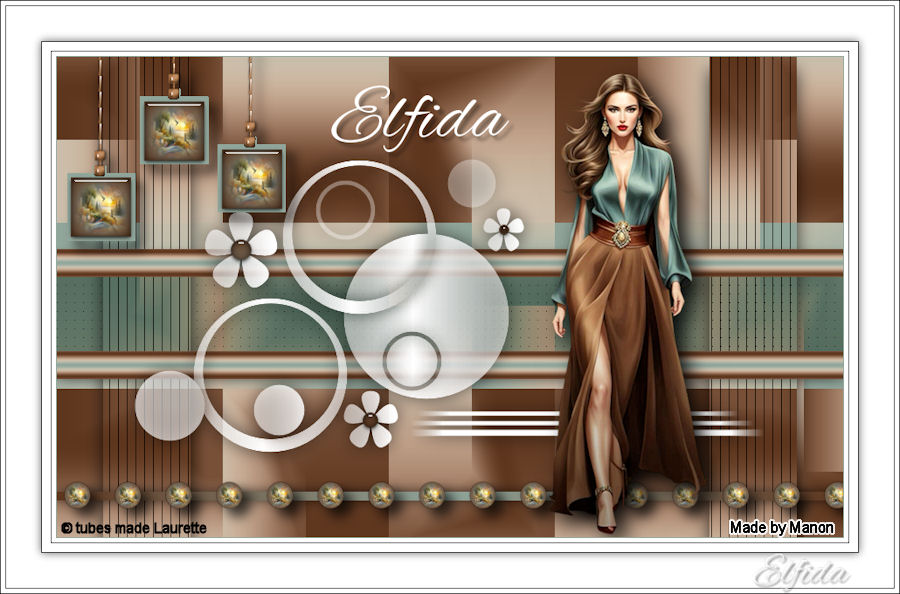
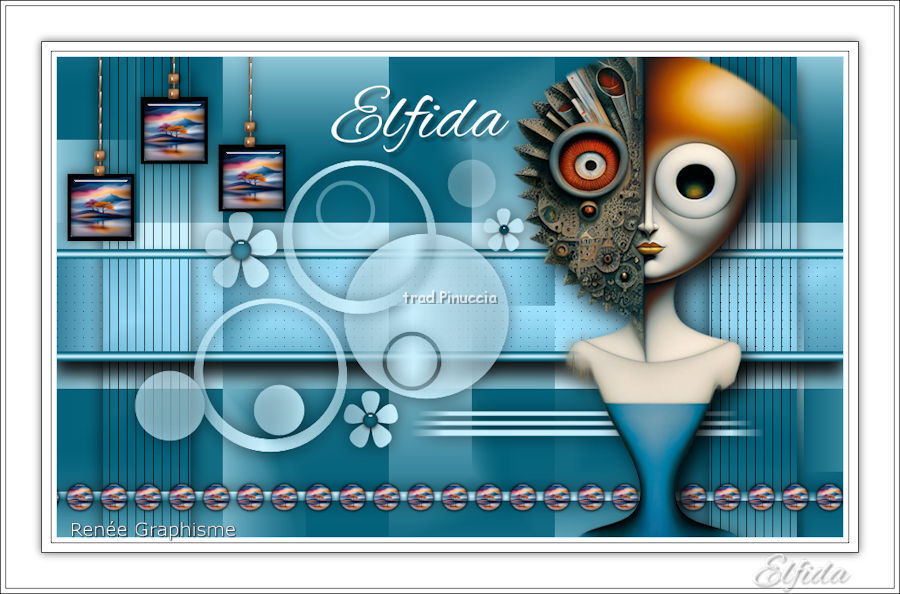
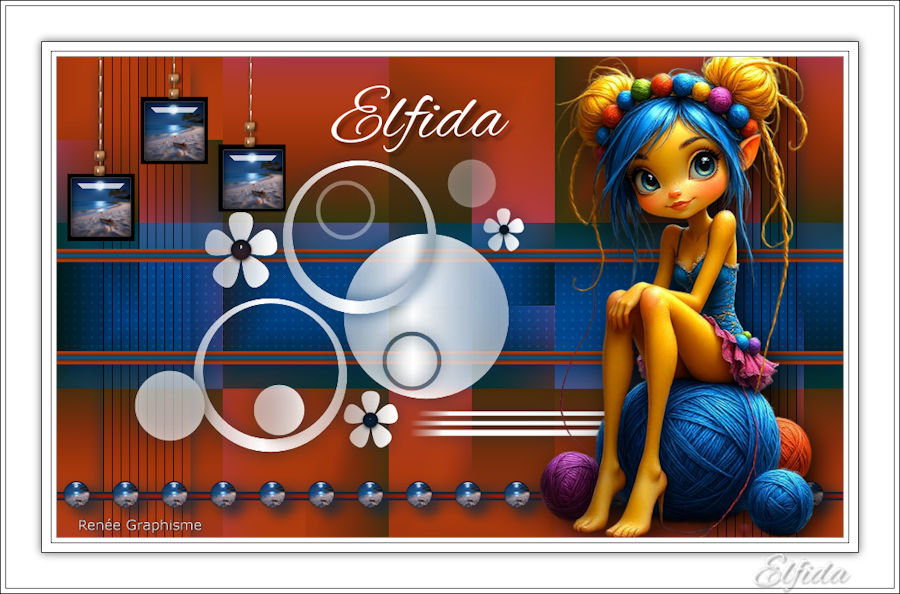
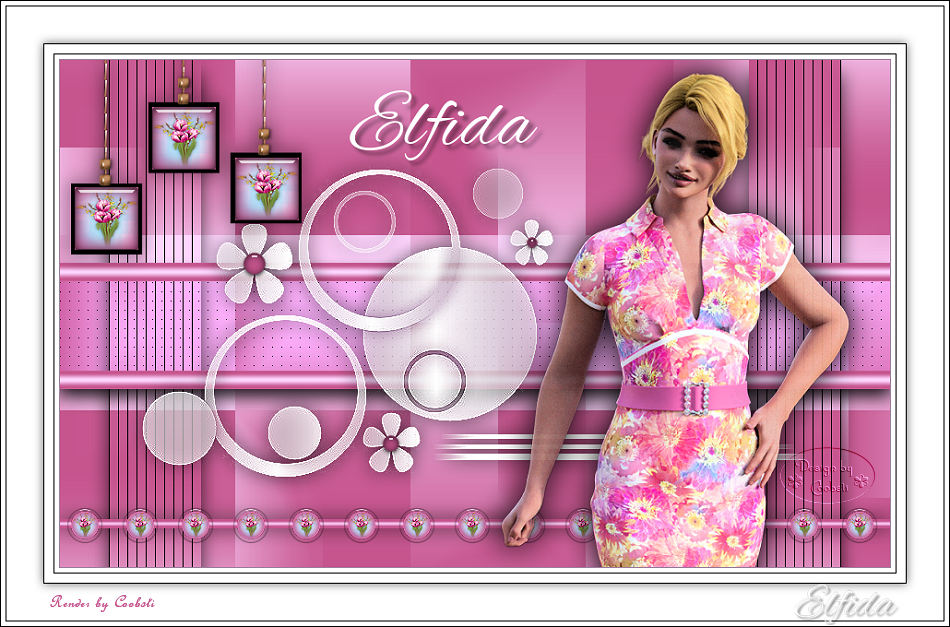
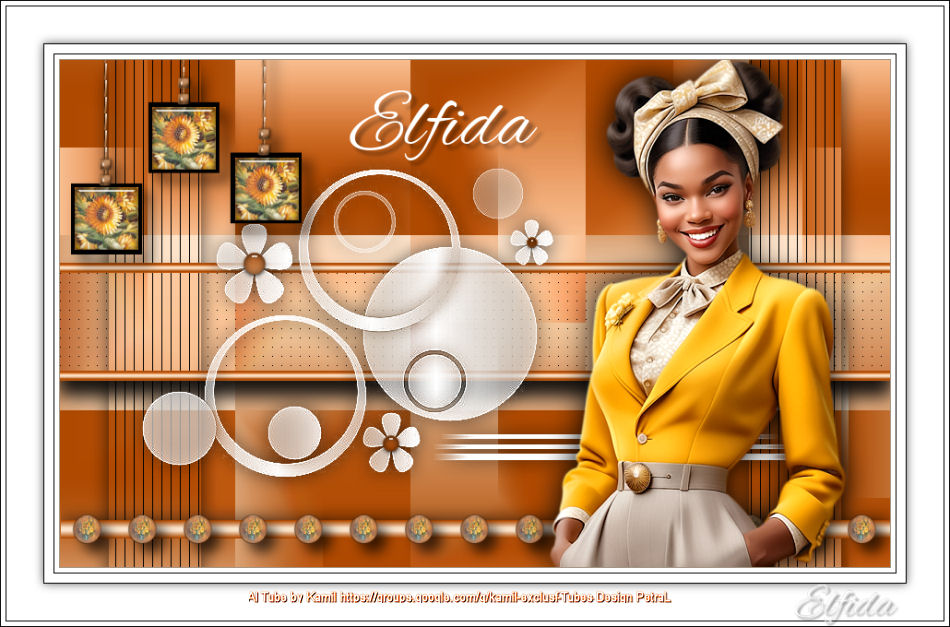
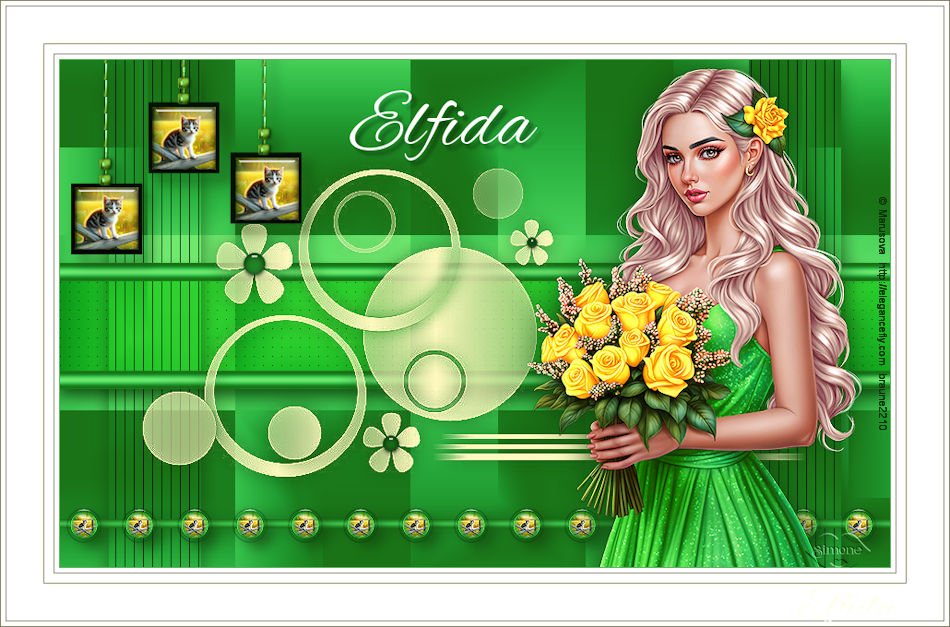
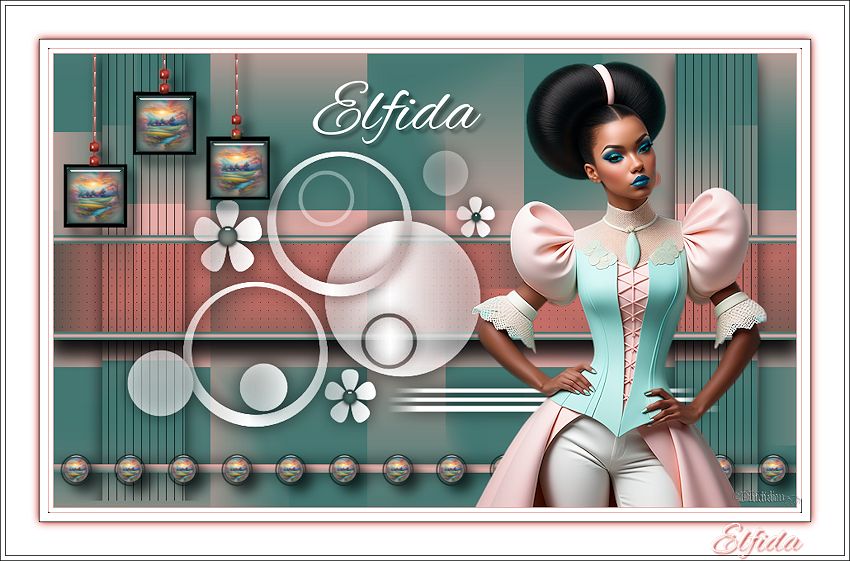
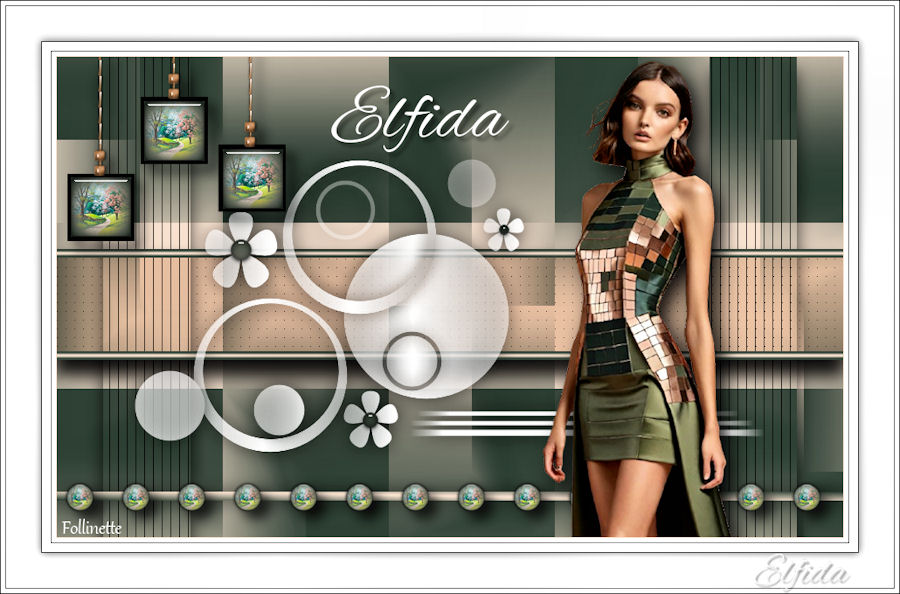
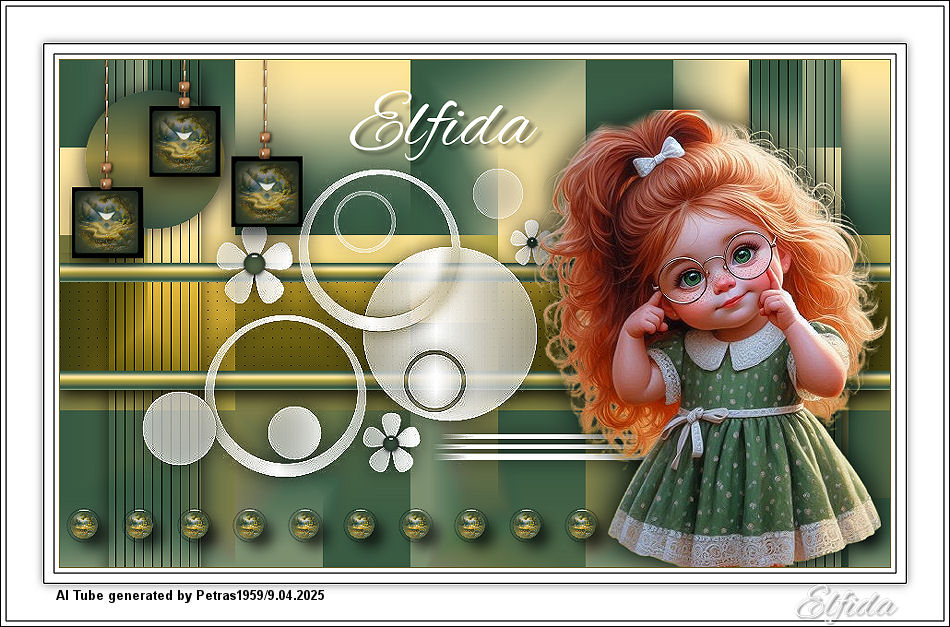
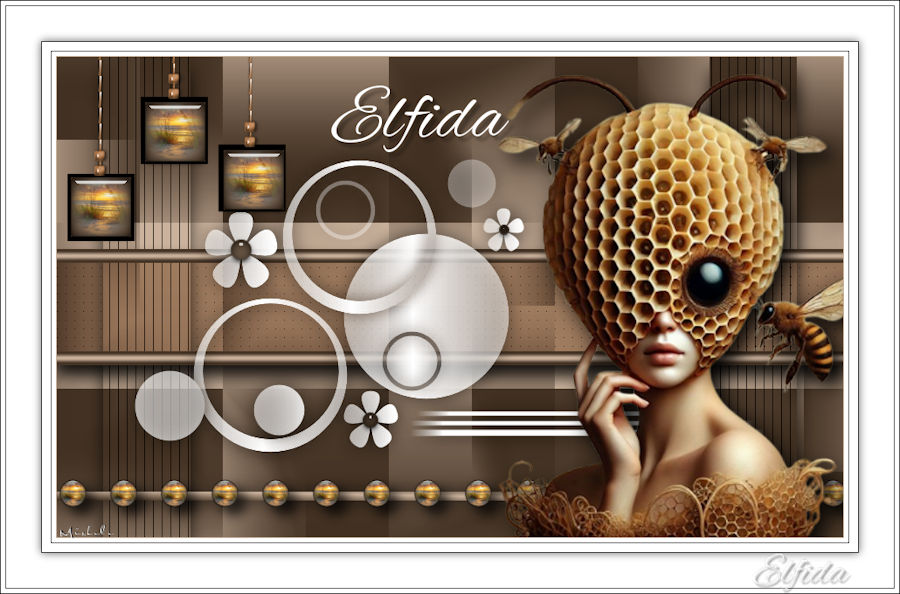
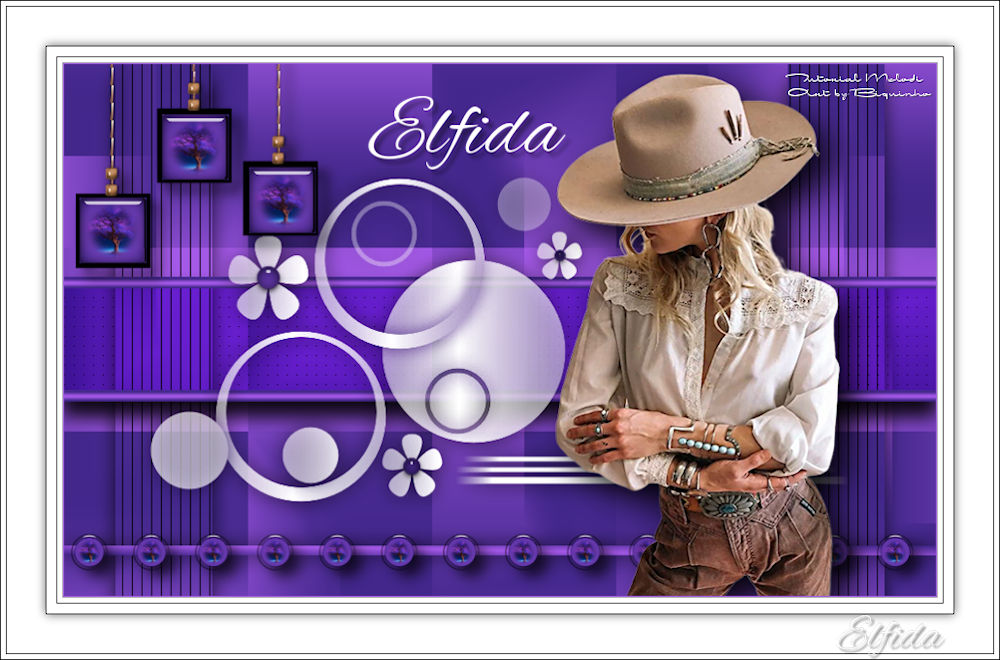
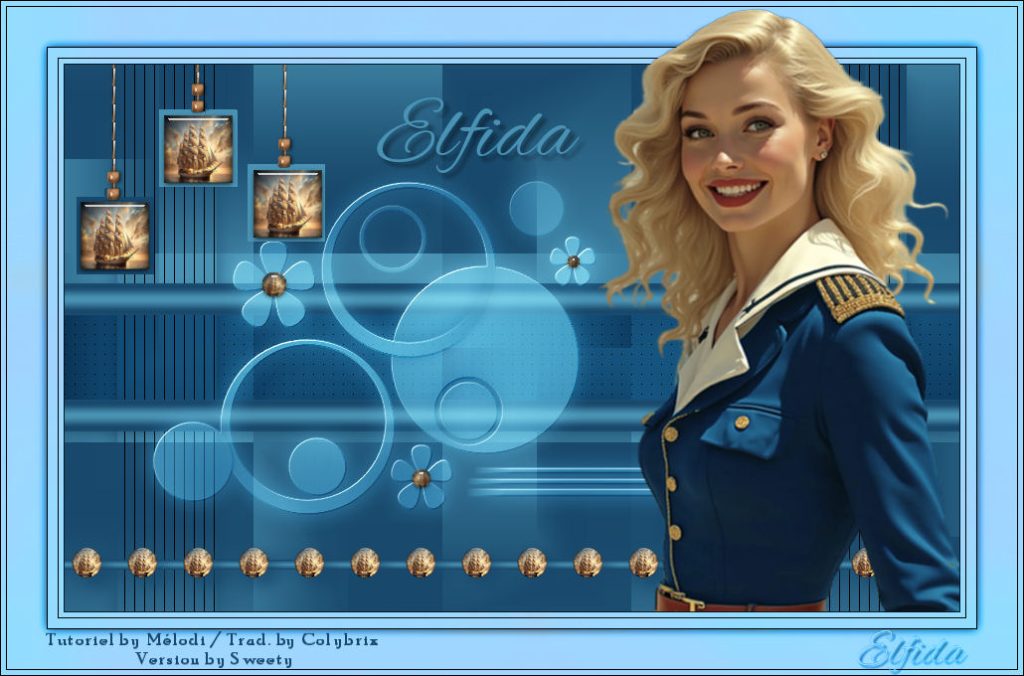
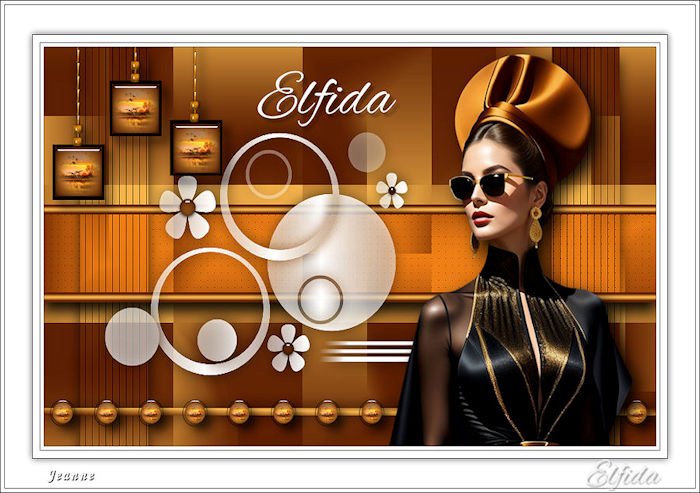
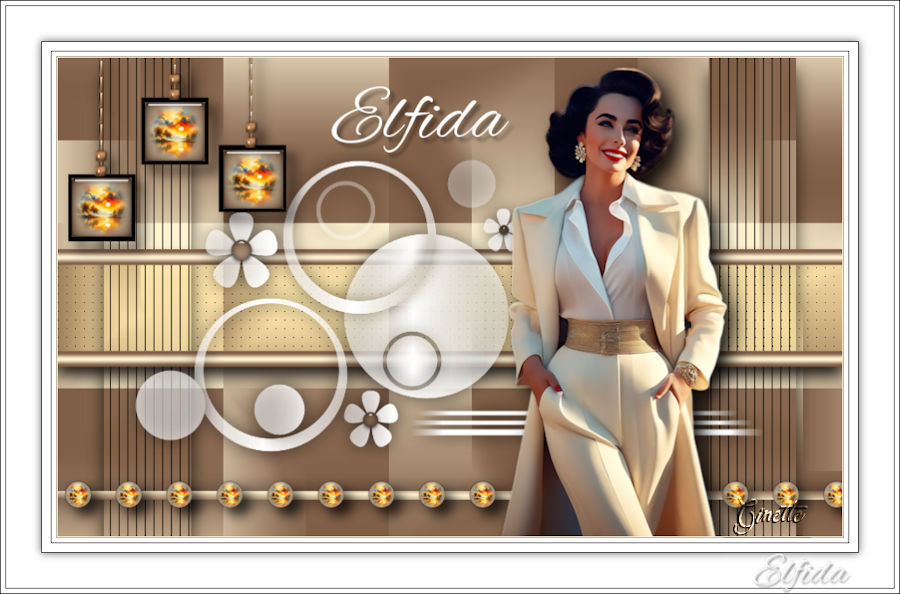
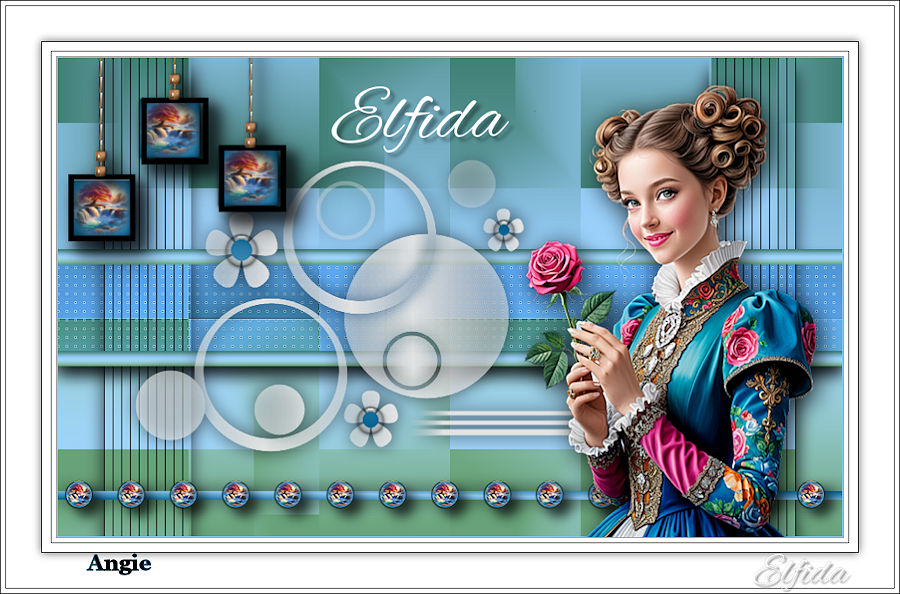
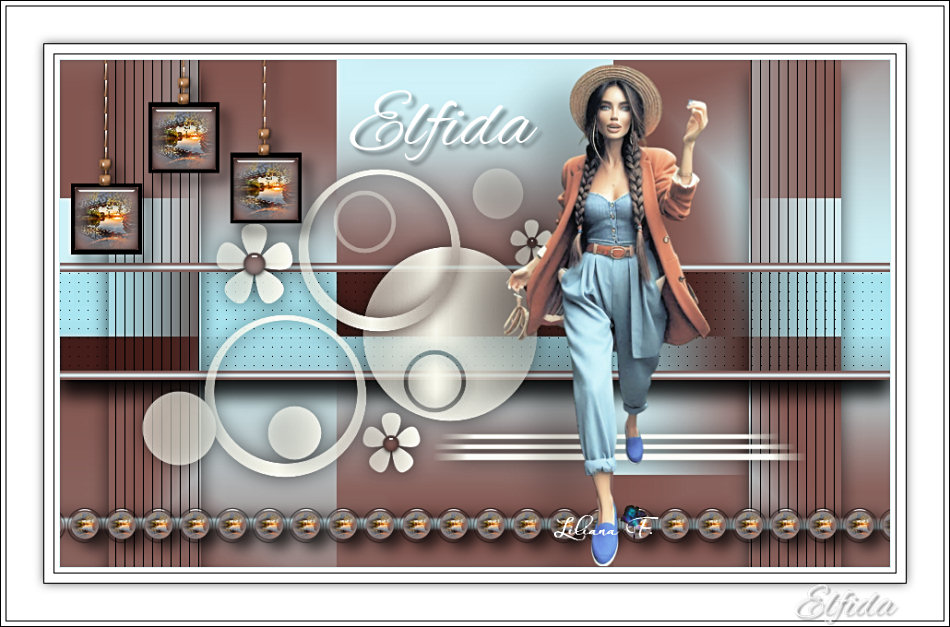
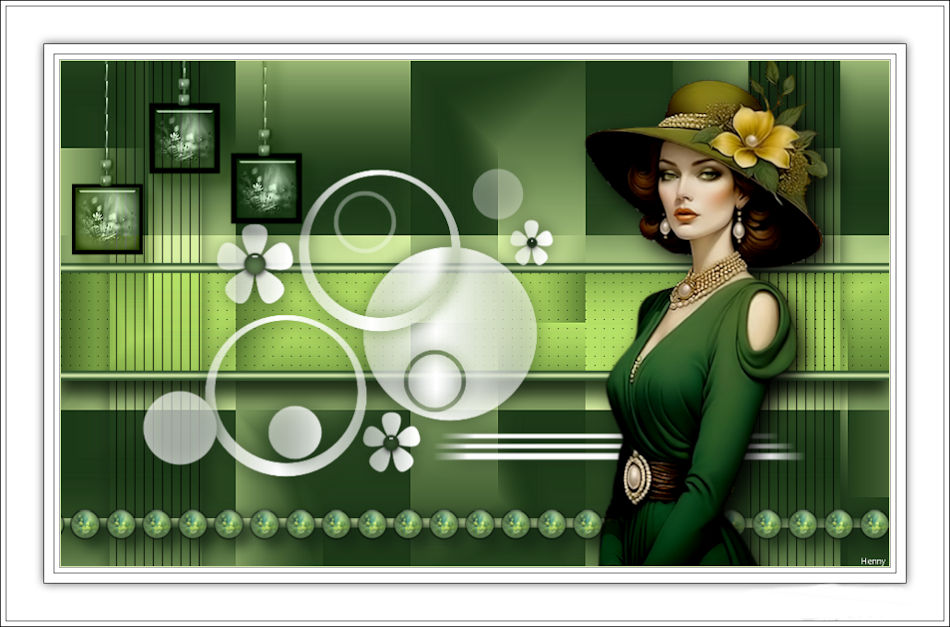
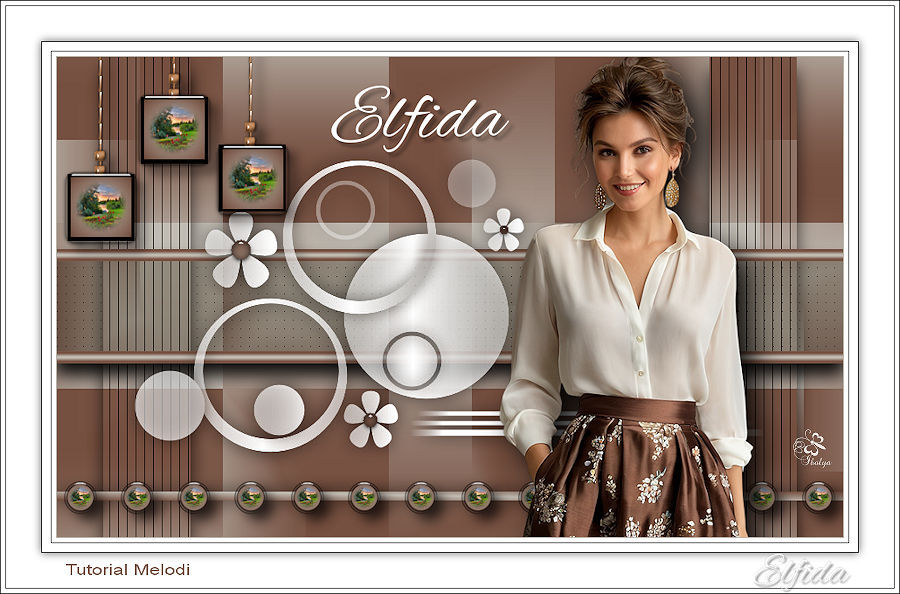
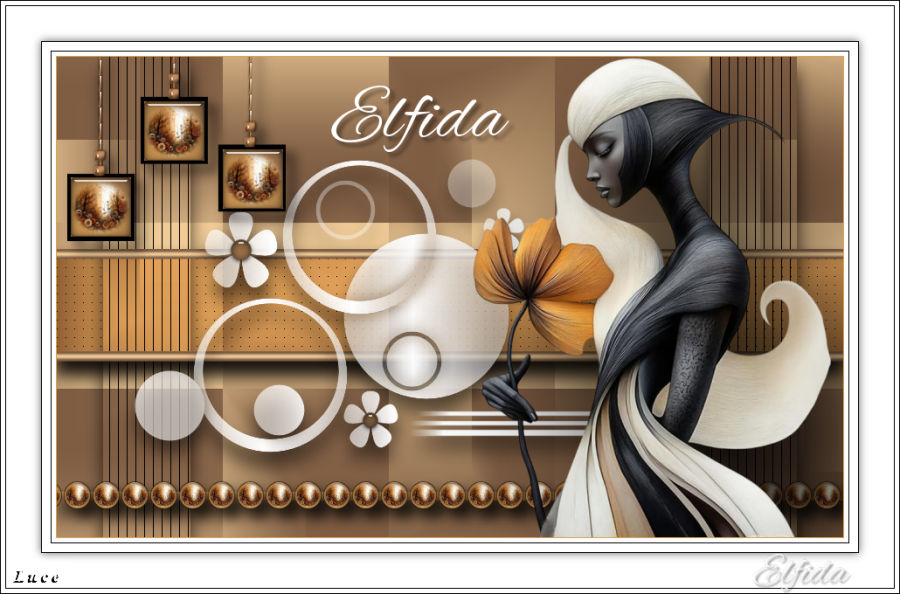
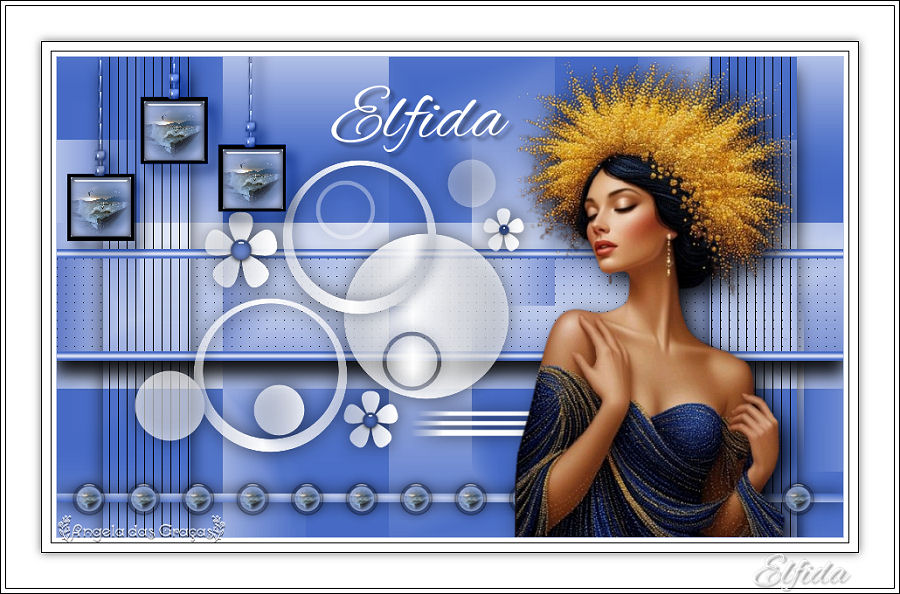
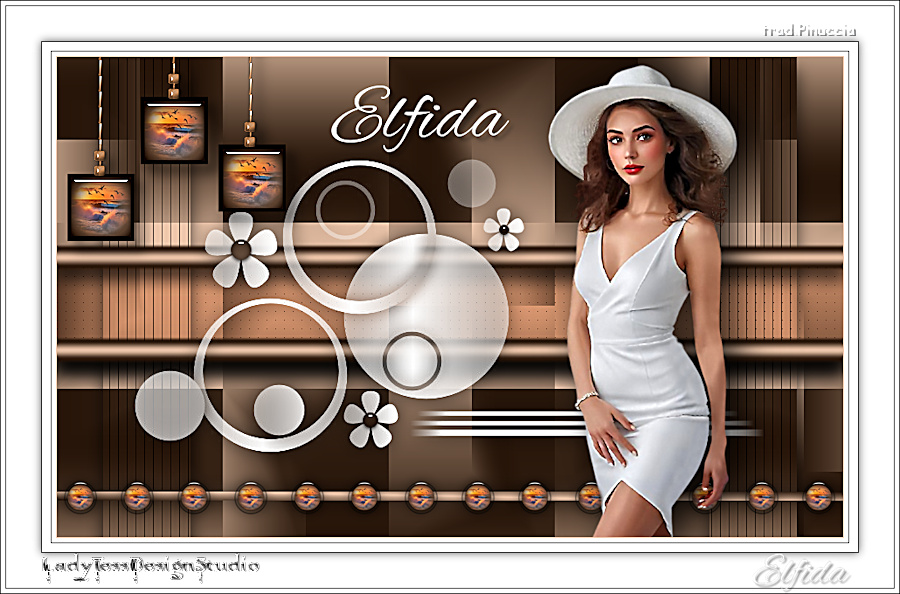
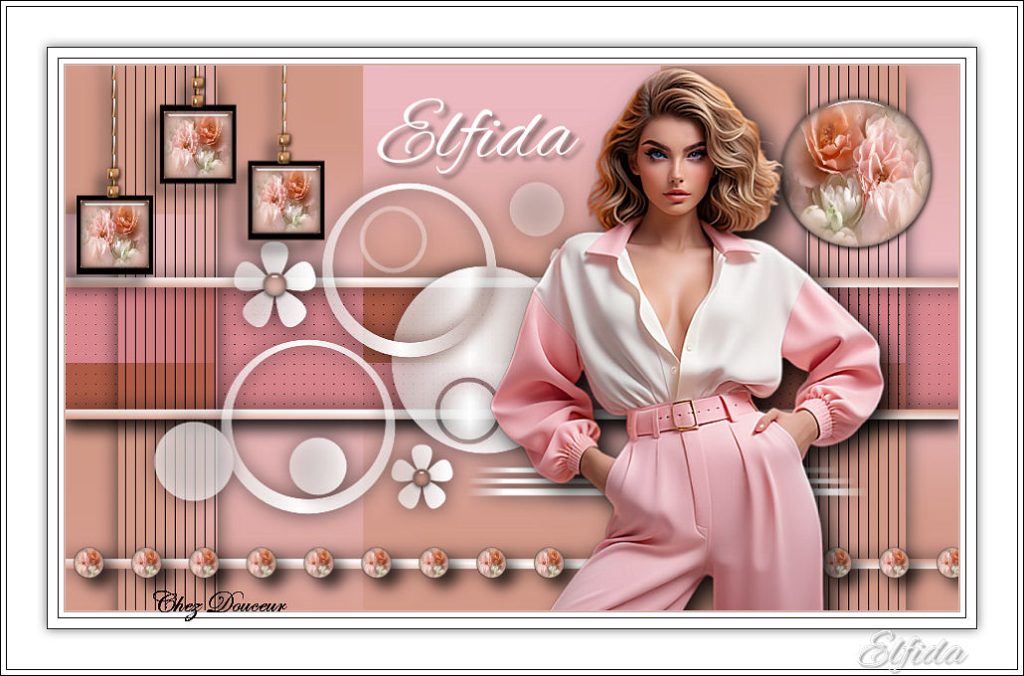
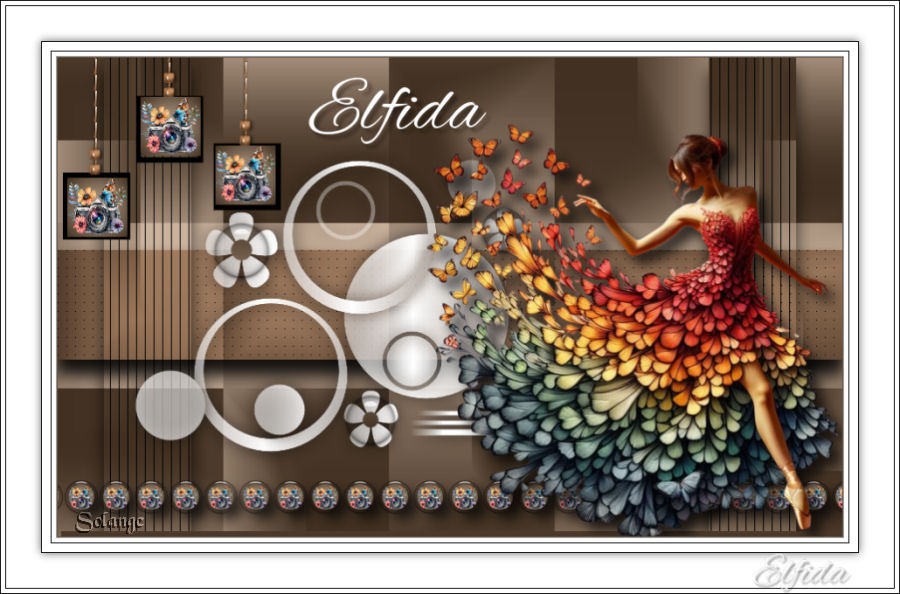
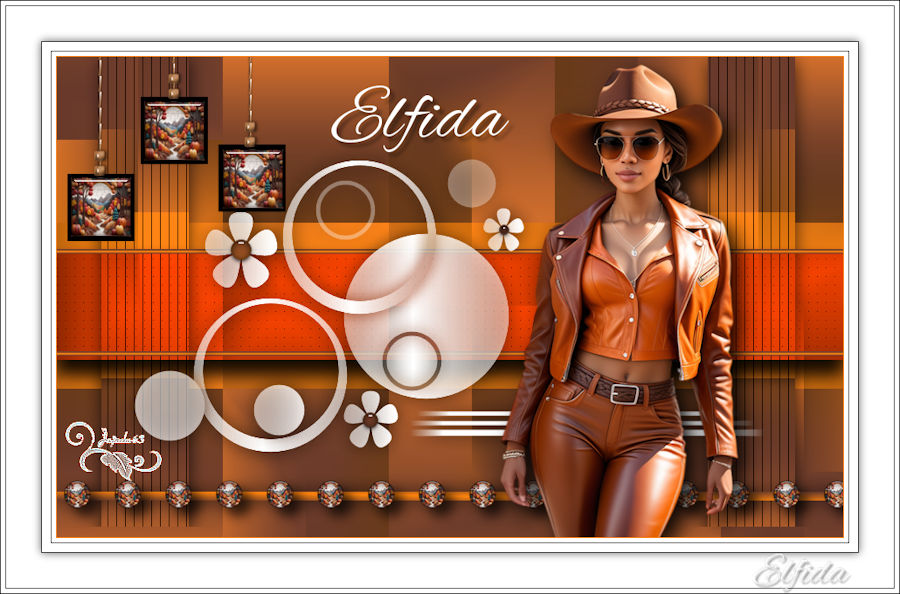
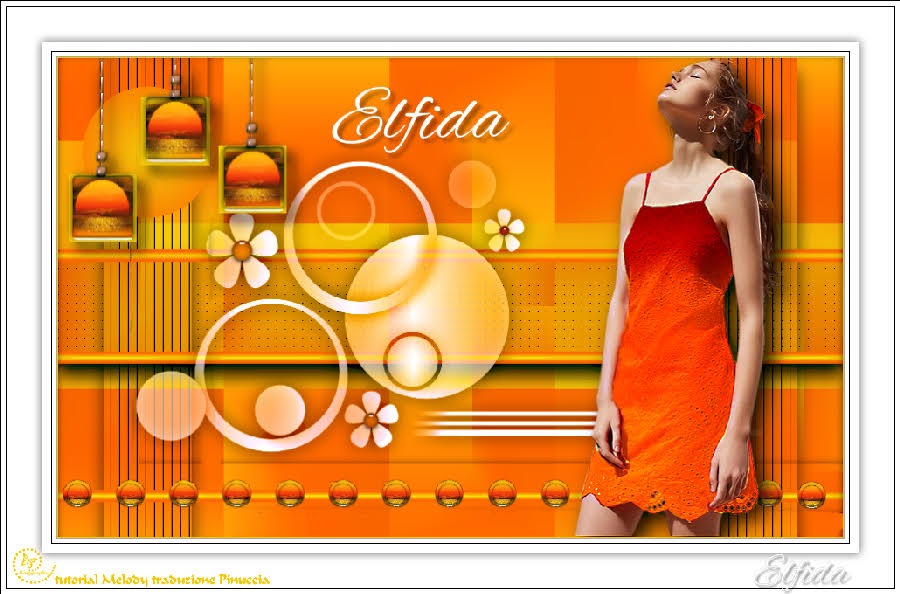
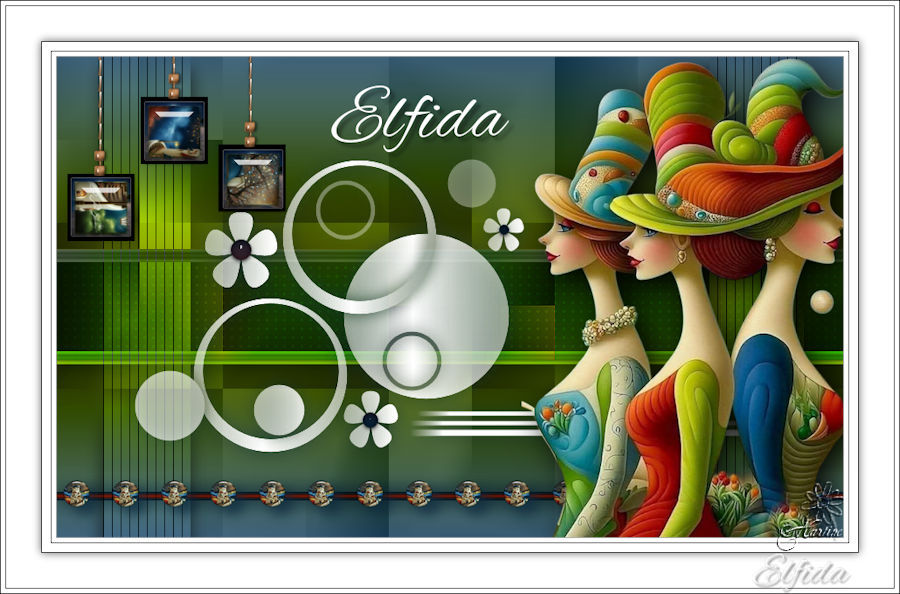
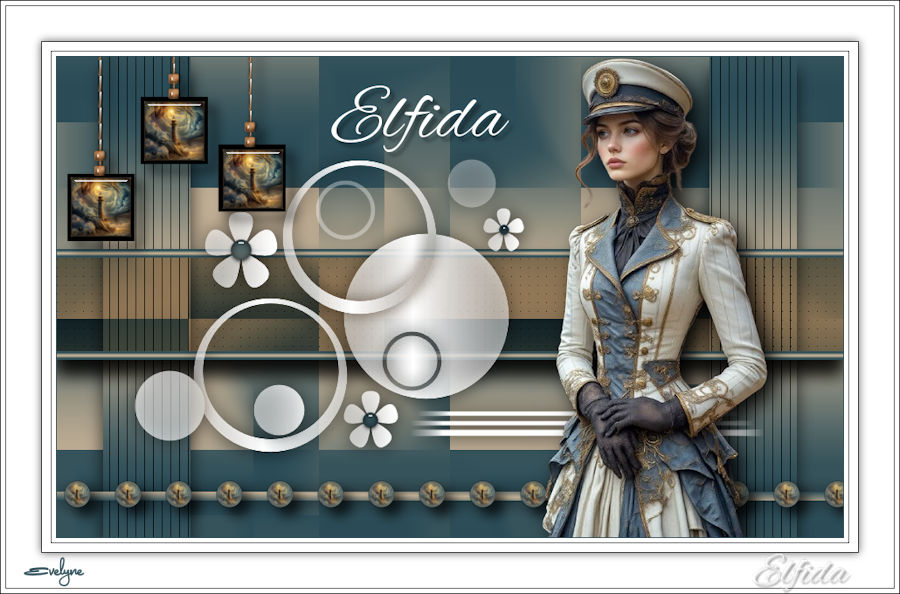
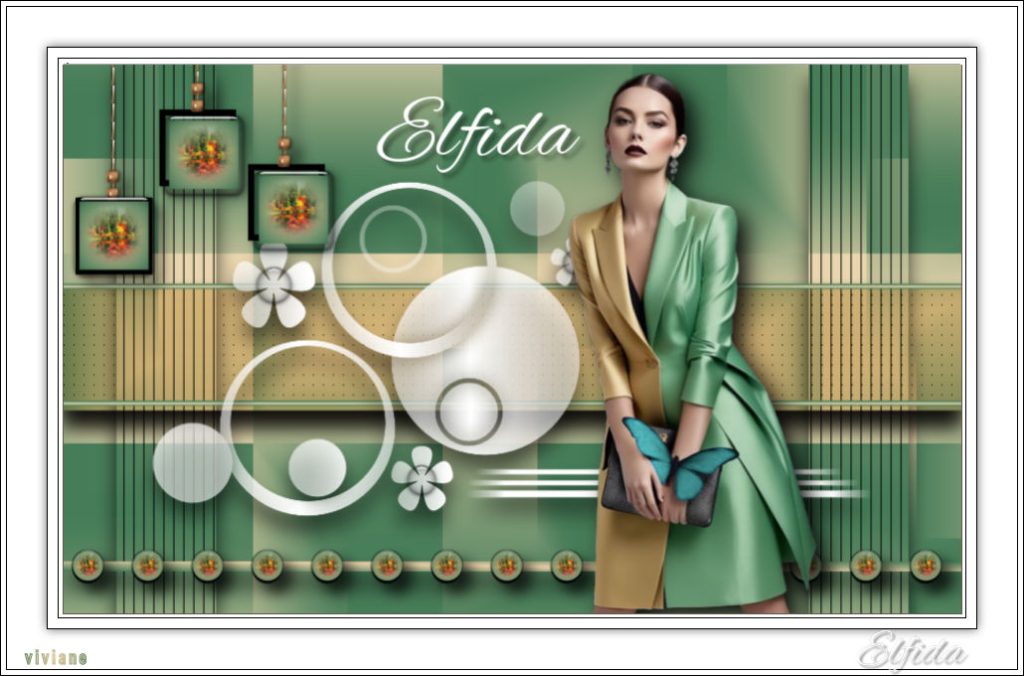
RESULD
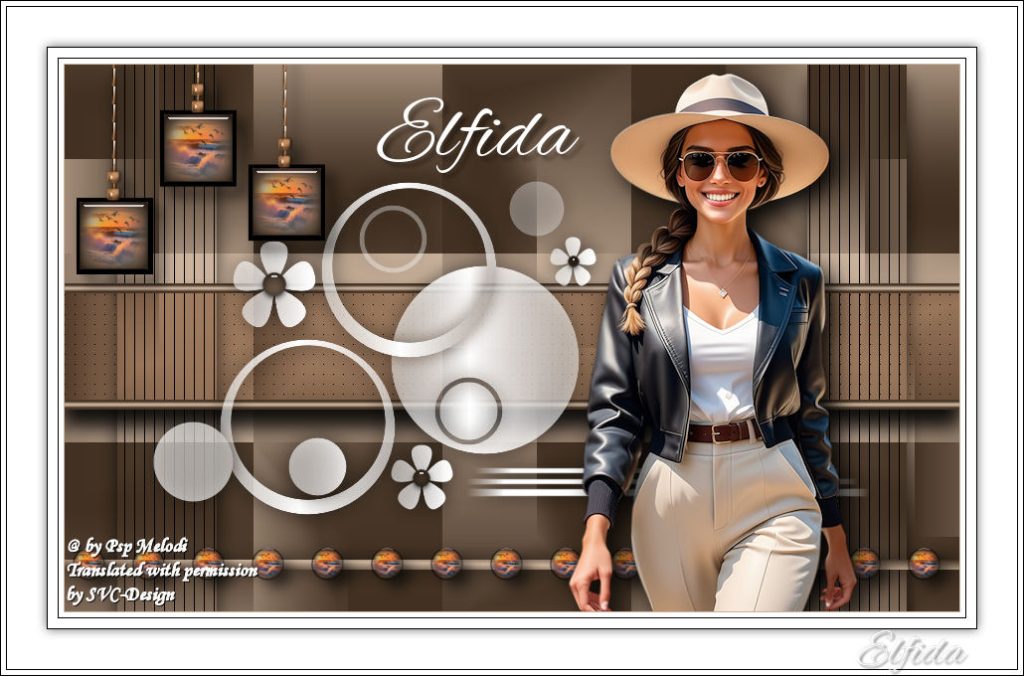
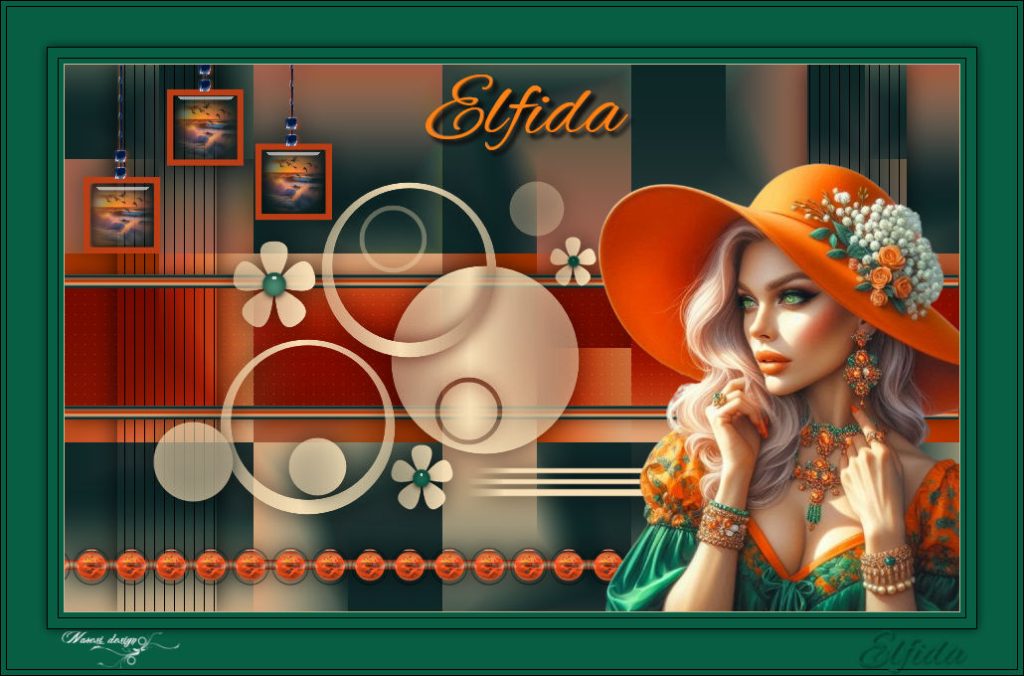
Thanks for the test, Kamil.

Thanks for the test,Aynur.
Thank you Inge Lore
Thank you Colybrix
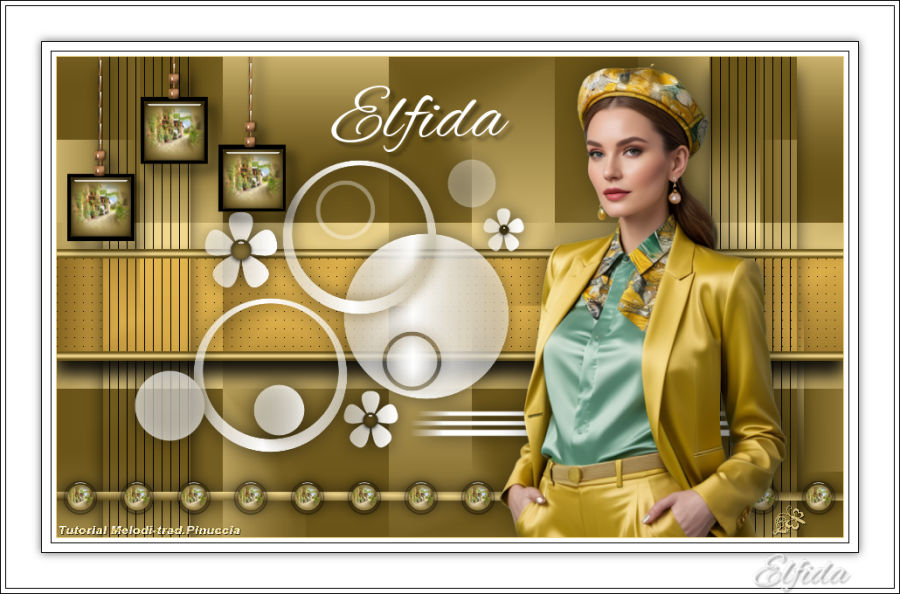
Thank you Pinuccia
Thank you Sylviane
Thank you Di@ne
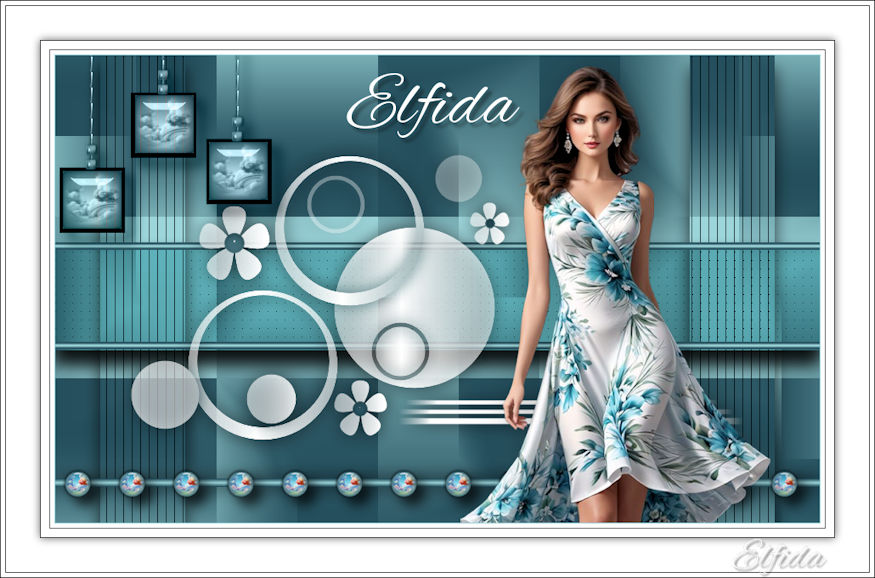
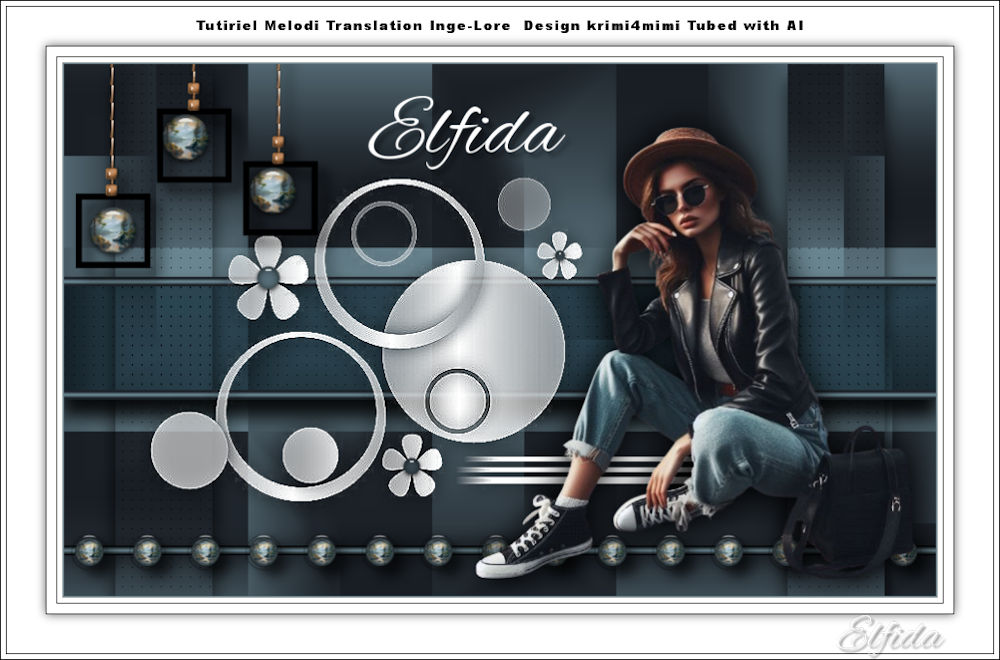
Thank you Krimi4mimi
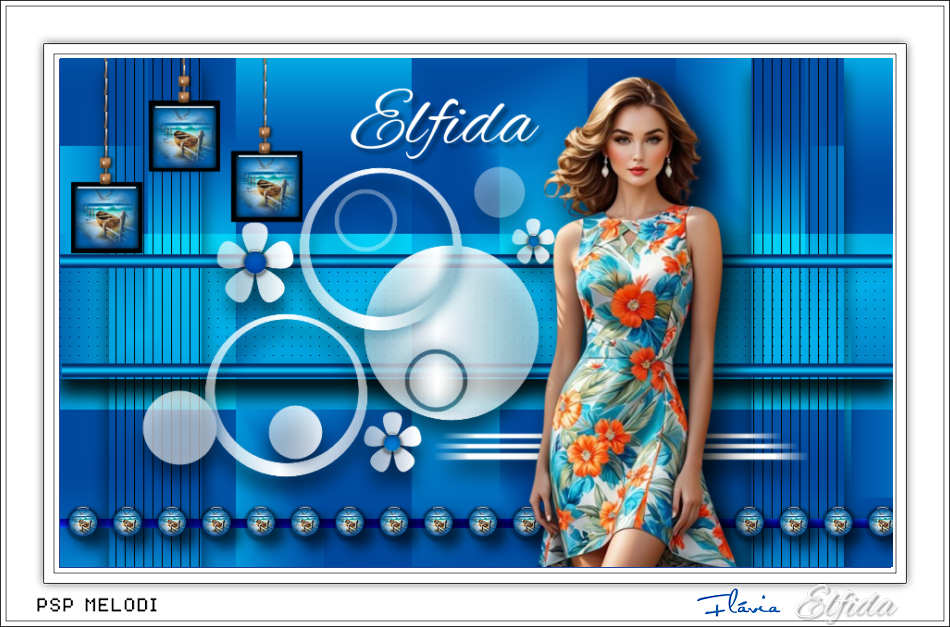
Thank you Flavia
Thank you Violine


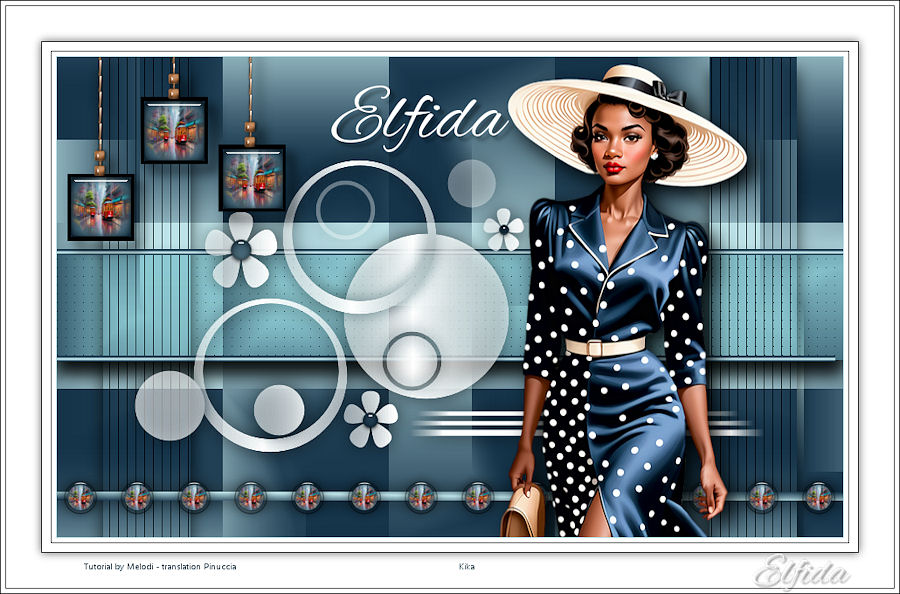
Thank you Kika
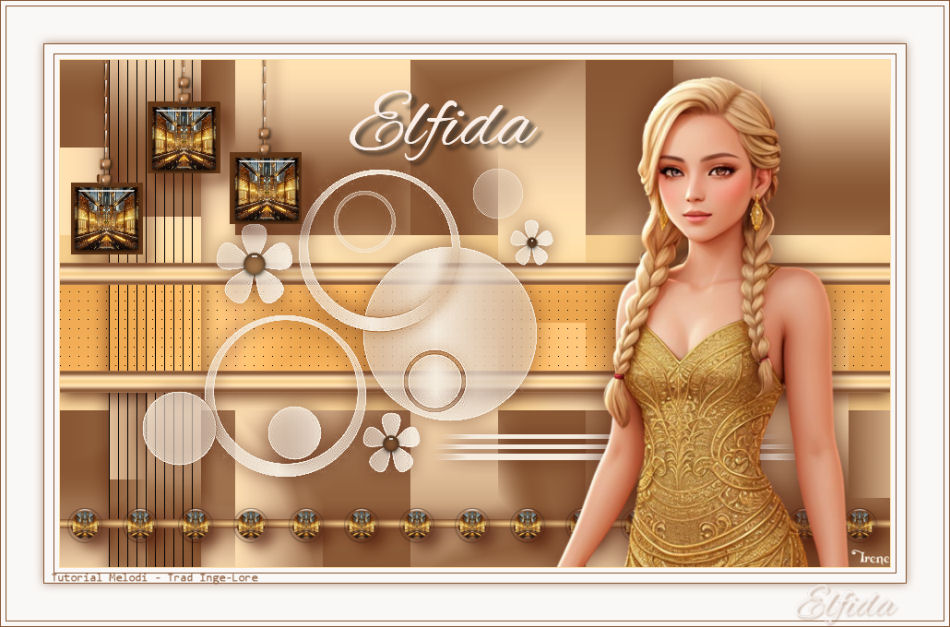
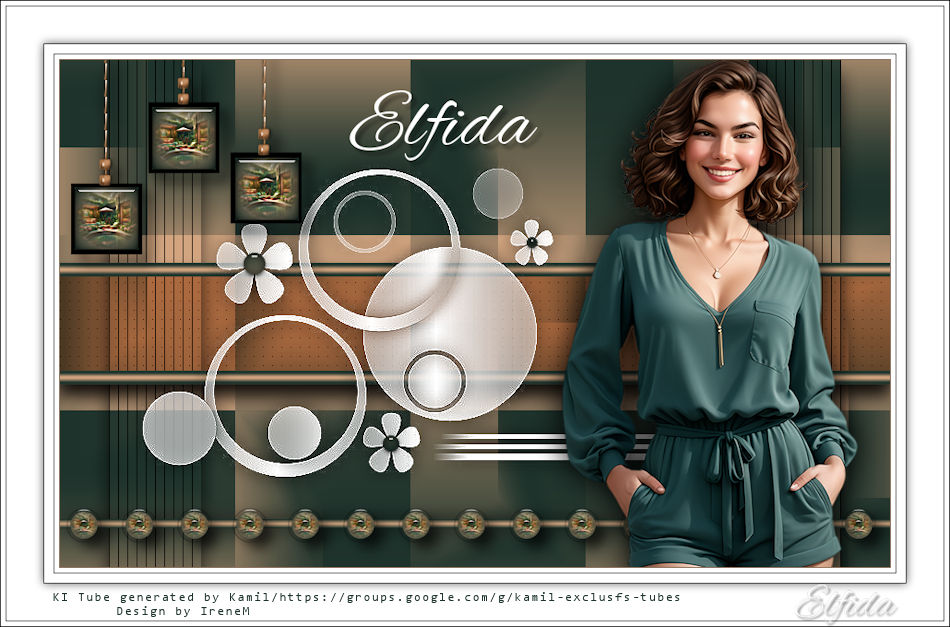
Thank you Irene
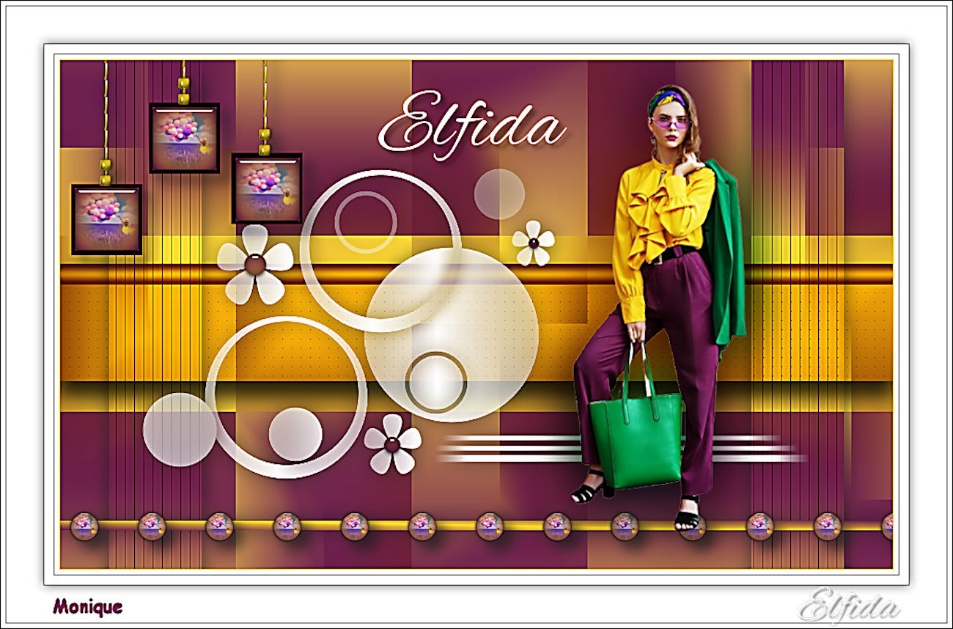
Thank you Monique
Thank you Dany
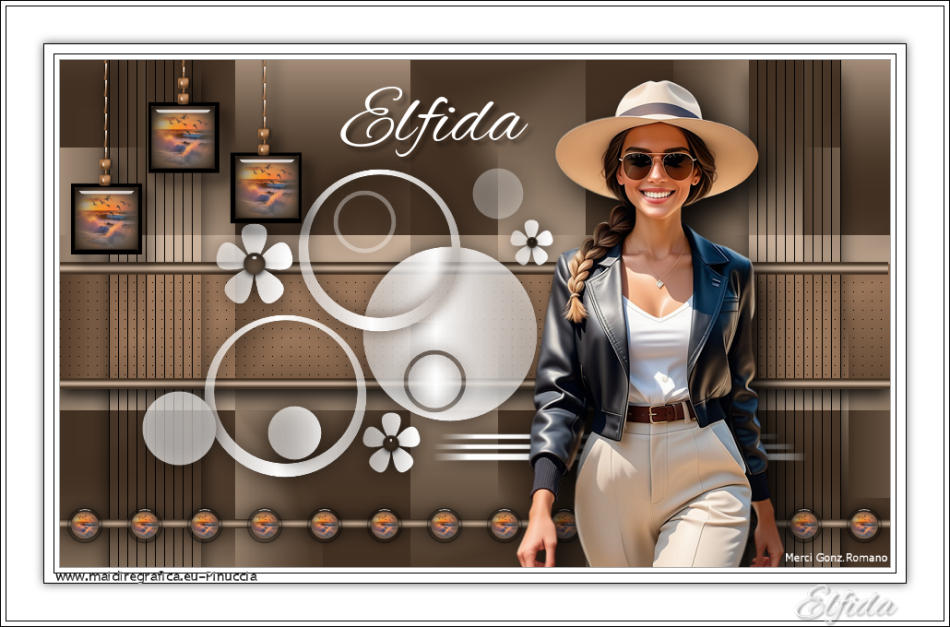
Thank you Merci Gon Romano
Thank you Лариса Красняк
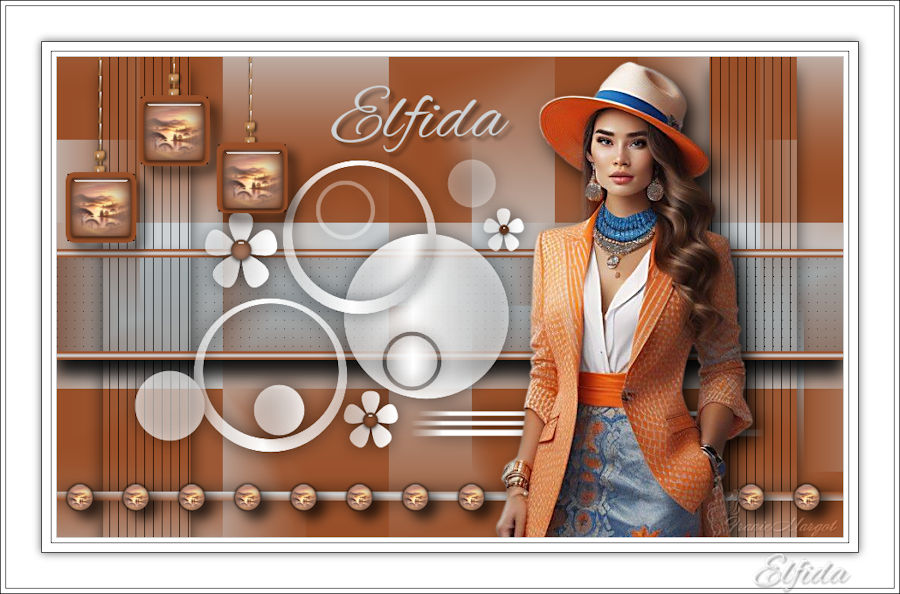
Thank you Franie Margot
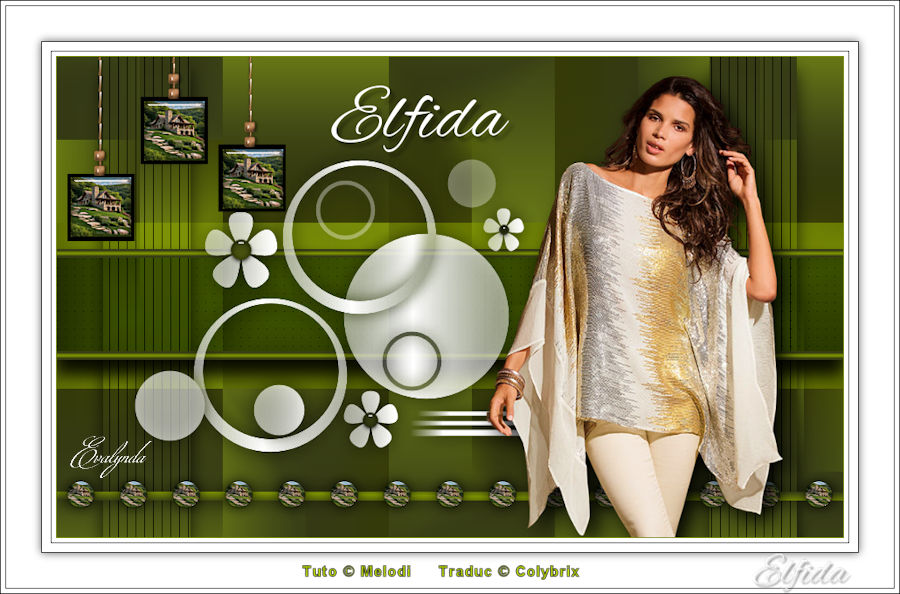
Thank you Evalynda
Thank you Noëlla
Thank you Delf
Thank you Jaja from 63
Thank you Mane
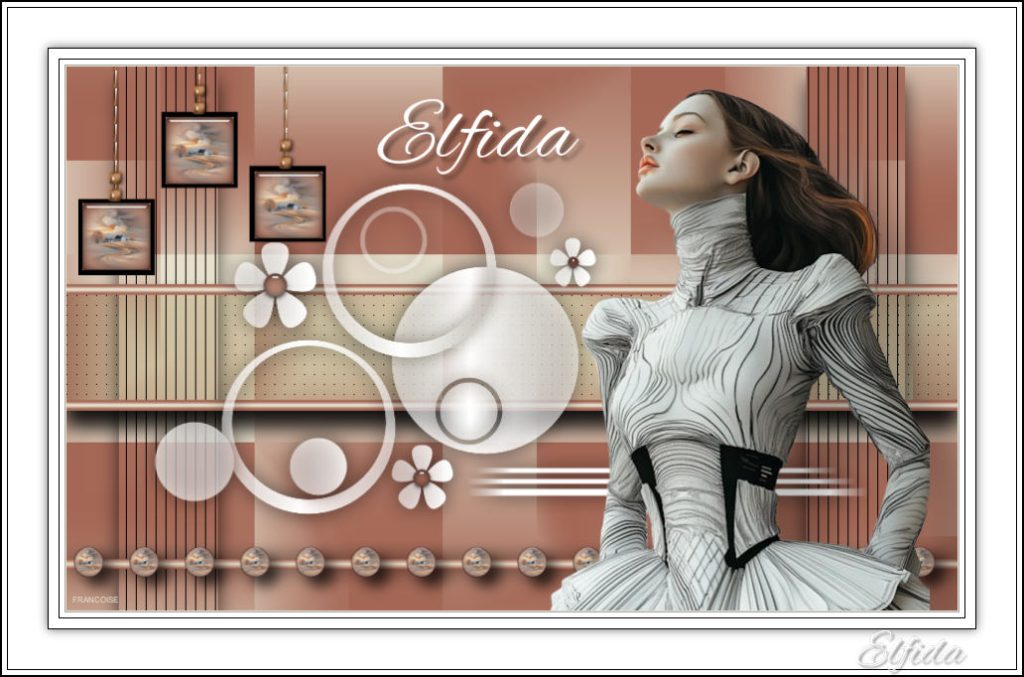
Thank you Françoise
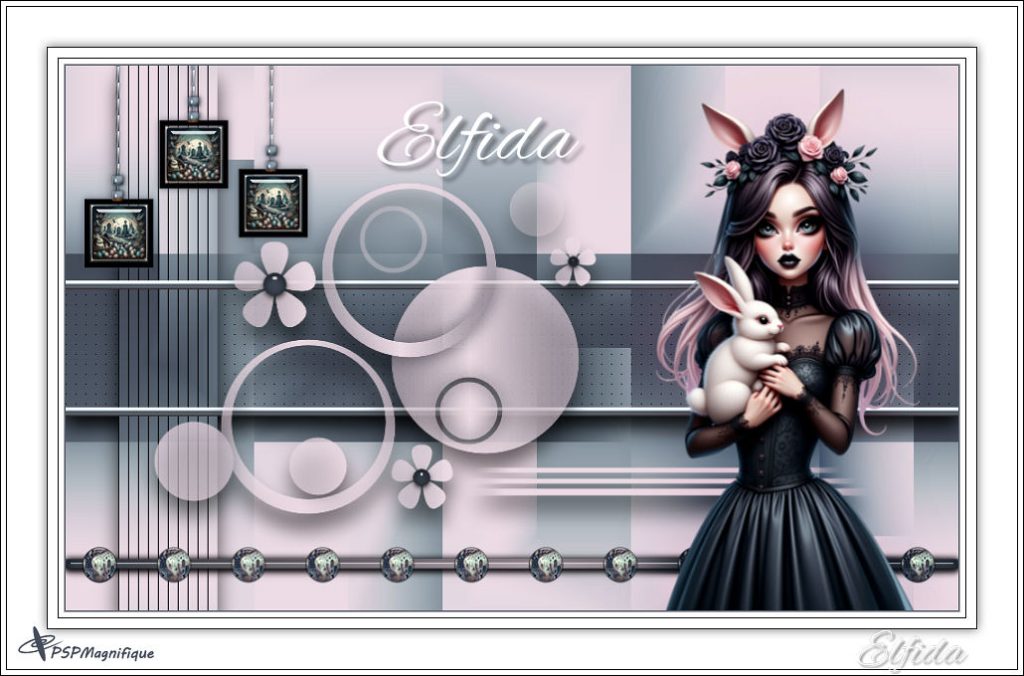
Thank you Magnificent
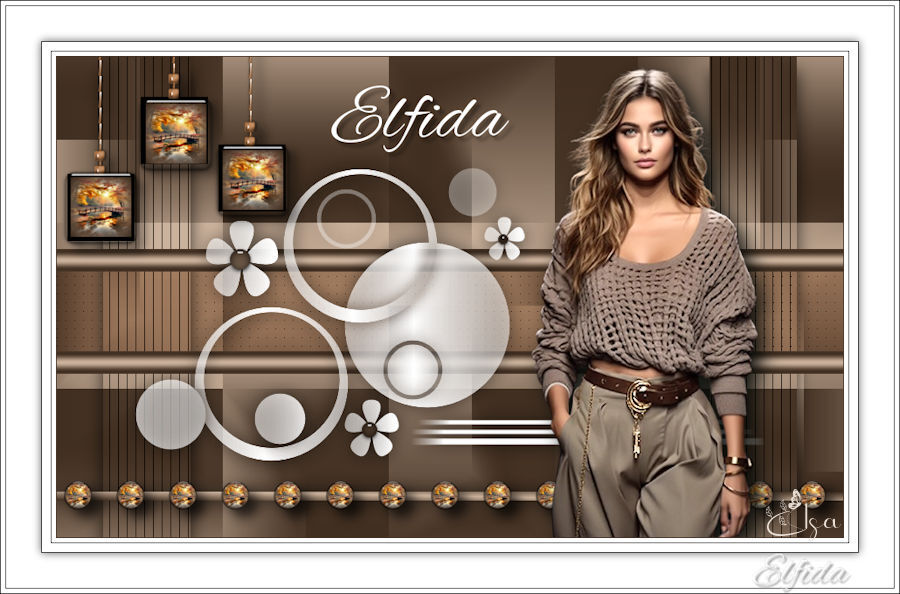
Thank you Isa
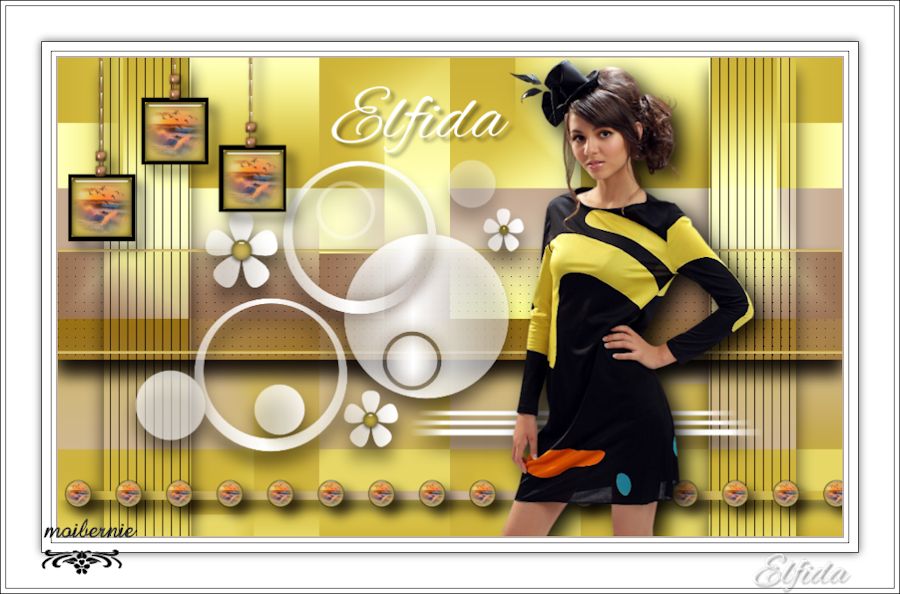
Thank you MoiBernie
Thank you Andrea
Thank you Manon
Thank you Renee
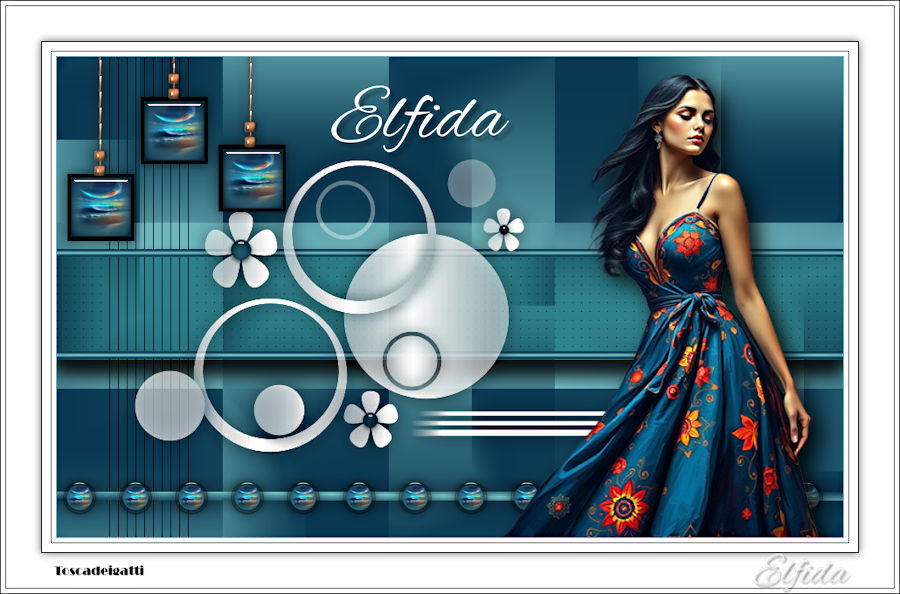
Thank you Toscadeigatti
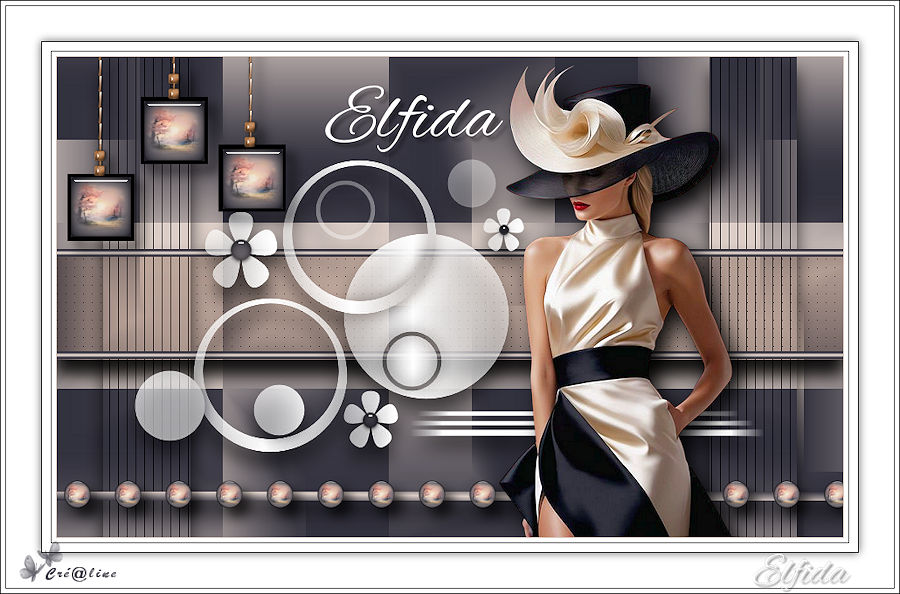
Thank you Crealine
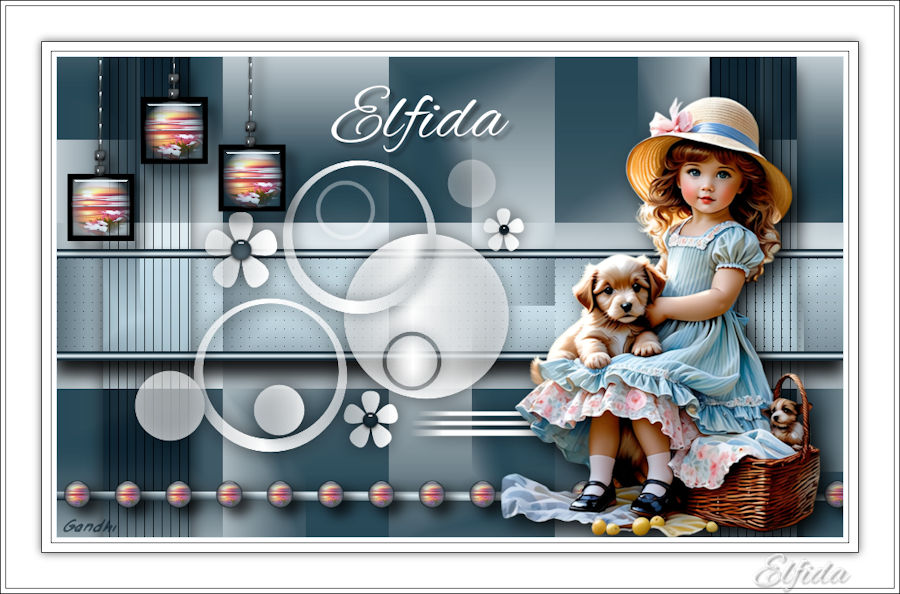
Thank you Gandhi
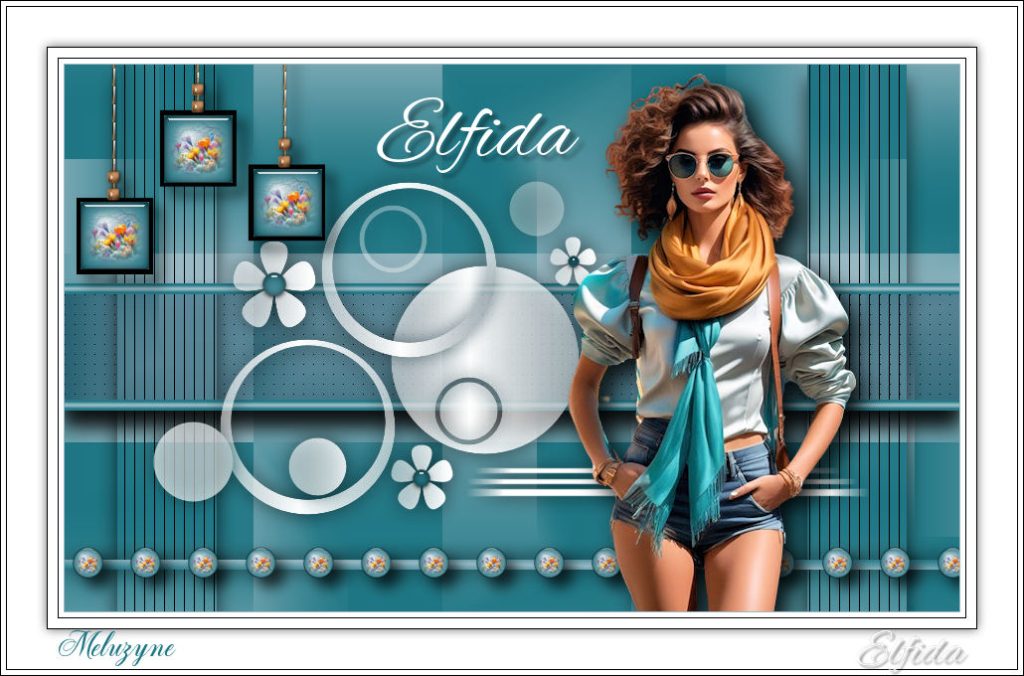
Thank you Meluzyne
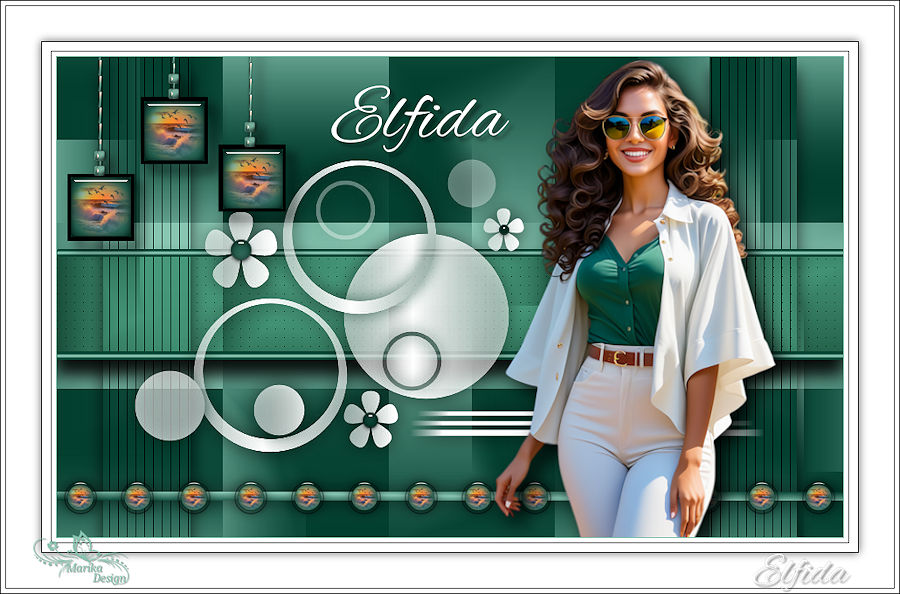
Thank you Marika
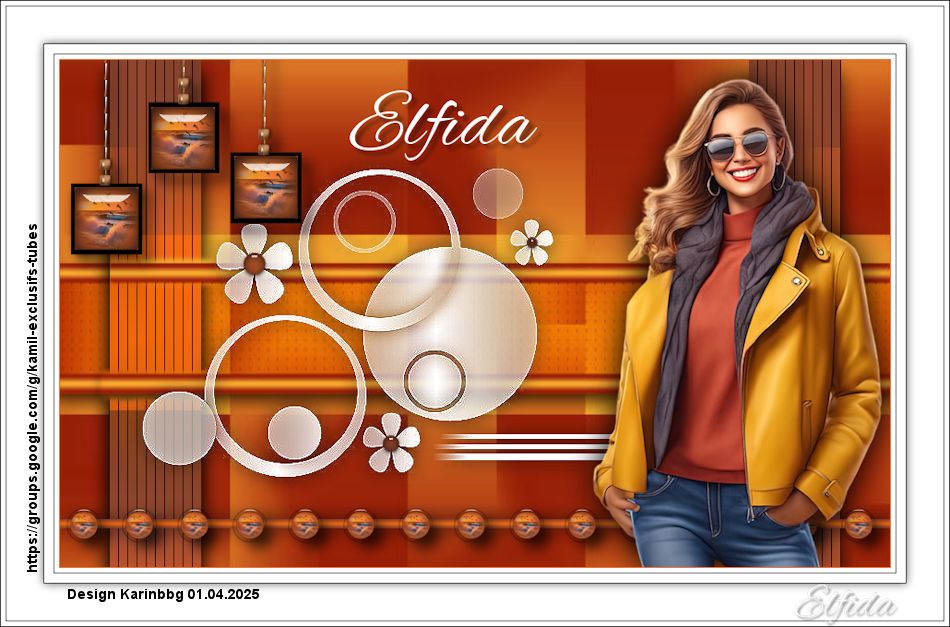
Thank you Karinbbg
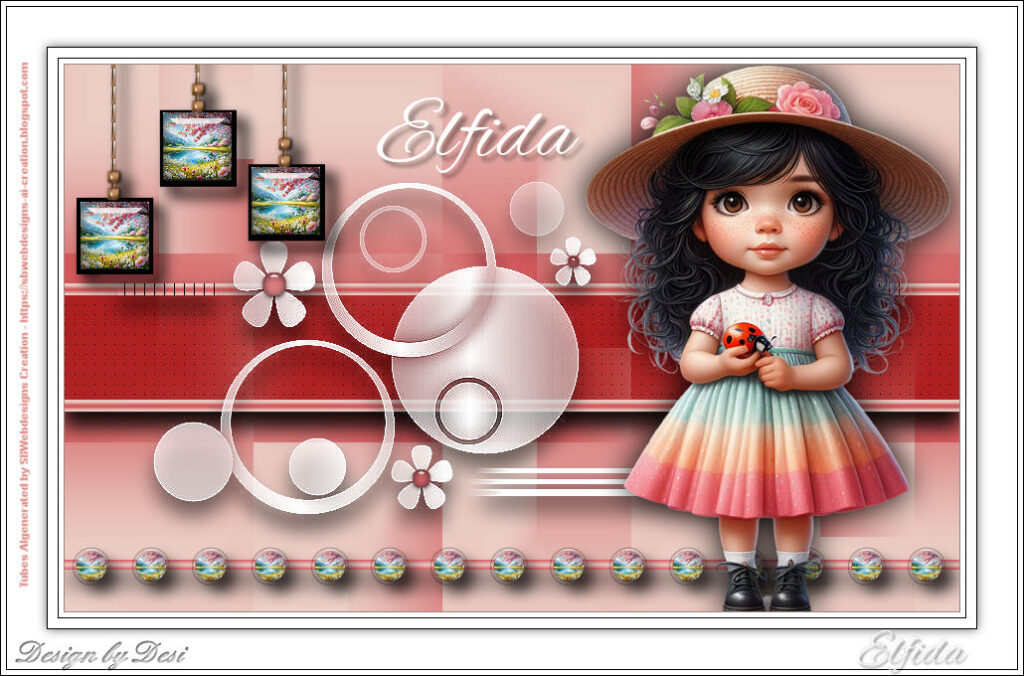
Thank you Desi
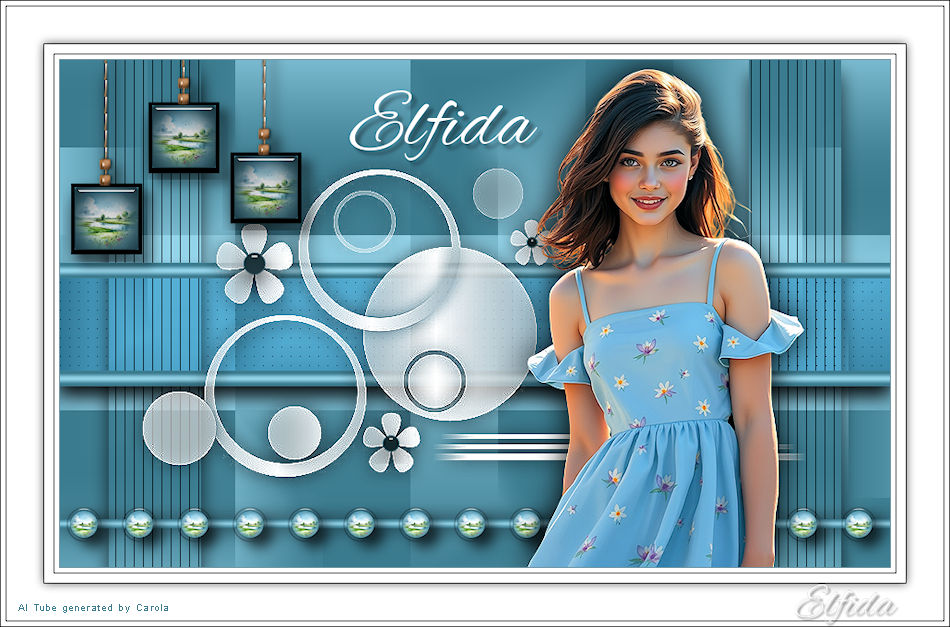
Thank you Carola
Thank you Coobali
Thank you PetraL
Thank you Narde

Thank you Simone
Thank you Sonia
Thank you Marcsi
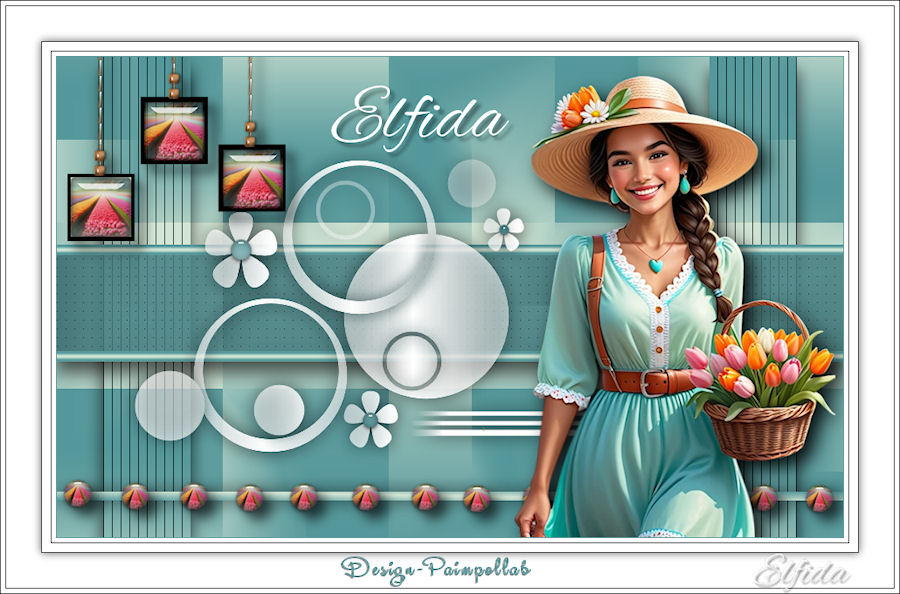
Thank you Paimpollab
Thank you Gigi60

Thank you Talonaiguille
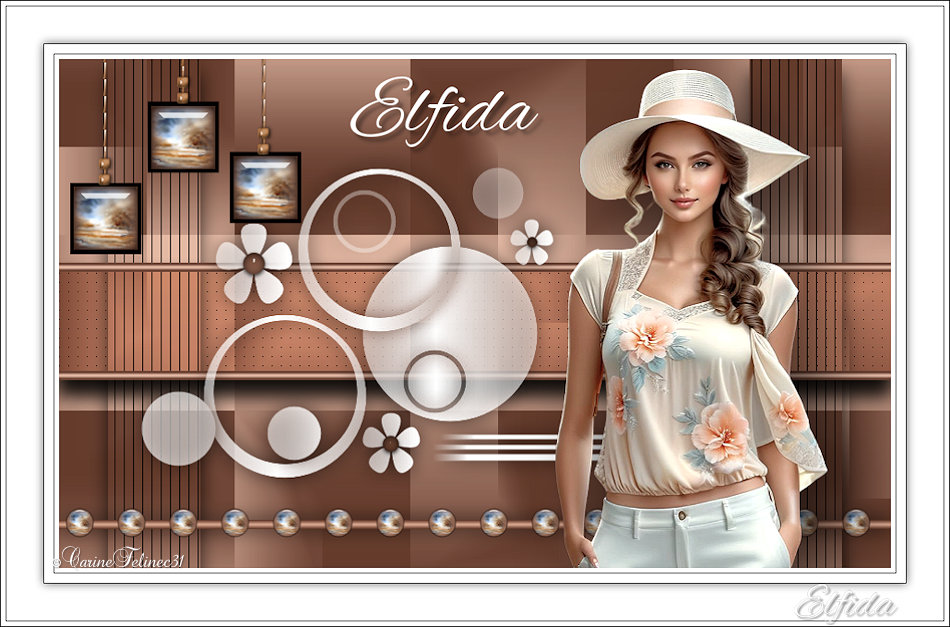
Thank you Carine/Felinec31
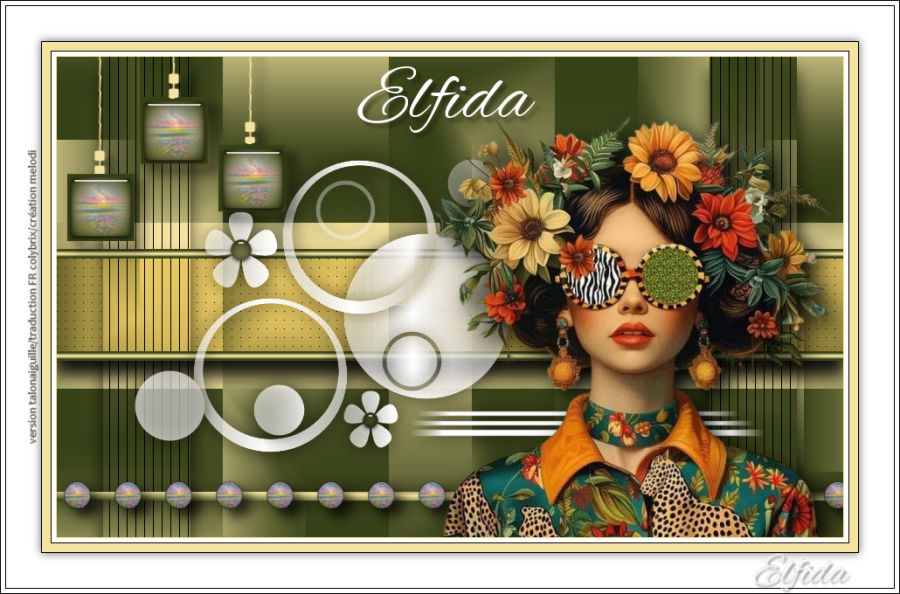
Thank you Melodie
Thank you Lizzy
Thank you Follinette
Thank you Dika
Thank you Lidia

Thank you Linnette

Thank you Erzsike
Thank you i.tilzen
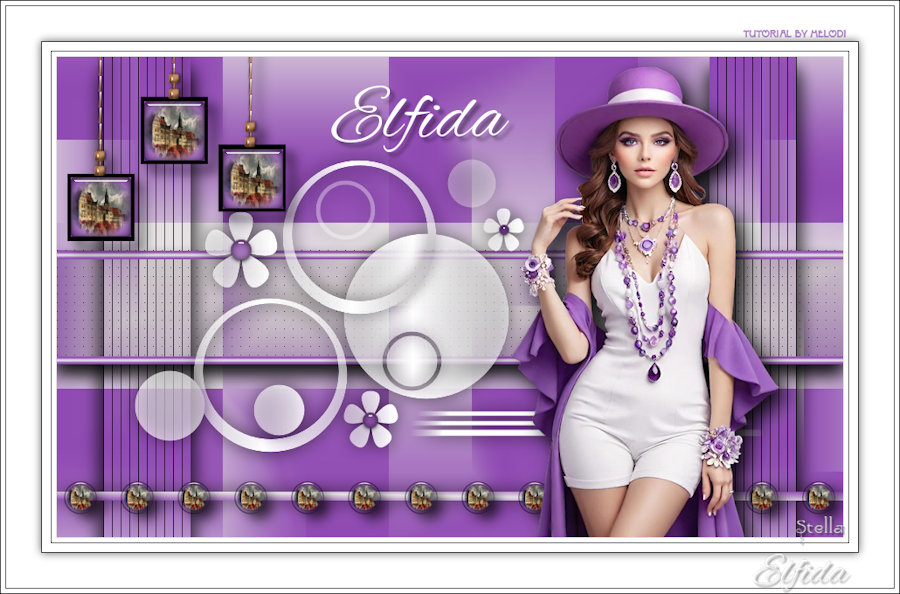
Thank you Stella
Thank you Jolcsi3713
Thank you IreneM4
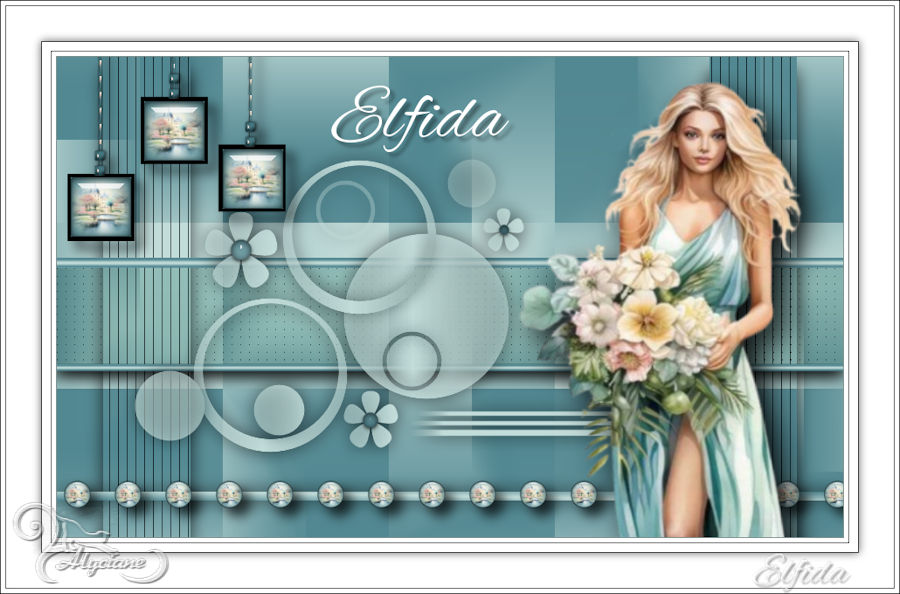
Thank you Alyciane
Thank you Denzeline

Thank you Petras
Thank you Joëlle 01500

Thank you Michele
Thank you Celia
Thank you Sweety
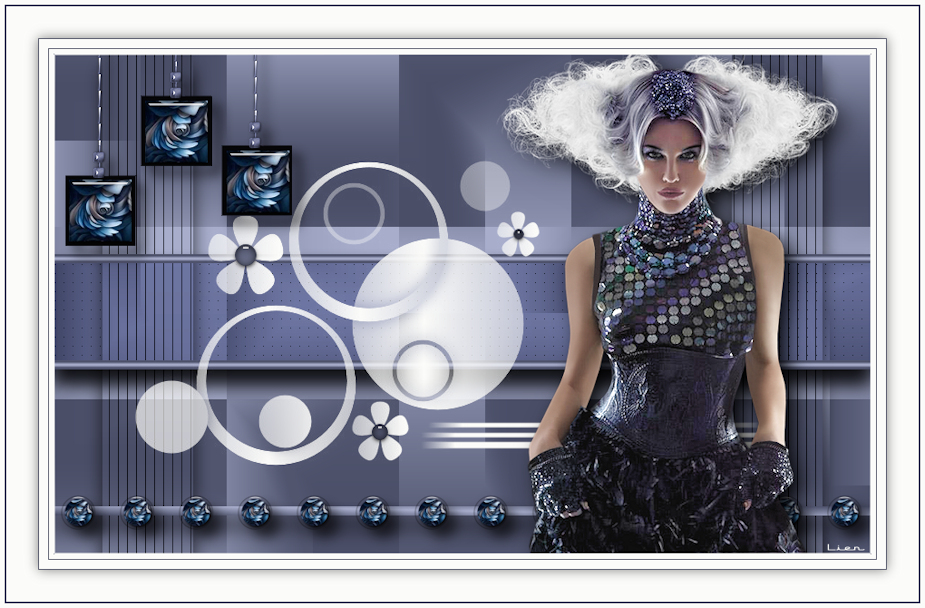
Thank you Lien
Thank you jeanne
Thank you Ginette
Thank you Angie
Thank you Liliana
Thank you Henny
Thank you Ibolya
Thank you Luce
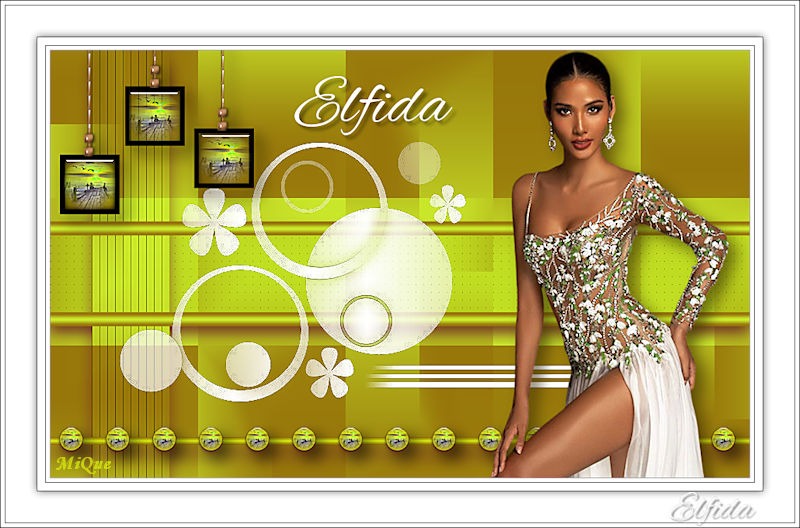
Thank you MiQue
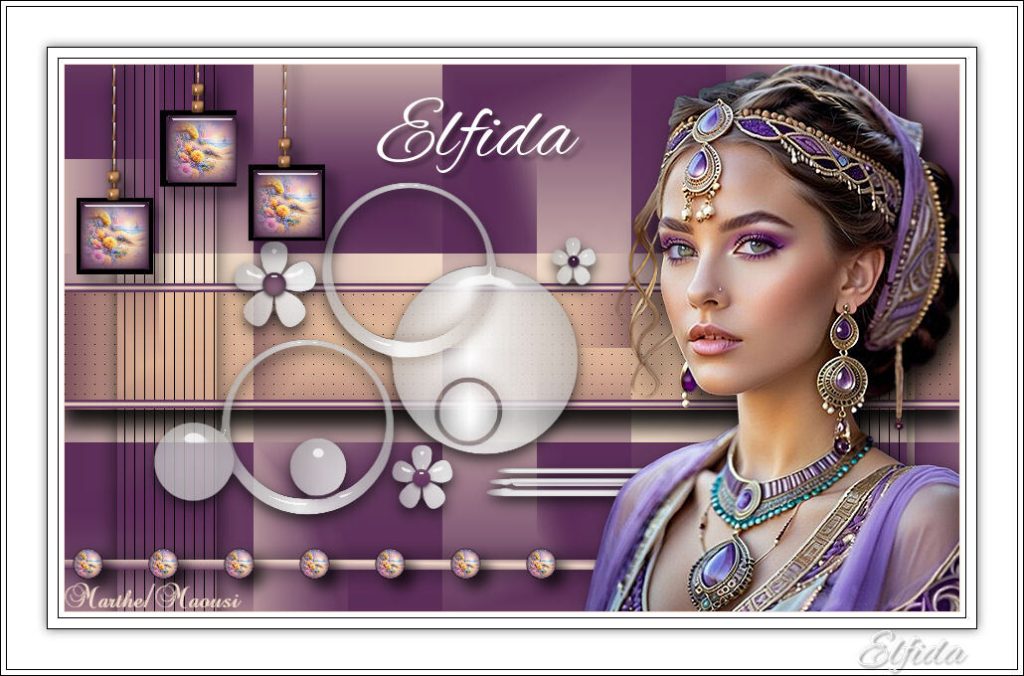
Thank you Marthe/Maousi
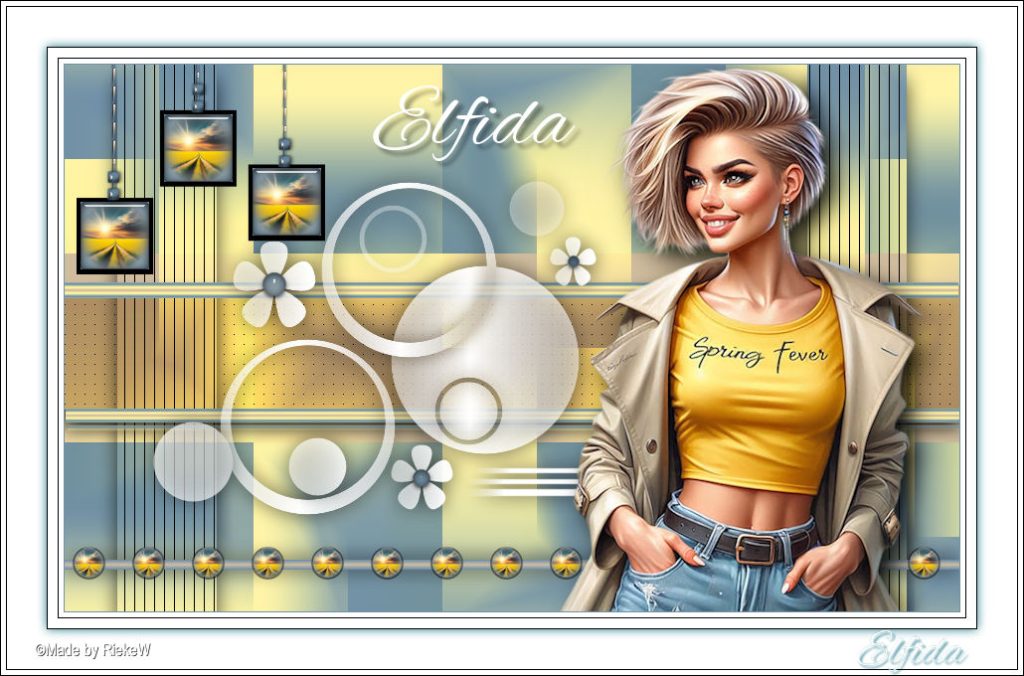
Thank you Rieke W
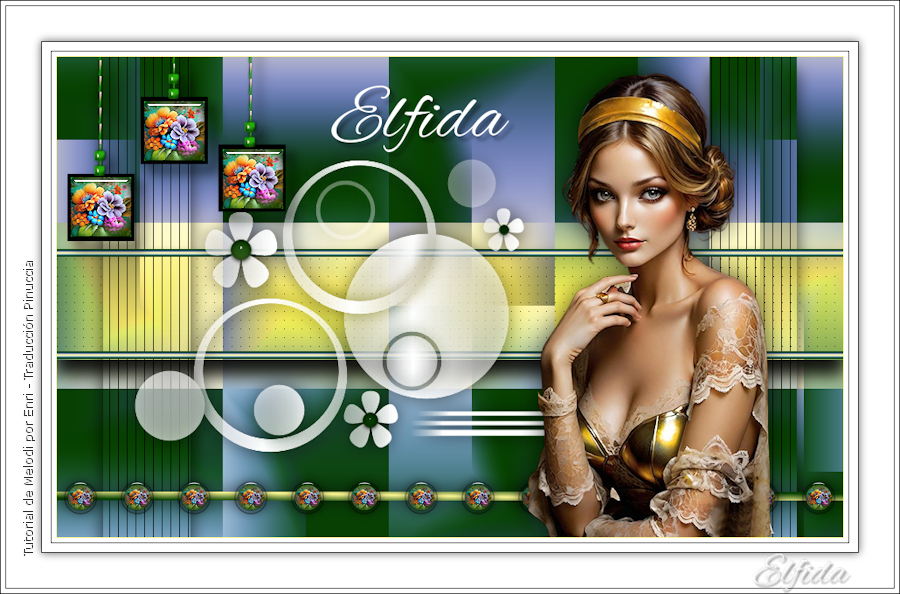
Thank you Enri
Thank you Angela Das Graças
Thank you Lady Tess design studio
Thank you Chez Douceur
Thank you Solange
Thank you Jaja from 63
Thank you Marygraphics
Thank you Martine
Thank you Evelyne
Thank you Viviane
Thank you Cat’s Graffitis

Thank you Mimi
Thank you Sarah
