
This tutorial is written in PSP x8
The colors, layer density and blending mode are for the materials of this lesson.
If you use different material, just take a look at what is best for you
Merci Pinuccia pour la traduction française

Thanks Pinuccia for the italian translation

Thanks Pinuccia for the English translation


Danke Inge Lore für die deutsche Übersetzung


Thanks Vera Mendes for the Portuguese translation

Thanks Vera Mendes for the Spanish translation

Thanks Vera Mendes for the English translation

Thanks for the dutch translation Angela

Gracias Sylviane por la traducción al español.


Bedankt voor de Nederlandse vertaling Lisette

Tube
Nikita
Mask
Nikita
Narah
Text
Aslı/Şahmaran
Plugins
Simple
Mehdi
Alien Skin Eye Candy : 5 Impact
Download Link

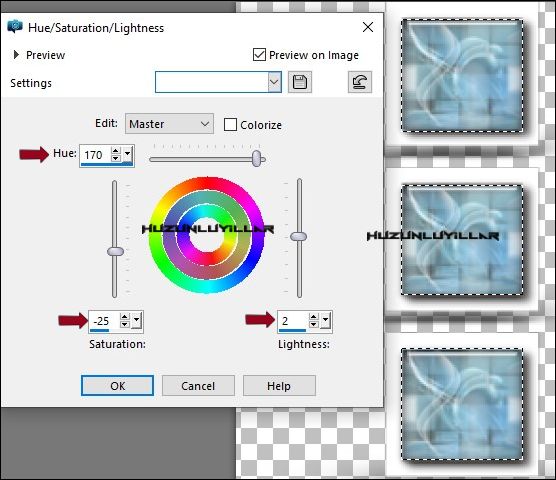
Note: Effects Plugins – Nik Software Pro 3 0 .You can use the color you want by playing the settings from these two places, the settings are examples.


Caution, no tick mark in colorize
Preparation:
Choose a light and a dark color from your tube
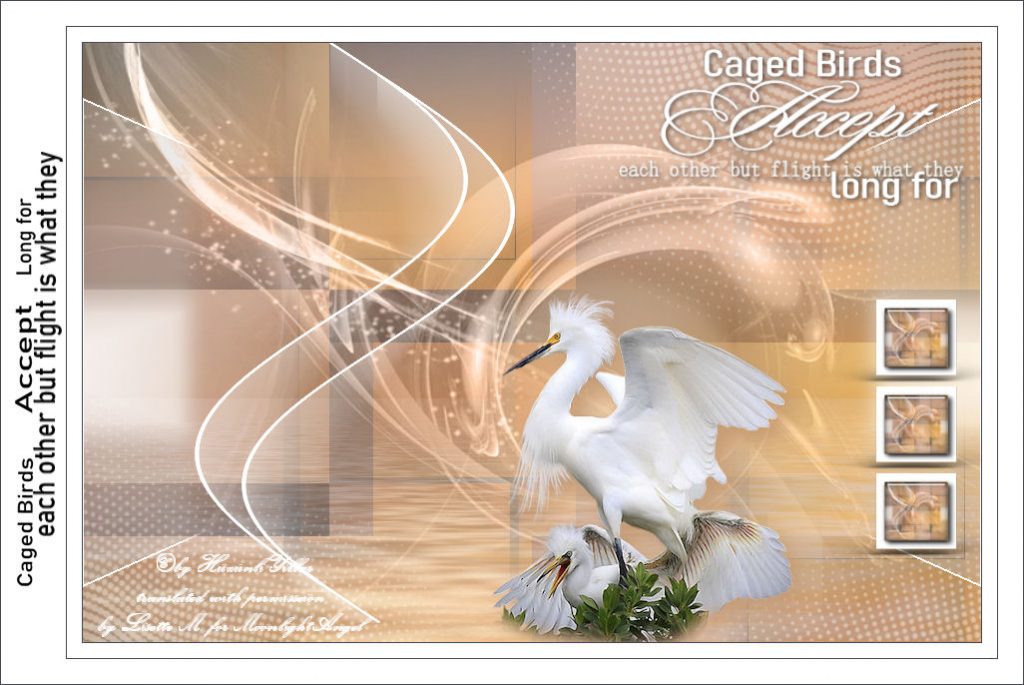
Properties Foreground; set your Foreground color to #c29872
Properties Background; set your Background color to #444854
Properties foreground: Make a foreground- background Gradient of these two colors
Note: When working with your own colors, play with the Blend Mode and/or Opacity at your own discretion
File / New – Open 900 x 600 Transparent Image
Selections – Select All
Open – Hy-Image Backgraund – Hy_Bird_Backgraund
Edit / Copy
Activate your work
Edit – Paste into selections
Selections – Select None
Layers – Duplicate ( 2 Times )
Let’s close 2 eyes and continue from the bottom layer

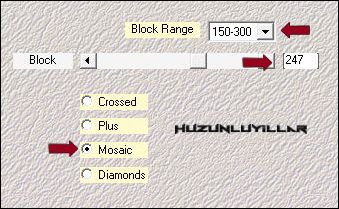
Effects – Flaming Pearl – Flood

Let’s open Copy Of Raster 1 eye and continue from there
Effects – Image Effects – Seamless Tling

Layers – Load/Save Mask – Load Mask From Disk 20X20 mask

Layers – Merge – Merge Group
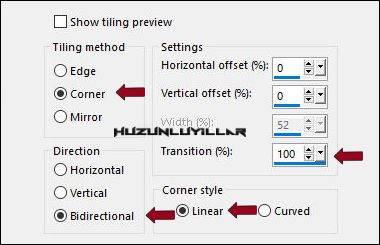
Effects – Mehdi – Sorting Tiles

Effects – Image Effects – Seamless Tling
Layer Palette – Double click on this Layer and set the Blend Mode to “Multiply”Opacity 75
Let’s open Copy (2) of Raster 1 and continue
Effects – Mehdi – Sorting Tiles
Layer Palette – Double click on this Layer and set the Blend Mode to “Multiply”Opacity 59
Layers – New Raster Layer
Fill with Foreground with Flood Fill #FFFFFF
Open – Hy Mask – 1250181214_nikita_masques
Layers – New Mask Layer – From Image – 1250181214_nikita_masques

Layers – Merge – Merge Group
Layer Palette – Double click on this Layer and set the Blend Mode to “Luminance(Legacy)”
Effects – Alien Skin Eye Candy : 5 Impact – perspective Shadow Hy_Bird_Pers-show
Layers – New Raster Layer
Fill with Foreground with Flood Fill #FFFFFF
Open – Hy Mask – NarahsMasks_1622
Layers – New Mask Layer – From Image – NarahsMasks_1622

Layers – Duplicate
Layers – Merge – Merge Group
Image – Mirror Mirror Horizontal
Layer Palette – Double click on this Layer and set the Blend Mode to “Soft Light”
Layers – New Raster Layer
Fill with Foreground with Flood Fill #FFFFFF
Open – Hy Mask – NarahsMasks_1683
Layers – New Mask Layer – From Image – NarahsMasks_1683

Layers – Merge – Merge Group
Activate Pick Tool and place it like this

Layer Palette – Double click on this Layer and set the Blend Mode to “Luminance(Legacy)”
Open – Hy- Deko – Hy_Bird_Deko
Edit / Copy
Activate your work
Edit / Paste as New Layer
Open – Hy- Deko – Hy_Bird_Deko_1
Edit / Copy
Activate your work
Edit / Paste as New Layer
Activate Pick Tool and place it like this

Open – Hy- Deko – Hy_Button_Sell
Note:Caution, no tick mark in colorize
Enter the HSL settings of the colors you use

Selections – Select None
Edit / Copy
Activate your work
Edit / Paste as New Layer
Activate Pick Tool and place it like this

Open – Hy- Tube – 12286689961_animaux-Nikita
Edit / Copy
Activate your work
Edit / Paste as New Layer
Image – Mirror – Mirror Horizontal
Image – Resize %75
Activate Pick Tool and place it like this

Make your Drop Shadow settings suitable for your tube
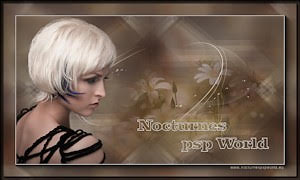
File_Open – Hy_Text – Hy_Bird_Text
Edit / Copy
Activate your work
Edit / Paste as New Layer
Activate Pick Tool and place it like this

Image – Add Borders – Symmetric, 1 pixel, color #444854
Image – Add Borders – Symmetric, 15 pixel, color #ffffff
Image – Add Borders – Symmetric, 1 pixel, color #444854
Image – Add Borders – not symmetrical
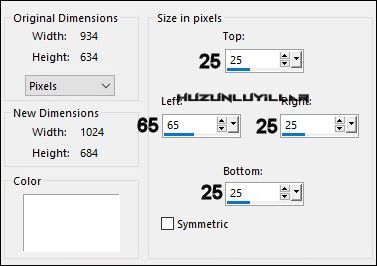
Image – Add Borders – Symmetric, 1 pixel, color #444854
File_Open – Hy_Text – Hy_Bird_Text_1
Edit / Copy
Activate your work
Edit / Paste as New Layer
Activate Pick Tool and place it like this

Put Your Watermarkt
Image – Resize 900
Save JPEG
Thank you Melodi for the test
Thank you Aynur
Thank you Pinuccia

Thank you Inge Lore

Thank You Vera Mendes
Thank You Silvianne
Thank you Lisette
Thank you Angela

Thank you Jewel
Thank you Grances
Thank you Marianne
Thank You Michounette31

Thank you Annelie

Thank you Babbel

Thank you Cat’s Graffitis

Thank you Mary LBDM
Thank You Peggy
Thank you Uschi
Thank you Anne Marie
Thank you Elly
Thank you Myriam Rubira Hernández
Thank you Nelly Billay

Thank you Лариса Красняк

Thank you Colybrix

Thank you Marygraphics

Thank you Olga

Thank you Emma

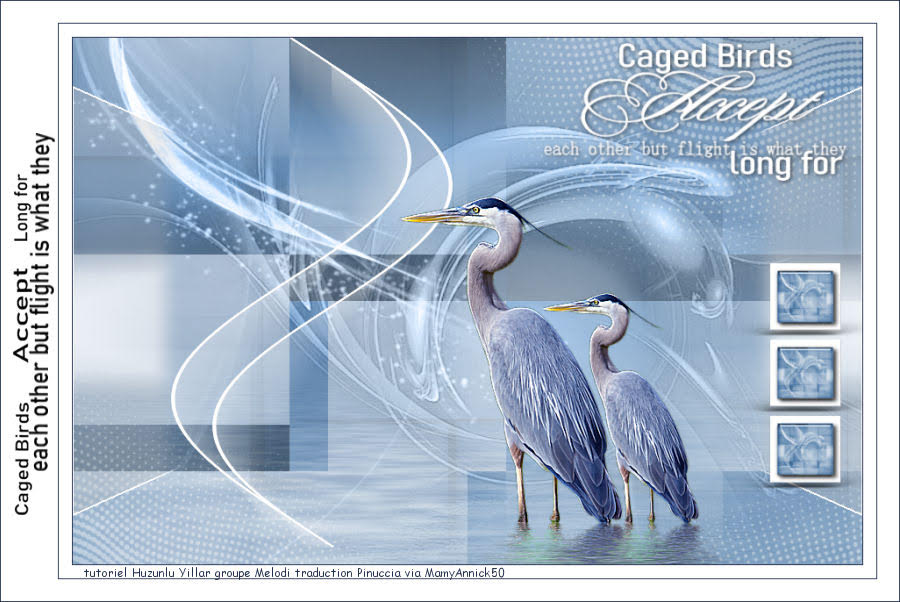
Thank you Mamy Annick
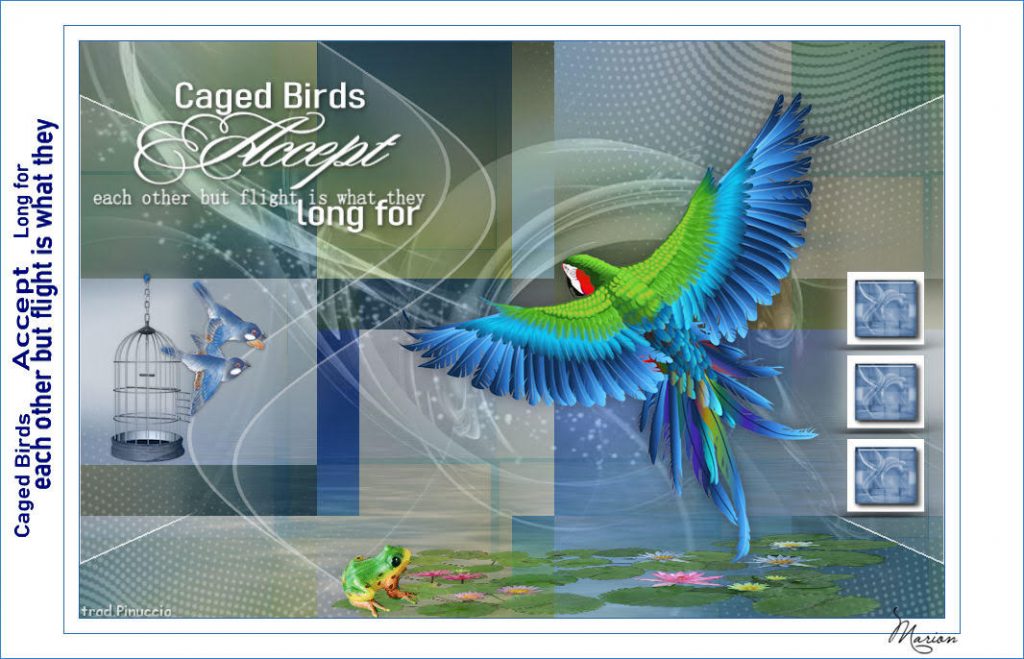
Thank you Marion
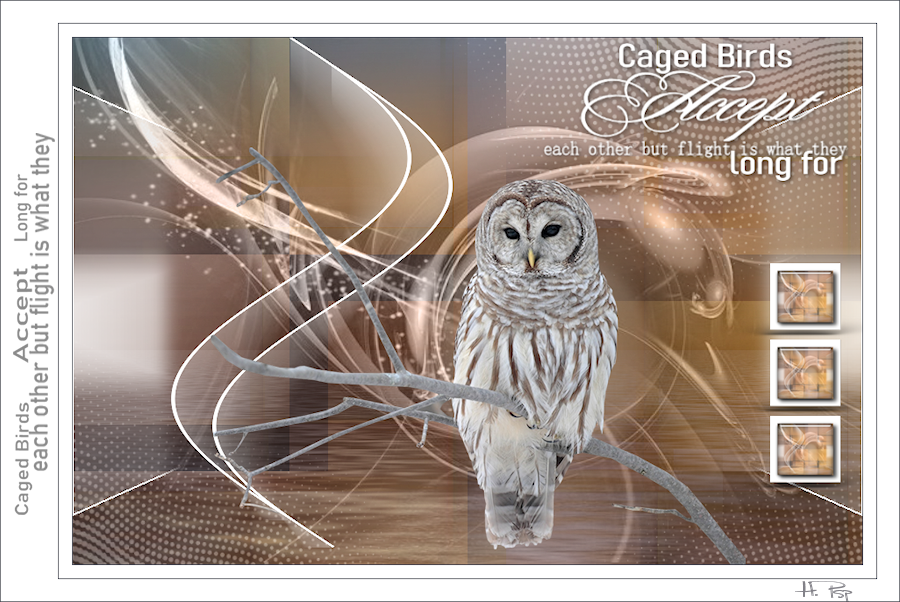
Thank you Huguette
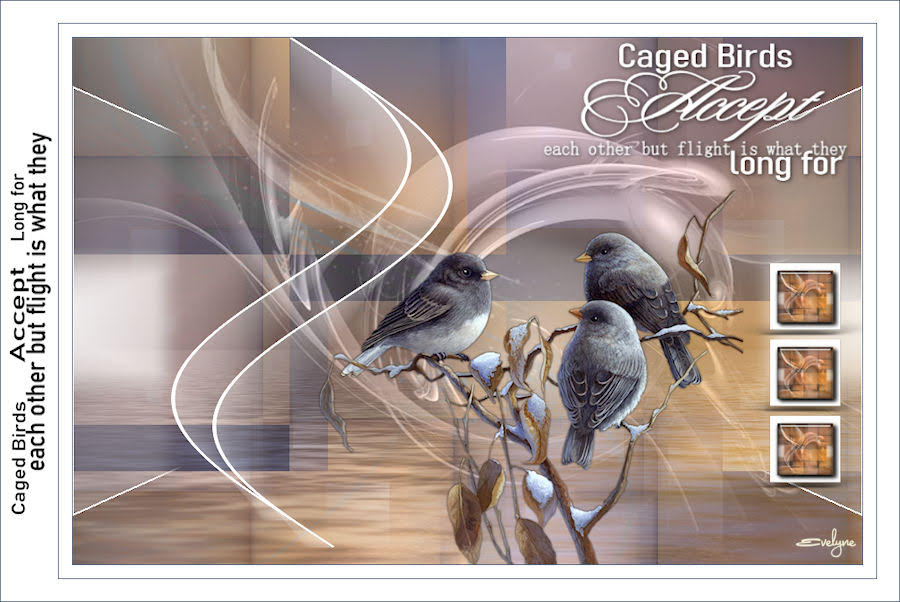
Thank you Evelyne
Thank you Rita
Thank you Carmen
Thank you Nicole
Thank you Estela
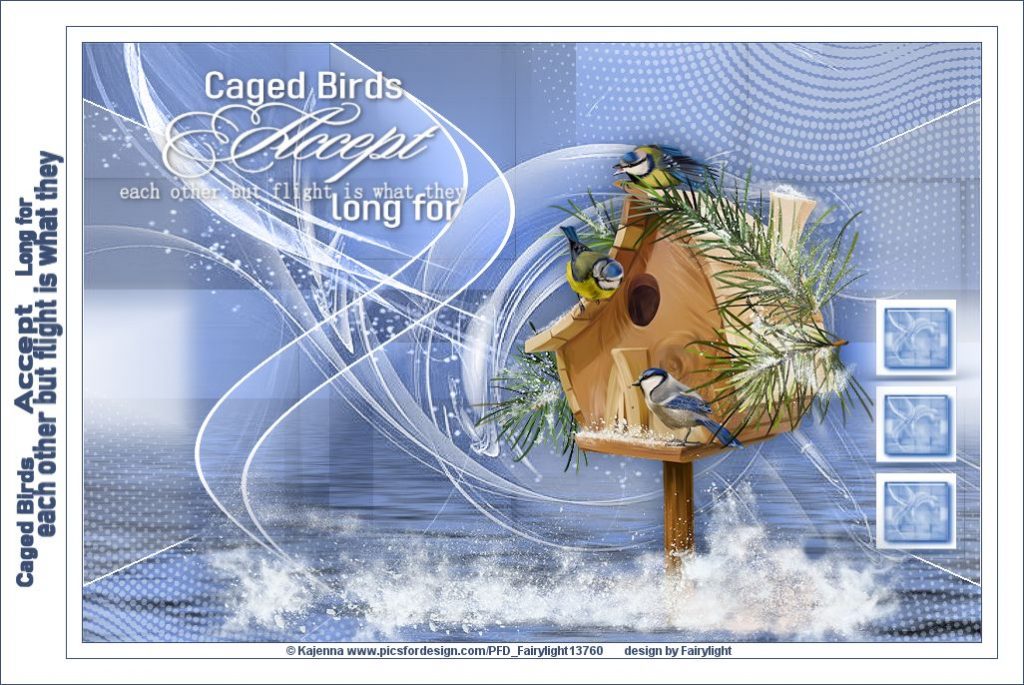
Thank you Fairylight
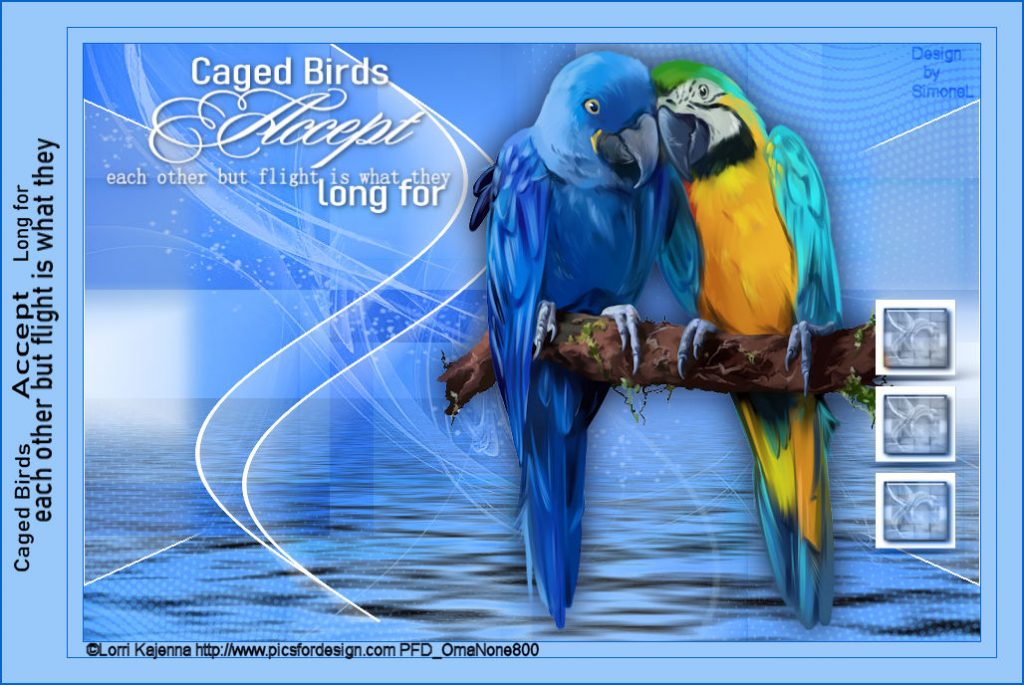
Thank you Simonel
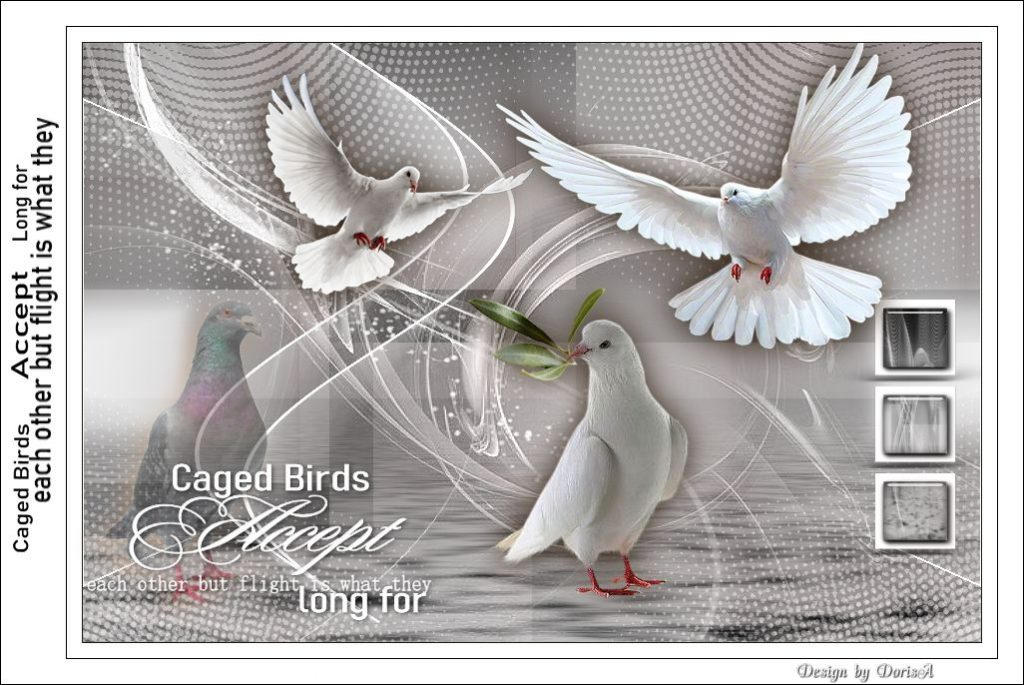
Thank you Doris
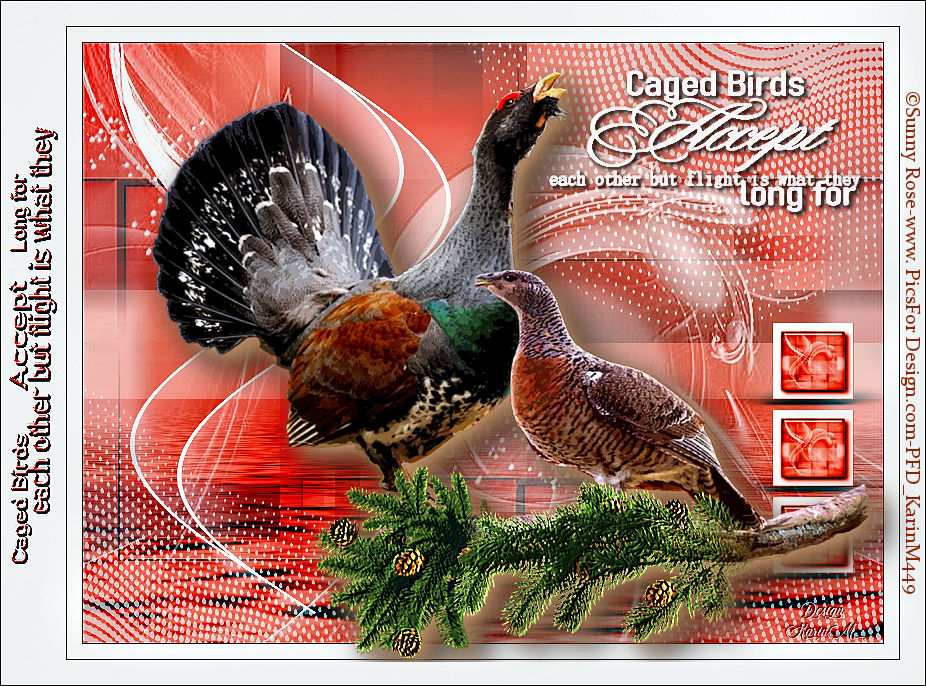
Thank you Karin M
Thank you Barbara
Thank you Desi

Thank you Ingrid
Thank you Linda
Thank you Petral
Thank you Gugu
Thank you Animabelle
Thank you Denise D

Thank you Jaja
Thank you Lynnette
Thank you Glesitu İlona
Thank you Violine
Thank you Pia
Thank you Anne
Thank you Karin
Thank you Miryam
Thank you Soxikibem
Thank you Rosi
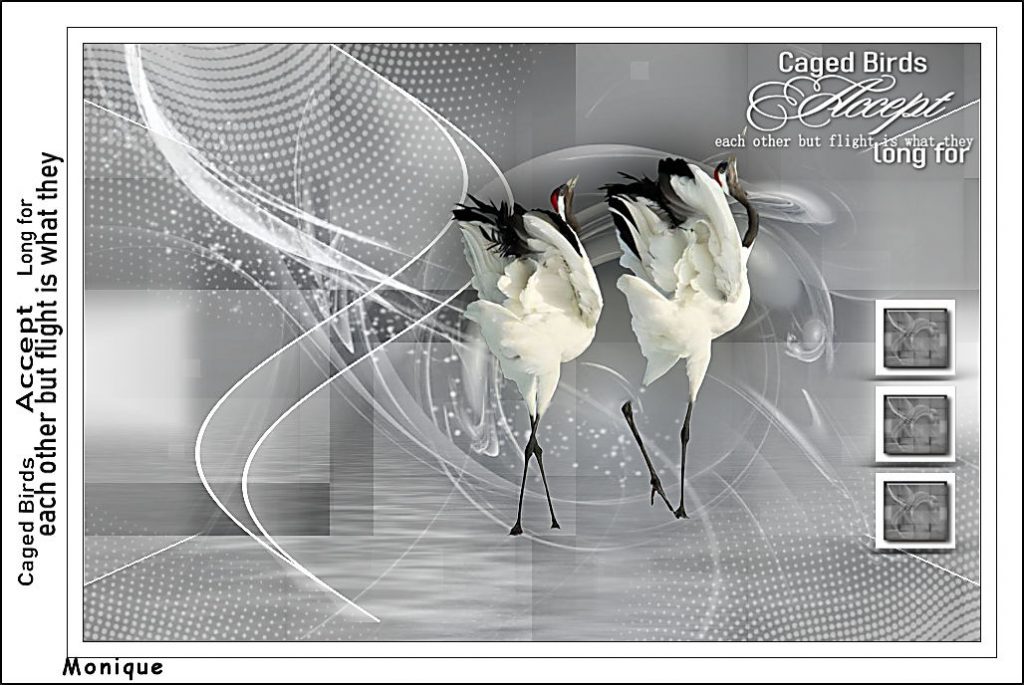
Thank you Monique
Thank You Rene Designs

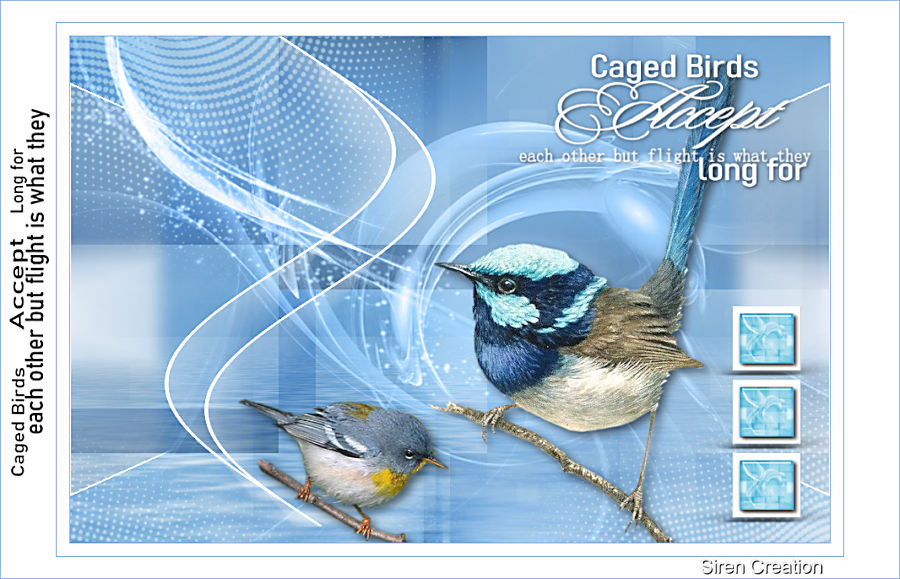
Thank you Siren
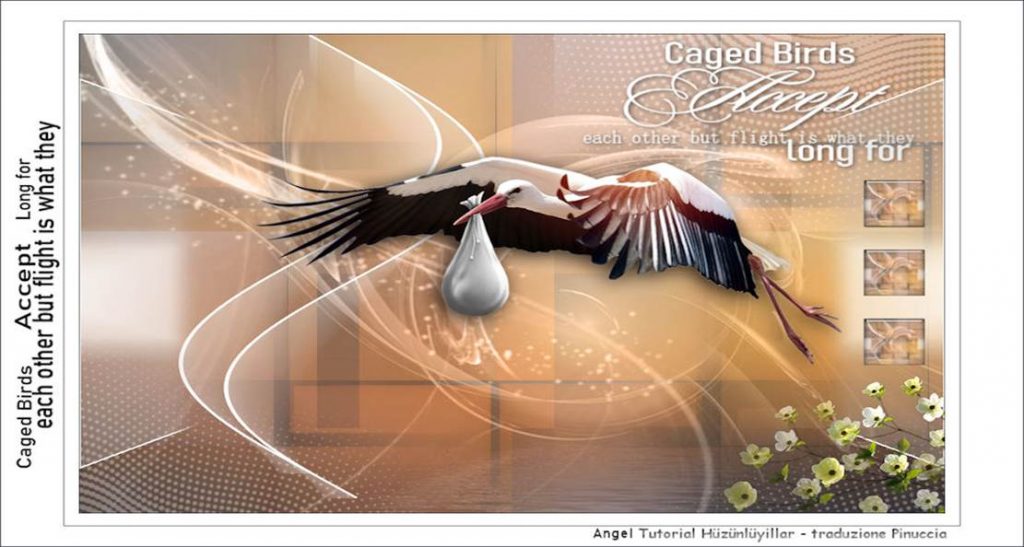
Thak you Angel
Thank you Mentali
Thank you Monique
Thank you Nickette
Thank you Nicole
Thank you Renates

Thank you Sweety

Thank you Yerdalina
Thank you Zenyra
Thank you Cat’s Graffitis
Thank you Lecture
Thank you Jannie
Thank you Nena Silva
Thank you Pinochiette
Thank you Giselah
Thank you Aslı
Thank you Celine
Thank you Daniela
Thank you Janine
Thank you Tonnie Brugman
Thank you Jeanne
Tnak you Gypsie

Thank you trudy
Thnk you Sylvie
Thank you Joice

Thank you Ada
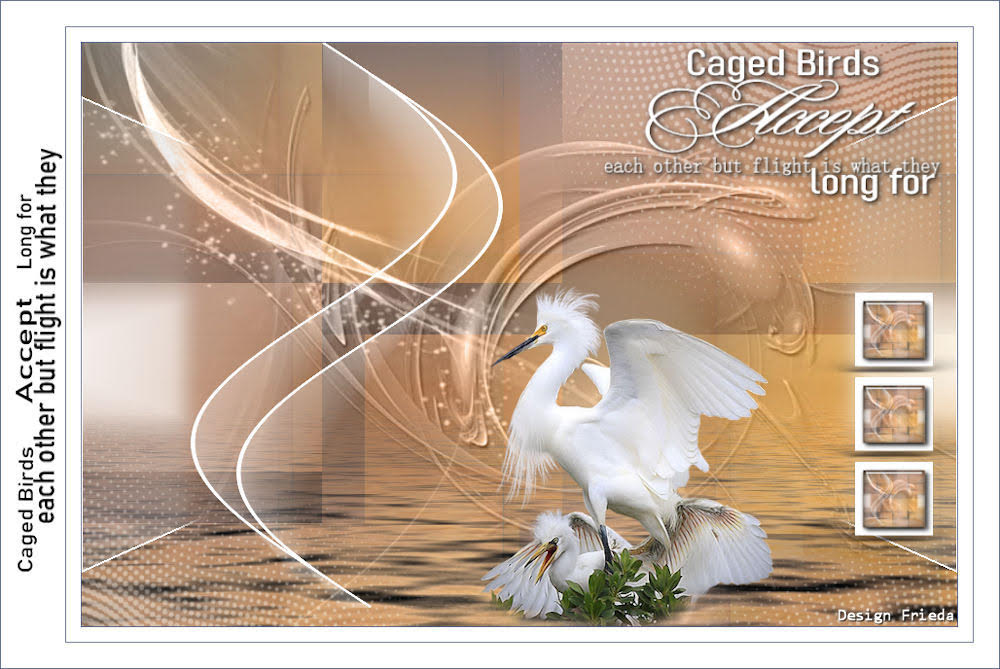
Thank you Frieda
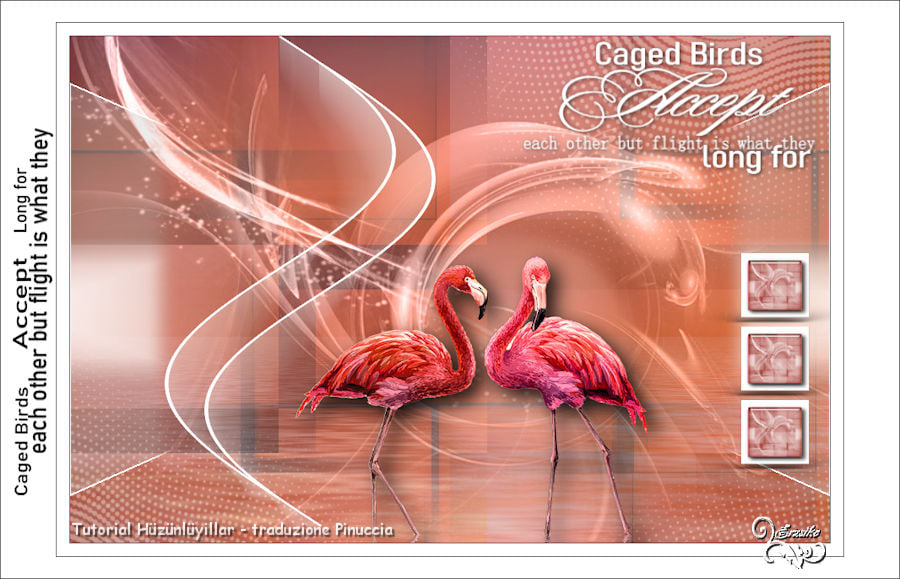
Thank you Erzike
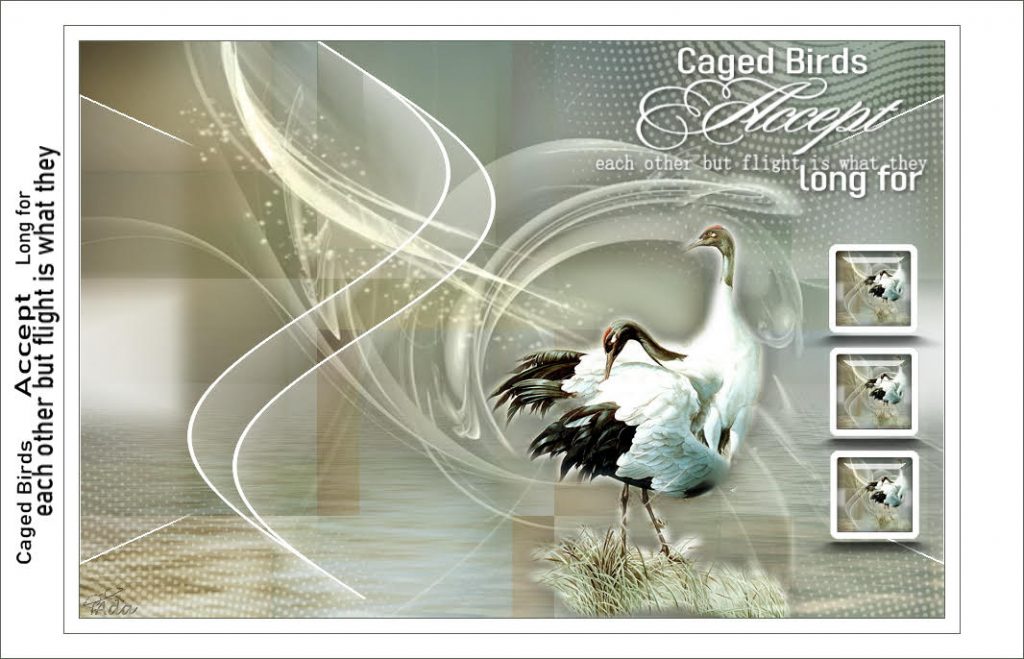
Thank you Bea
Thank you Dulce
Thank you Capucine
Thank you Luz