
Danke Inge Lore für die deutsche Übersetzung


Merci Pinuccia pour la traduction française

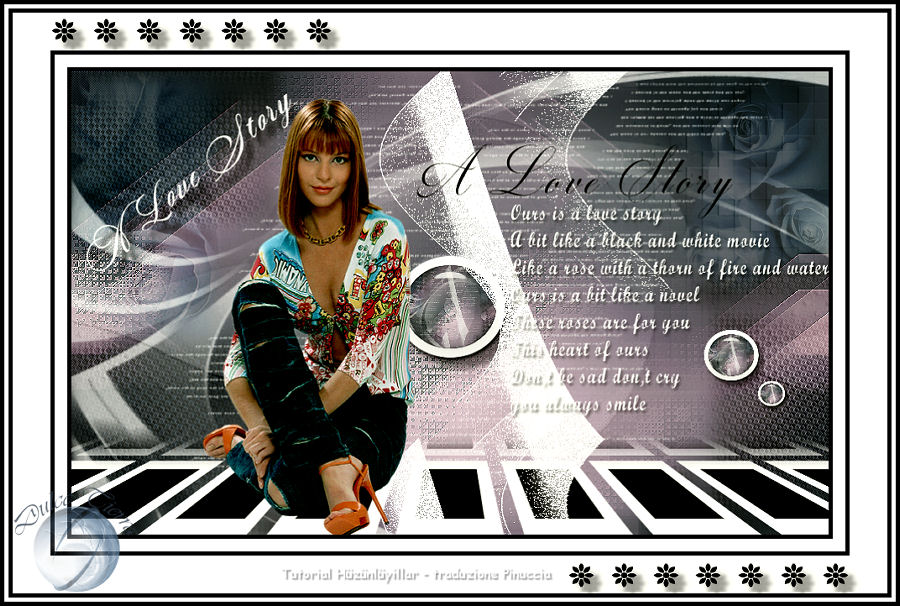
Thanks Pinuccia for the italian translation

Thanks Pinuccia for the English translation


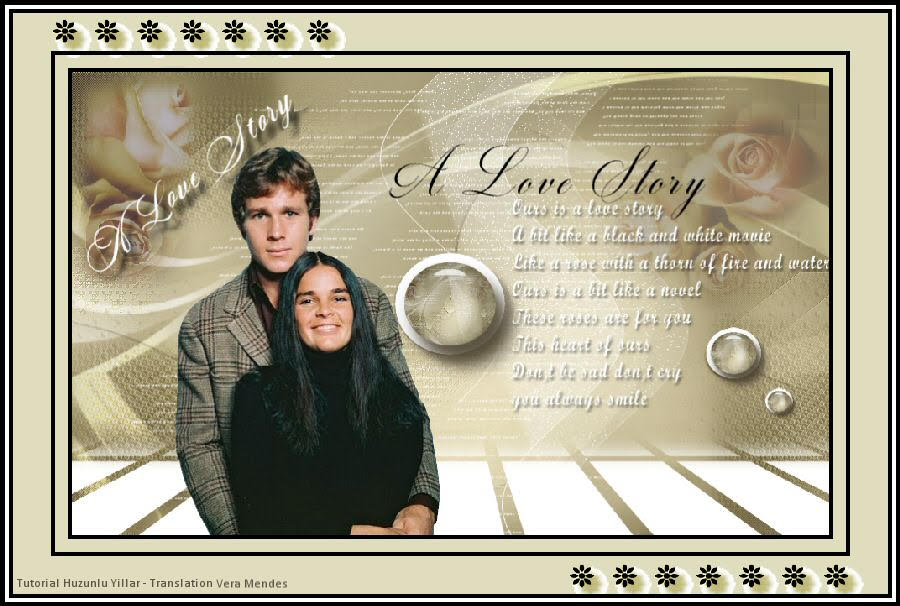
Thanks Vera Mendes for the Portuguese translation


Gracias Sylviane por la traducción al español.


Bedankt voor de Nederlandse vertaling Lisette


Bedankt voor de Nederlandse vertaling Angela

This tutorial is written in PSP x8
The colors, layer density and blending mode are for the materials of this lesson.
If you use different material, just take a look at what is best for you
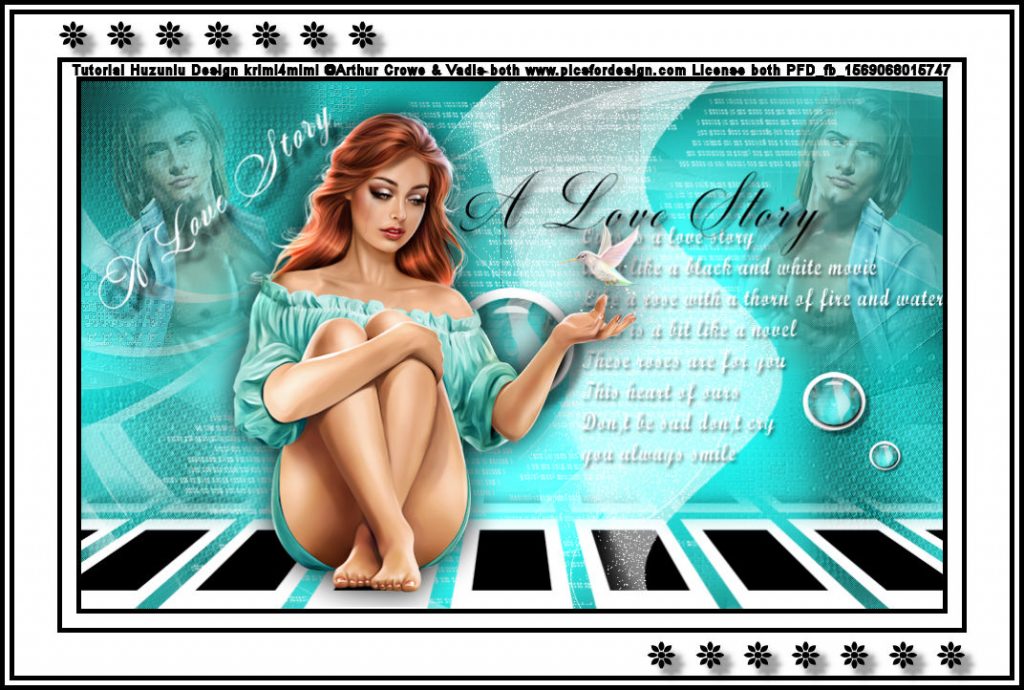
Tube
Azale
Nikita
Mask
Narah
Plugins
Alien Skin Eye Candy : 5 Impact
Graphics Plus – Cross Shadow
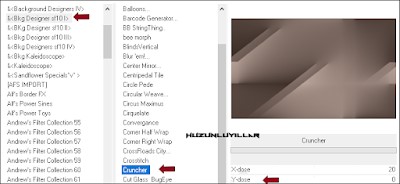
Filters Unlimited 2.0 – Bkg Designer sf10I – Cruncher
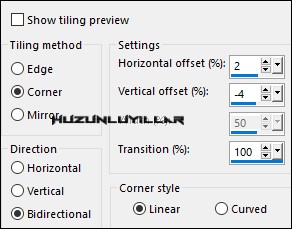
Filter Factory Gallery M – Centre Square Tiler
L en K LandksiteofWonders – palmyre
User Defined Filter – Emboss 3
MuRa’s Meister
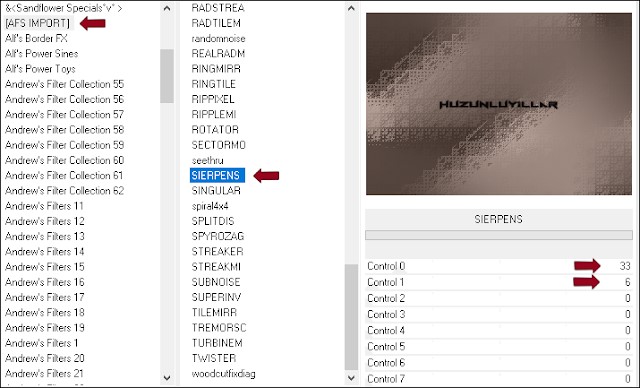
AFS IMPORT – SIERPENS
Materials

Preparations:
Choose a light and a dark color from your tube
Properties Foreground; set your Foreground color to #bfa99f
Properties Background; set your Background color to #3a2c26
Properties foreground: Make a foreground- background Gradient of these two colors
Note: When working with your own colors, play with the Blend Mode and/or Opacity at your own discretion
File / New – Open 900 x 550 Transparent Image
Fill with background with Flood Fill #3a2c26
Effects – Graphics Plus – Cross Shadow – Same Settings
Prepare Gradient
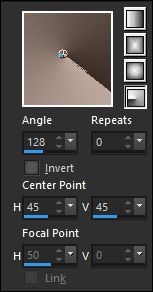
Layers – New Raster layer
Flood fill – Fill With your Gradient
Image – Mirror – Mirror Horizontal
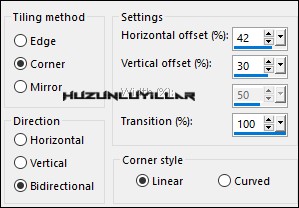
Effects – Image – Effects – Seamless Tiling
Effects – Bkg Designer sf10I – Cruncher
Layers – Duplicate
Let’s close the eyes, continue from Raster 2
Layer Palette – Double click on this Layer and set the Blend Mode to “(Scereen)”
Selections – Load/Save Selections – Load Selection From Disk – Hy_A Love Story_sell
AFS IMPORT – SIERPENS
Selections – Select None
Effects – Edge Effects – Enhance
Let’s Open Our Eyes Let’s continue with Copy of Raster 2
Effects – Filter Factory Gallery M – Centre Square Tiler Same Setting
Effects – Image – Effects – Seamless Tiling
Selections – Load/Save Selections – Load Selection From Disk – Hy_A Love Story_sell_1
Effects – Distortion Effects – Pixelate

Selections – Select None
Selections – Load/Save Selections – Load Selection From Disk – Hy_A Love Story_sell_2
Effects – L en K LandksiteofWonders – palmyre
Selections – Select None
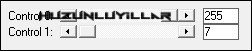
Effects – User Defined Filter – Emboss 3
Layer Palette – Double click on this Layer and set the Blend Mode to “(Overlay)” Opacity 65
Foreground with Flood Fill #FFFFFF
Layers – New Raster layer
Activate the Brush Tool – Paint Brush – Hy_A Love Story_Brush
Layers – New Raster layer
Fill with Foreground with Flood Fill #FFFFFF
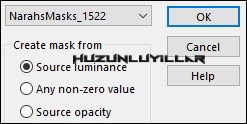
Open – Hy Mask – NarahsMasks_1522
Layers – New Mask Layer – From Image – NarahsMasks_1522
Layers – Merge – Merge Group
Layer Palette – Double click on this Layer and set the Blend Mode to “(Overlay)”
Layers – New Raster layer
Fill with Foreground with Flood Fill #FFFFFF
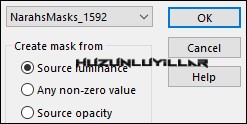
Open – Hy Mask – NarahsMasks_1592
Layers – New Mask Layer – From Image – NarahsMasks_1592
Layers – Merge – Merge Group
Selections – Load/Save Selections – Load Selection From Disk – Hy_A Love Story_sell_3
Press the delete key from the keyboard ( 2 Times )
Select None
Layer Palette – Double click on this Layer and set the Blend Mode to “Luminance (Legacy)”
Effects – User Defined Filter – Emboss 3
Foreground with Flood Fill #FFFFFF
Layers – New Raster layer
Selections – Load/Save Selections – Load Selection From Disk – Hy_A Love Story_sell_4
Fill with Foreground with Flood Fill #FFFFFF
Selections – Modify – Contract Number Of Pixels:15
Background with Flood Fill #000000
Select None
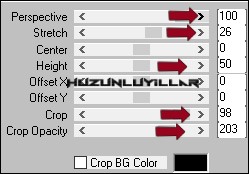
Effects – MuRa’s Meister – Perspective Tiling
Selections – Load/Save Selections – Load Selection From Disk – Hy_A Love Story_sell_5
Press the delete key from the keyboard ( 3 – 4 Times )
Selections – Select None
Foreground with Flood Fill #FFFFFF
Layers – New Raster layer
Selections – Load/Save Selections – Load Selection From Disk – Hy_A Love Story_sell_6
Fill with Foreground with Flood Fill #FFFFFF ( 3 Times )
Selections – Select None
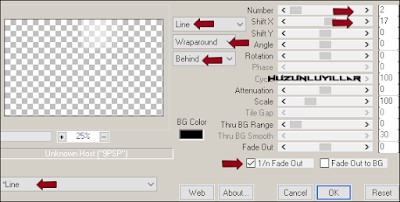
Effects – MuRa’s Meister – Copies
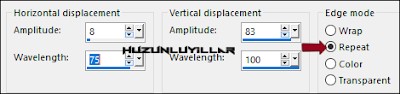
Effects – Distortion Effects – wave
Blend Mode – Normal – Opacity – 79
Layers – Duplicate
Layer Palette – Double click on this Layer and set the Blend Mode to “( Dissolve )”Opacity – 10
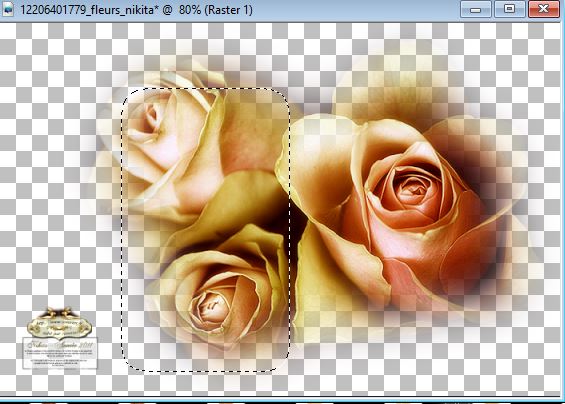
Open – Hy_Tube – 12206401779_fleurs_nikita
Edit / Copy
Note:12206401779_fleurs_nikita Don’t turn it off We’re not done with it.
Activate your work
Edit / Paste as New Layer
Image – Resize – 50%
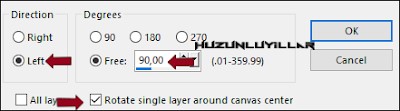
Image – Free Rotate
Place it in the right corner with the Move Tool.
Layer Palette – Double click on this Layer and set the Blend Mode to “( Soft Light )”Opacity – 57
12206401779_fleurs_nikita Let’s go back
Selections – Load/Save Selections – Load Selection From Disk – Hy_A Love Story_sell_Nikita
Edit – Copy
Activate your work
Edit / Paste as New Layer
Image – Resize – 75%
Image – Mirror – Mirror Horizontal
Place it in the Left Corner with the Move Tool
Layer Palette – Double click on this Layer and set the Blend Mode to “( Soft Light )
Layers – Merge – Merge Down
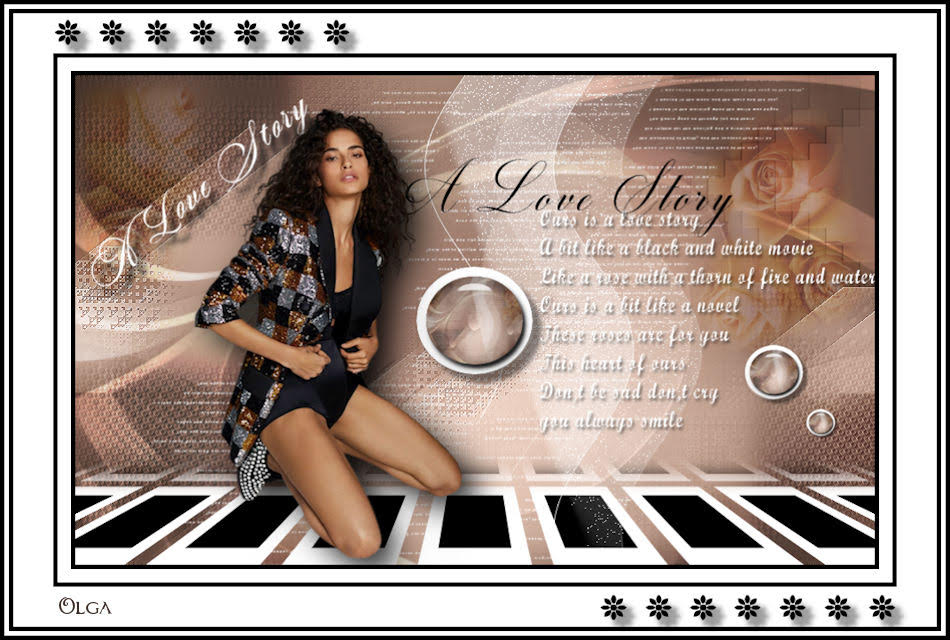
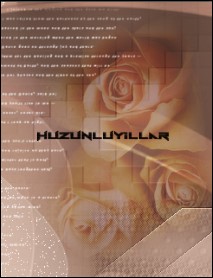
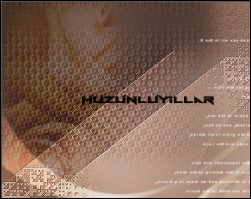
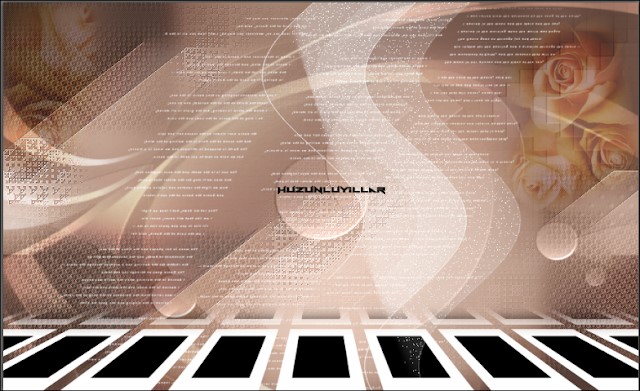
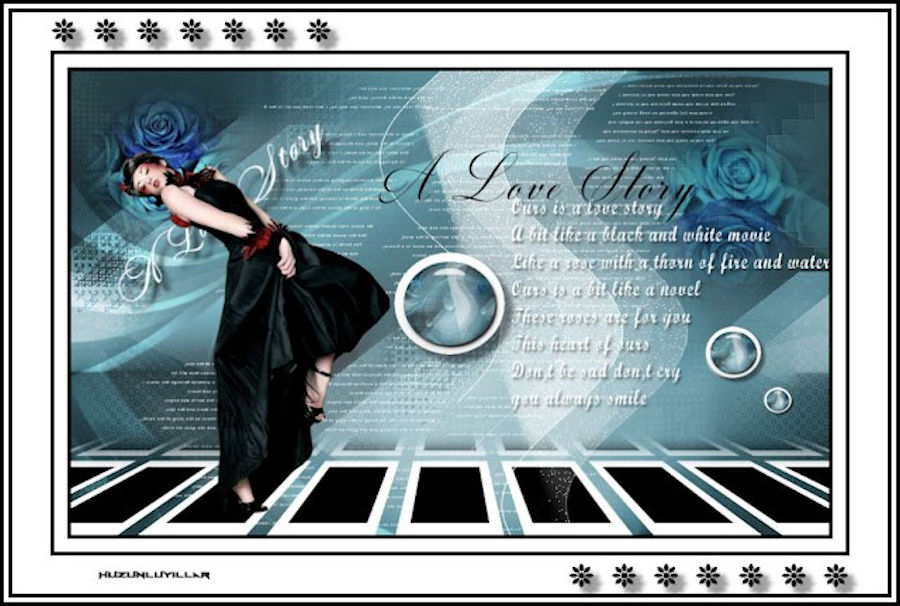
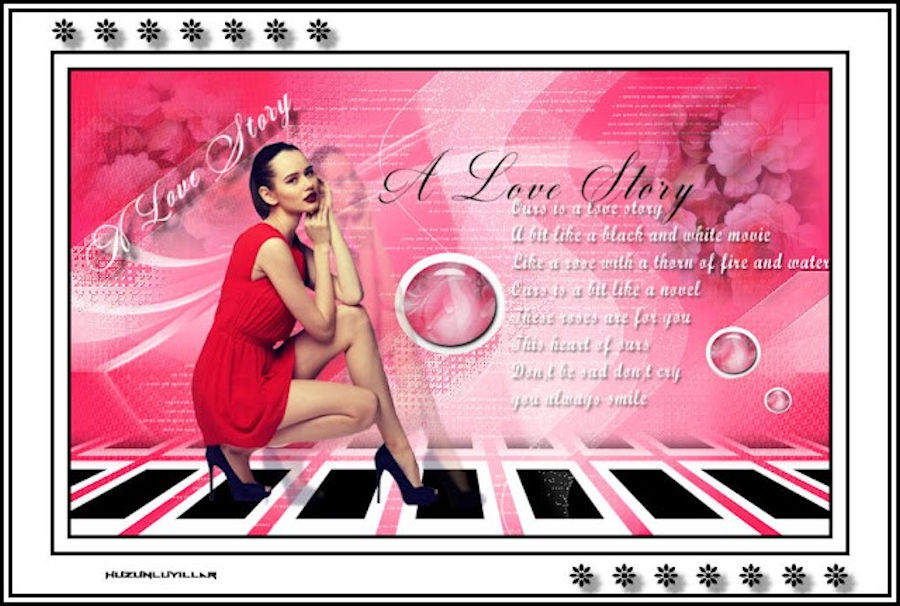
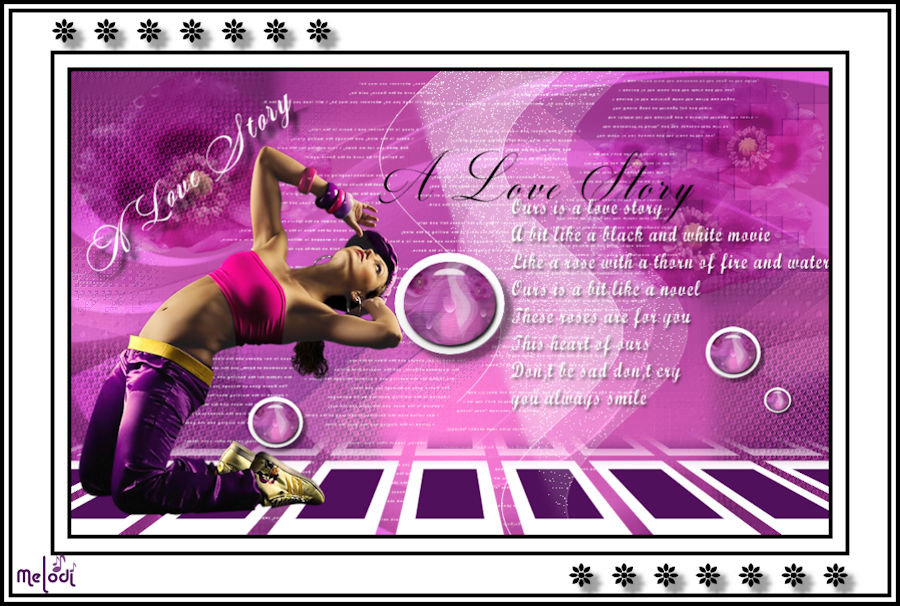
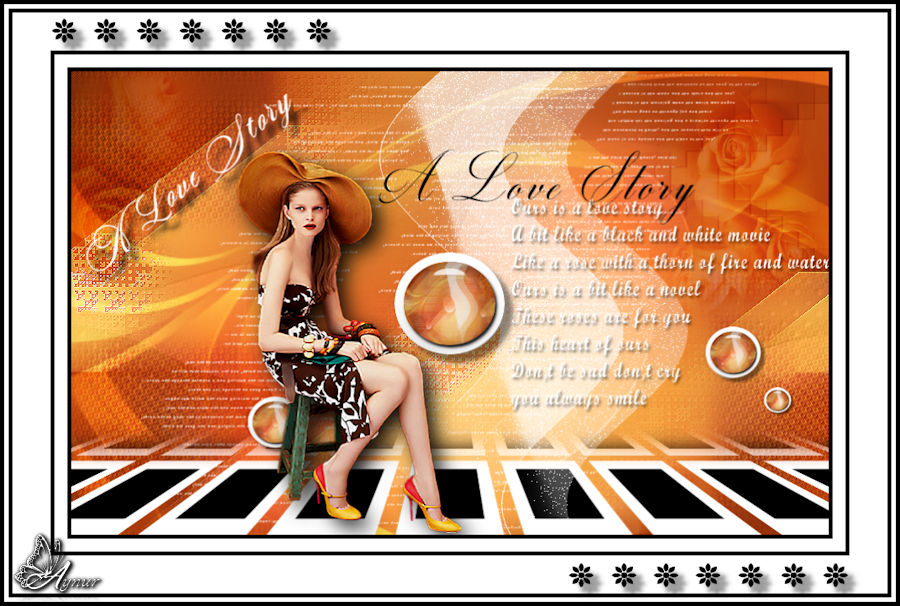
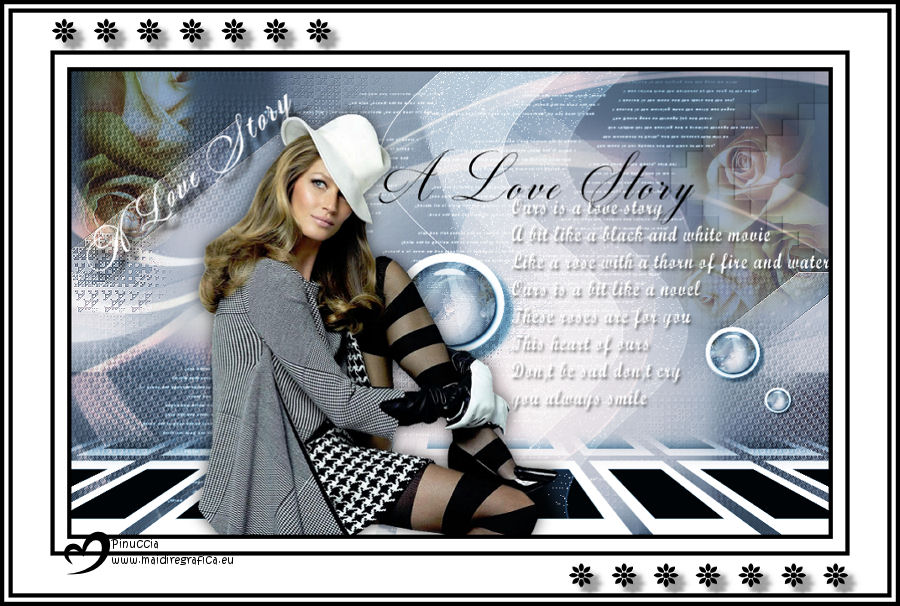
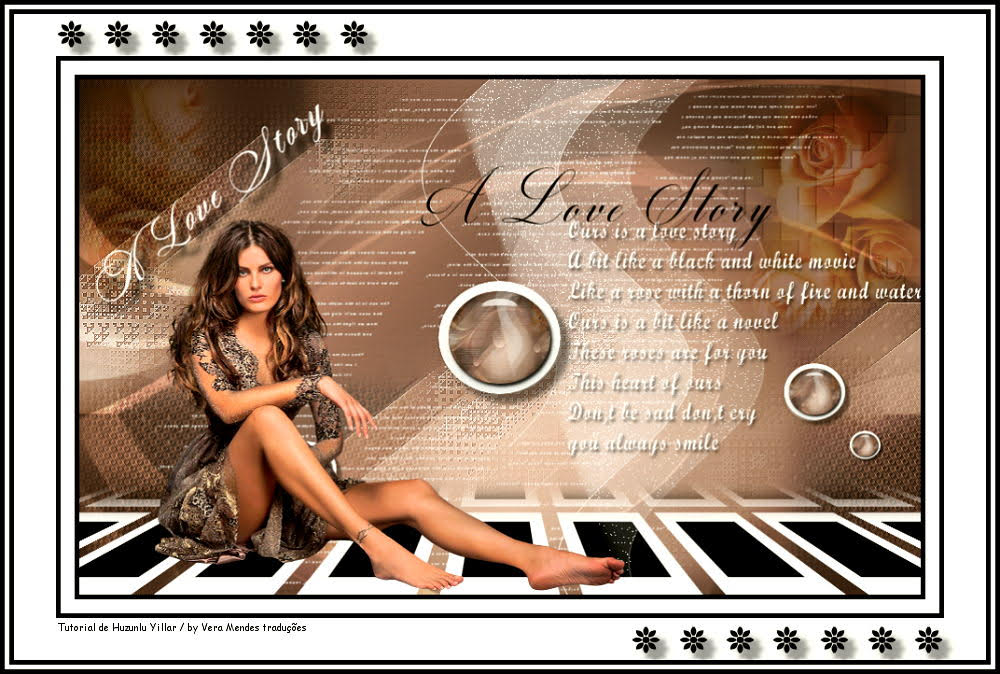
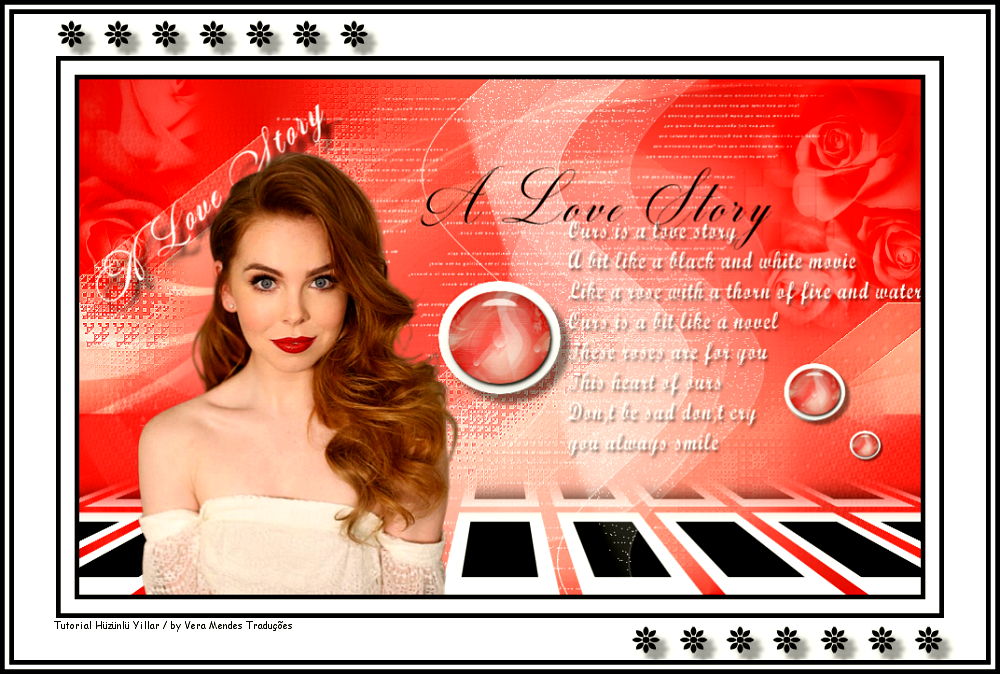
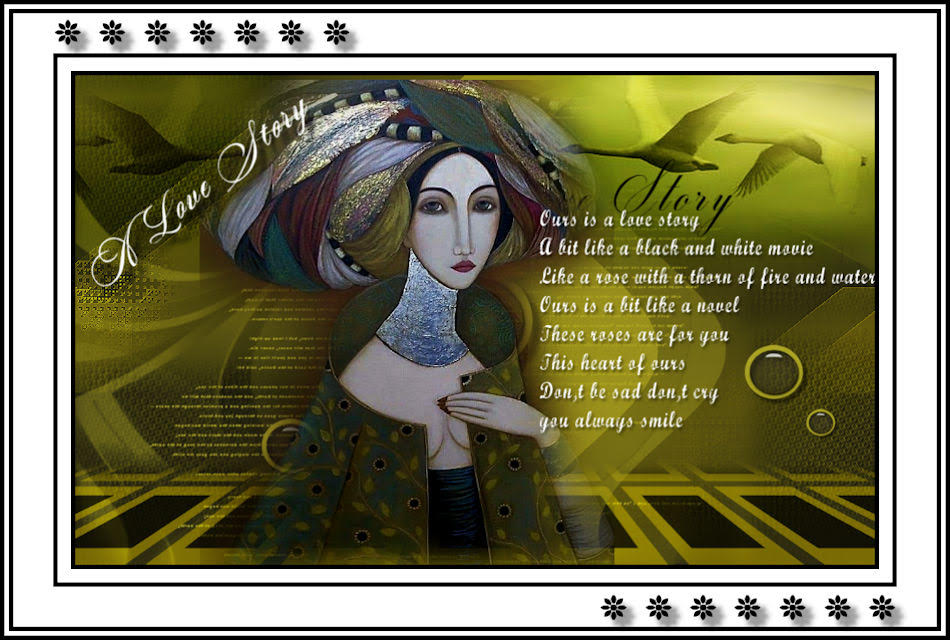
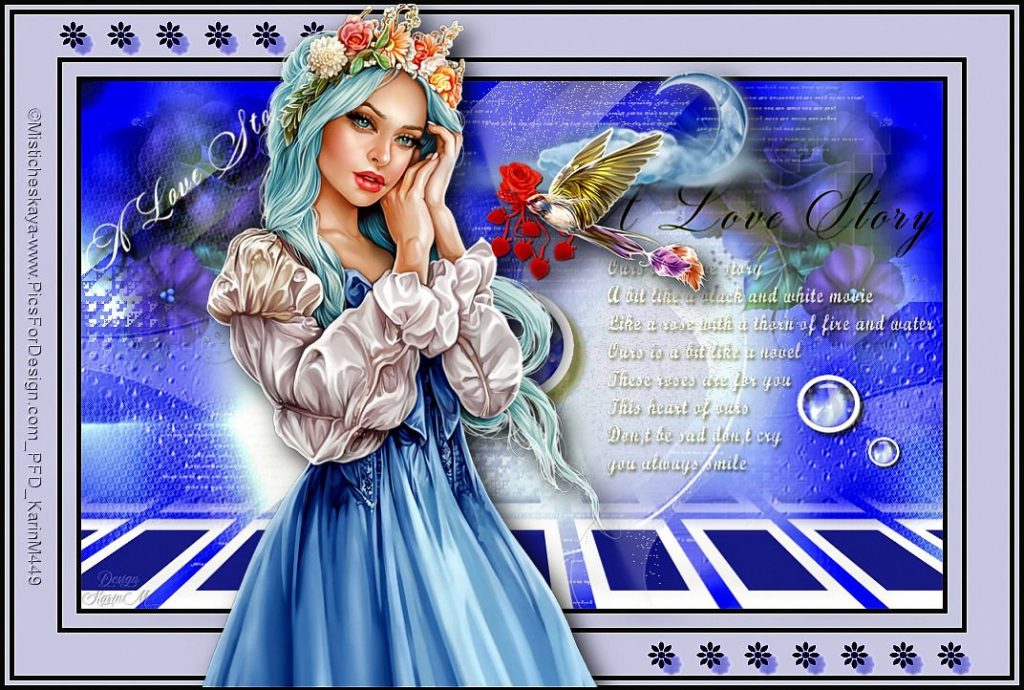
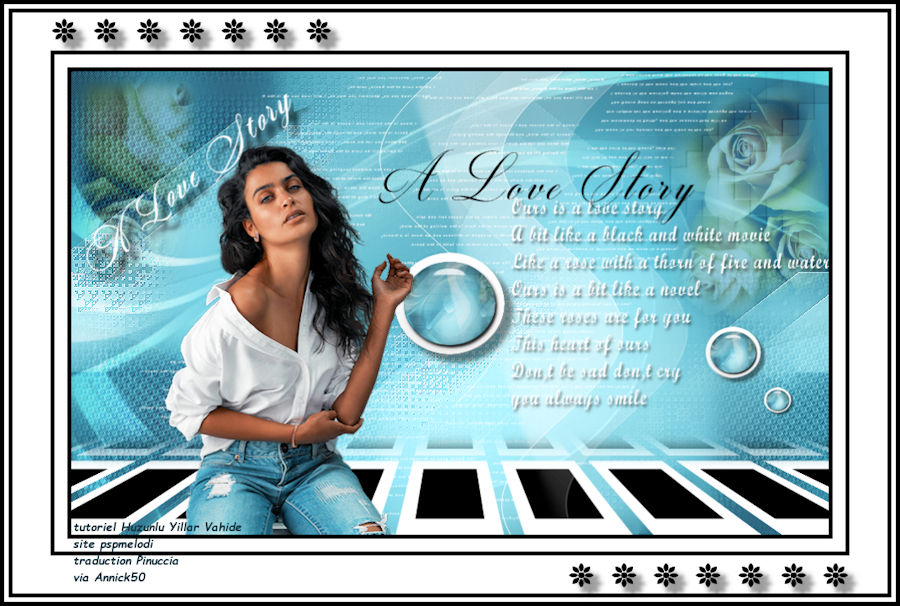
Your image should look like this now
Let’s close the raster 4 eyes, as in the example
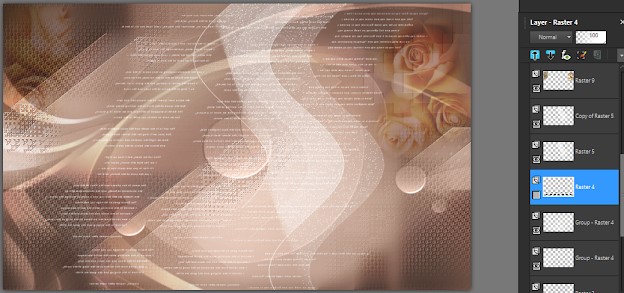
Edit – Copy Special – Copy Merged
Let’s Open Raster 4 Eyes
Let’s continue from the upper layer
Foreground with Flood Fill #FFFFFF
Layers – New Raster layer
Selections – Load/Save Selections – Load Selection From Disk – Hy_A Love Story_sell_7
Fill with Foreground with Flood Fill #FFFFFF
Selections – Modify – Contract Number Of Pixels:11
Press the delete key from the keyboard
Edit – Paste Into Selection
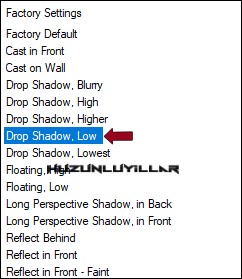
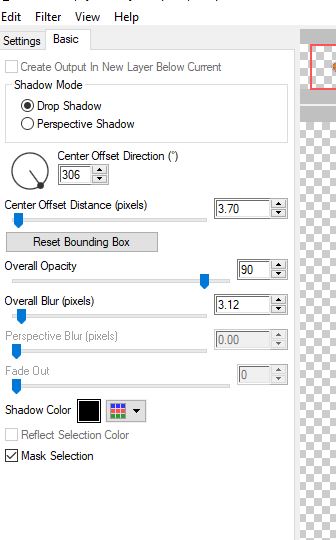
Effects – Alien Skin Eye Candy : 5 Impact – perspective Shadow – Hy_A Love Story_Glass
Effects – Alien Skin Eye Candy : 5 Impact – perspective Shadow – Drop Shadow , Low
Selections – Select None
Effects – Alien Skin Eye Candy : 5 Impact – perspective Shadow – Hy_A Love Story_Perst_1
Layers – Duplicate
Image – Resize %50
Activate Pick Tool and place it like this
Layers – Duplicate
Activate Pick Tool and place it like this
Layers – Duplicate
Image – Resize %50
Activate Pick Tool and place it like this
Layers – Merge – Merge Visible
Open – Hy_Text – Hy_A Love Story_Text
Edit / Copy
activate your work
Edit / Paste as New Layer
Activate Pick Tool and place it like this
Open – Hy_Text – Hy_A Love Story_Text_1
Edit / Copy
activate your work
Edit / Paste as New Layer
Activate Pick Tool and place it like this
Open – Hy_Text – Hy_A Love Story_Text_2
Edit / Copy
activate your work
Edit / Paste as New Layer
Activate Pick Tool and place it like this
Open – Hy_Tube – Femme-1633-Azalee
Edit / Copy
activate your work
Edit / Paste as New Layer
Image – Resize 50%
Place it with the Move Tool
Layers – Merge – Merge Visible
Edit – Copy
Open – Hy_Frame – Hy_A Love Story_Frame
Edit / Paste Into selection
Selections – Select None
Put Your Watermarkt
Image – Resize 900 pixels
Save JPEG

Teşekkürler Aynur

Thank you Inge Lore

Thank you Pinuccia

Thank you Vera Mendes
Thank you Sylviane
Thank you Angela

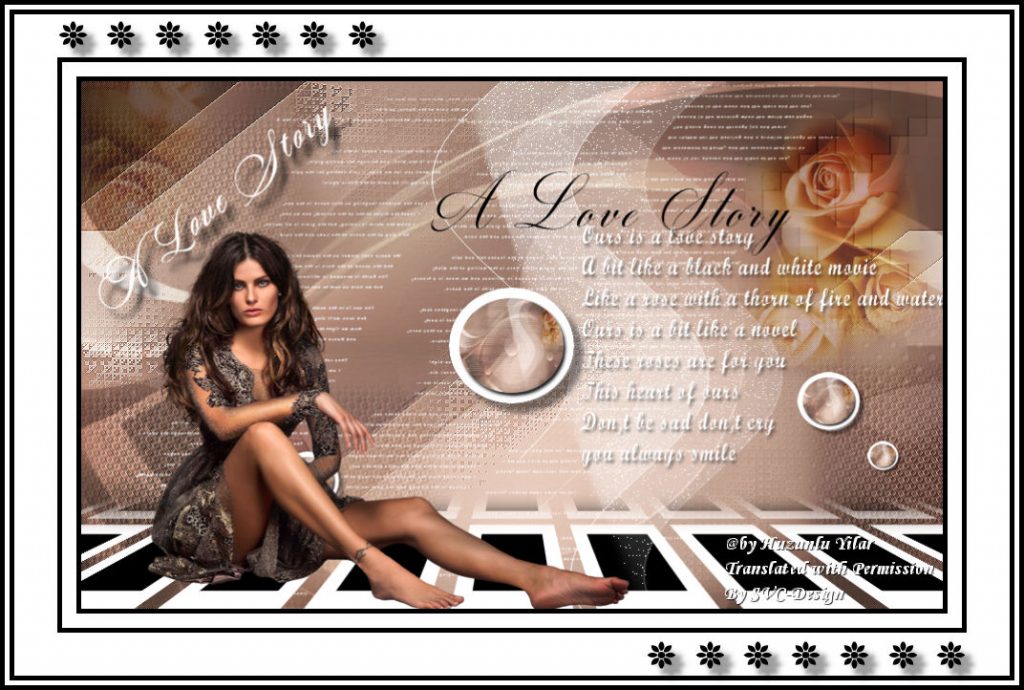
Thank you Trudy
Thank you Femmadorathea
Thank you Margit Schaafberg
Thank you Angel

Thank you Pia

Thank you Grances

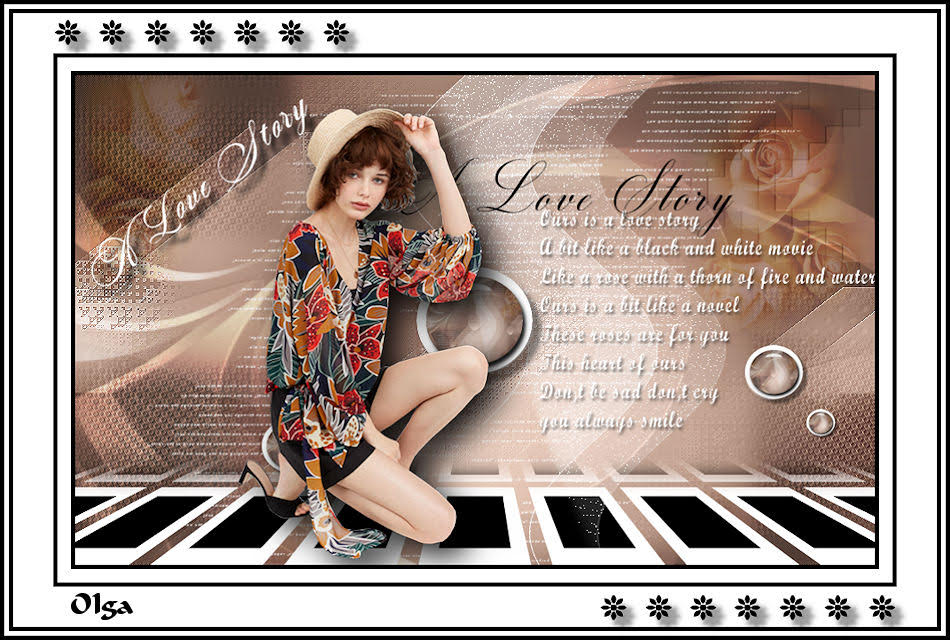
Thank you Olga
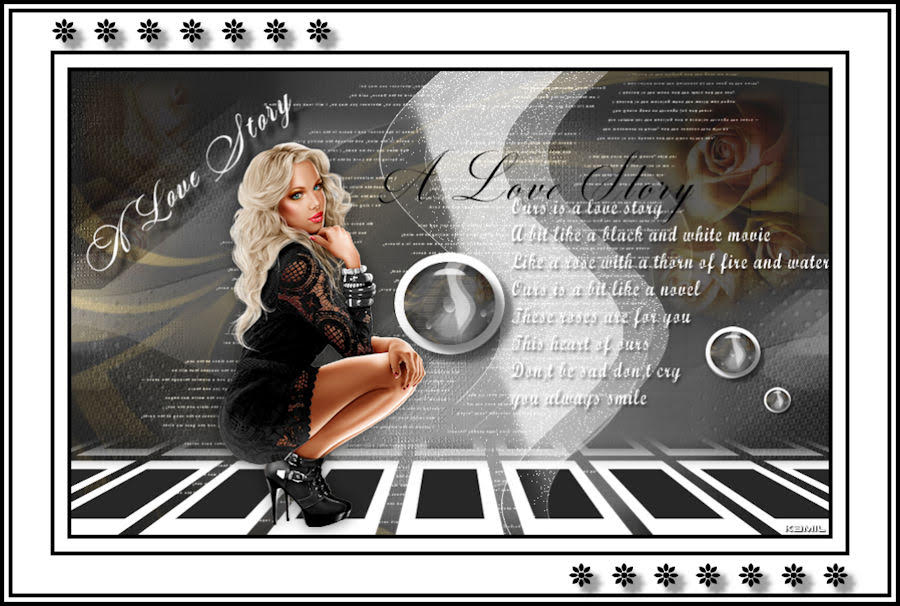
Than you Kamil
Thank you Karin
Thank you mary lbdm
Thank you Vera Mendes
Thank you Lisette

Thank you Marygraphic
Thank you Mamyannick
Thank you Petral
Thank you Dany
Thank you Pia
Thank you Uschi

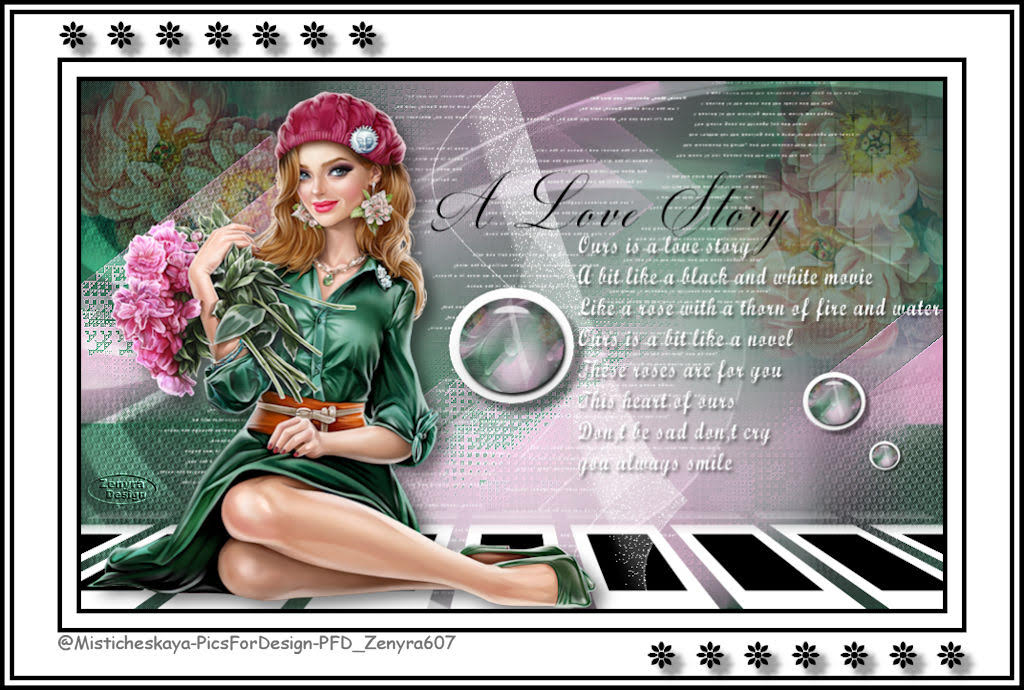
Thank you Zenyra
Thank you Desi

Thank you Franie Margot

Thank you Cupcake

Thank you Sweety

Thank you Pink

Thank you Dulce Tierra
Thank you Castorke

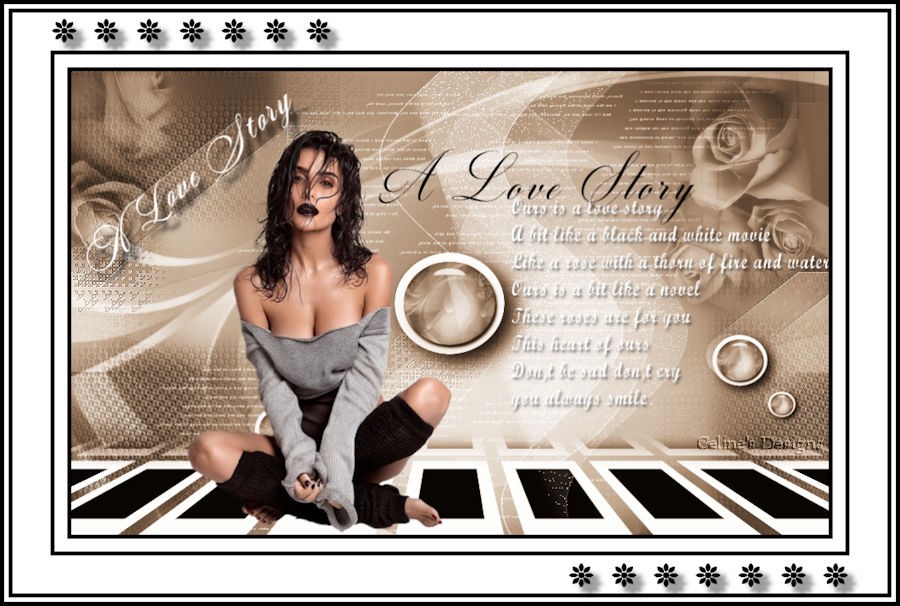
Thank you Celine
Thank you Daniella

Thank you Hope
Thank you Olga