The colors, layer density and blending mode are for the materials of this lesson. If you use different material, just take a look at what is best for you…
Before Open psp Copy the Selection file in the Selections Folder of Psp
Download materials by clicking below
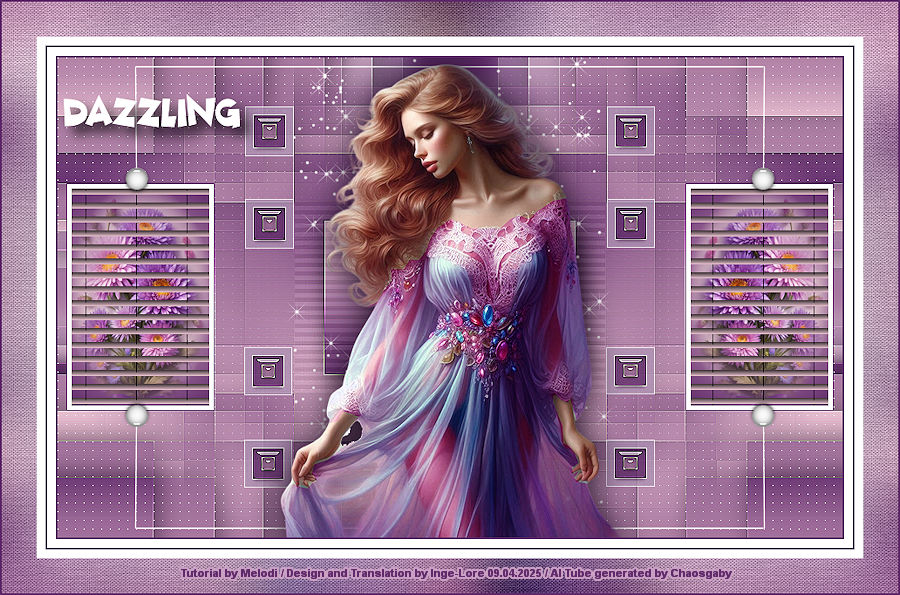
Danke Inge Lore für die deutsche Übersetzung


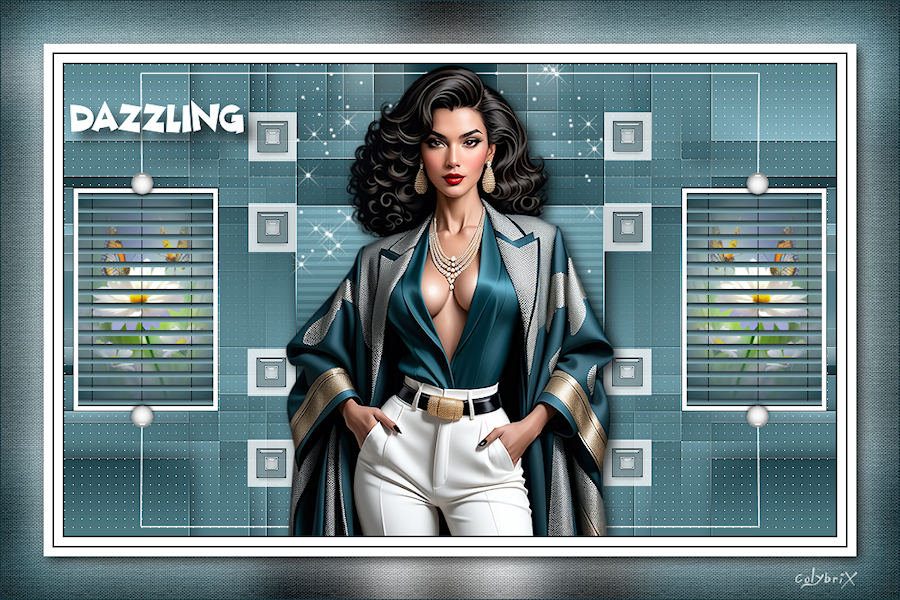
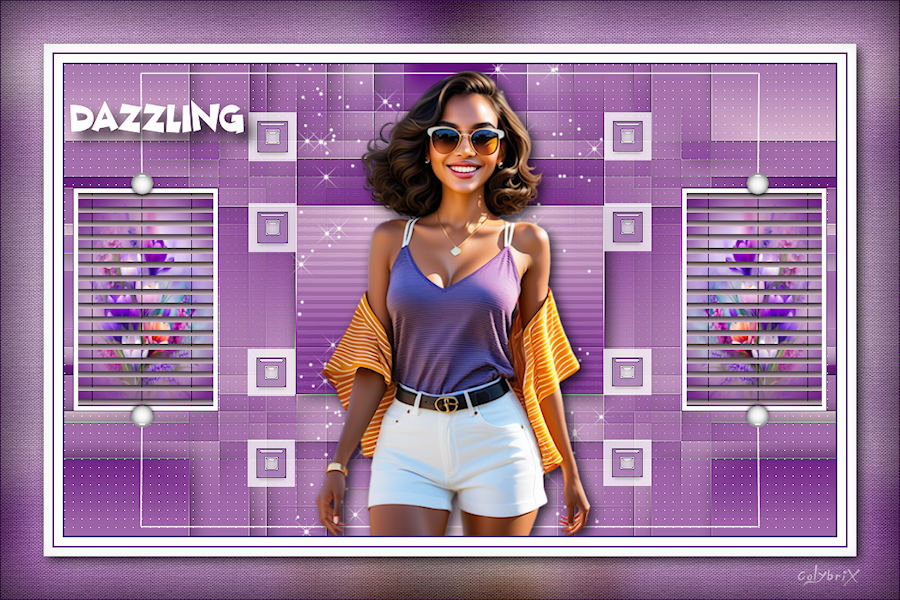
Merci Colybrix pour la traduction française


Thanks Pinuccia for the Italian and English translation


Thanks Sylviane for the Spanish and Dutch translations.


Thanks Vera Mendes for the Portuguese translation


Ifyou’reready, let’s start
PLUGİNS:
Filter Unlimited – Bkg Designer sf10I – Cruncher
AP (Lines)-Lines-Silverlining – Dotty Grid
Plugins / Alien Skin Xenofex 2 / Constellation / Setting “Bling Bling”
Effects – Alien Skin -Eye Candy 5 Impact
Plugins -It@lian Editors Effet – Effetto Fantasma
Carolaine and Sensbilty ( CS- HLines )
Van DerLee – UnPlugged – X- Jalusi
Filters Unlimited 2.0 – Paper Textures – Canvast Fine
MATERİALS:
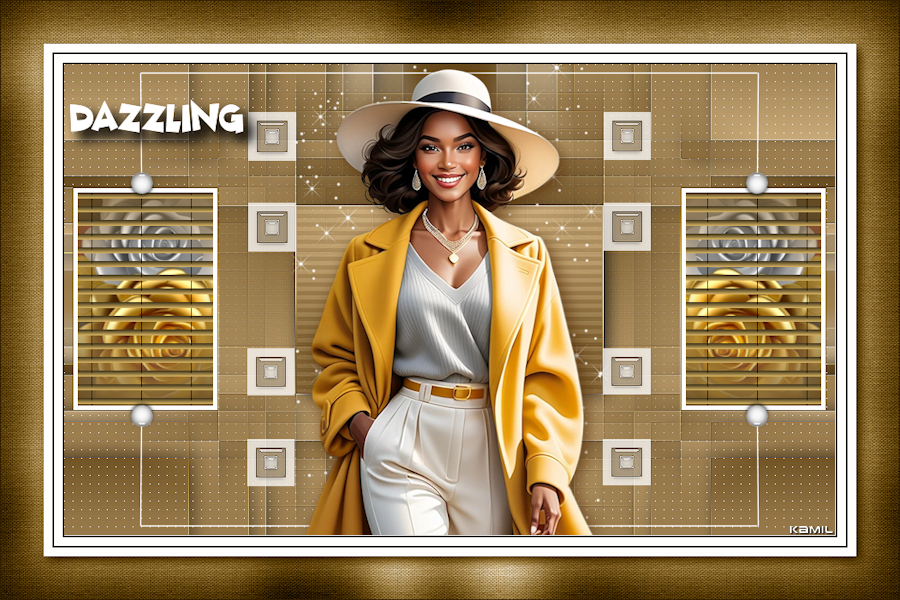
Tube: Kamil
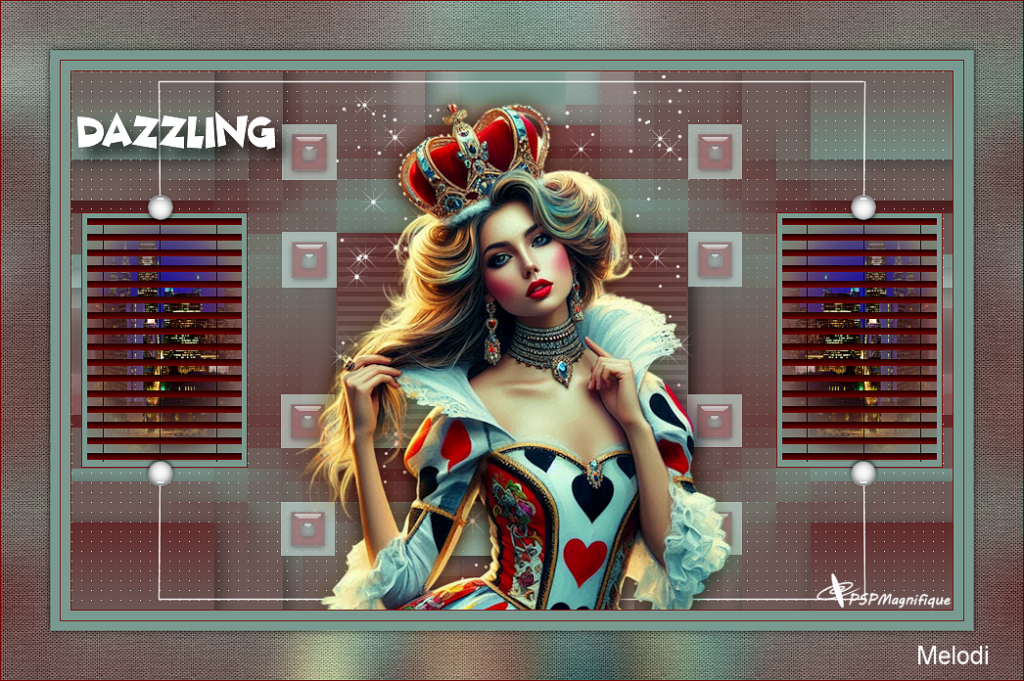
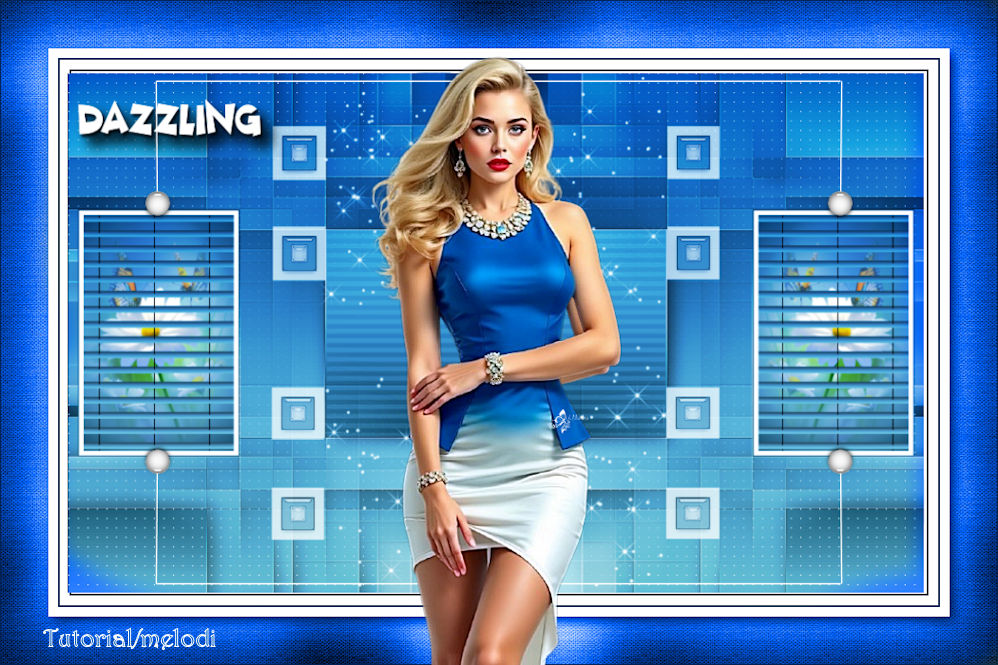
Deco: Melodi
Text Dazzling
Selections
Needed Material

Select a light color for the foreground color and a dark color forthe background color from your tube.
My Colors
Foreground color #143840
Background color #94c5d2

STEP 1
1 -File Open – New 900 x 550
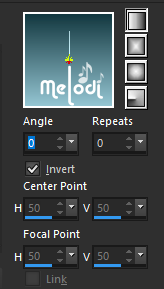
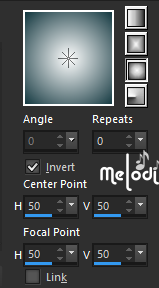
Prepare the gradient as follows. Linear / Angle 0 – Repeats 0
2-Flood Fill Tool / Gradient
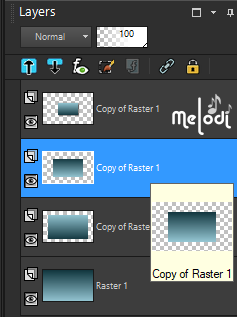
3-Layers – Duplicate (Copy of Raster 1)
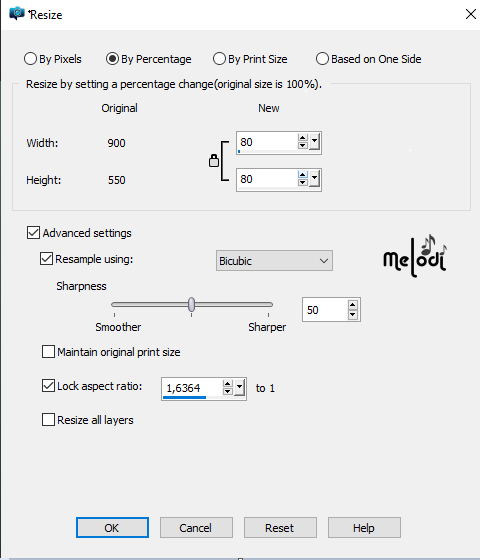
4-Image, Resize, Resize to 80% (Resize all layers un checked)
5-Image -Mirror – Mirror Vertical
6-Activate the bottom layer ( Raster 1)
7-Layers – Duplicate (Copy of Raster 1)
8-Layers – Arrange – Bring to top
9-Image, Resize, Resize to 60% (Resize all layers un checked)
10-Activate the bottom layer ( Raster 1)
11-Layers – Duplicate (Copy of Raster 1)
12-Layers – Arrange – Bring to top
13-Image, Resize, Resize to 40% (Resize all layers un checked)
14-Image -Mirror – Mirror Vertical
15-Effets – 3D Effects –Drop Shadow V: 5 H: 5 O: 80 B: 30
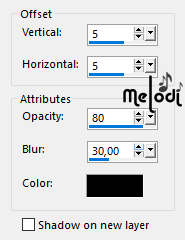
Activate a sublayer
16-3D Effects –Drop Shadow same setting
17-Activate a sublayer
18-3D Effects –Drop Shadow same setting
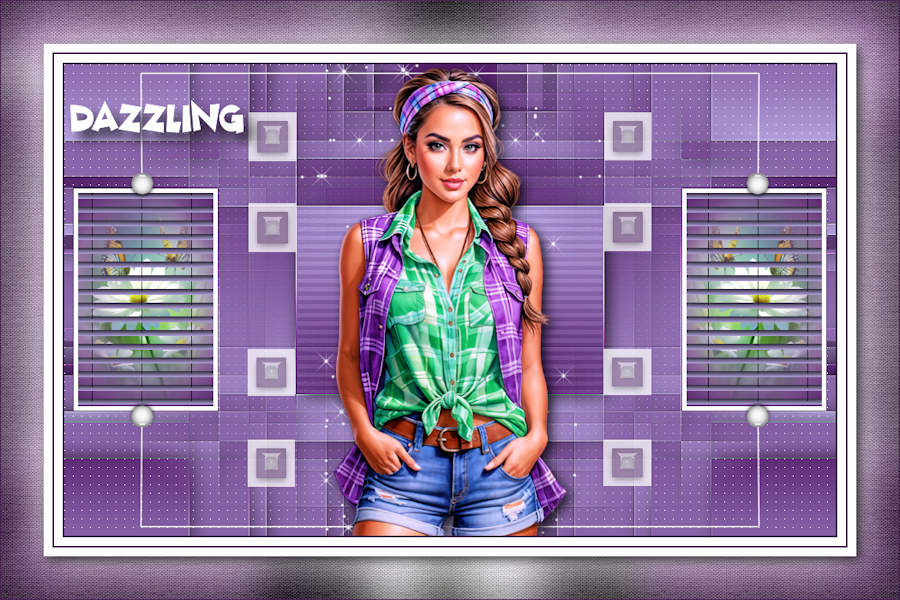
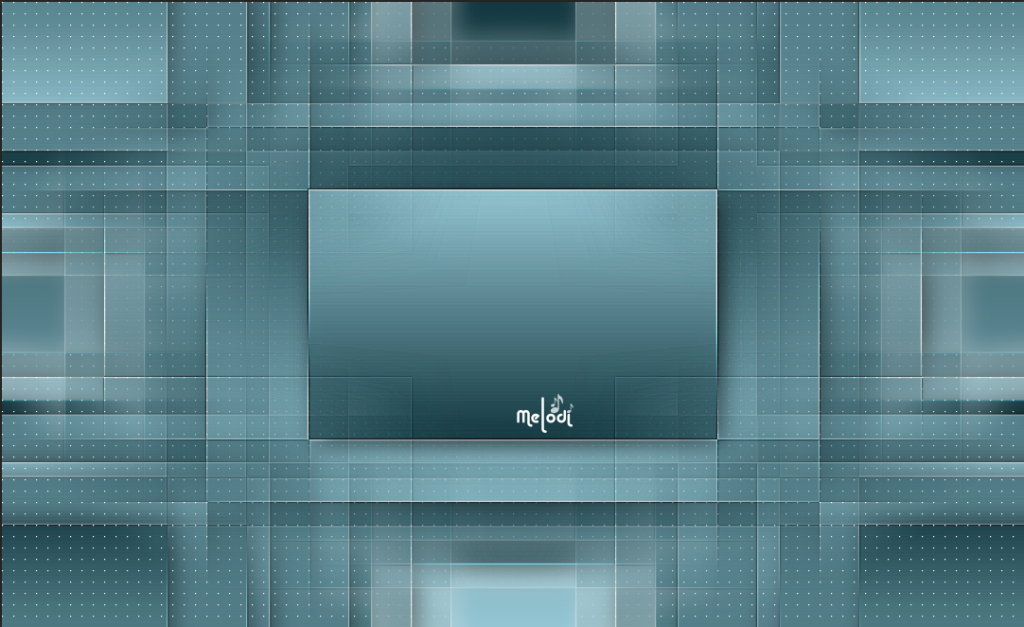
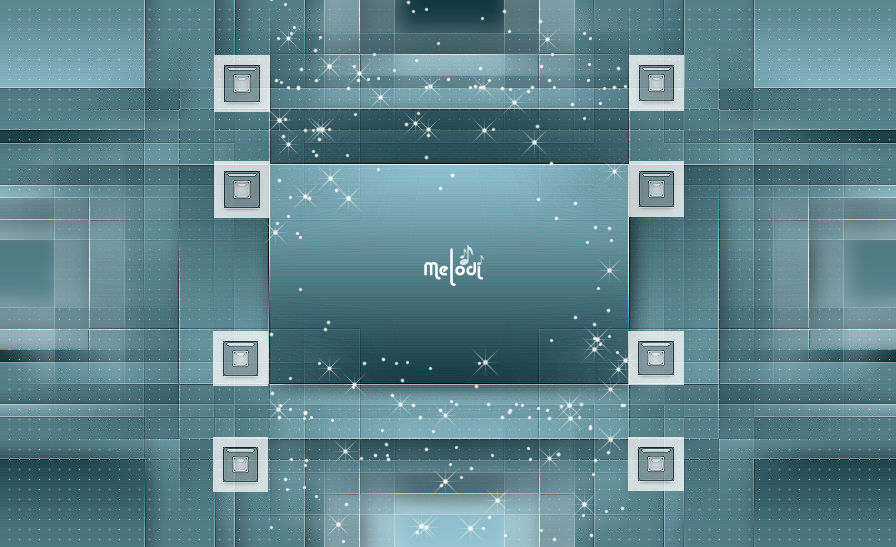
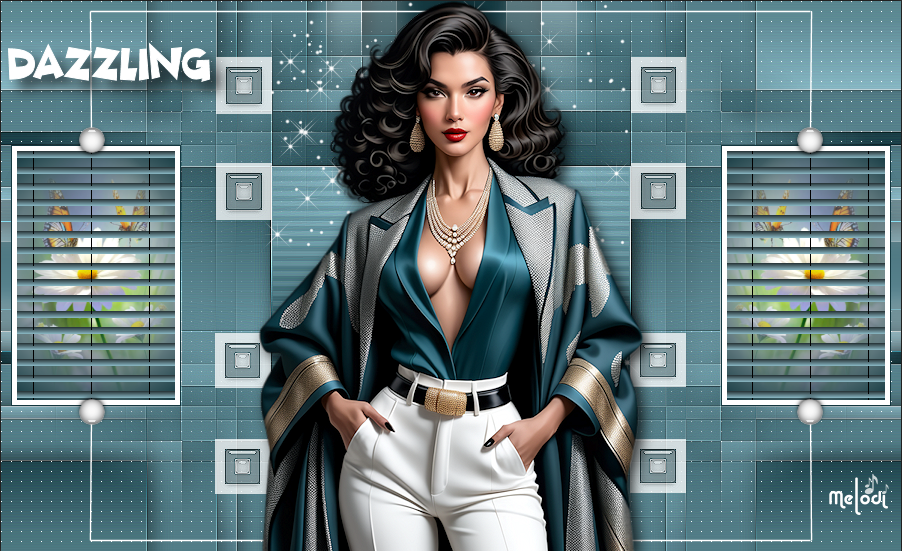
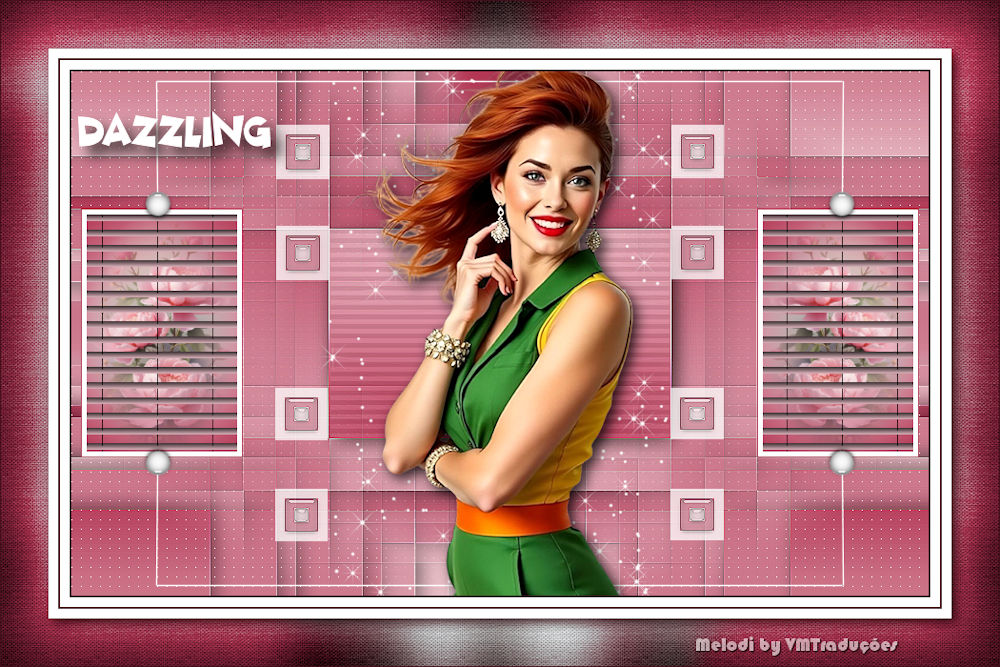
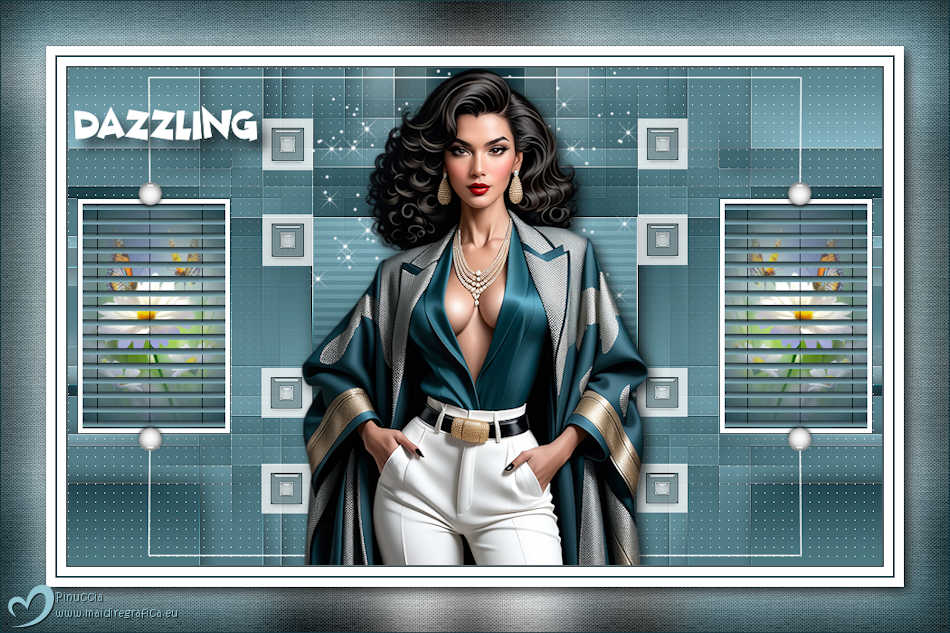
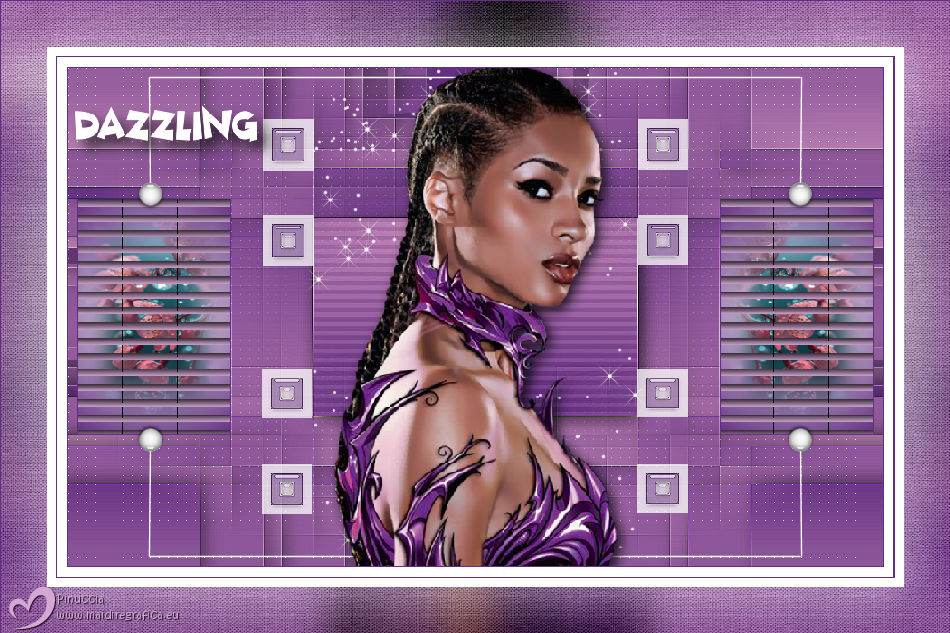
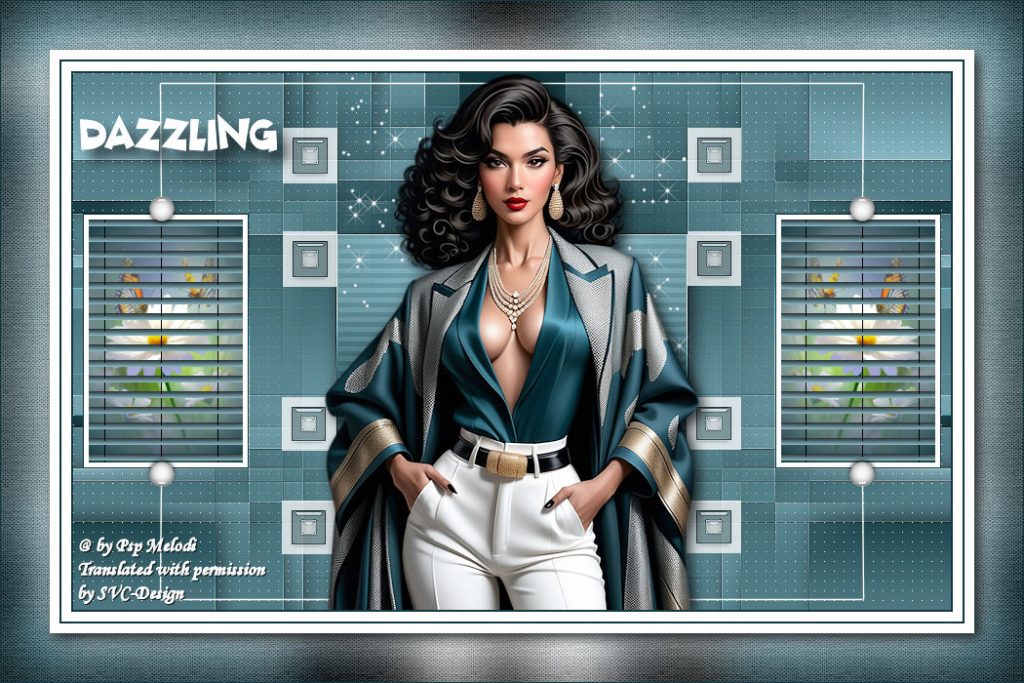
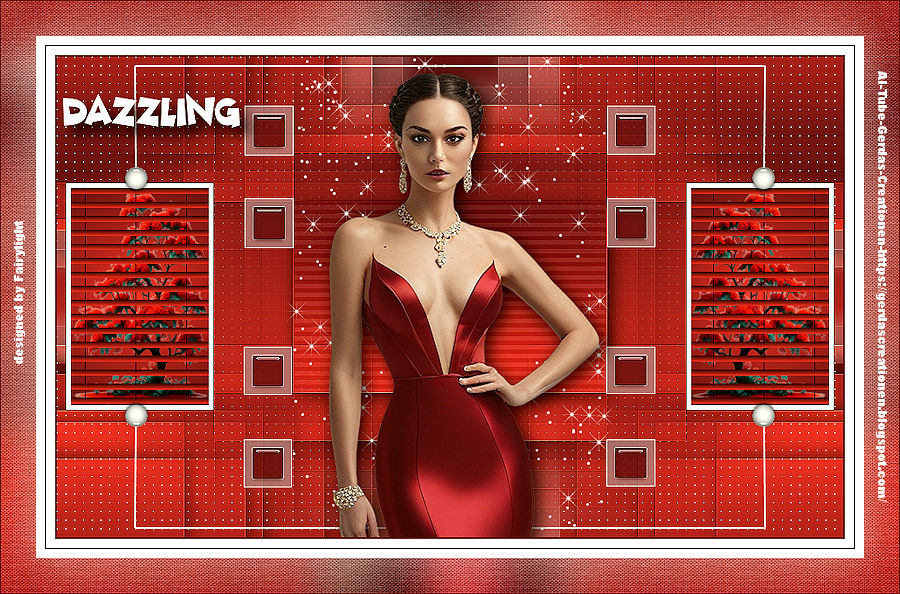
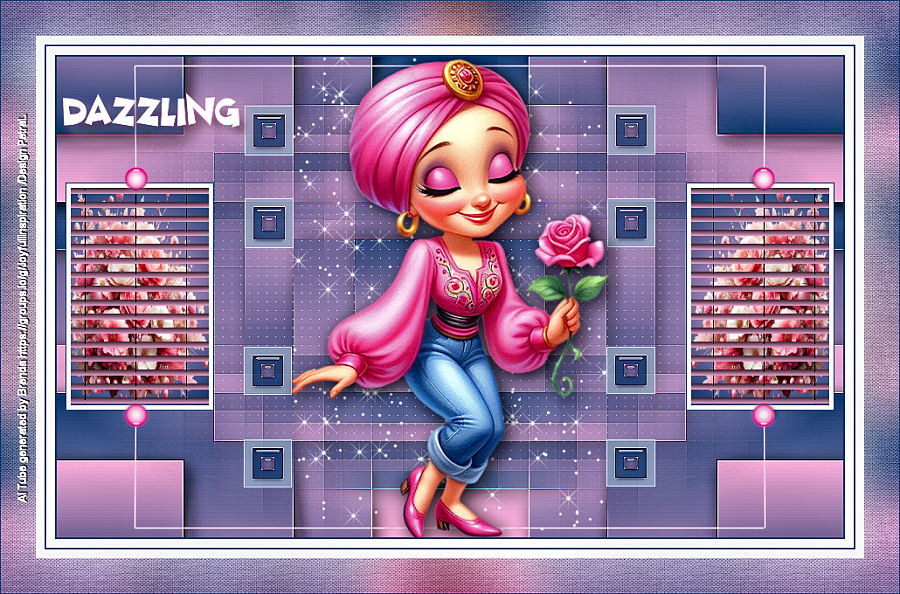
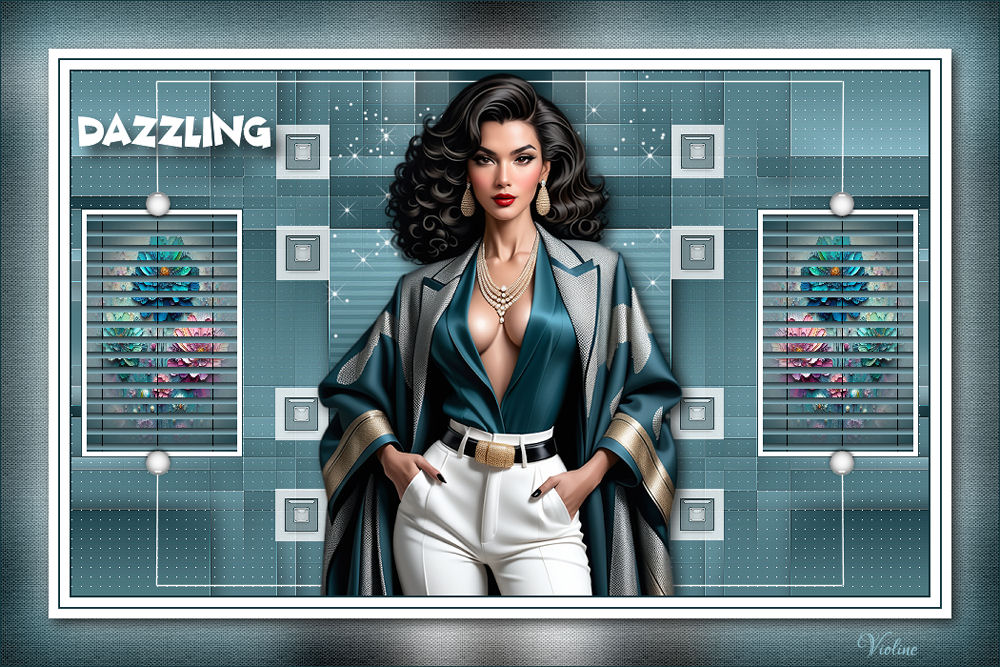
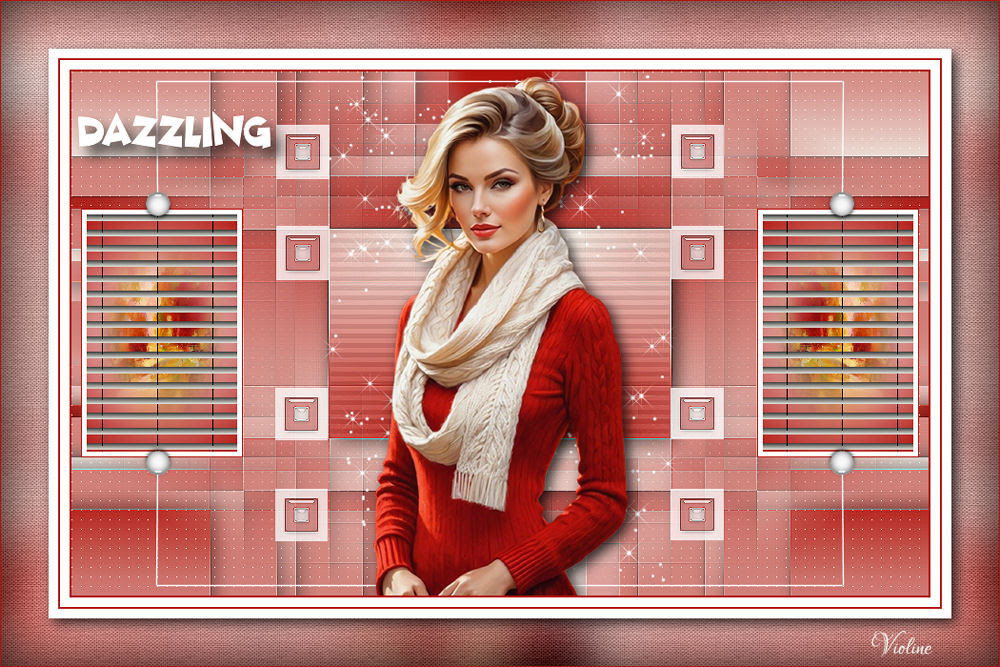
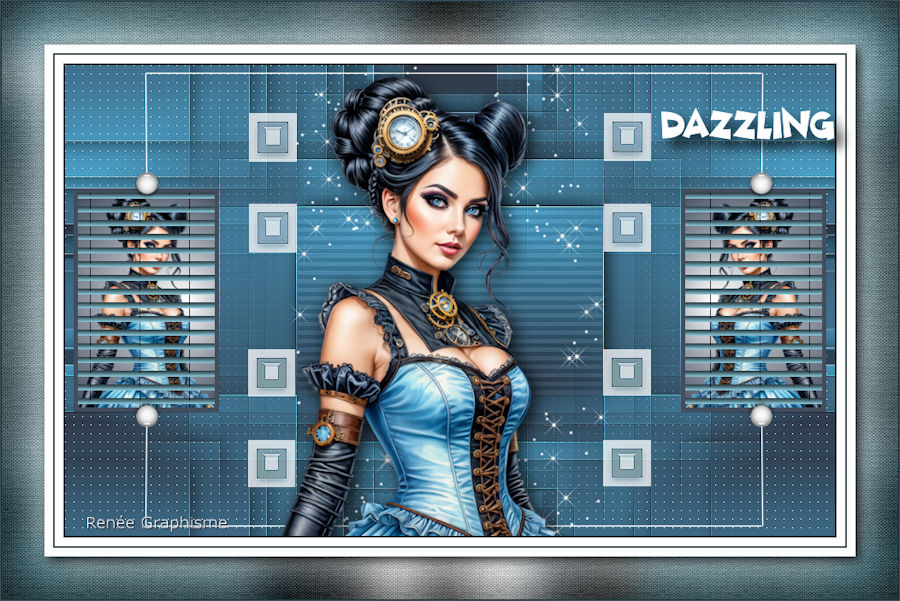
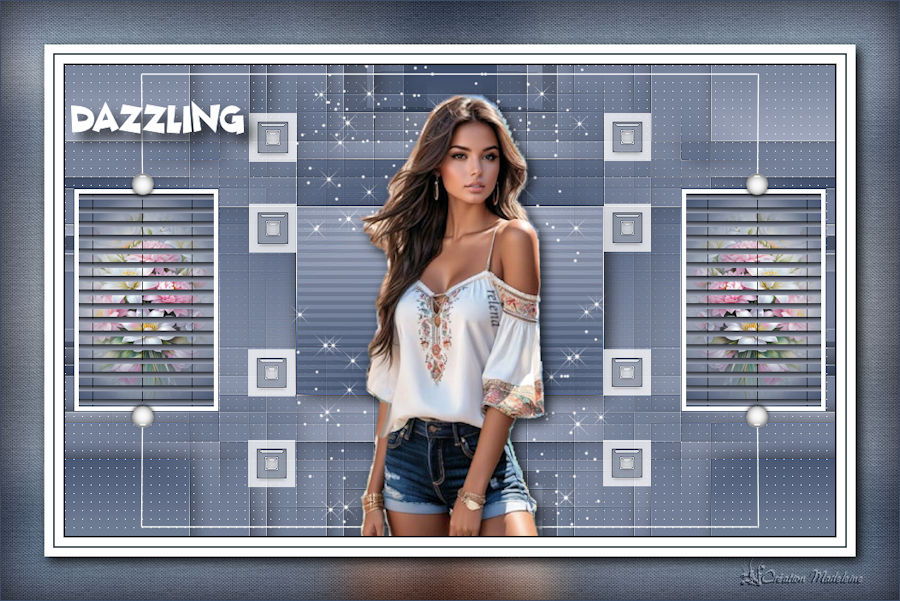
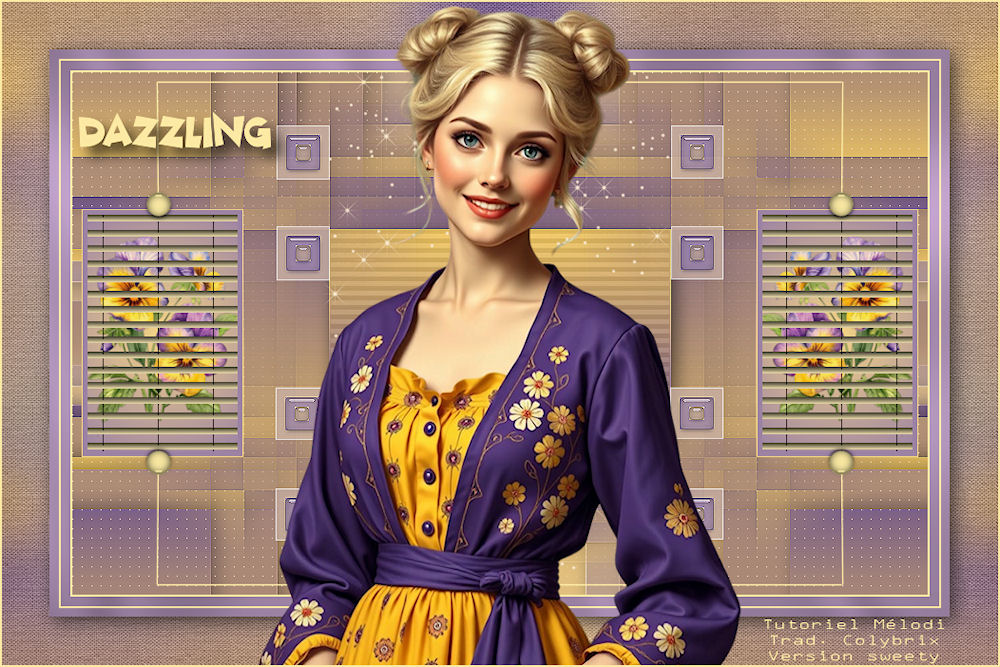
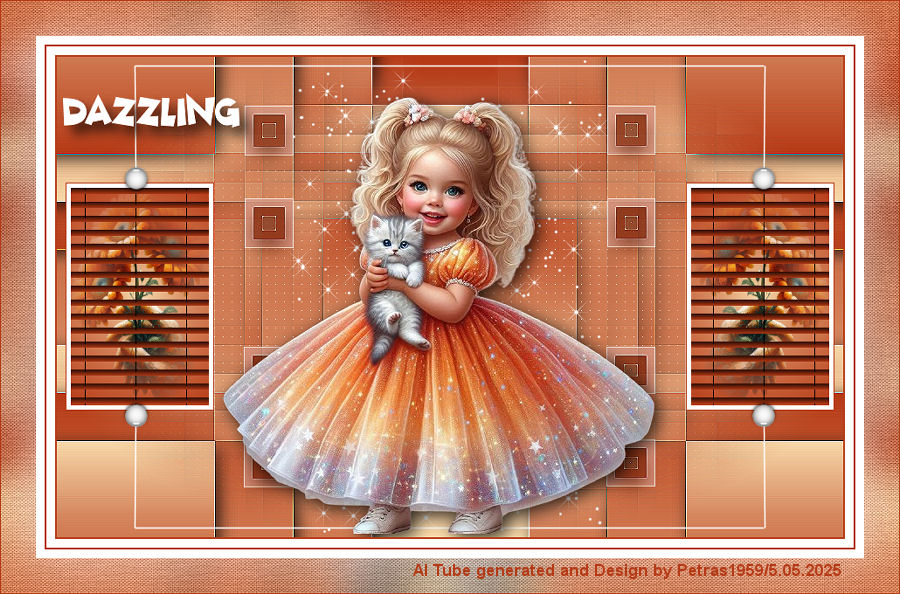
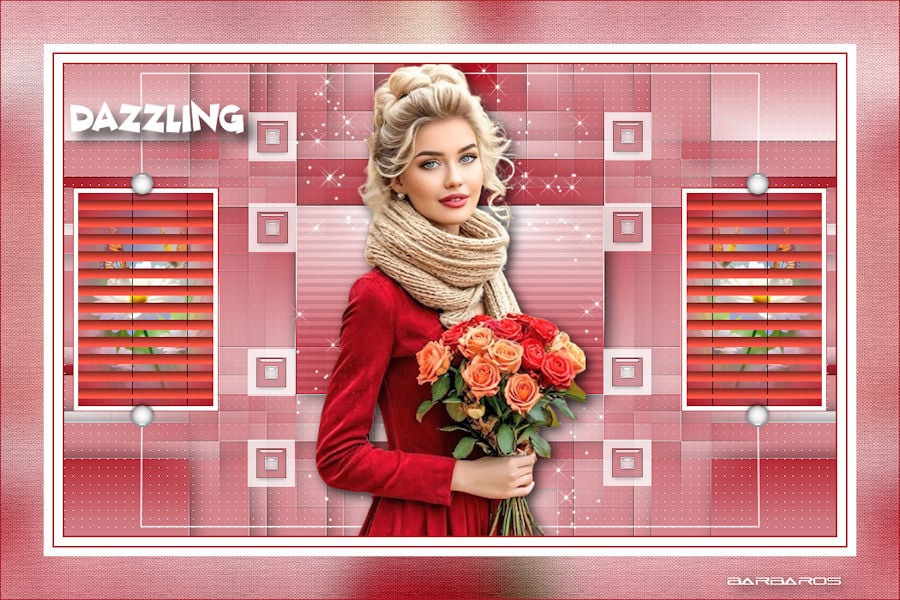
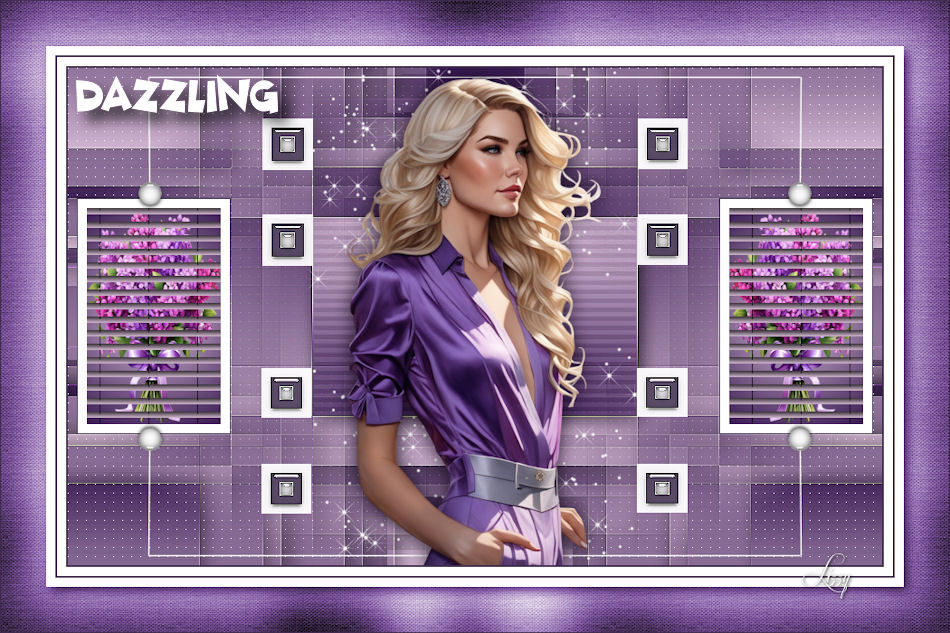
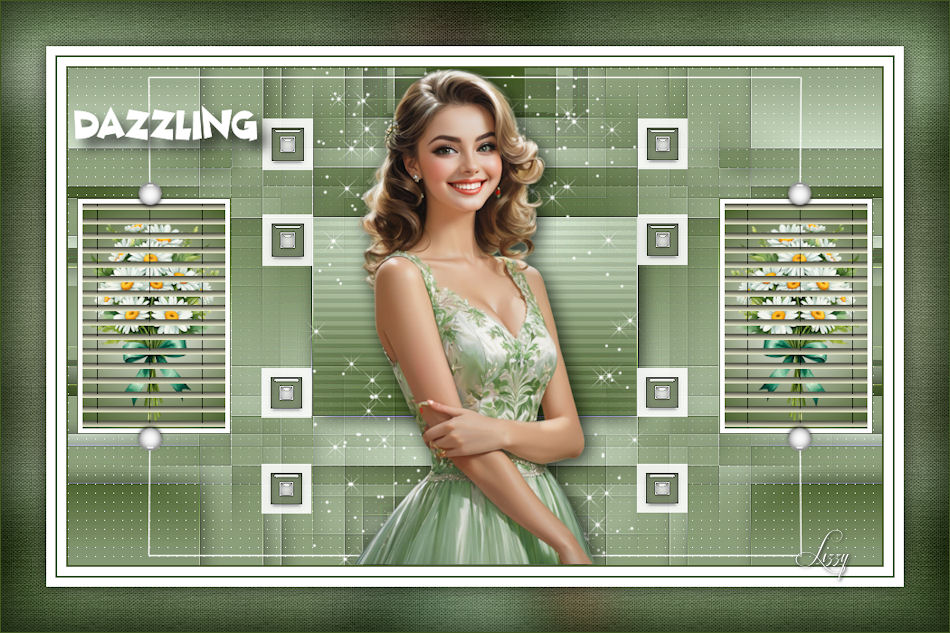
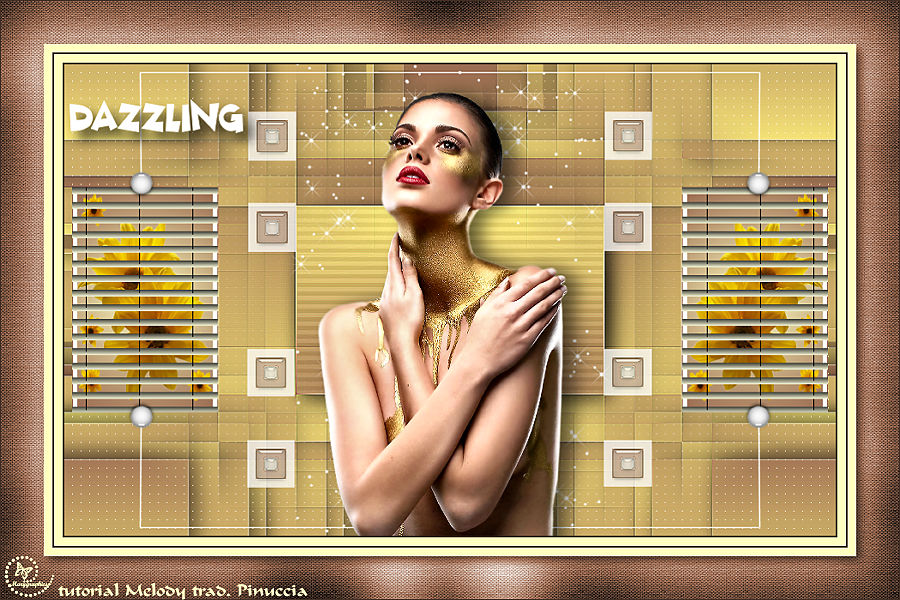
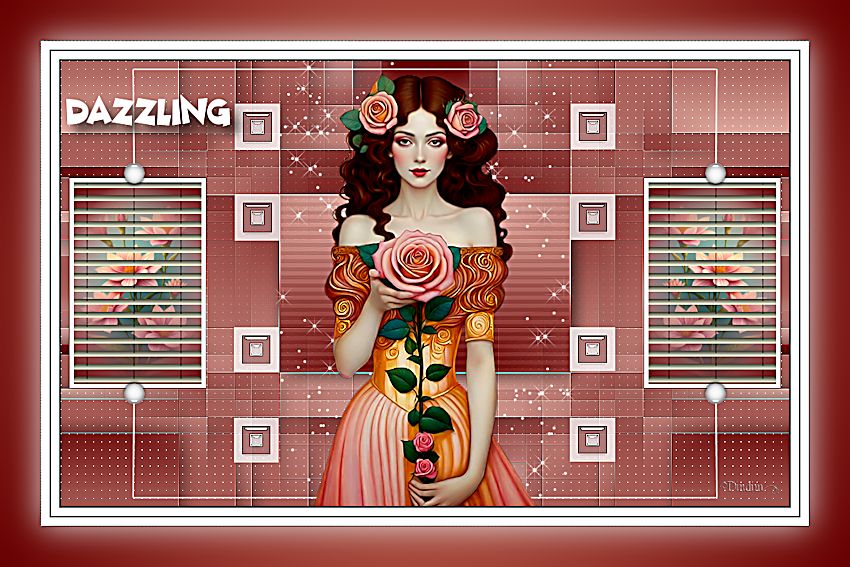
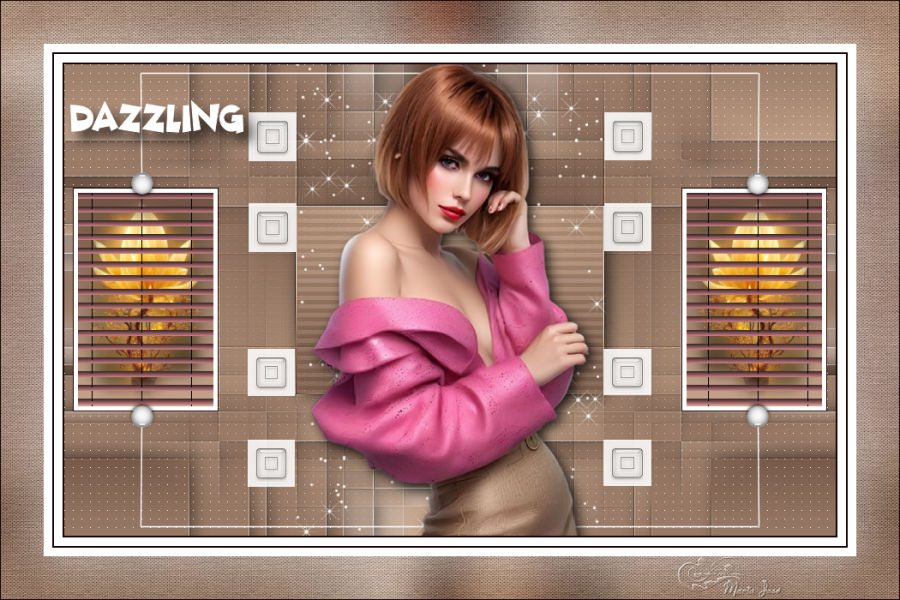
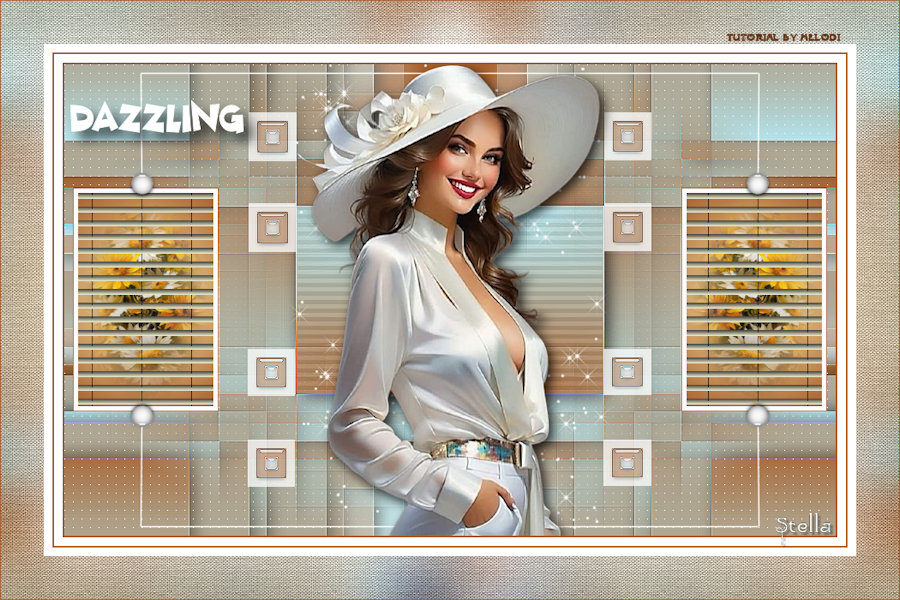
RESULD

STEP 2
1-Close the eyes of the bottom layer
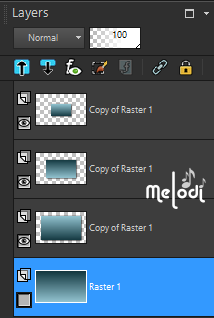
2-Activate the top layer. Merge Visible layers (Merged)
3-Open the eye of the bottom layer.
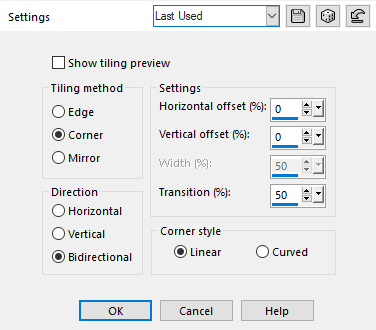
4-Effects – Image – Effects – Seamless Tiling (Default settings)
5-Effects – Edge Effects -Enhance More
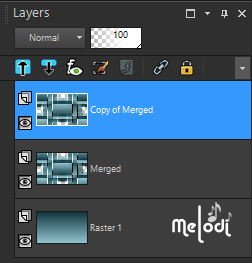
6-Layers Dublicate ( Copy of Merged)
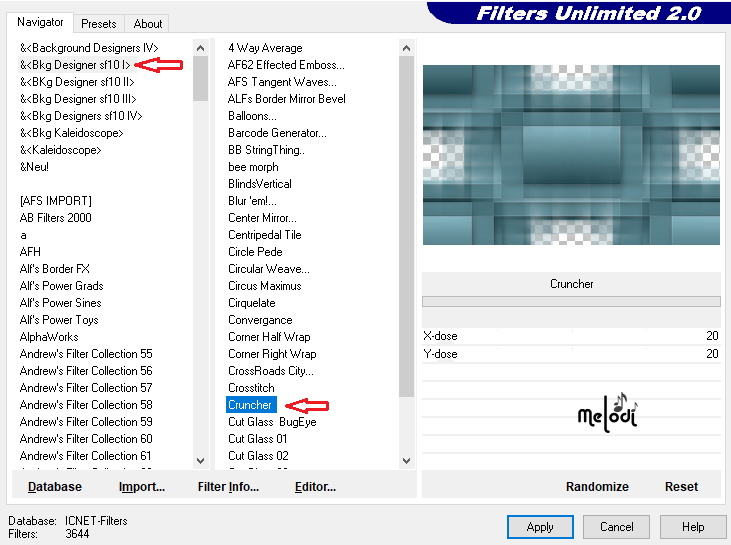
7-Effetcts – Filter Unlimited – Bkg Designer sf10I – Cruncher
8-Image -Mirror – Mirror Vertical
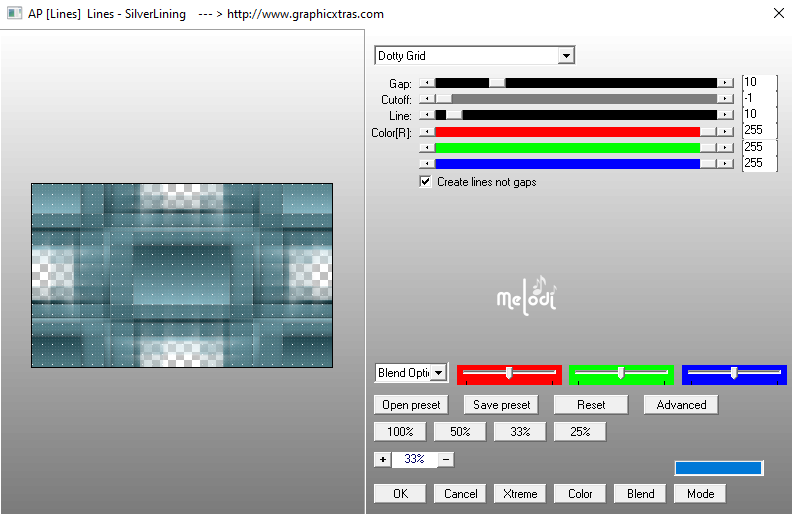
9-Effects-Plugins-AP (Lines)-Lines-Silverlining – Dotty Grid 10/ -1 /10
10- File Open/ Mask 20 20
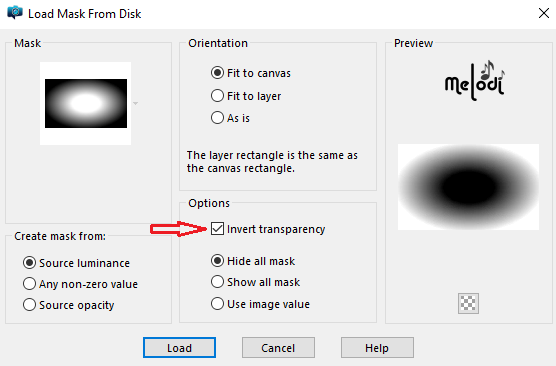
11-Layers – Load/Save Mask- Load Mask From Disk (Mask 20 20)
12-Merge- Merge Group (Group – Copy of Merged)
RESULD
STEP 3
1-Selections – Load/Save Selection -Load from Disk Dazzling 1
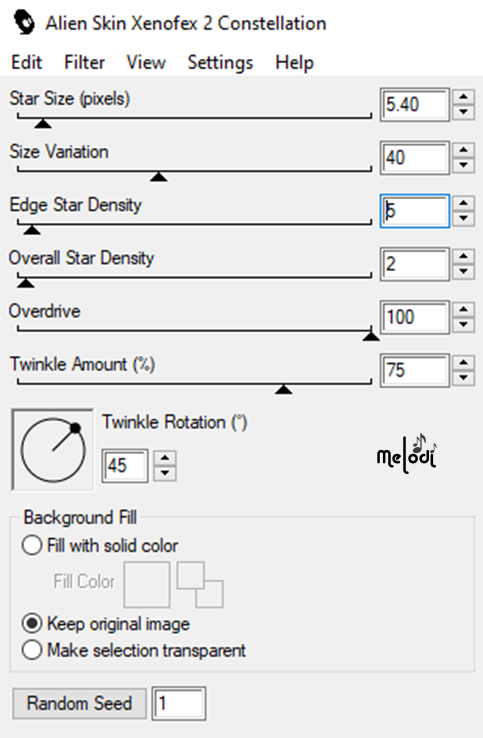
2-Effects / Plugins / Alien Skin Xenofex 2 / Constellation / Setting “Bling Bling” ( 5.40 / 40 / 5 / 2 / 100 / 75 )
3-Selections – Select None
4-Change your background color to white.
5-Layers-New Raster Layer.( Raster 2)
6-Selections – Load/Save Selection -Load from Disk Dazzling 2
7-Flood Fill Tool / Fill background color white #ffffff
8-Selections>Modify>Contract – 10 pixels.
9-Flood Fill with your foreground color #143840
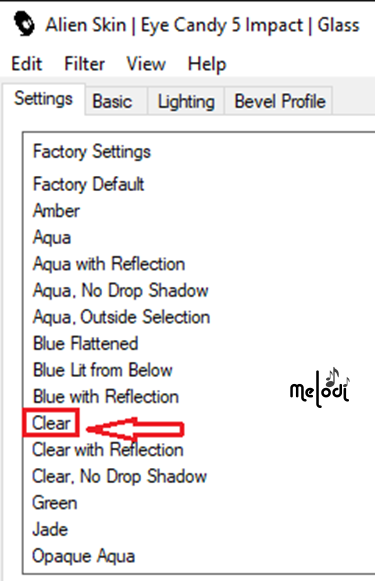
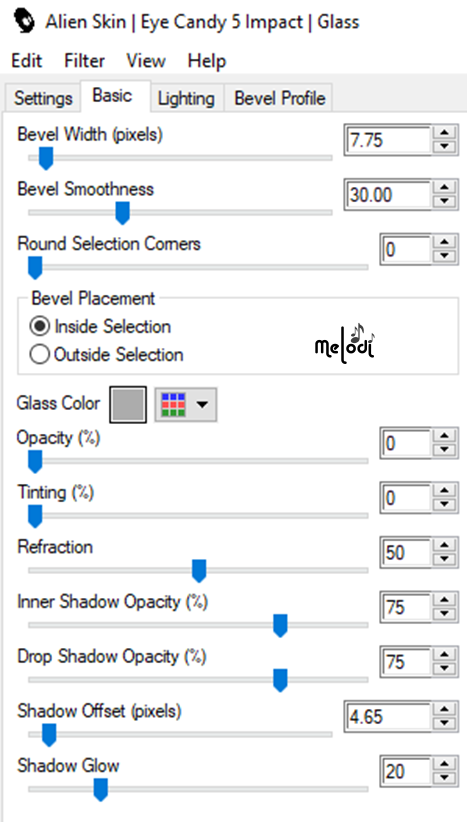
10-Effects – Alien Skin -Eye Candy 5 Impact – Glass / Clear
11-Selections>Modify>Contract – 10 pixels.
12-Flood Fill Tool / Fill color white #ffffff
13-Effects – Alien Skin -Eye Candy 5 Impact – Glass / Clear
14-Selections – Select None
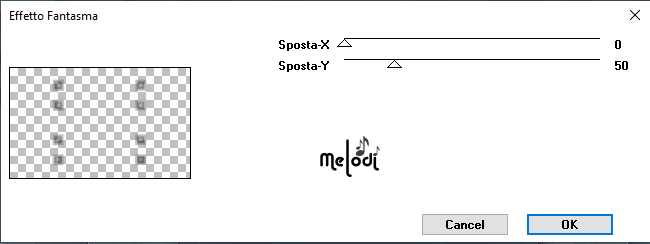
15-Effects – Plugins -It@lian Editors Effet – Effetto Fantasma (X 0 – Y 50)
16-Layers Dublicate (Copy of Raster 2)
17-Merge – Merge Down( Raster 2)
18-Effects – Edge Effects -Enhance
RESULD
STEP 4
1-Activate the second layer from the bottom. ( Merged)

2-Selections – Load/Save Selection -Load from Disk Dazzling 3
3-Selections – Promote Selections to Layer
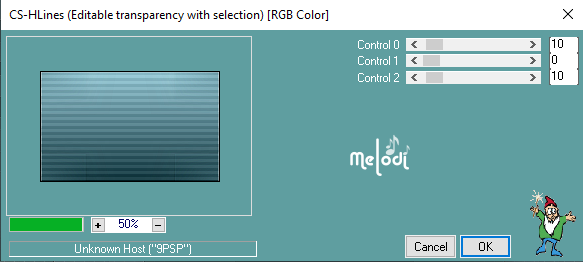
4-Effects – Carolaine and Sensbilty ( CS- HLines ) 10 / 0 / 10
5-Selections – Select None
6-Activate the top layer. (Raster 2)
7-Layers – New Raster Layer ( Raster 3 )
8-Selections – Load/Save Selection -Load from Disk Dazzling 4
9-Flood Fill with your foreground color #143840
10-Selection Modify Contract 1 Pixel
11-Flood Fill Tool / Fill background color white #ffffff
12-Selection Modify Contract 5 Pixel
13-Flood Fill Tool / Gradient
14-File Open/ Dazzling misted tube -Edit Copy
15-On Your Work İmage Edit Paste İnto Selection
16-Change your background color #94c5d2
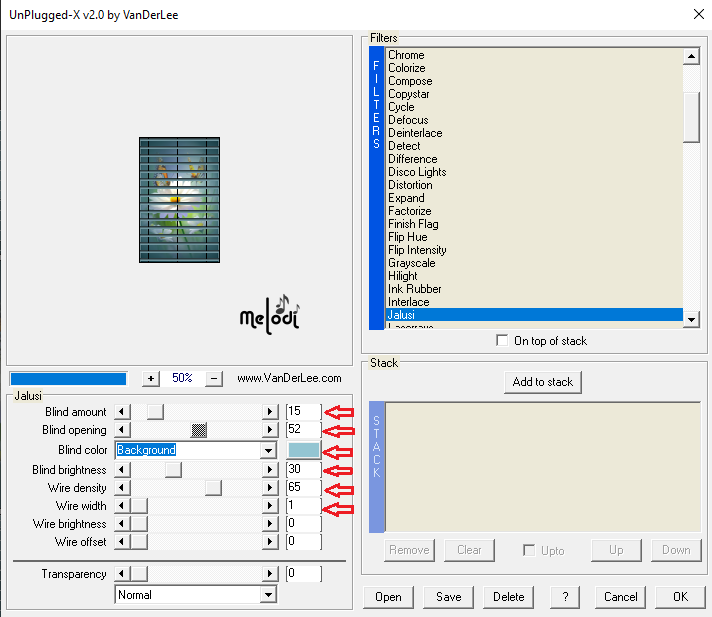
17-Effects – Van DerLee – UnPlugged – X- Jalusi
18-Selection None
19-Layer Duplicate
20-Image Mirror / Mirror Horizontal
21-Merge / Merge Down
RESULD
STEP 5
1-File-Open-Deco Dazzling 1
2-Edit-Copy /Edit- Paste As New Layer ( Do not carry) (Raster 4)
3-File-Open- Text Dazzling
4-Edit-Copy /Edit- Paste As New Layer (Raster 5)
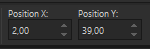
5-Active Pick Tool -Position X: 2 Position Y: 39 ( Or position it wherever you want.)
6-File-Open- KamilTube-2716 ( Delete Watermark )
7-Edit-Copy /Edit- Paste As New Layer ( Raster 6)
8-Image-Resize-By Percentage 75-Resize all layer not cheked ( Do not carry. Or position it wherever you want.)
9-Adjust – Sharpness – Sharpen
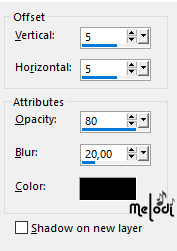
10-Effets – 3D Effects –Drop Shadow V: 5 H: 5 O: 80 B: 20
RESULD:
STEP 6
(You can also change the frame color according to your work. If you want to make the frame in your own colors, you can skip this step and go to step 7.)
1-Merge- Merge All (Flatten)
2-Edit Copy
3-File Open- Dazzling Frame
4-Edit-copy / Edit-paste as new layer
5-Sign your name. Merge- Merge All
6-Resize to 900 pixels
7-Save as JPG & PNG
STEP 7
1-Merge- Merge All (Flatten) Edit Copy
2-Image – Add Borders – Symmetric checket 2 pixel, color 1 (Foreground color #143840)
3-Image – Add Borders – Symmetric checket 10 pixel, #ffffff
4-Image – Add Borders – Symmetric checket 2 pixel, color 1 (Foreground color #143840)
5-Image – Add Borders – Symmetric checket 10 pixel, #ffffff
6-Selections – Sellect All
7-Image – Add Borders – Symmetric checket 50 pixel, #ffffff
8-Selections – Invert
9-Edit-copy / Edit-paste Into Selection
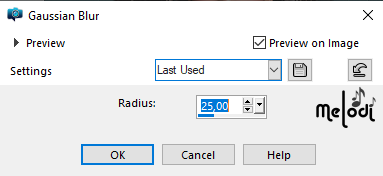
10-Adjust Blur -Gaussian Blur – Radius 25
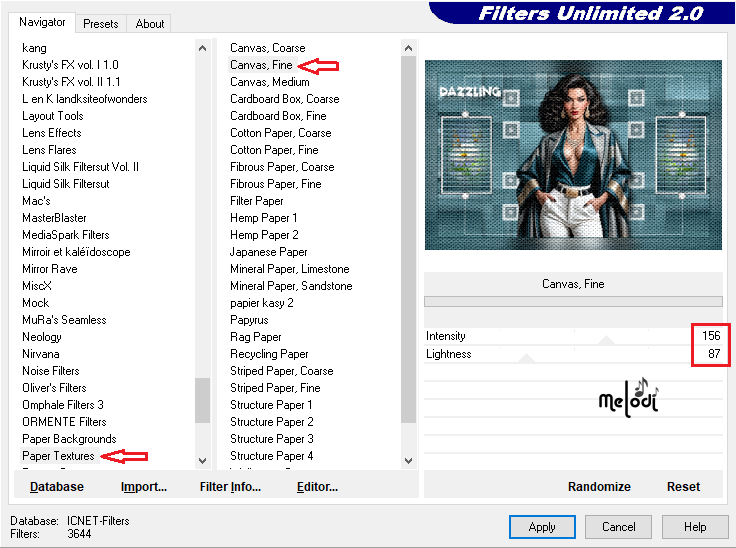
11-Filters Unlimited 2.0 – Paper Textures – Canvast Fine Standard settings
12-Selection None
13-Image – Add Borders – Symmetric checket 1 pixel, color 1 (Foreground color #143840)
14-Sign your name
15-Resize to 900 pixels
16-Save as JPG & PNG
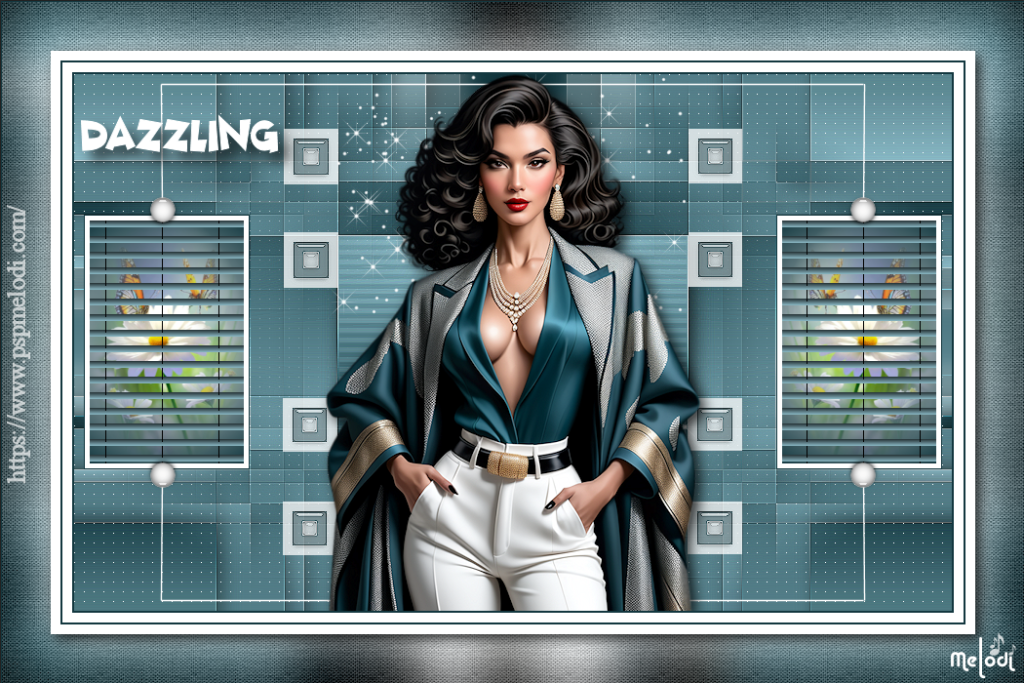
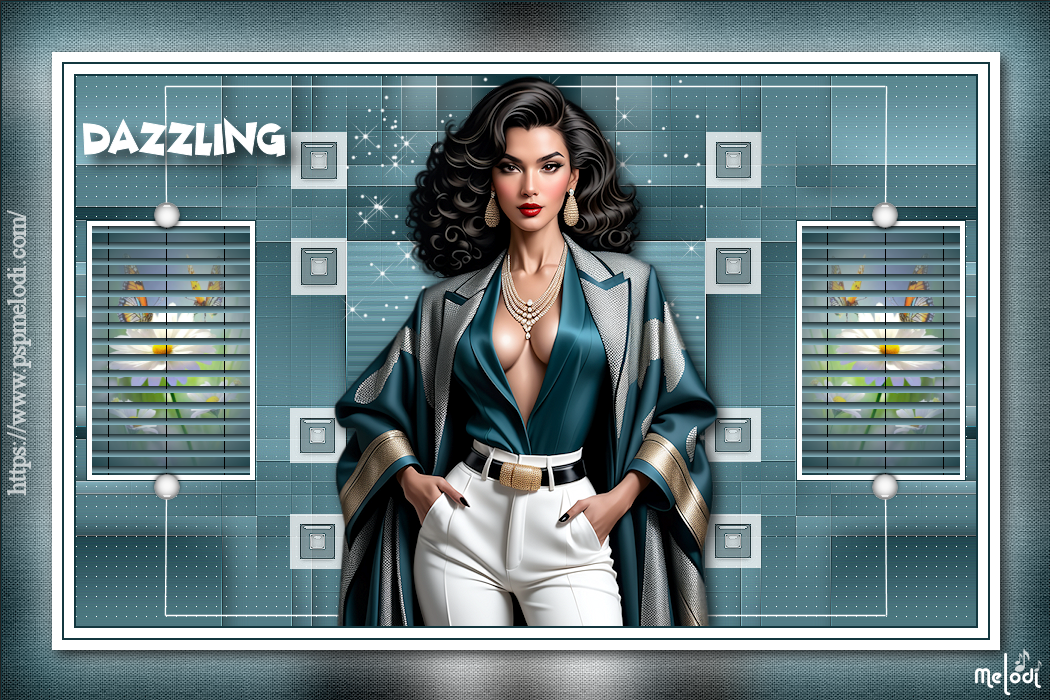
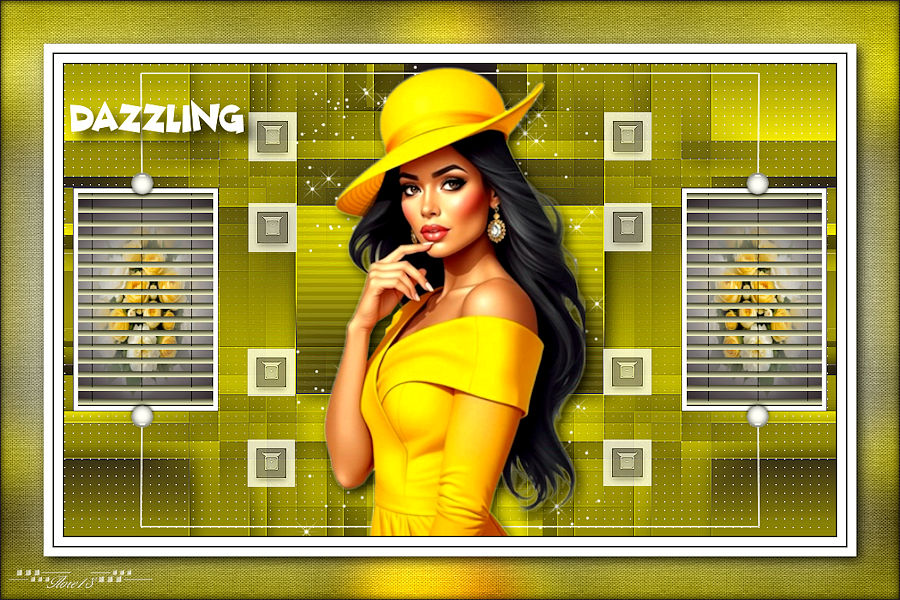
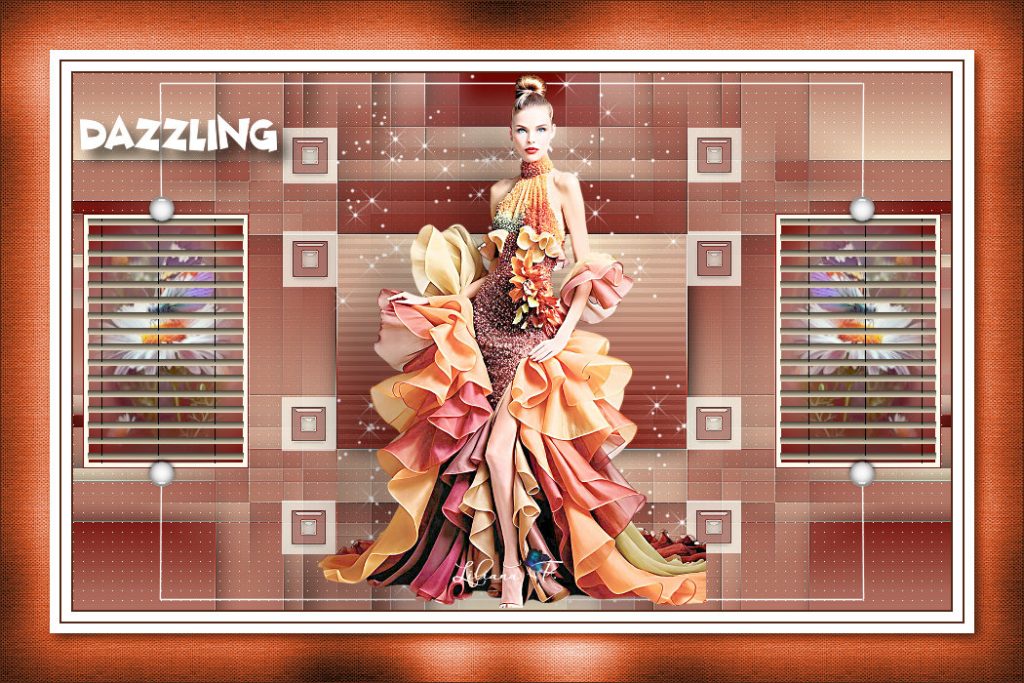
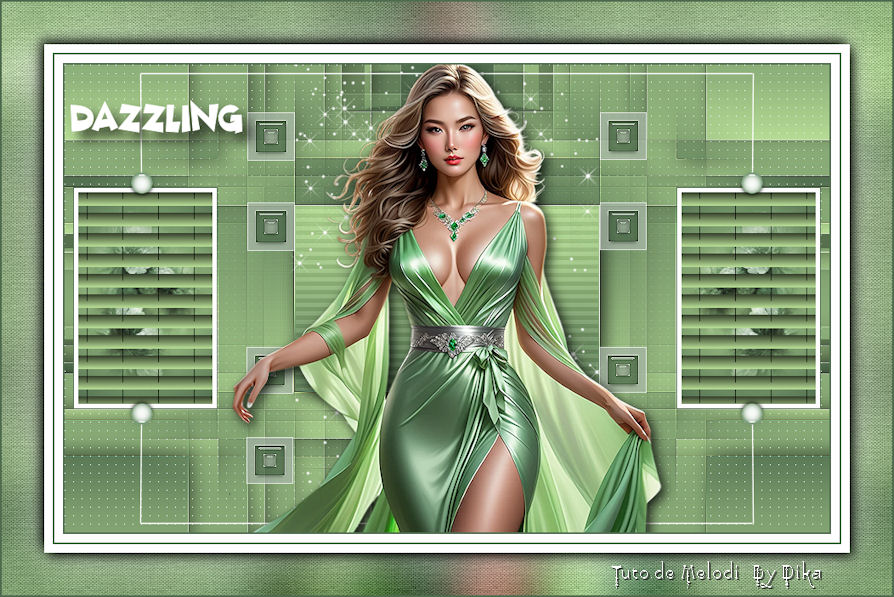
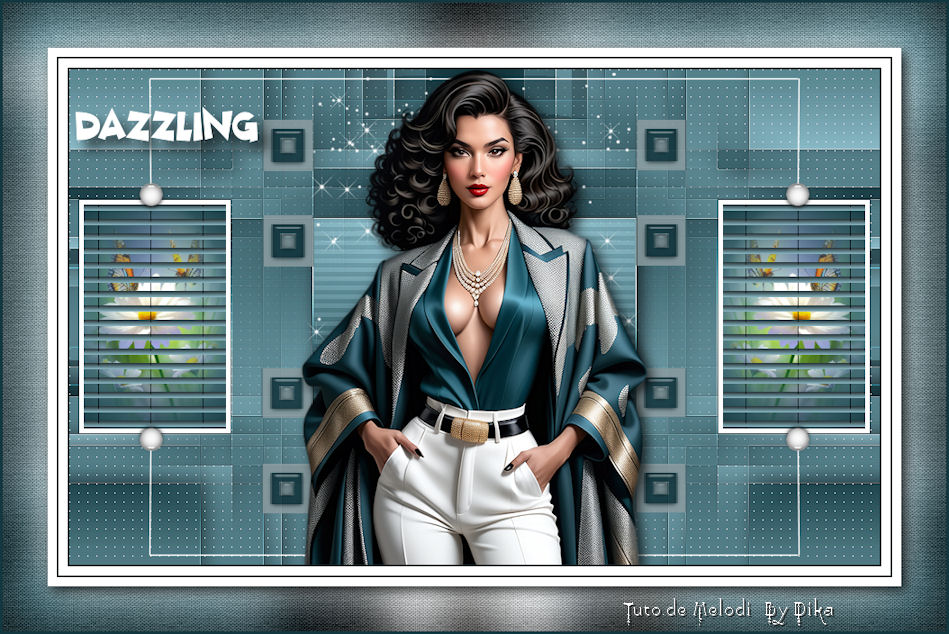
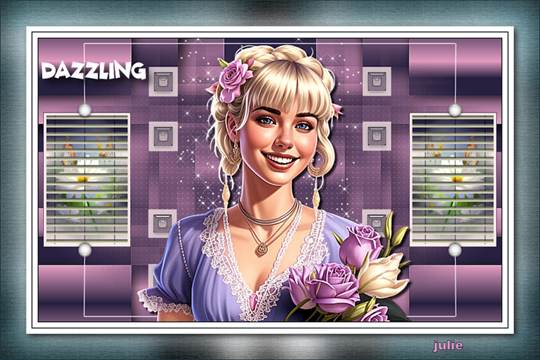
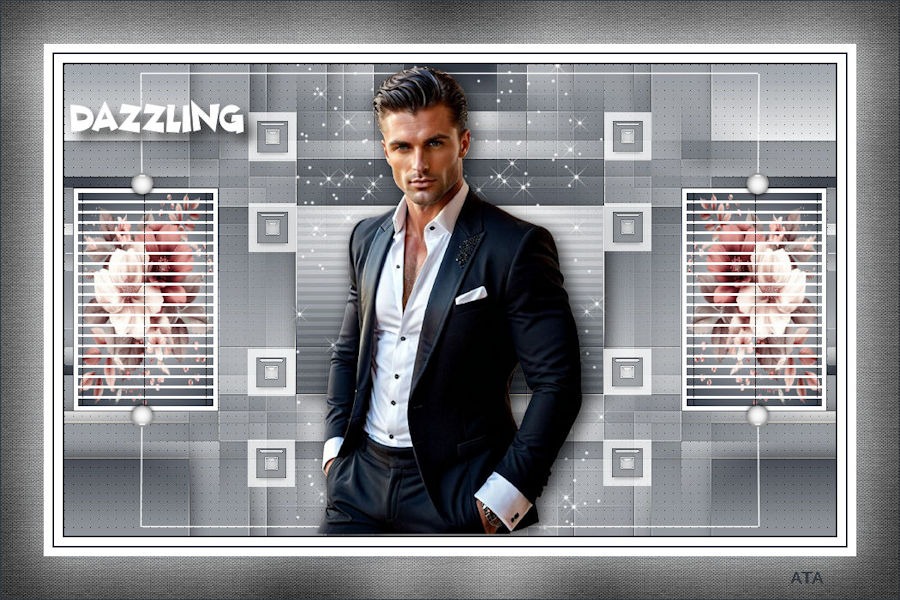
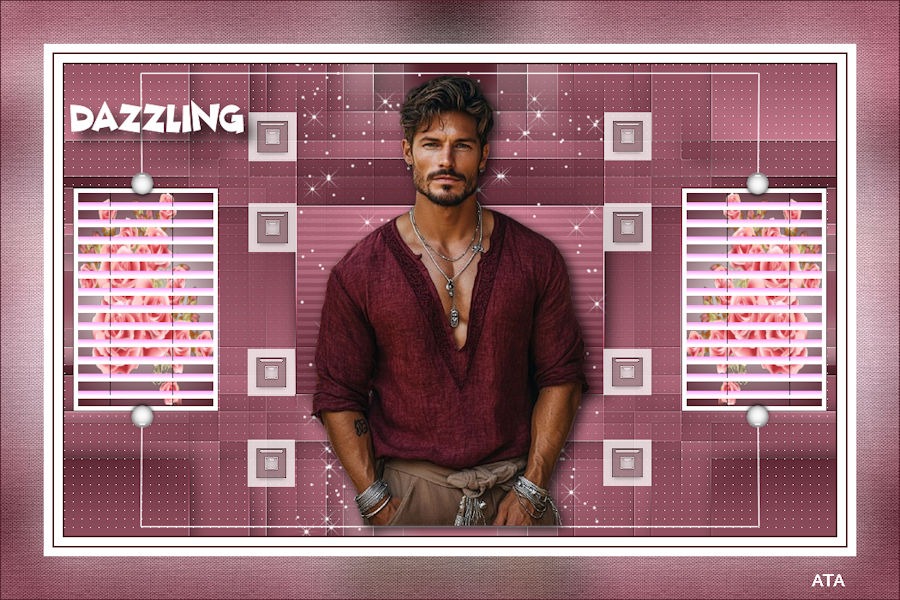
RESULD
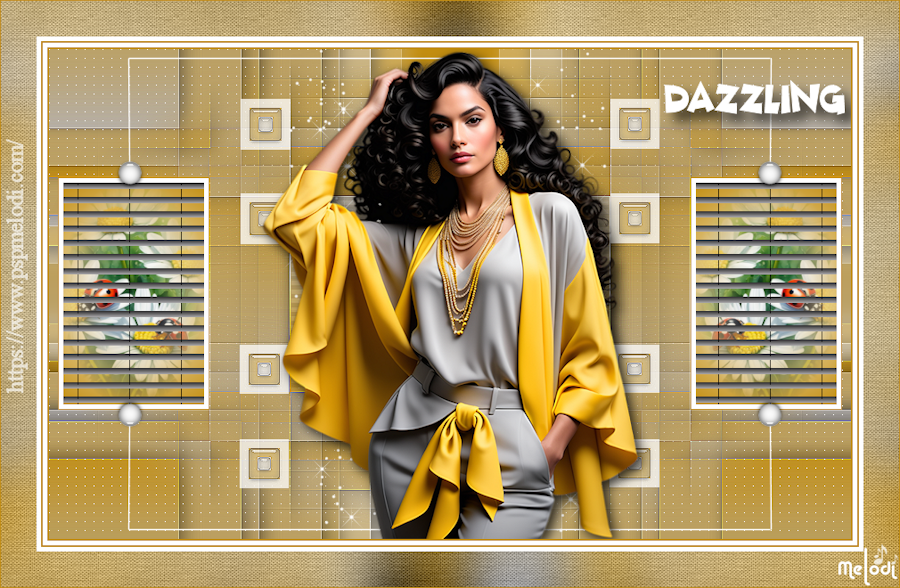
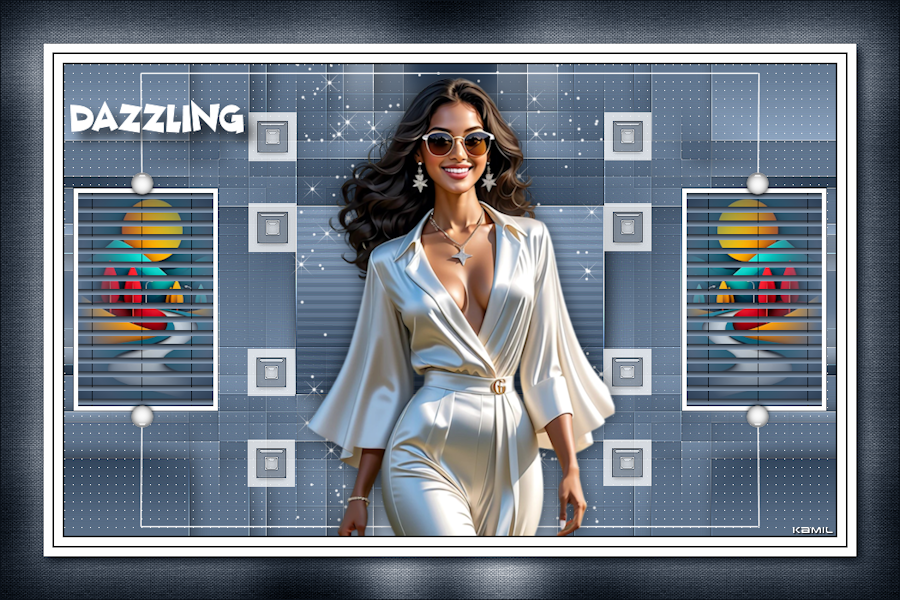
Thank you for the test Kamil
Thank you Inge Lore
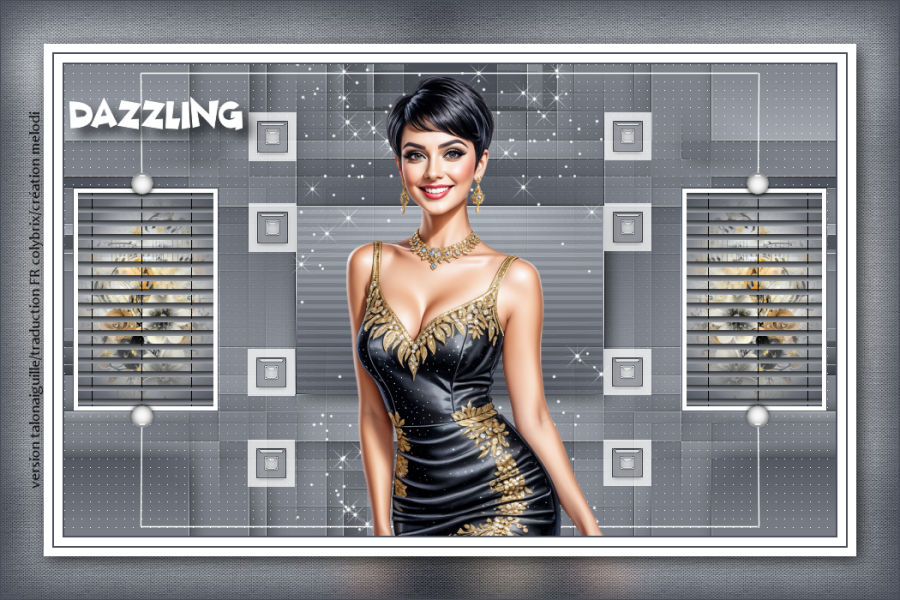
Thank you Colybrix
Thank you Vera Mendes
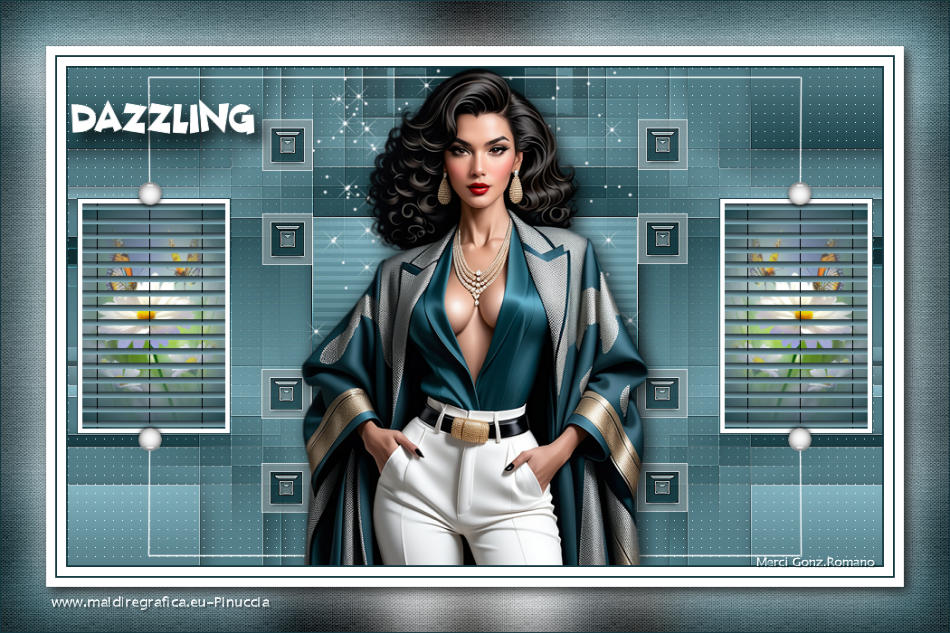
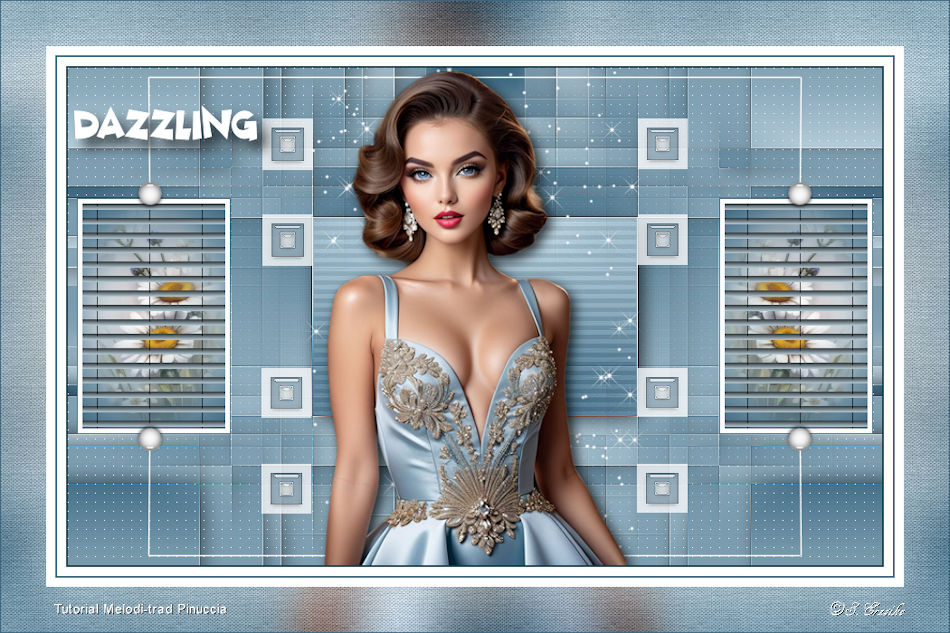
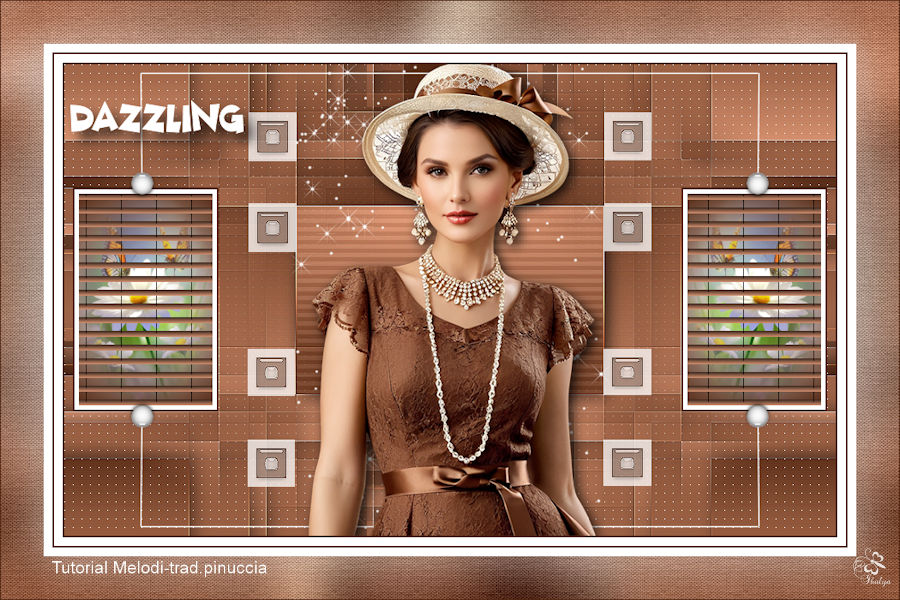
Thank you Pinuccia
Thank you Lady Valella

Thank you Katrina e Ema
Thank you Sylviane
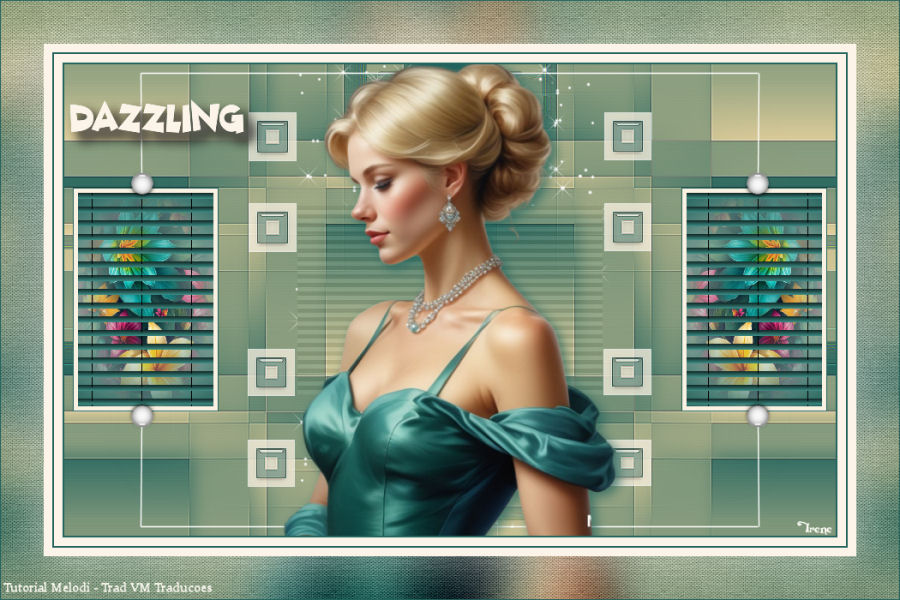
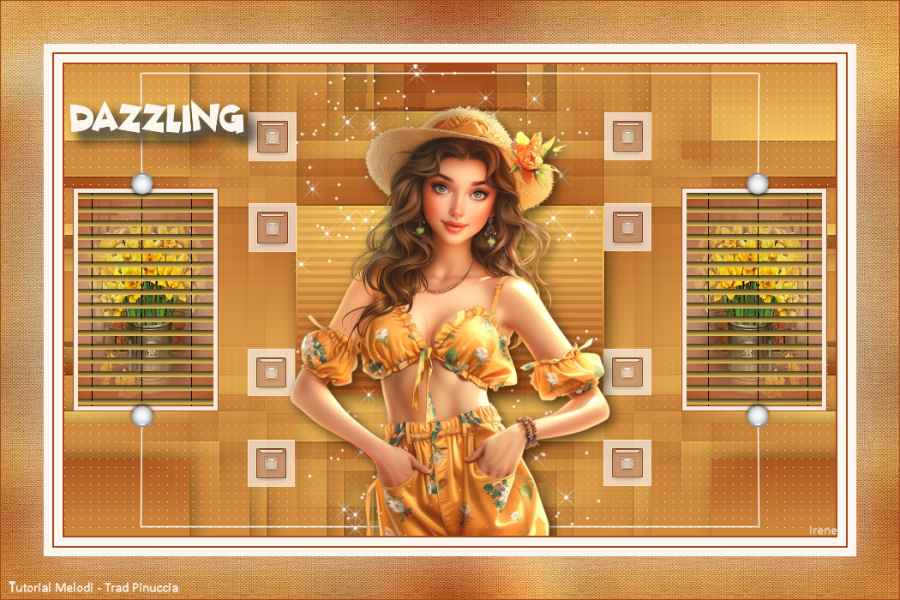
Thank you Irene
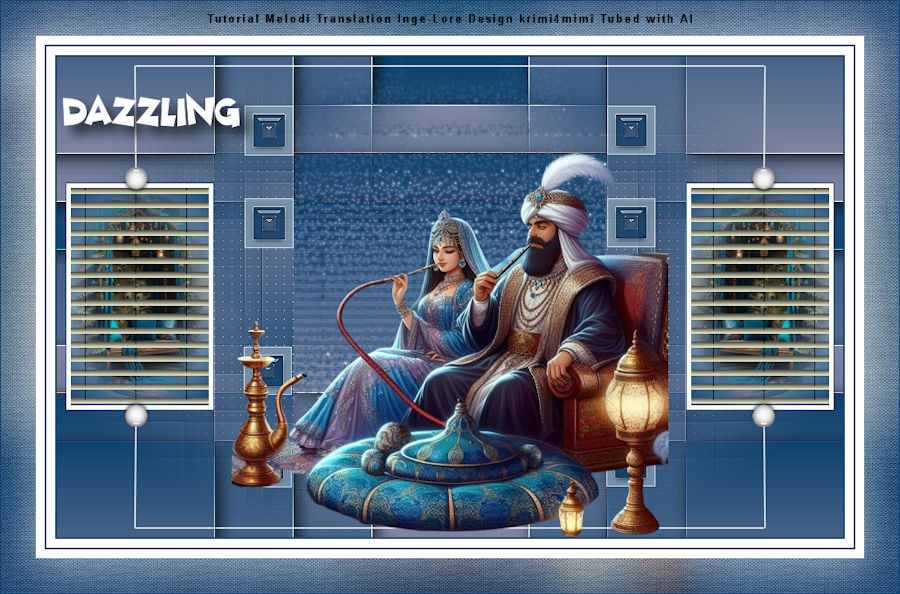
Thank you Krimi4mimi
Thank you Jaja du 63
Thank you Gerrie
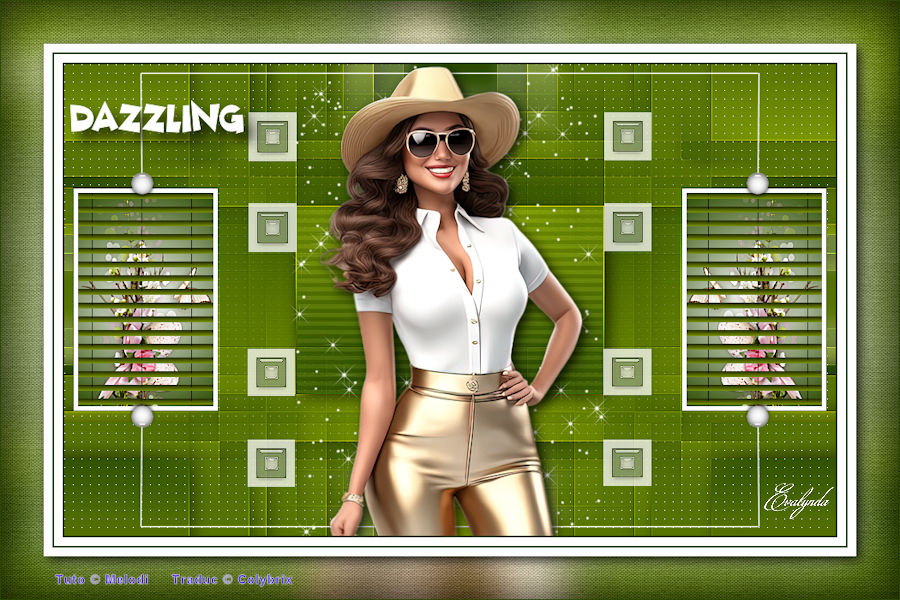
Thank you Evalynda
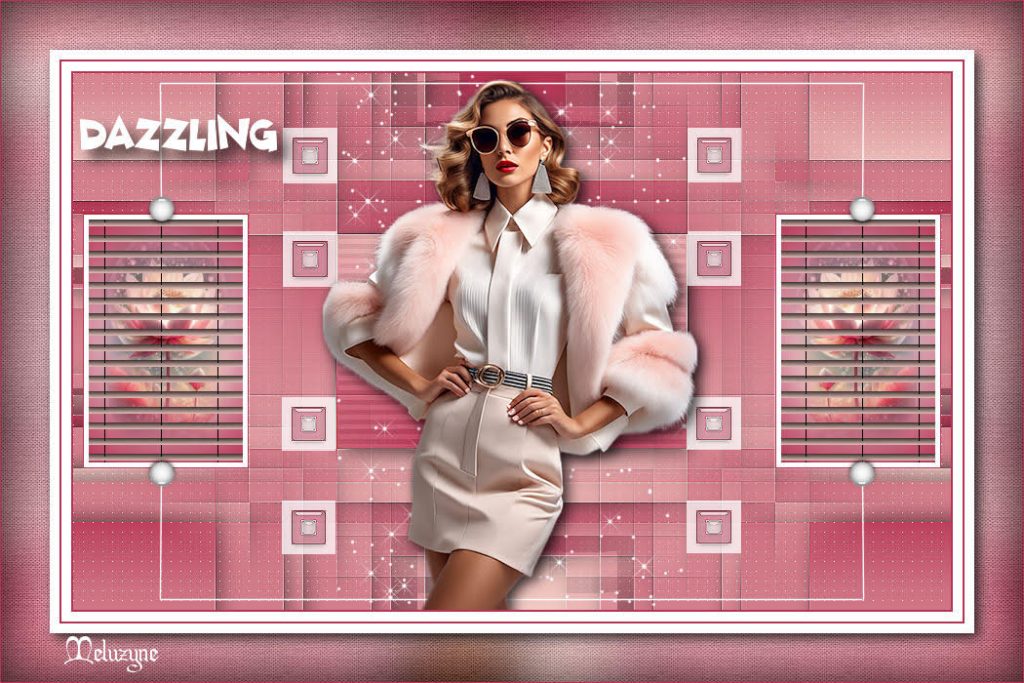
Thank you Meluzyne
Thank you Flomejo
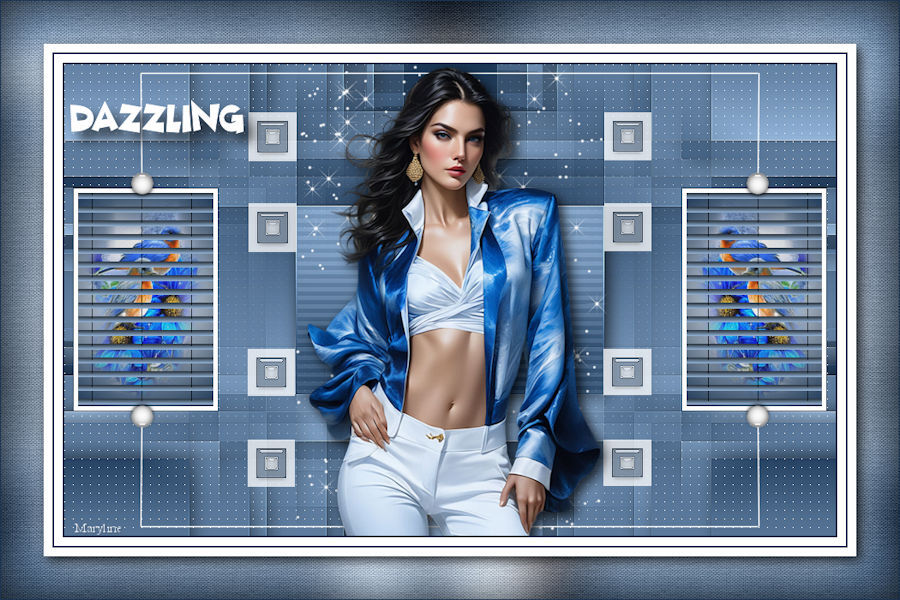
Thank you Maryline
Thank you Celia

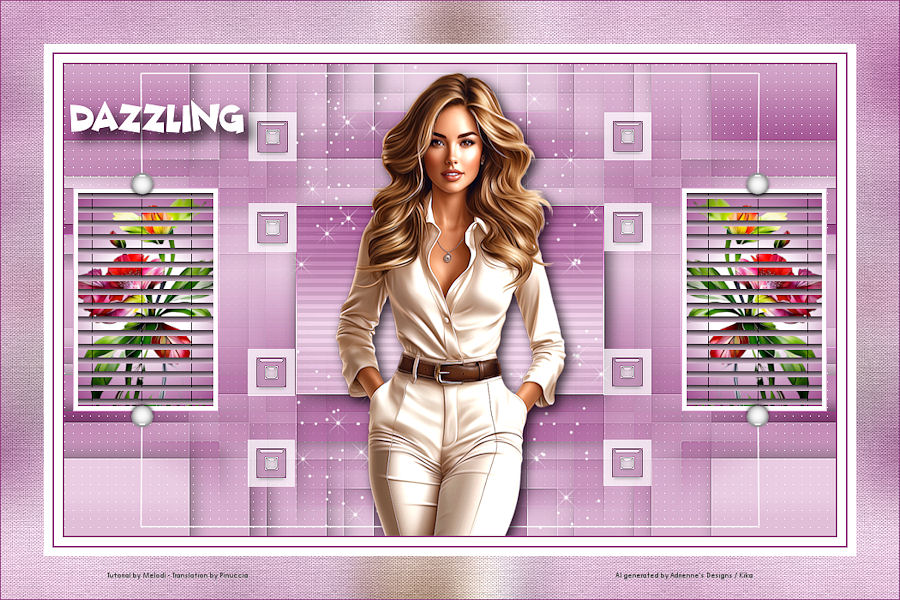
Thank you Kika
Thank you Christelle

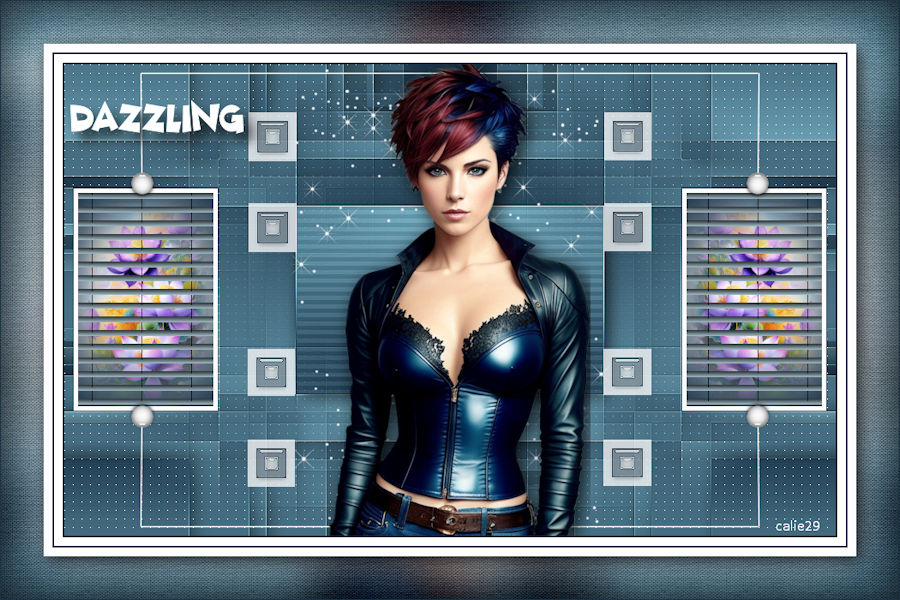
Thank you Callie29
Thank you Irene
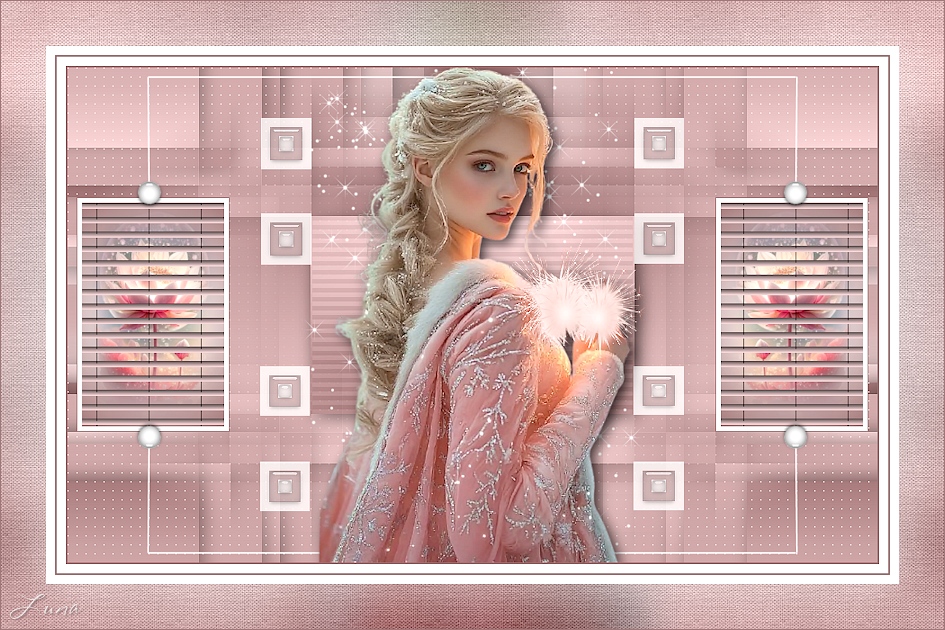
Thank you Luna
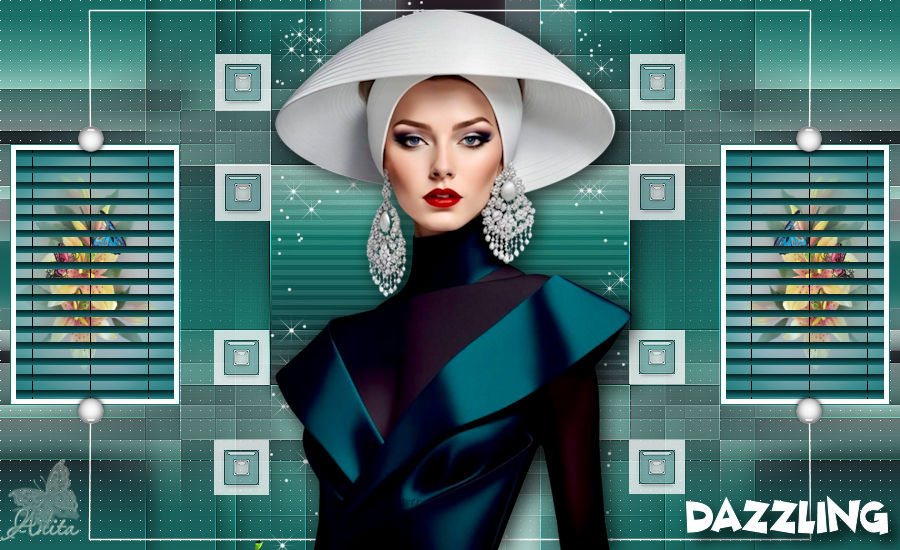
Thank you Anita
Thank you Merci Gon Romano
Thank you Marika
Thank you Лариса
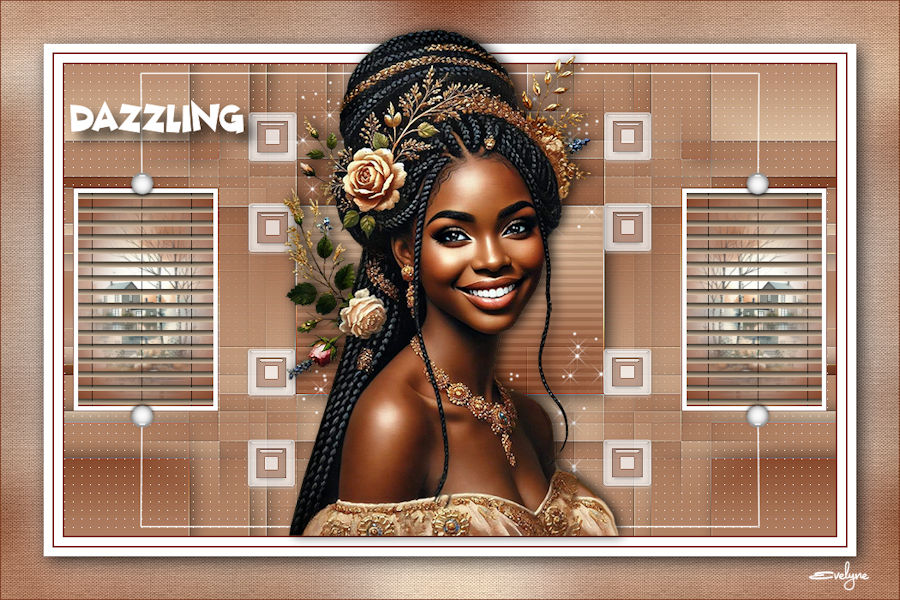
Thank you Evelyne
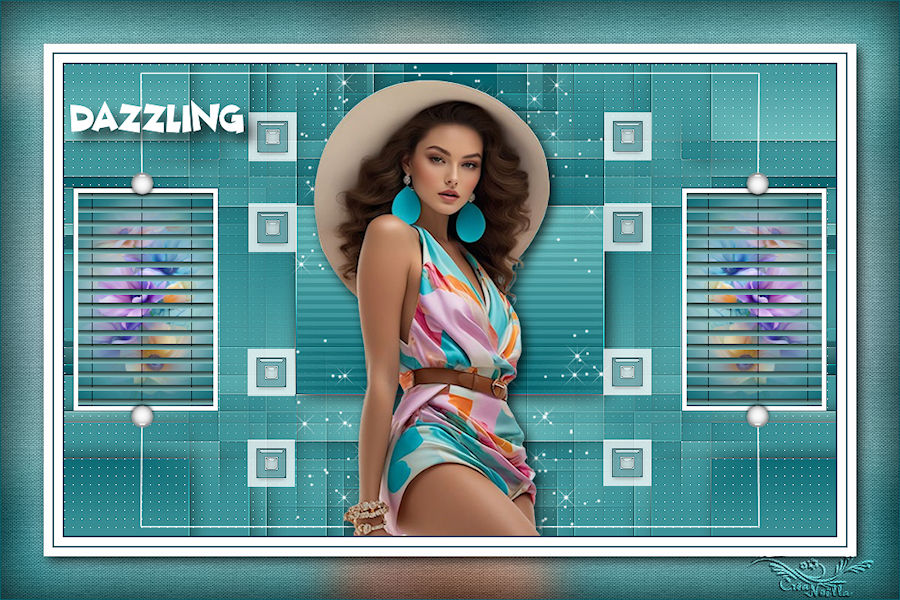
Thank you Noëlla
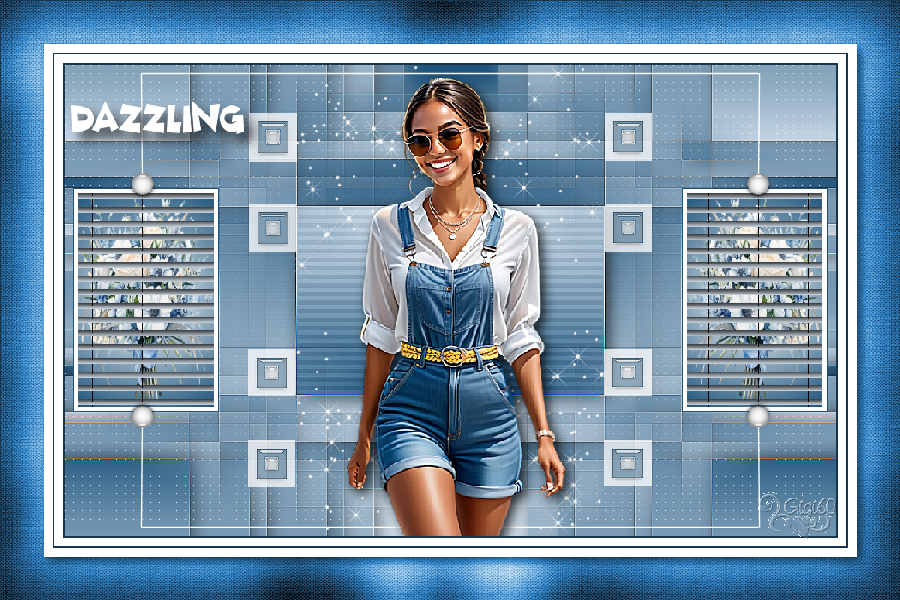
Thank you Gigi60
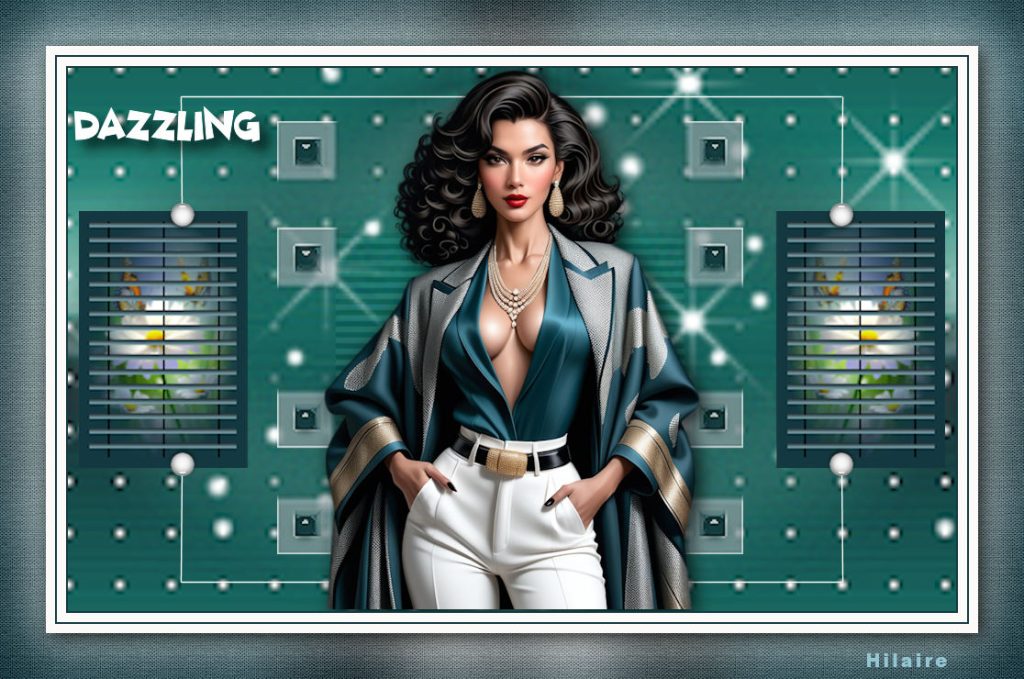
Thank you Hilaire
Thank you Pia
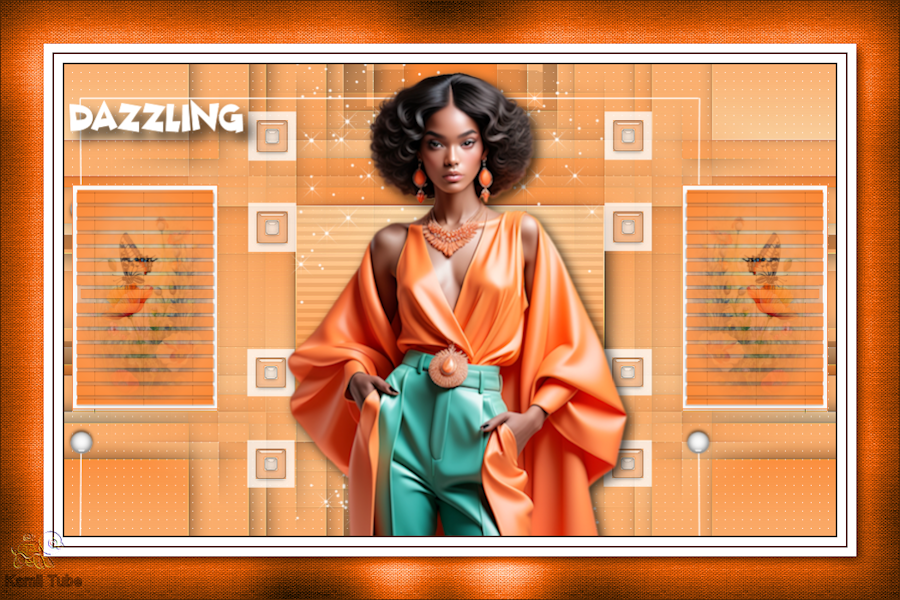
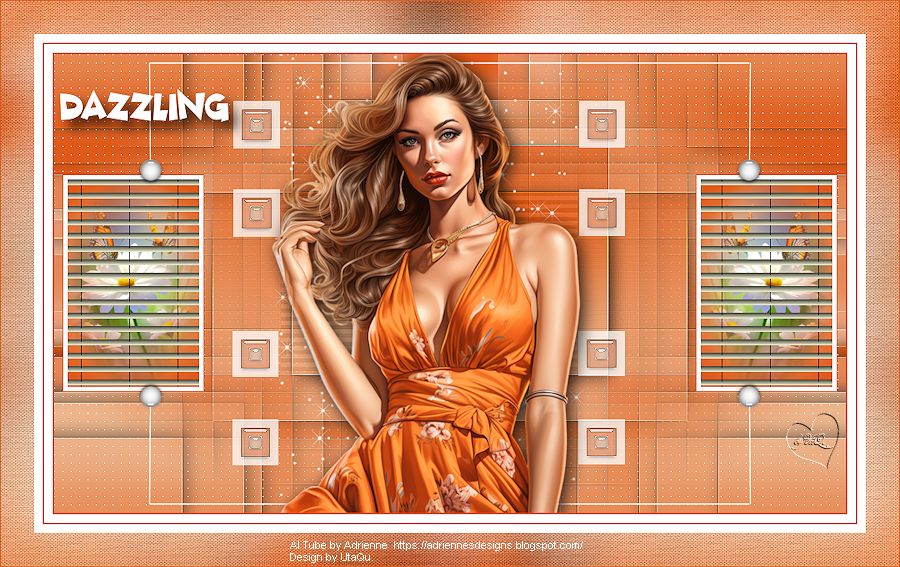
Thank you UtaQu1
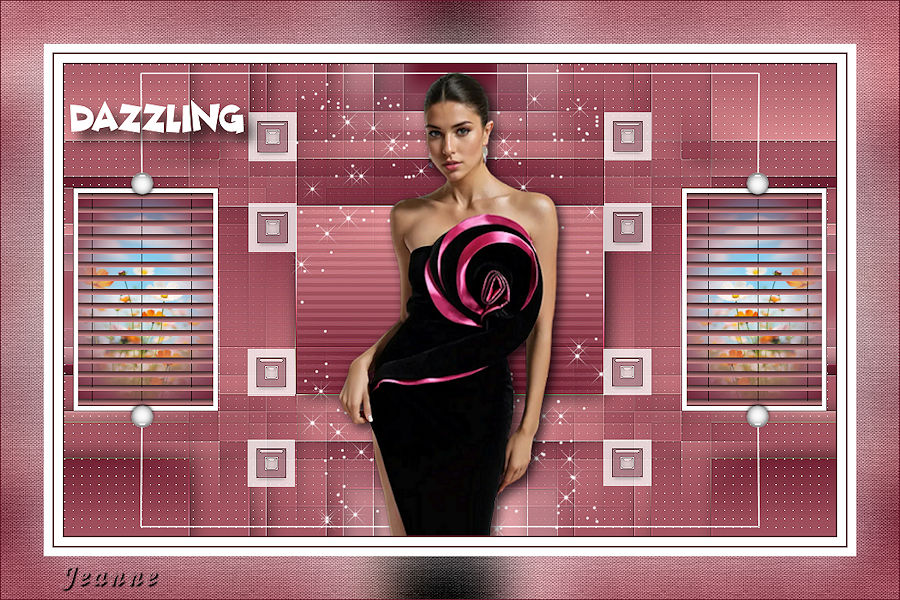
Thank you Jeanne
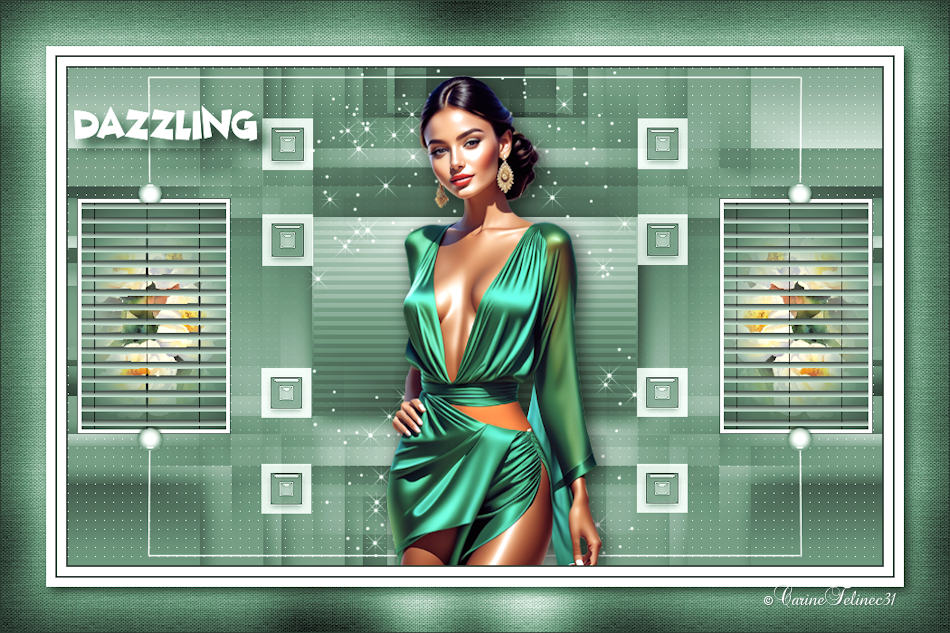
Thank you Carine Felinec31
Thank you Flore18
Thank you Liliana
Thank you Dika
Thank you Fairylight
Thank you PetraL
Thank you Jolcsi

Thank you Violine
Thank you Renée Graphisme
Thank you Madeleine
Thank you Sweety
Thank you Petras19592
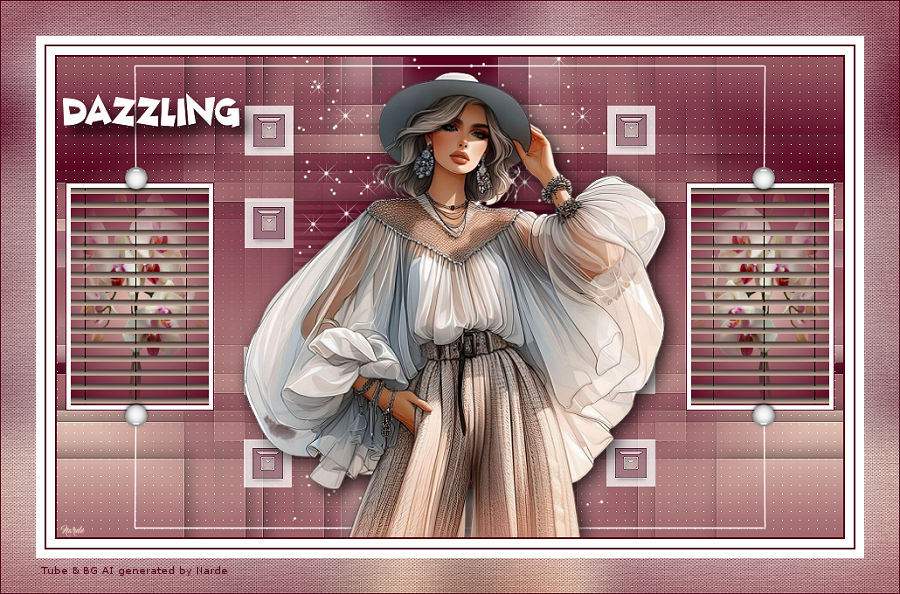
Thank you Narde
Thank you Erzeike
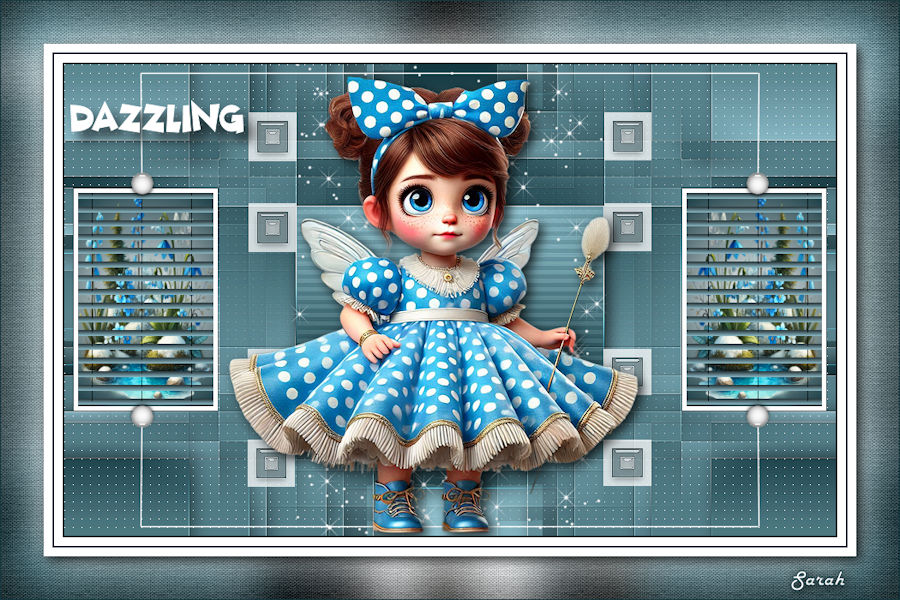
Thank you Sarah
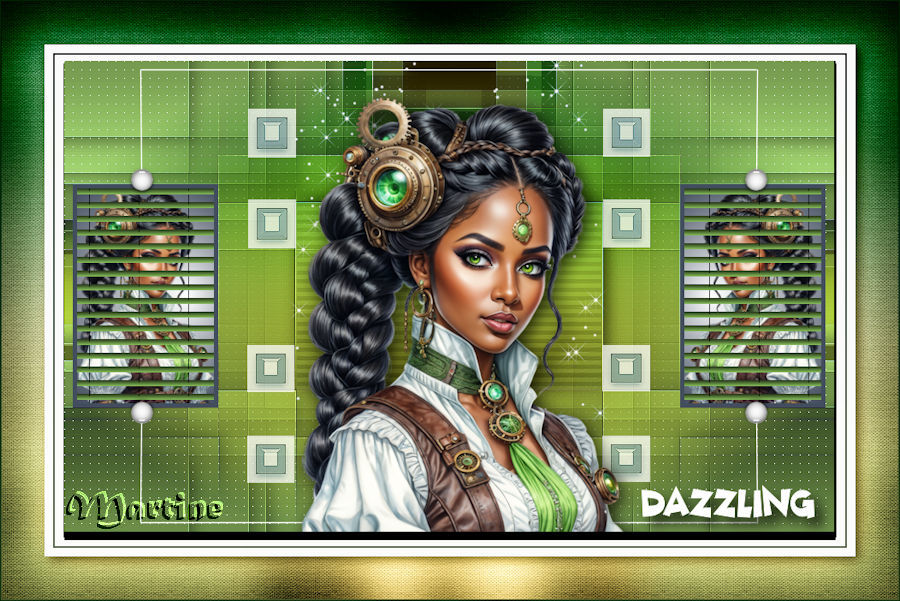
Thank you Martine
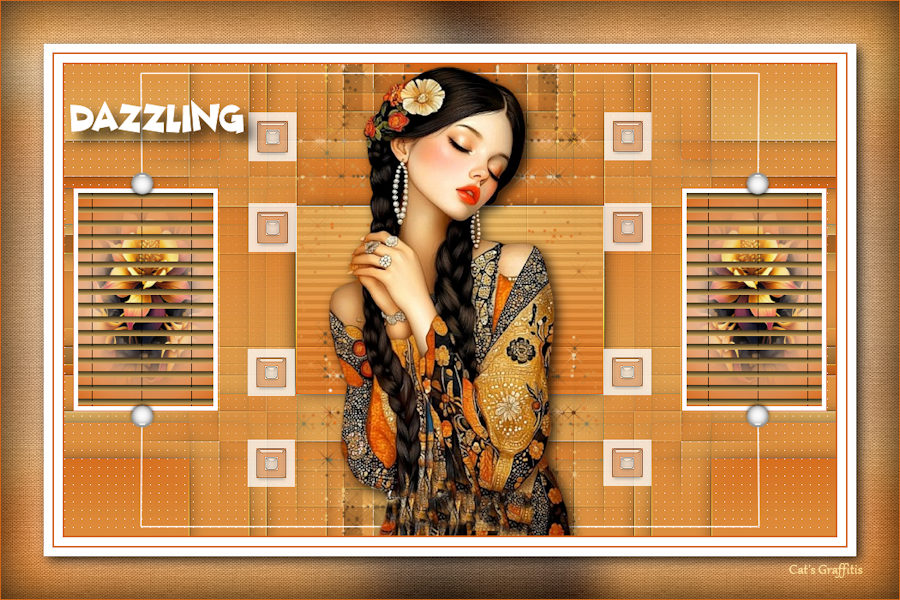
Thank you Cat’s Graffitis
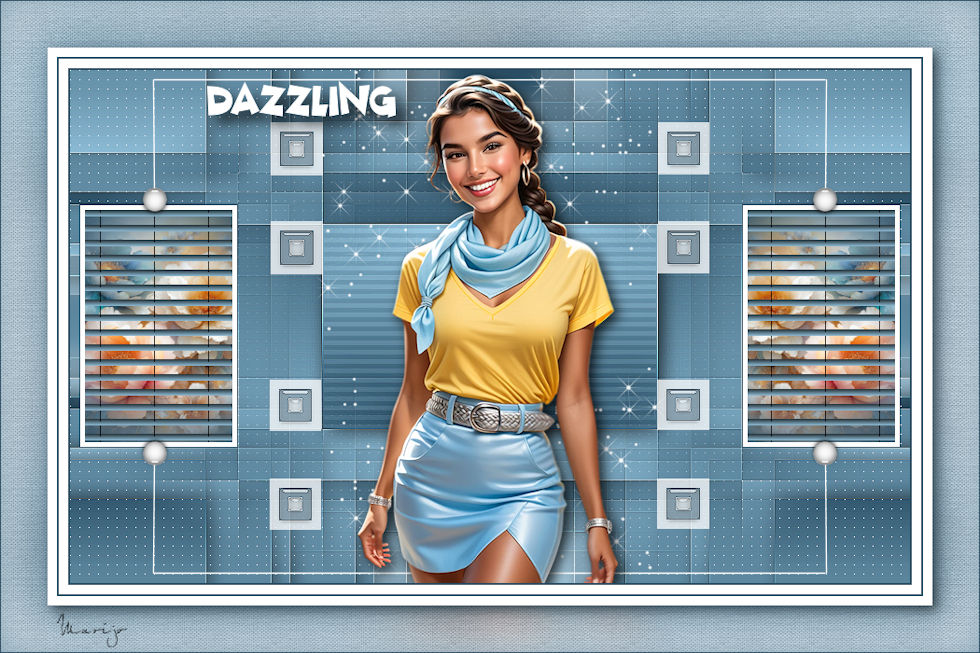
Thank you Marijo
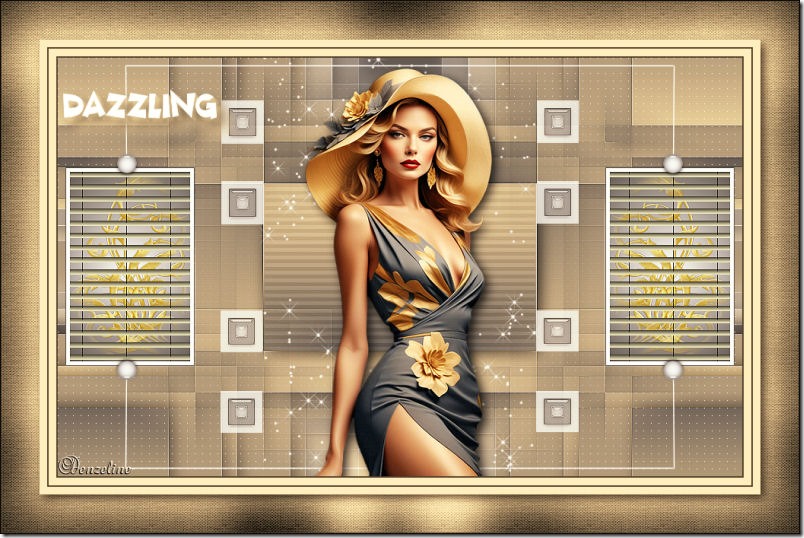
Thank you Denzeline
Thank you DeniseD

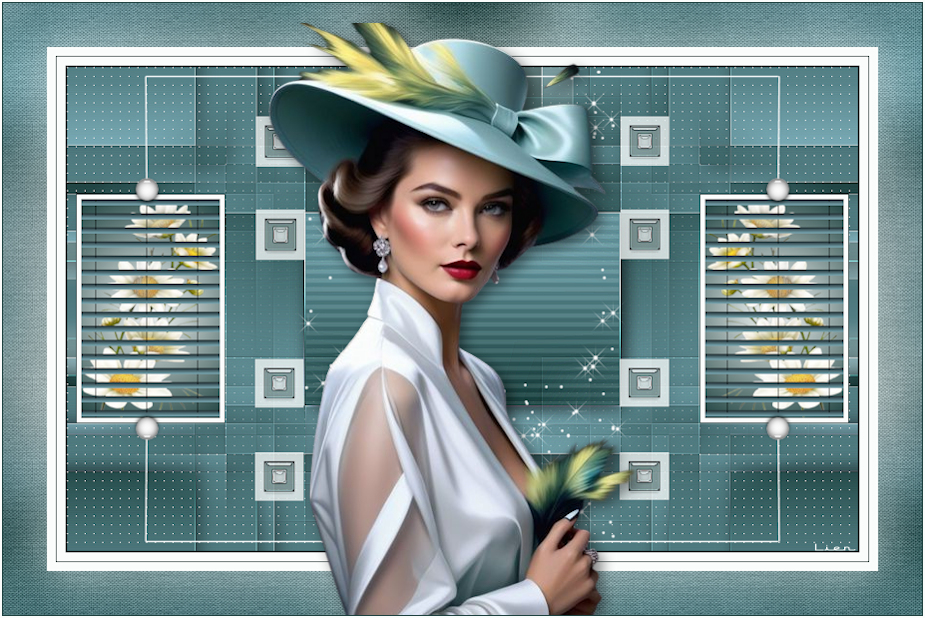
Thank you Lien
Thank you Julie
Thank you Luce
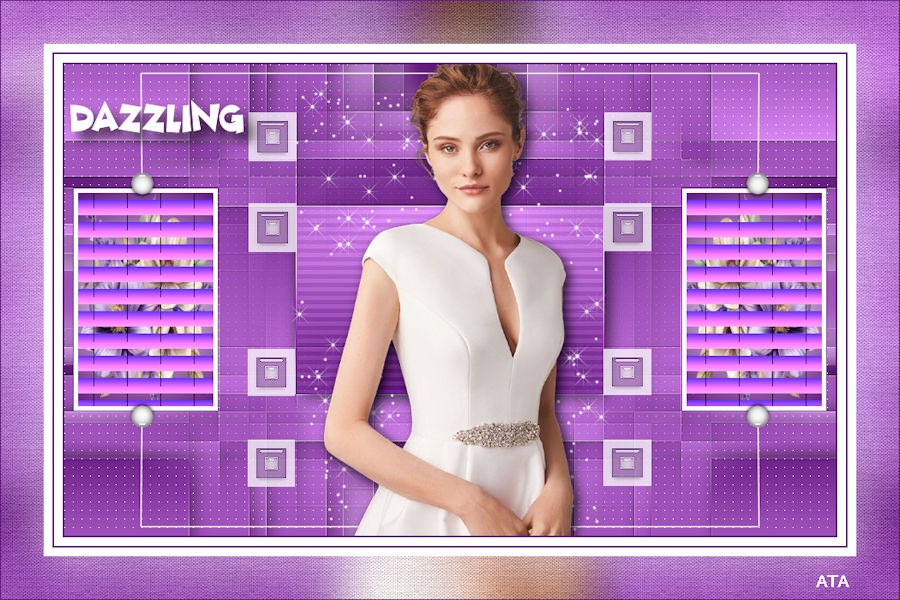
Thank you Ata
Thank you Talonaiguille
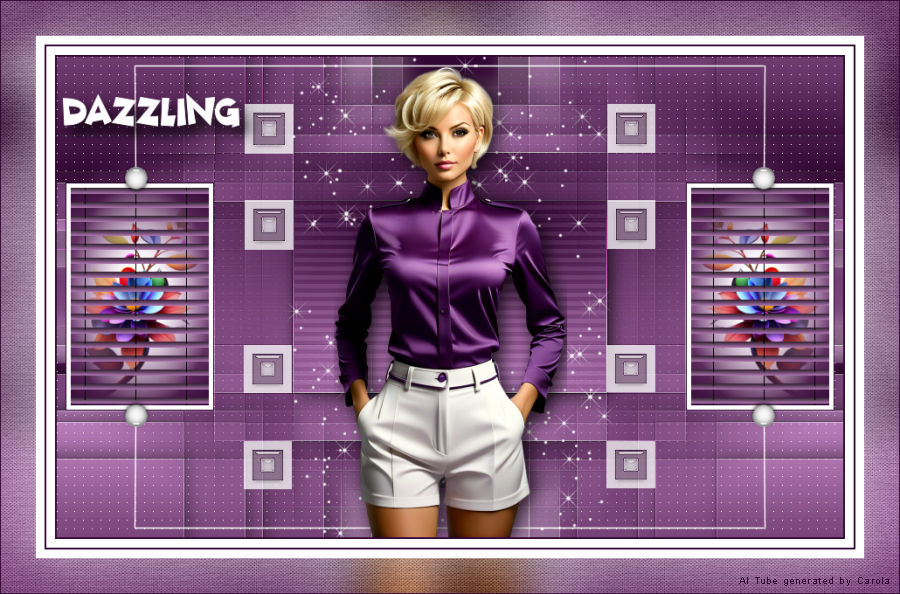
Thank you Carola
Thank you Ibolya
Thank you Barbaros
Thank you Lizzy
Thank you Marygraphics
Thank you Hesitu

Thank you Sonia
Thank you Ciça
Thank you Maria Jose
Thank you Lidia

Thank you Stella
Thank you Flavia

Thank you Loiva
Thank you Paimpollab
Thank you Carine/Felinec31
Thank you Nadège
Thank you Léa Rose